This is when your Marcel comes together! You are ready to sew and attach your bodice to your dress or tank top, the instructions are the same no matter what view you are sewing. Watch our video or read below.

SEW THE BODICE TO THE DRESS
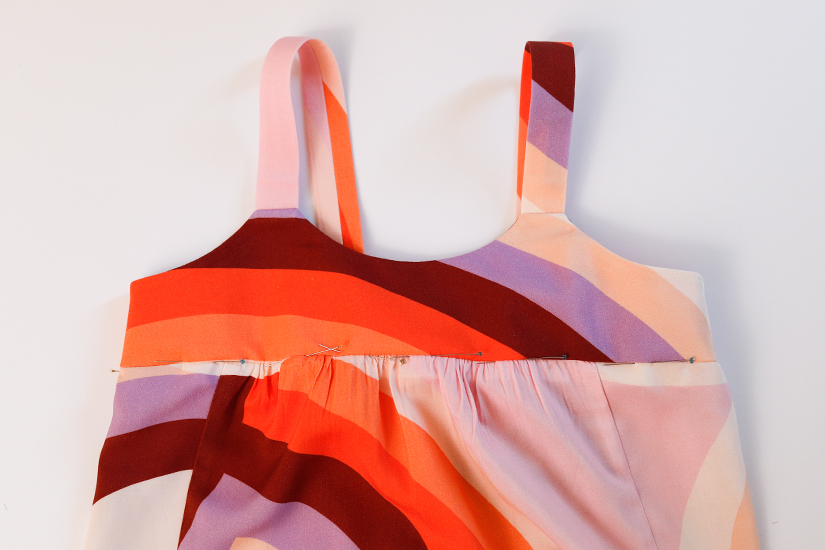
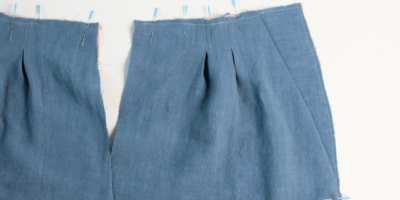
Lay out your bodice and dress so you know which side is the front and which side is the back.
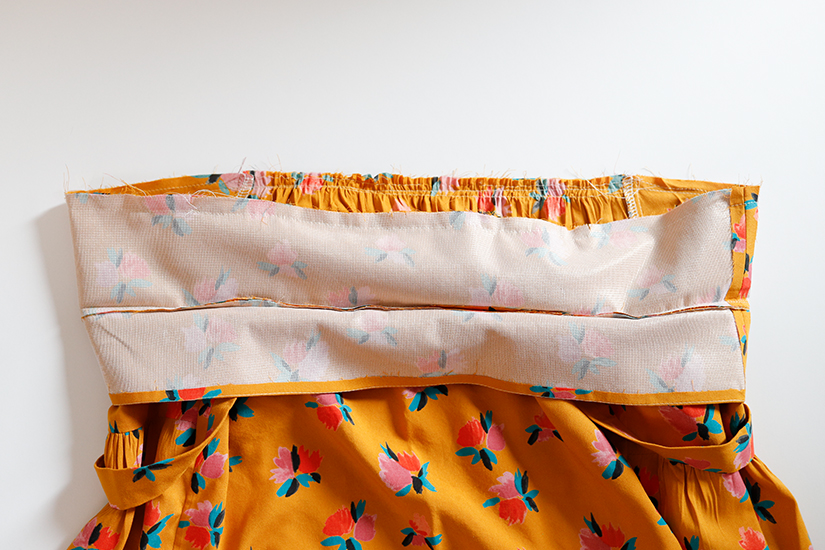
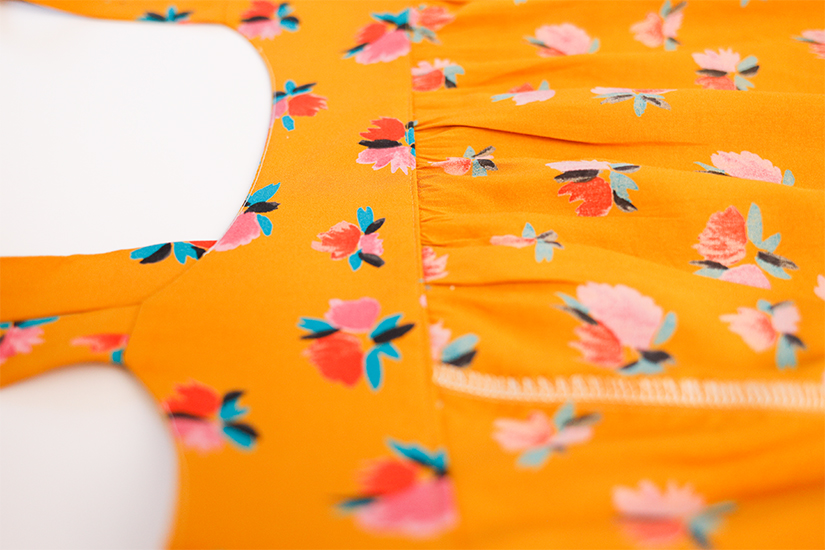
With right sides together, pin the bottom edge of the bodice to the dress, making sure not to catch the bodice facing. The notches on the bodice indicate where the center front and center back gathers finish. The side panels (without gathers) have a center notch; this notch should match the bodice side seams. Sew the seam.
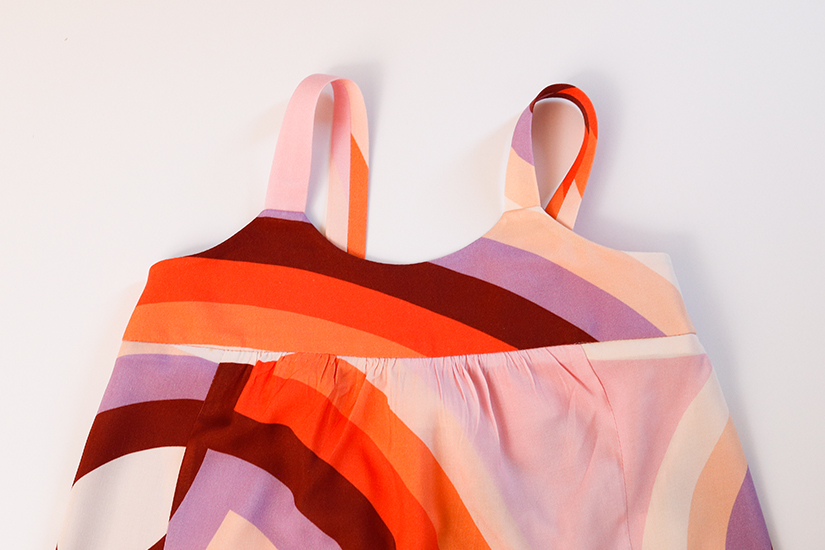
Remove any visible basting stitches and press the seam allowance up towards the bodice.
EDGESTITCH THE BODICE IN PLACE
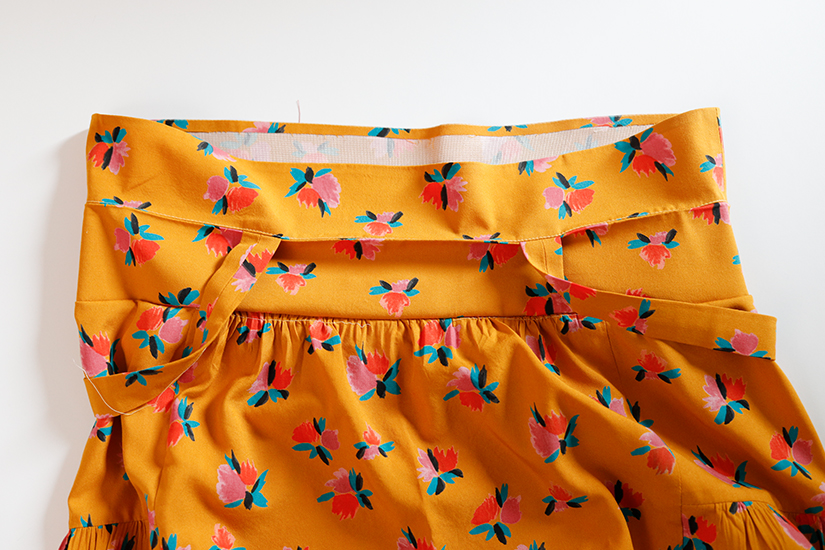
This step is hard to see, and that’s the point. We are trying to hide the stitching from the front by “stitching in the ditch” when edge stitching the bodice in place.
With the bodice seam allowance pressed up, pin through the bodice seam and catch the bodice facing, which was previously pressed under or finished.

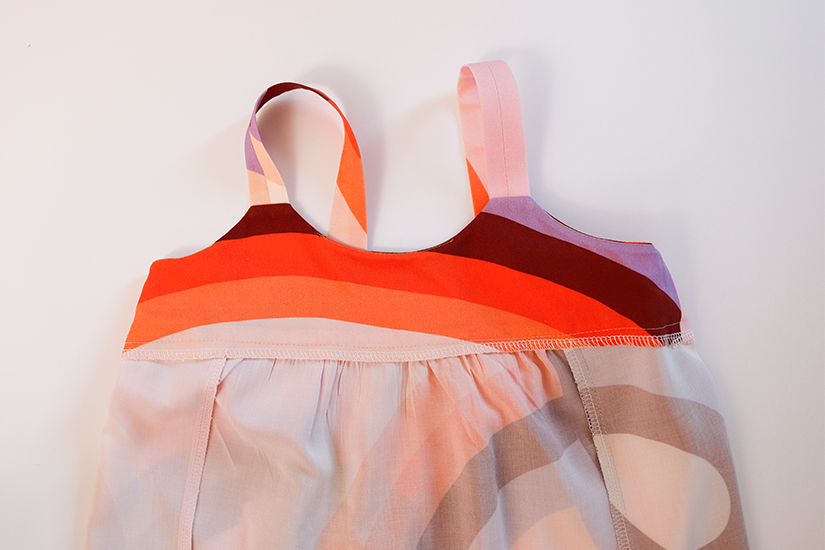
Edgestitch or stitch in the ditch, catching the facing underneath. Be careful not to pull or twist the fabric when sewing this seam. If you are worried about visible stitches, you can hand sew the bodice facing in place. Press the bodice.
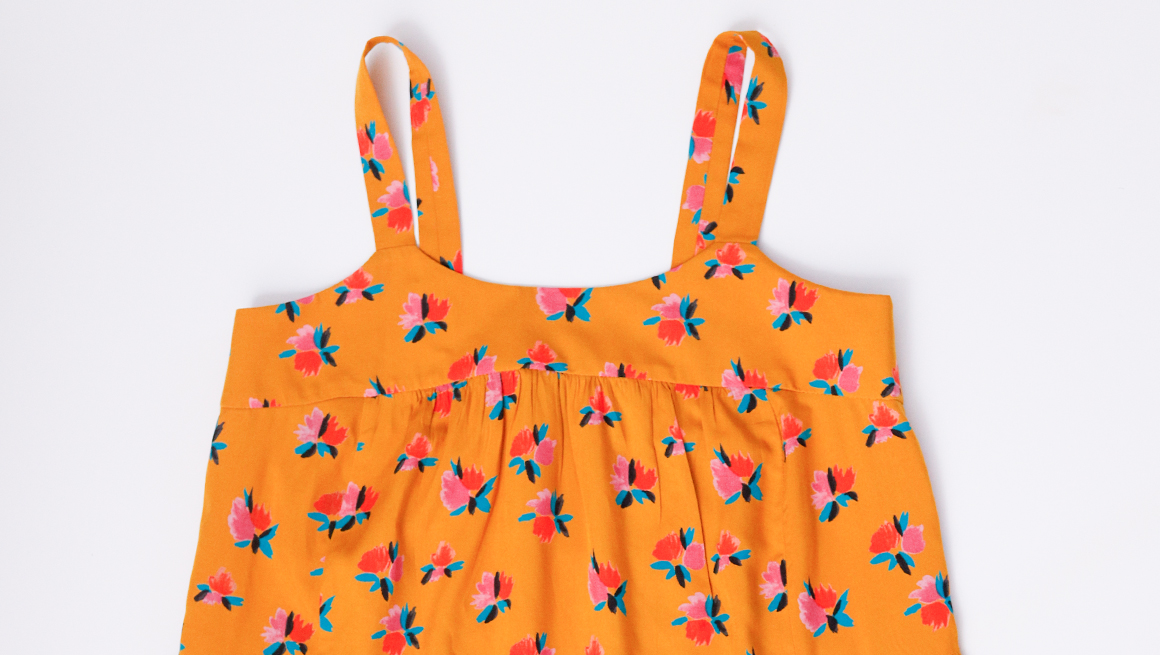
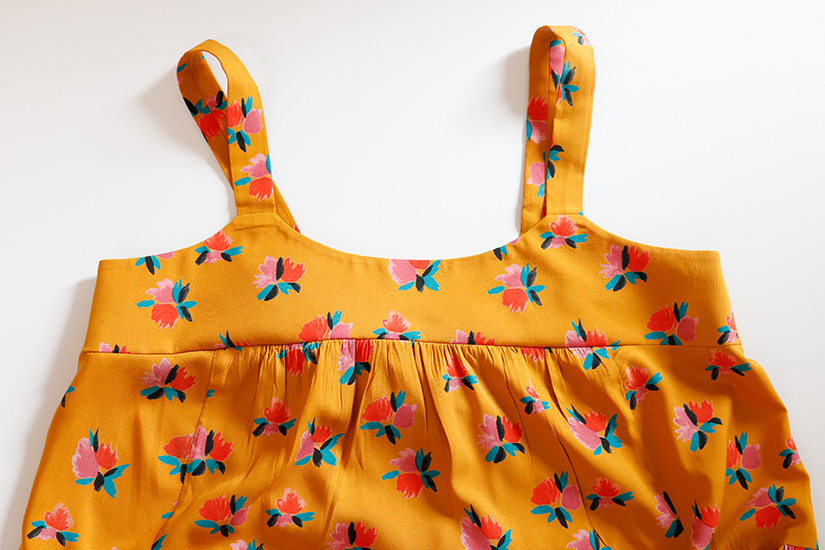
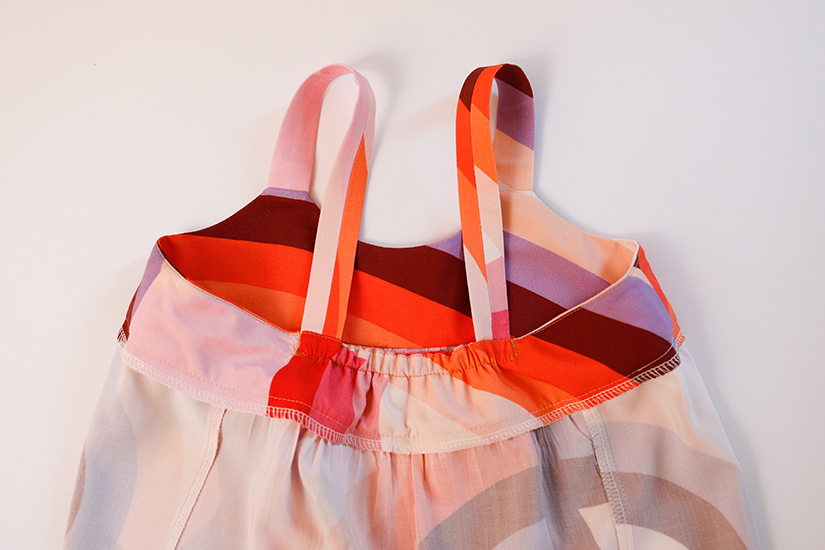
That’s it! The only thing left to do is your hem!
