SHOP OUR BEST SELLING PATTERNS

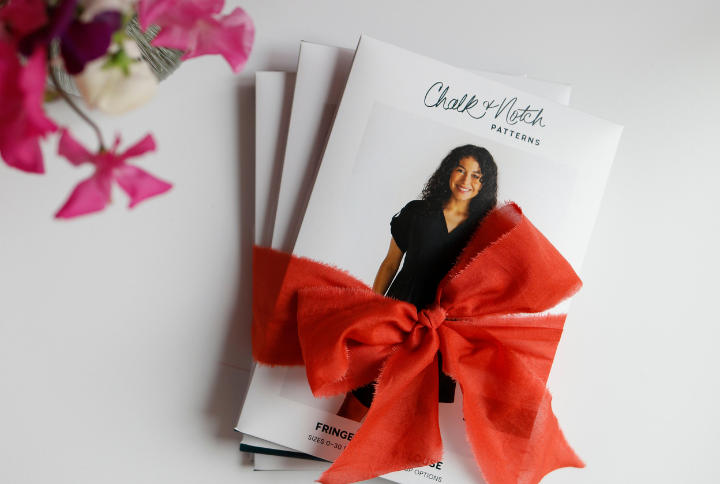
Fringe PDF Pattern
Sale price$18.00

Shay PDF Pattern
Sale price$18.00
Marcel PDF Pattern
Sale price$18.00

Orchid PDF Pattern
Sale price$18.00

Wren PDF Pattern
Sale price$18.00


Aria PDF Pattern
Sale price$18.00

Max PDF Pattern
Sale price$18.00


Page PDF Pattern
Sale price$18.00

Reya PDF Pattern
Sale price$18.00


Isle Jeans PDF Pattern
Sale price$18.00
Evelyn PDF Pattern
Sale price$18.00
Crew PDF Pattern
Sale price$18.00
MAKE YOUR MARK WITH CHALK AND NOTCH PATTERNS
MAKE YOUR MARK WITH CHALK AND NOTCH PATTERNS


Our mission at Chalk and Notch is to offer stylish, professionally drafted patterns with detailed instructions while creating a welcoming community. We offer many resources on our blog to inspire and ensure you can sew our patterns with confidence. This includes photo sew alongs, fitting resources, and fabric sourcing posts. We hope you trust and enjoy sewing Chalk and Notch patterns for years to come.