Before you begin to sew, we recommend that you read over all of the instructions and make sure you are familiar with the seam allowances and markings. Our first step is to sew the hem ties for View A. If you are sewing view B or C, scroll down to the third step where we will sew the shoulder seams. Let’s get started!
SEAM ALLOWANCE AND MARKINGS
Unless noted, the seam allowance included is 3/8″ (1 cm) for joined seams. All joined seams should be sewn with a stretch stitch. Clip or mark the notches indicated by “T” marks and “triangles”.
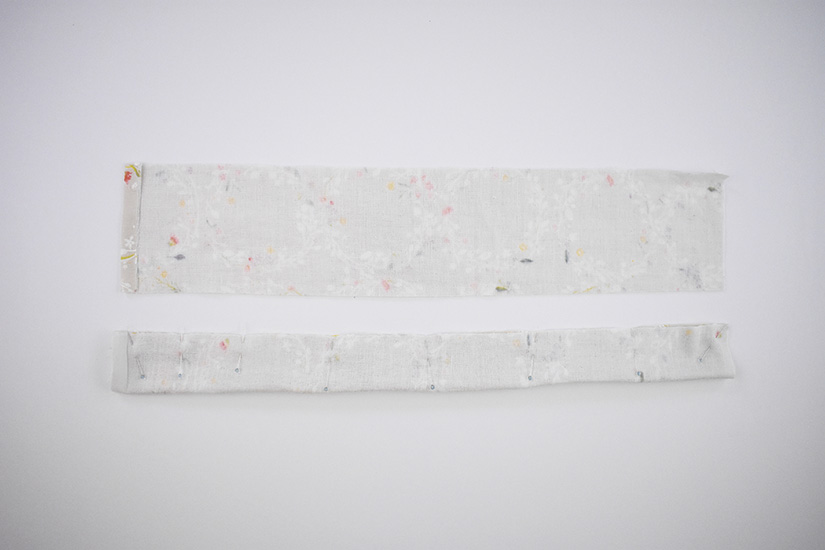
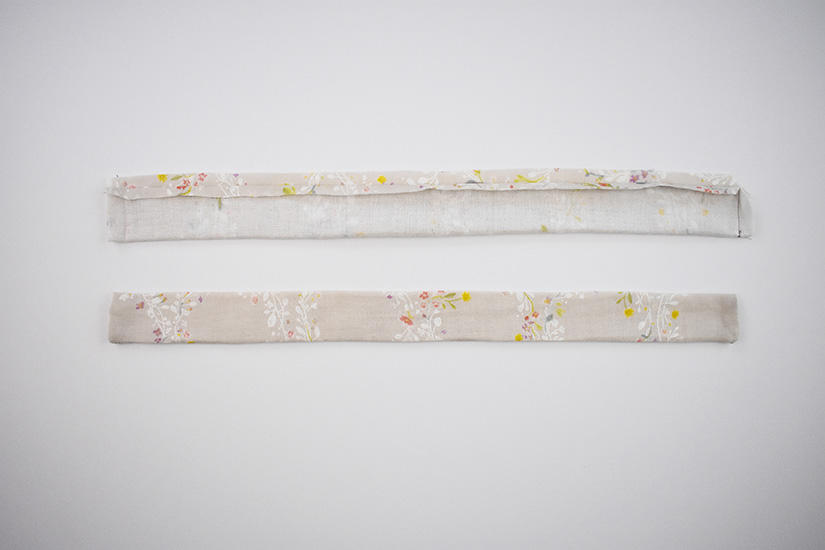
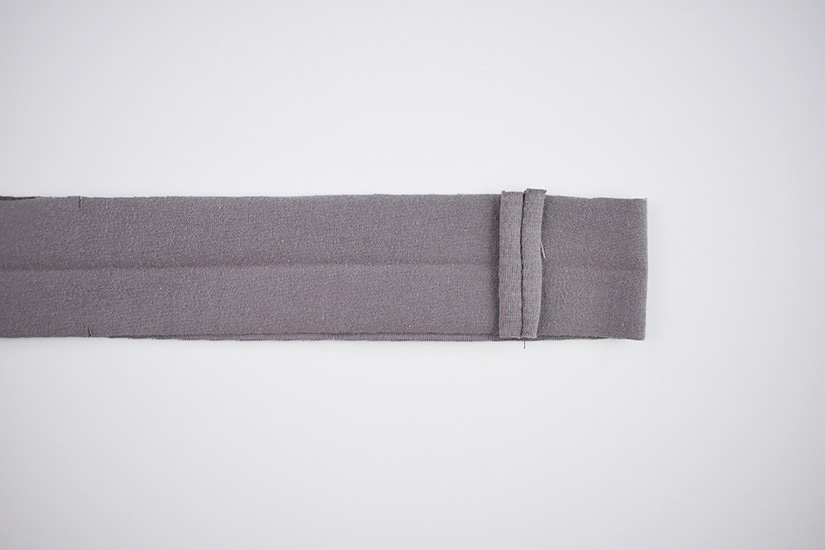
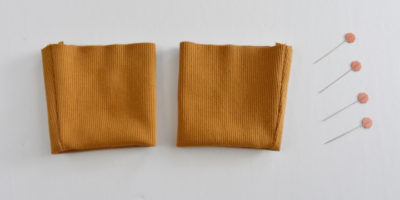
SEW CONTRAST HEM TIES – VIEW A
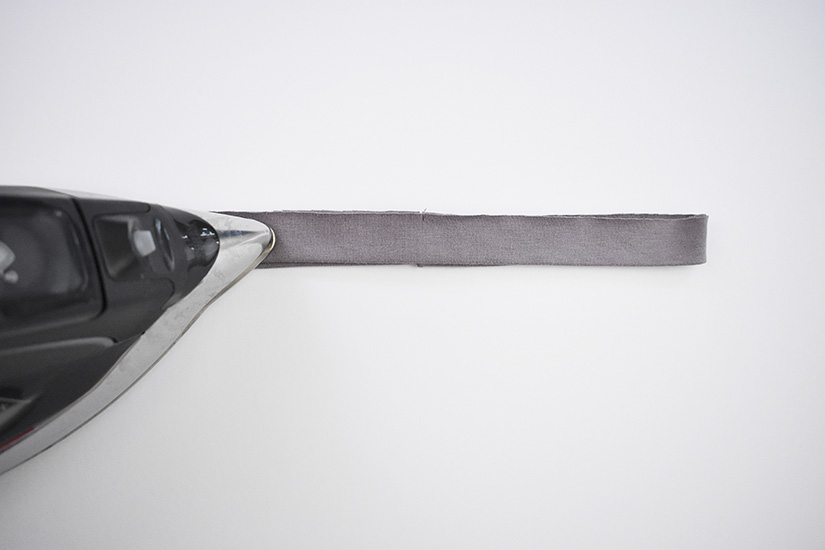
Press one short end back (wrong sides together) at 3/8” (1 cm), unfold. With the right sides together, fold the ties in half lengthwise. Reduce the stitch length to get a sharp corner. If using woven fabric, use a straight stitch around 2 sides (leaving the folded end open), pivoting at the corner. Trim the corners and press the seam open. Turn right side out and press. Repeat for the remaining 3 ties. Using a turning tool can be helpful. Alternatively, ribbons can be used for ties.
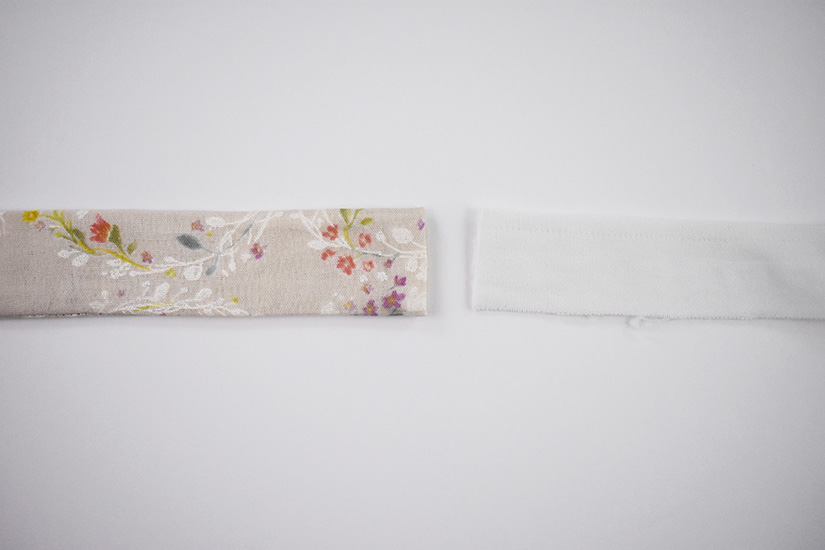
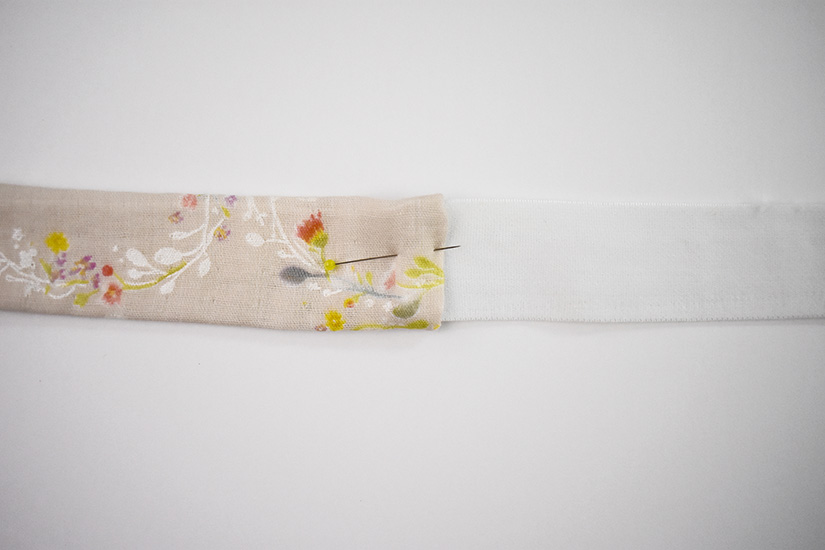
ATTACH TIES TO ELASTIC – VIEW A
Tuck in the open end at the previously pressed line. Insert the elastic and attach one of the short ends to the ties by
topstitching, backstitching a few times to secure this seam. Repeat for the other end of the elastic. Repeat this process with the remaining elastic and ties. Set aside.
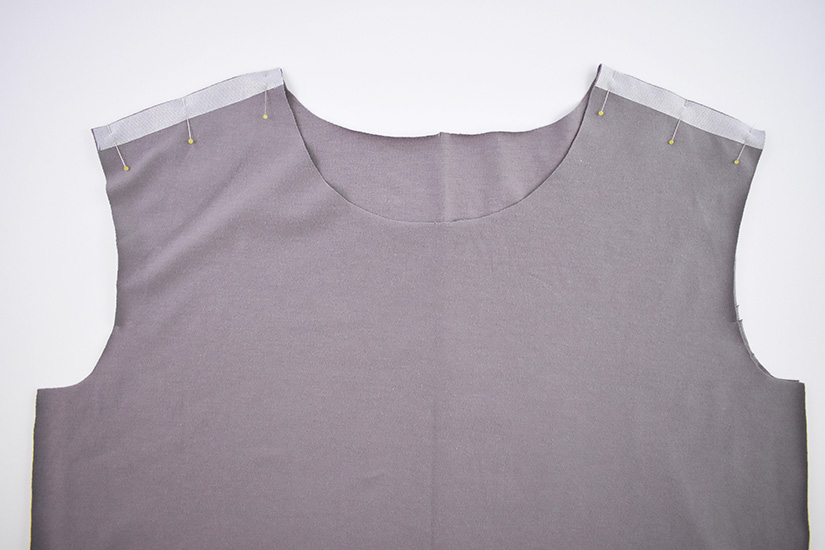
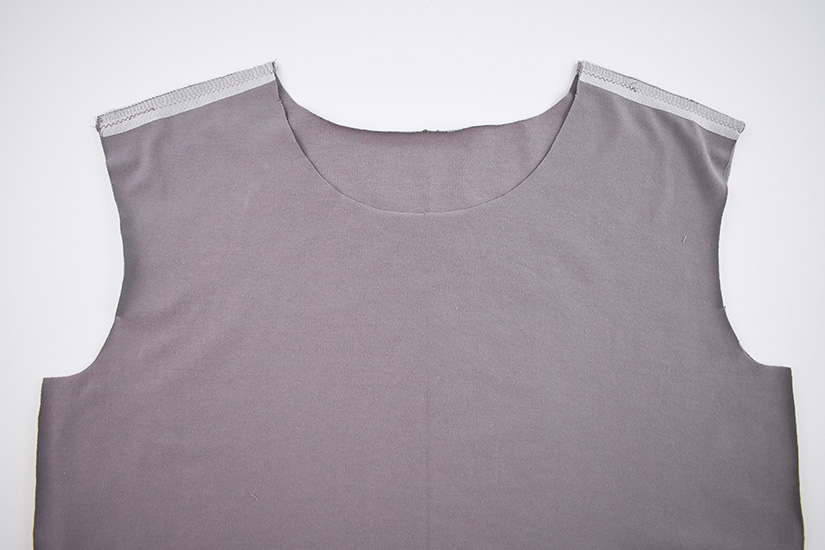
OPTIONAL FUSIBLE & SEW SHOULDER SEAMS – ALL VIEWS
You can apply a piece of tricot fusible or clear elastic to the wrong side of the shoulder seam to prevent excess stretching. With the right sides together, sew the shoulder seams. Finish and press the seams towards the back.
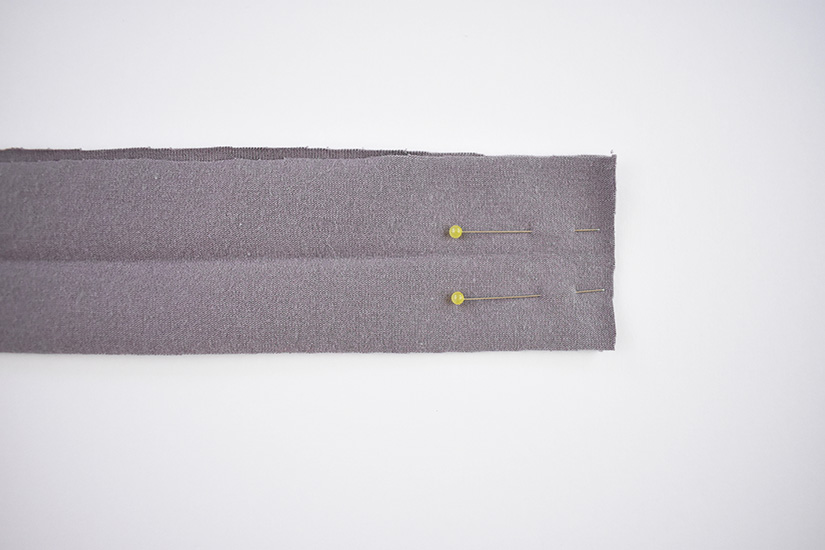
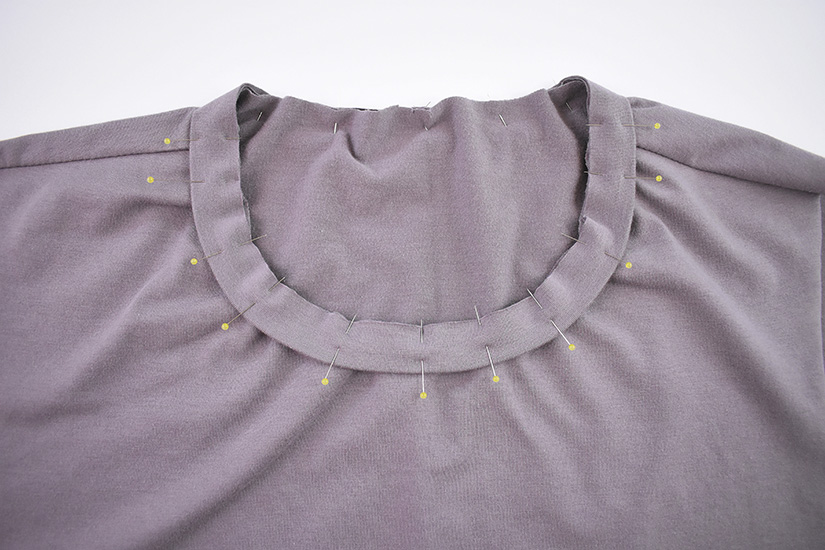
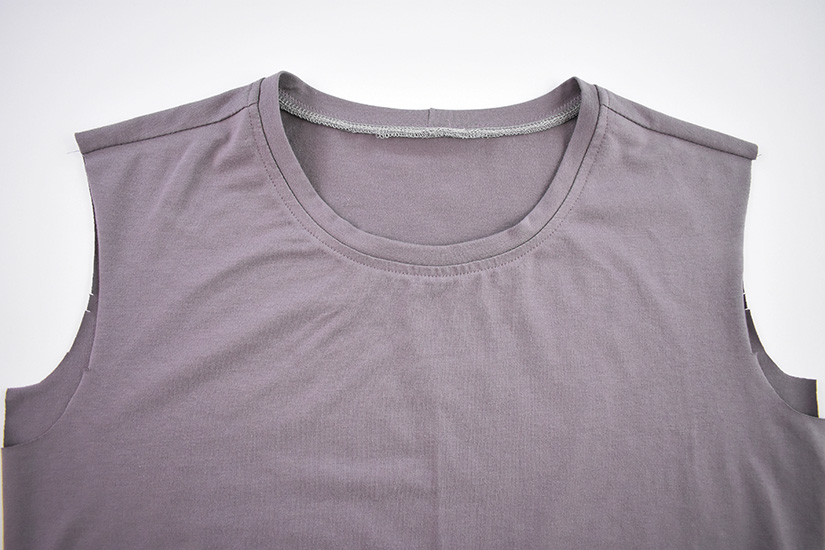
SEW NECKBAND
With the right sides together, sew the neckband at the short end. Press the seam open. Fold the neckband in half with wrong sides together and press.
SEW NECKBAND TO BODICE
Line up the neckband seam with the center back seam. Continue to pin the rest of the neckband around the neckline,
matching the notches, while evenly stretching the neckband slightly. Do not stretch the garment. Stitch with a stretch stitch or overlock. Finish and press seams towards the bodice.
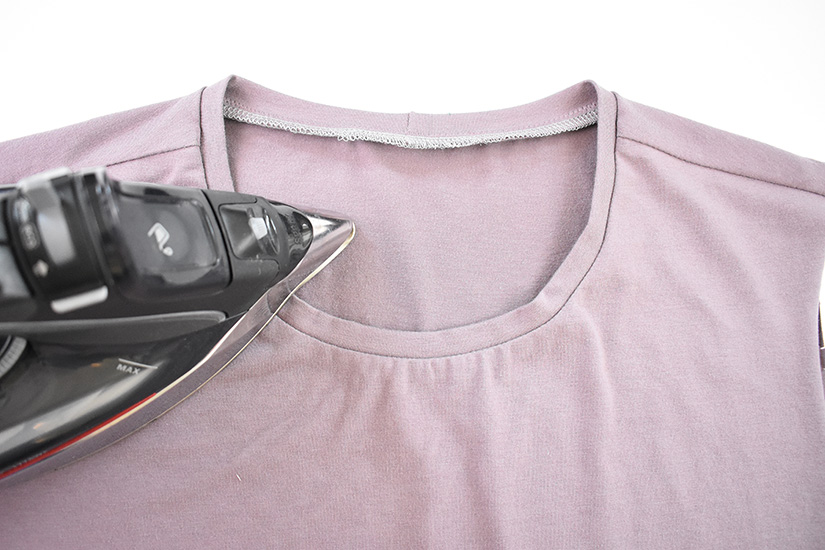
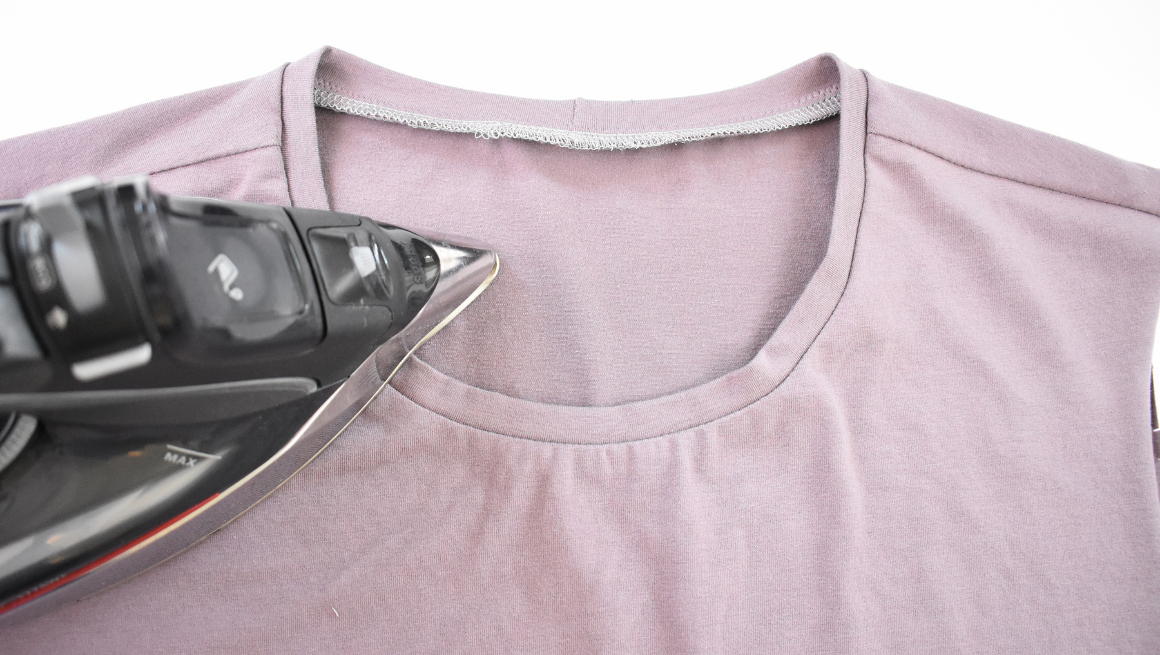
OPTIONAL TOPSTITCHING
Topstitch the neckline at 1/4” (0.6 cm) or 1/8” (0.3 cm) based on your preference, to hold the seam allowance in place.
Now we’re ready to sew the sleeves and side seams.
Pixie Tee Sew Along Posts: Getting Started | Sewing Hem Ties, Shoulder Seams, and Attaching Neckband | Sew Short Sleeves & Side Seams View A | Sew Long Sleeves & Side Seams Views B & C | Hemming all Views