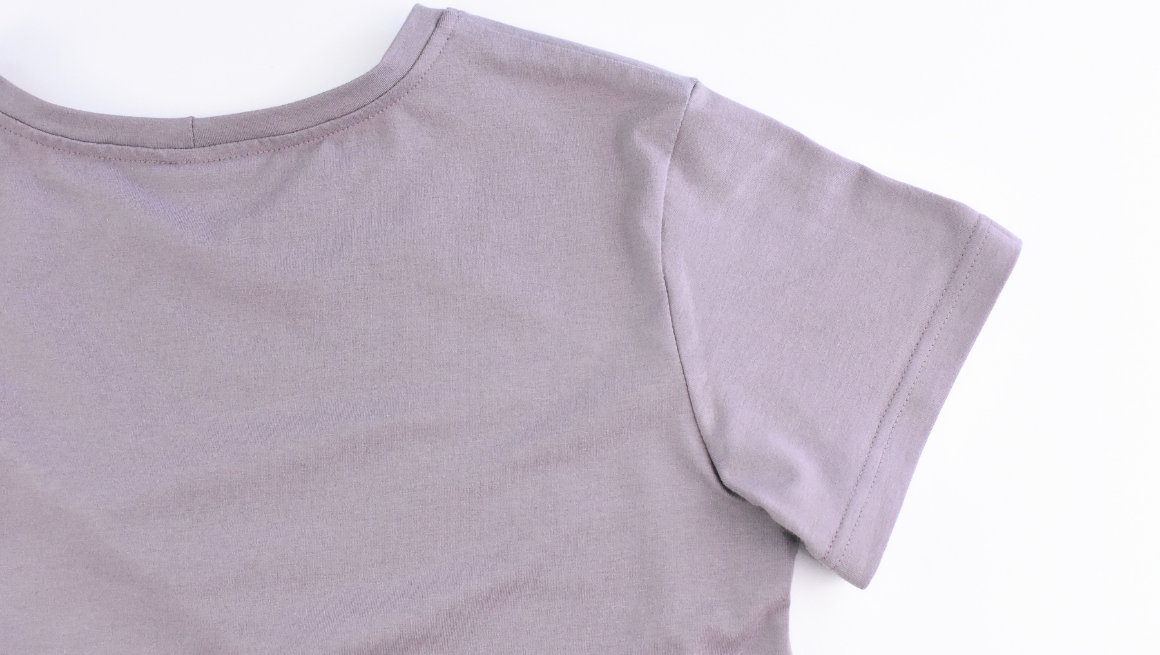
We are ready to attach the sleeves to our front and back bodices. In this post, we’ll demonstrate how to sew and hem the short sleeves and side seams for View A. If you’re sewing long sleeves, adding hem bands, or a regular hem skip ahead to the next post.
SEW SLEEVES TO ARMHOLE & PREP SHORT SLEEVE HEM
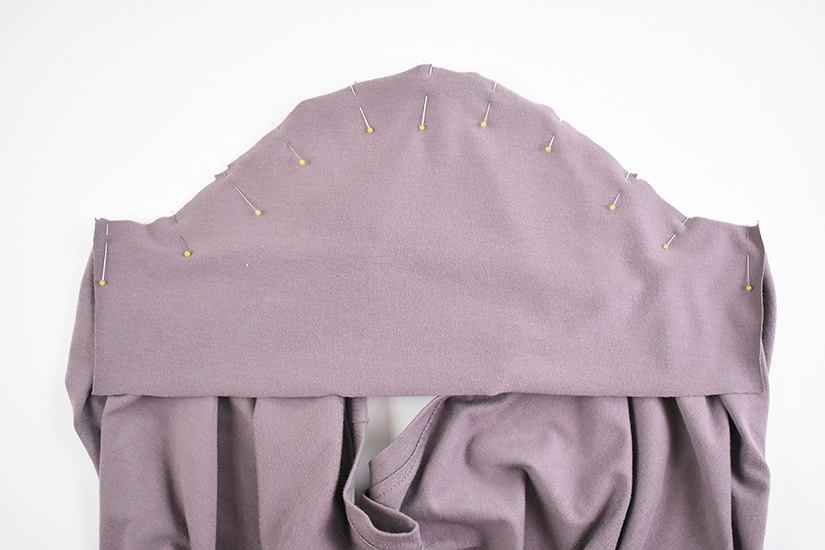
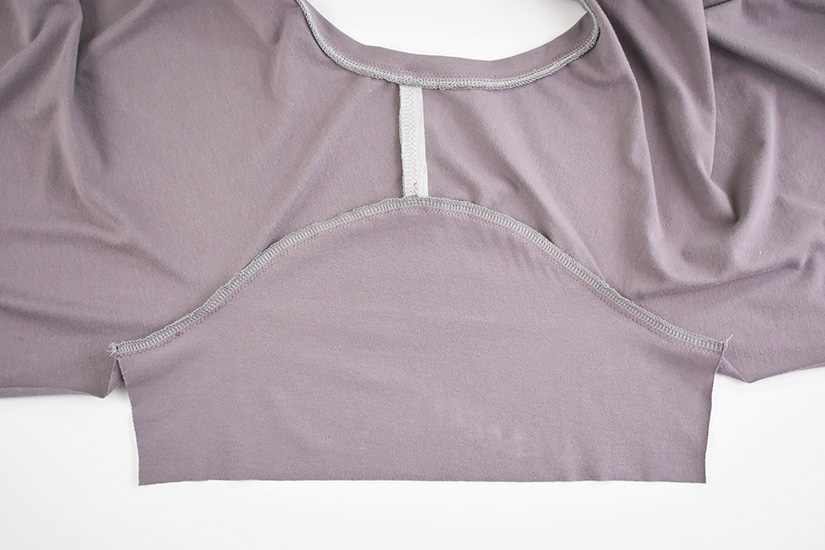
With the right sides together, pin the sleeve to the armhole flat, matching the notches, and sew the sleeves. Finish and
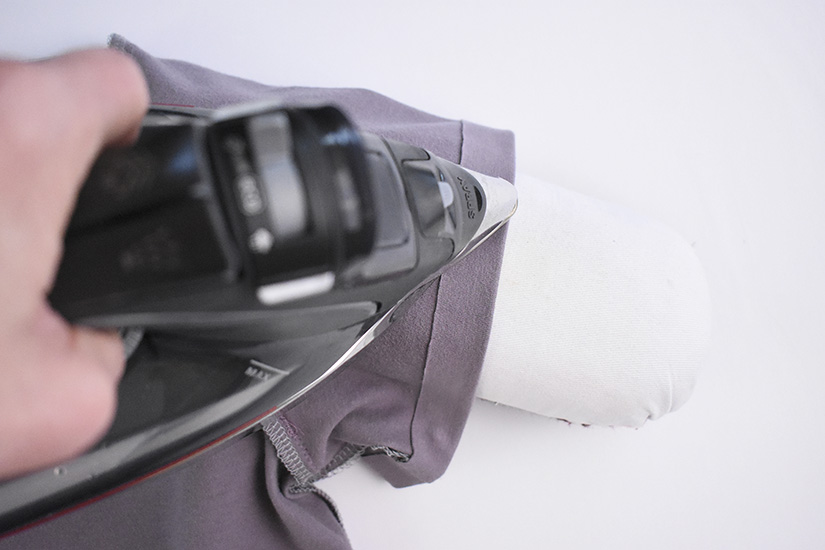
press the seam allowance towards the bodice. Press the sleeve seam allowance towards the bodice. For the short sleeve, prep the sleeve hem by pressing the sleeve hem at 3/4” (2 cm), wrong sides together, and unfold.
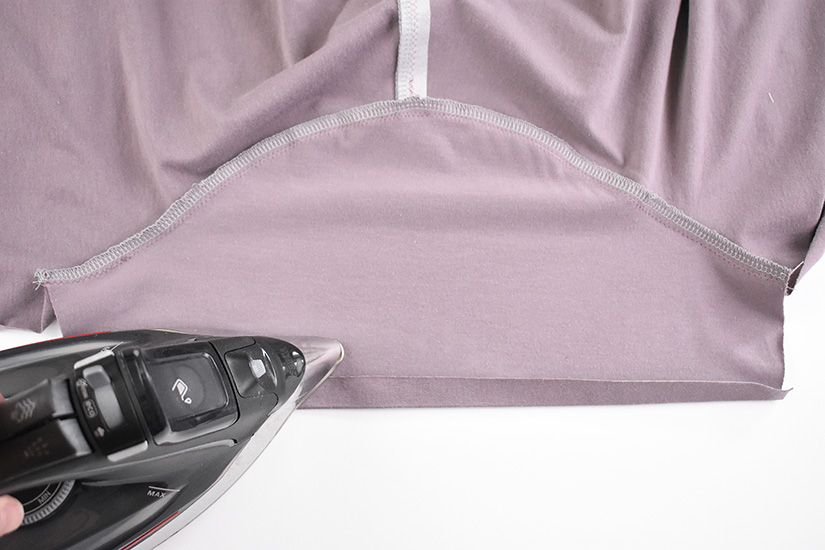
PREP BODY HEM – VIEW A ONLY
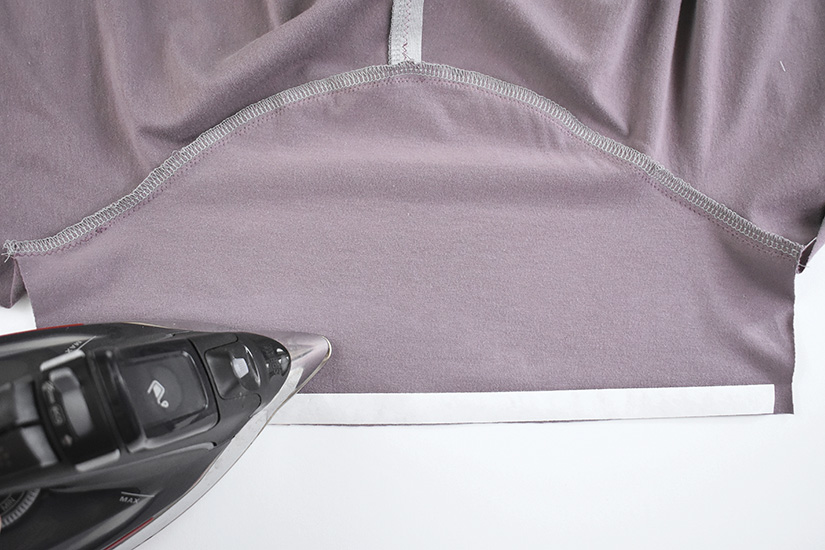
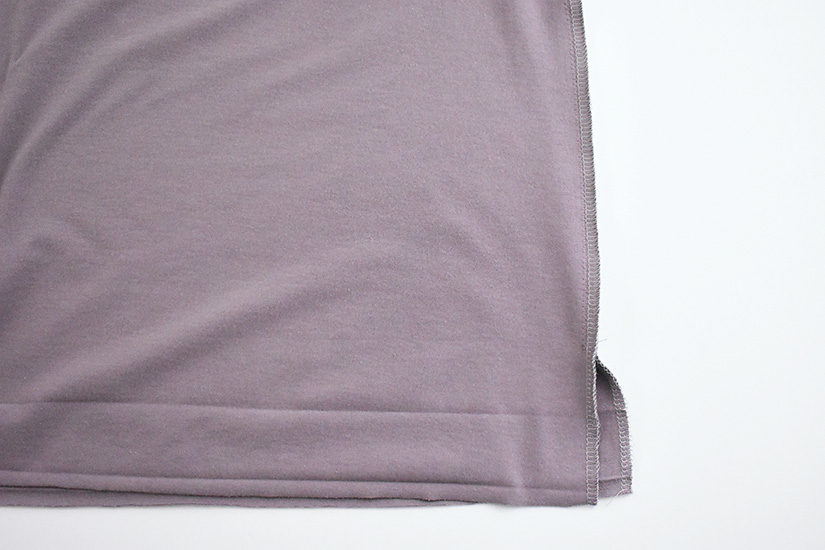
Press the body hem to prepare for hemming later. The body hem has two press lines. The first is 3/8” (1 cm) from the body hem and the second is 2” (5 cm) from the body hem.
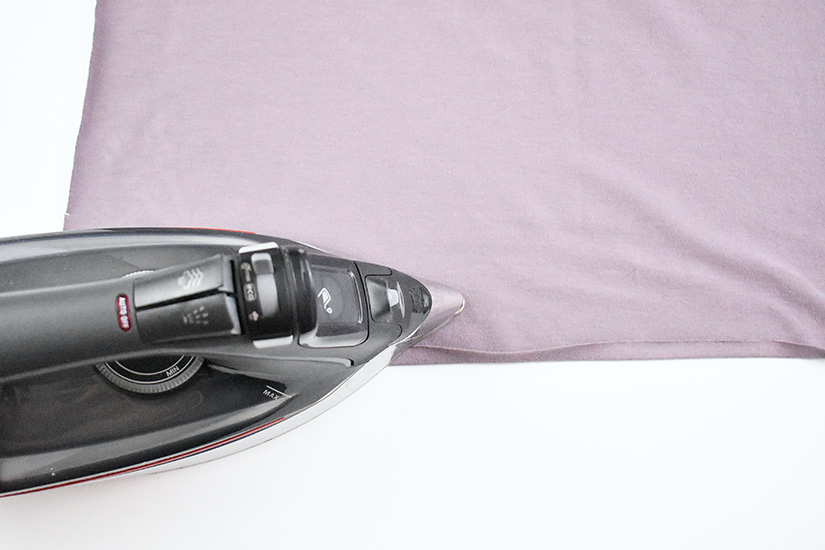
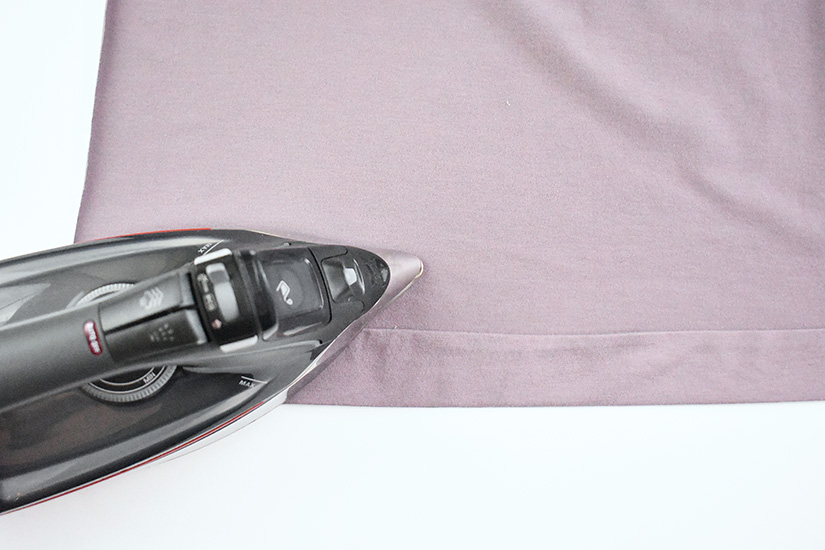
FINISH THE SIDE SEAMS – VIEW A ONLY
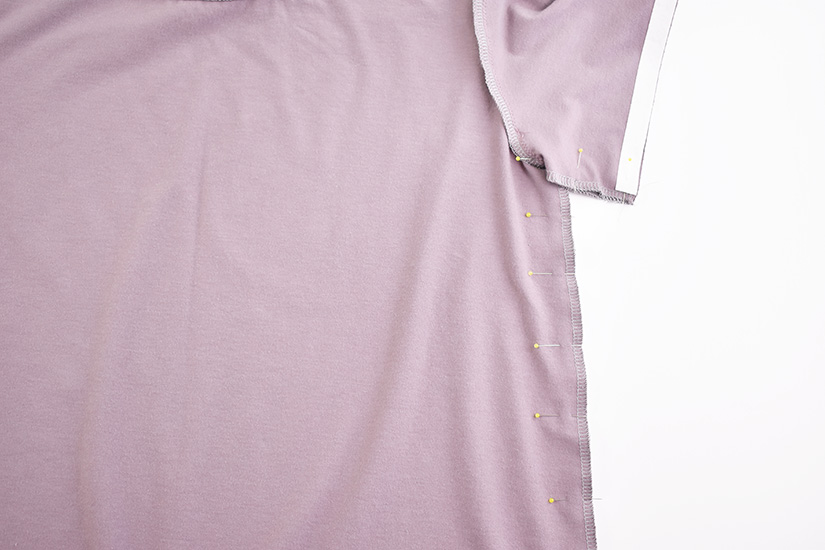
Finish the side seams from the sleeve to the hem, separately.
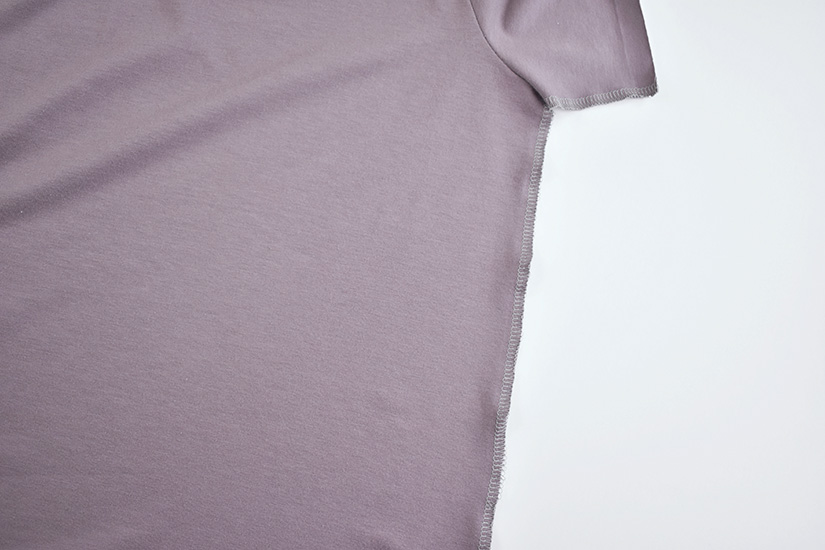
SEW THE SIDE SEAMS – VIEW A ONLY
With the right sides together, use a straight stitch to sew the side seam. Start at the sleeve hem and stop at the first notch. Press the side seams open.
OPTIONAL HEM TAPE OR OVERLOCK
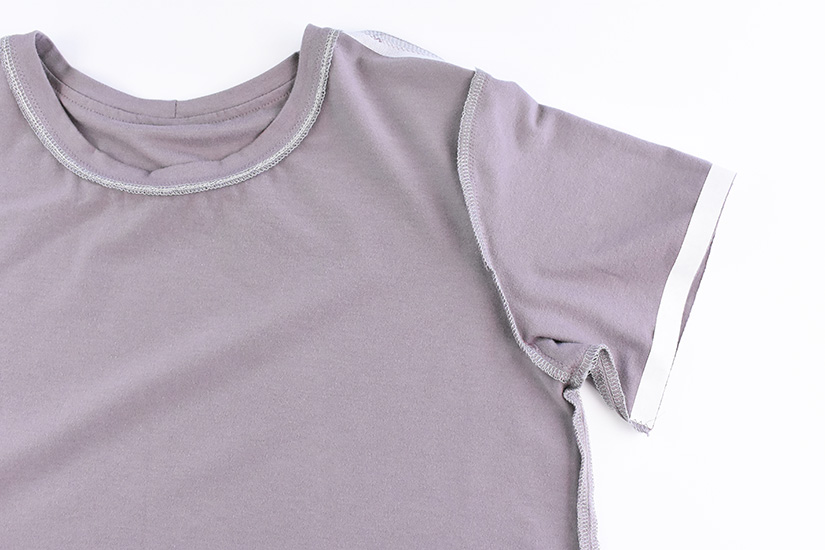
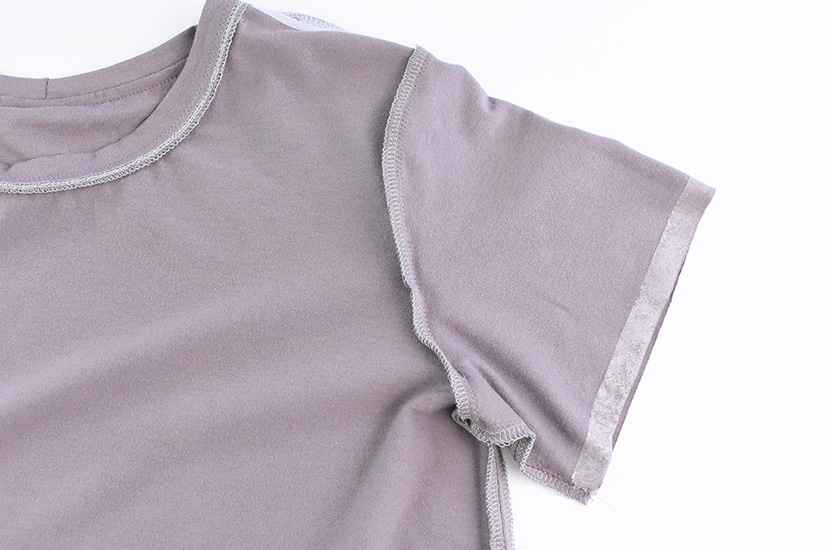
You may find it helpful to use 3/4” (2 cm) fusible knit stay tape to help stabilize your fabric while hemming. If so, apply to the hem. You can also finish the hem edge before hemming.
HEM SHORT SLEEVES
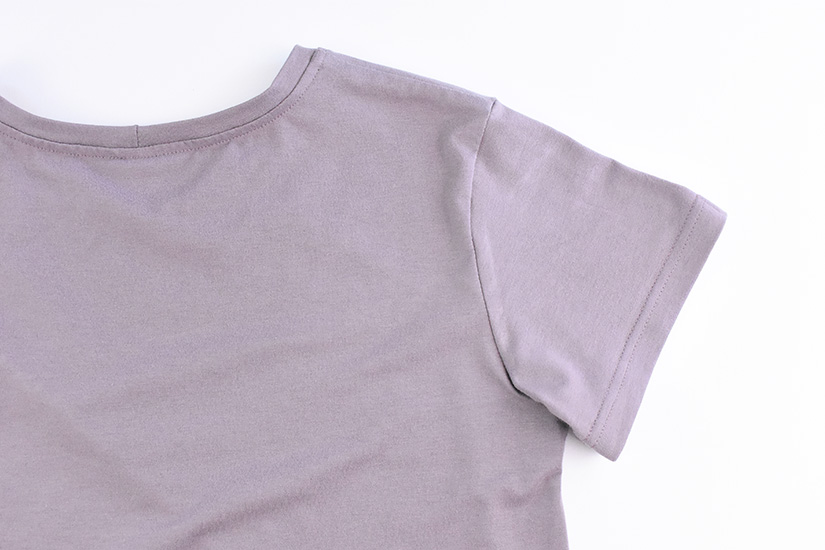
With the wrong sides together, fold and press the sleeve hem up 3/4” (2 cm), and pin in place. Topstitch the sleeve hem using a stretch stitch.
Next we’ll be attaching the long sleeves and sewing the side seams of Views B & C. To finish View A skip ahead to the last post.
Pixie Tee Sew Along Posts: Getting Started | Sewing Hem Ties, Shoulder Seams, and Attaching Neckband | Sew Short Sleeves & Side Seams View A | Sew Long Sleeves & Side Seams Views B & C | Hemming all Views


