We’ll begin sewing our View A or B skirt by sewing the skirt seams and attaching the hem and slit facings.
FINISH THE SLIT AND HEM FACINGS
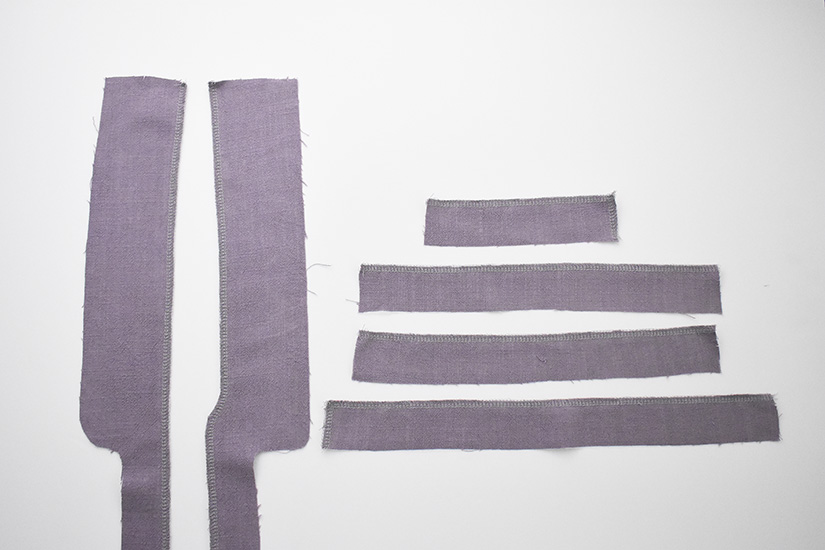
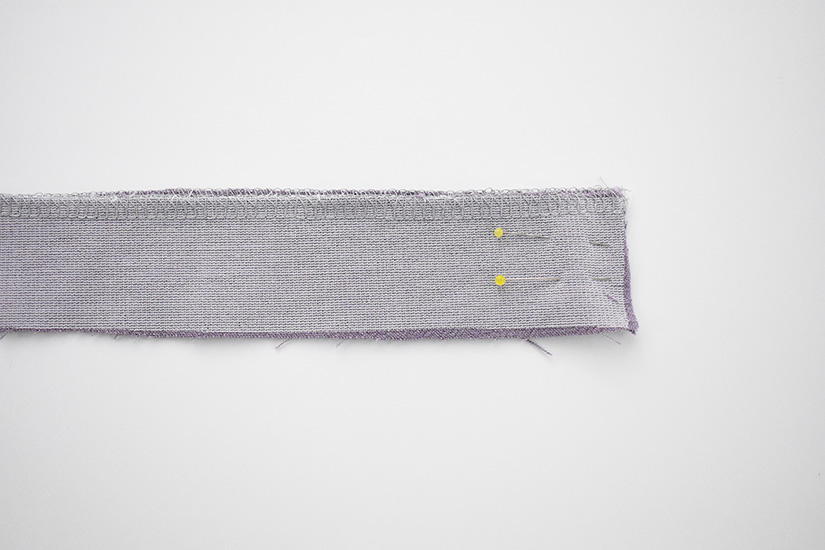
Prepare the slit and hem facings by finishing the straight edges on the slit facings. Finish the front edge of the front hem facings and the top edges of the front and back hem facings. If you prefer a clean finish, press the edge under 3/8” (1 cm), wrong sides together. The photos will show finished edges. Set aside for now.
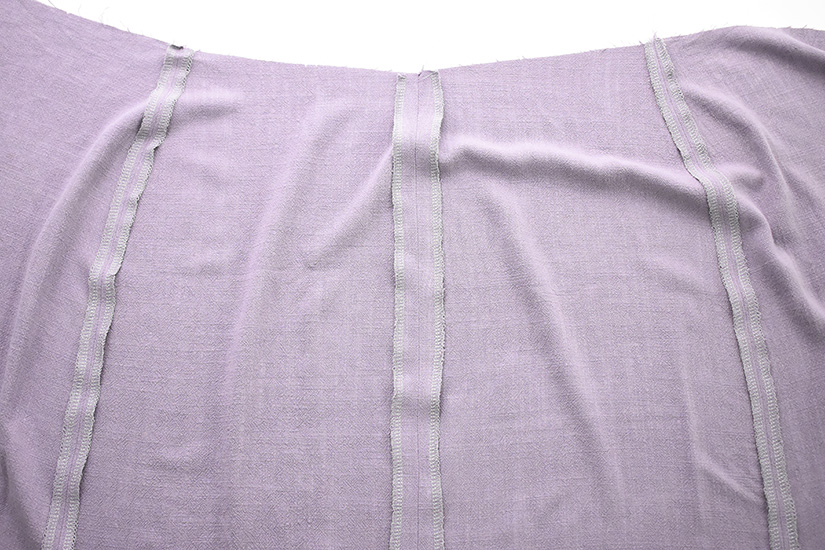
FINISH CENTER BACK & SIDE SEAMS SEPARATELY
Finish the center back seams separately. As a reminder, the center back seam includes a 3/4” (2 cm) seam allowance.
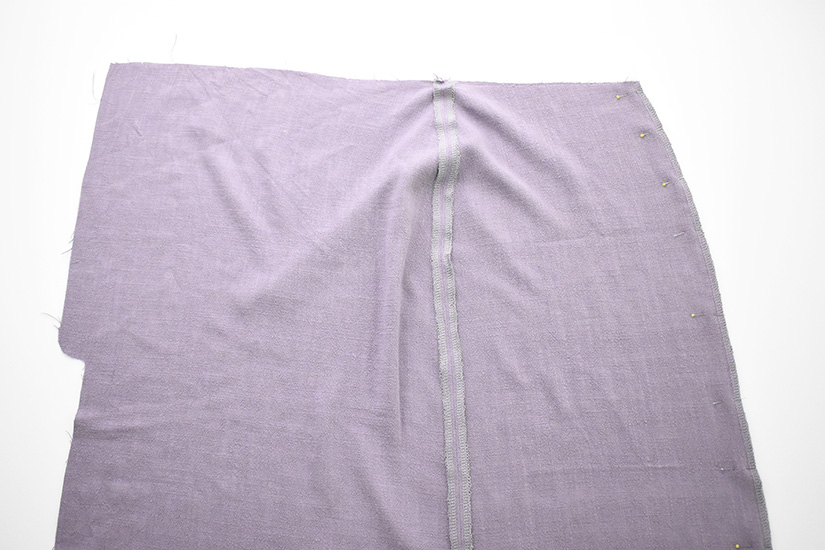
SEW THE SIDE SEAMS
With the right sides together, sew the back to the front at the side seams. Press the seams open.
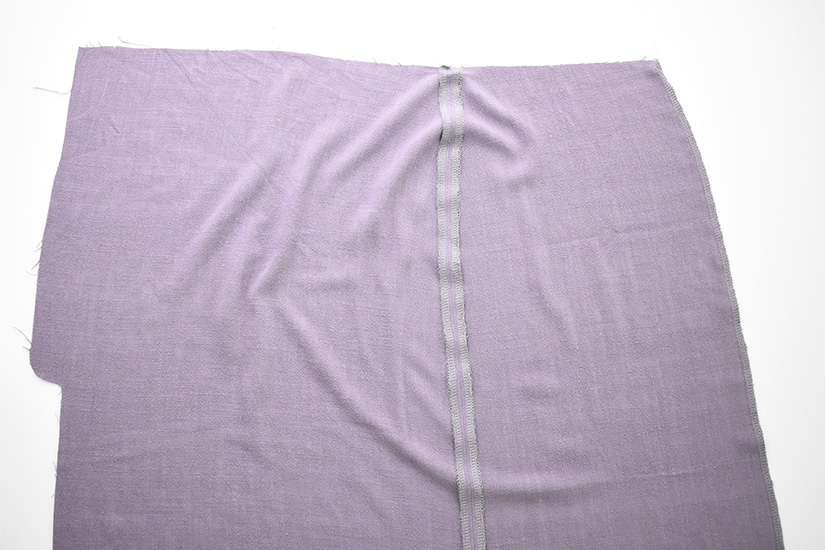
SEW THE CENTER BACK
With the right sides together, sew the center back seam at 3/4” (2 cm). Press the seam open.
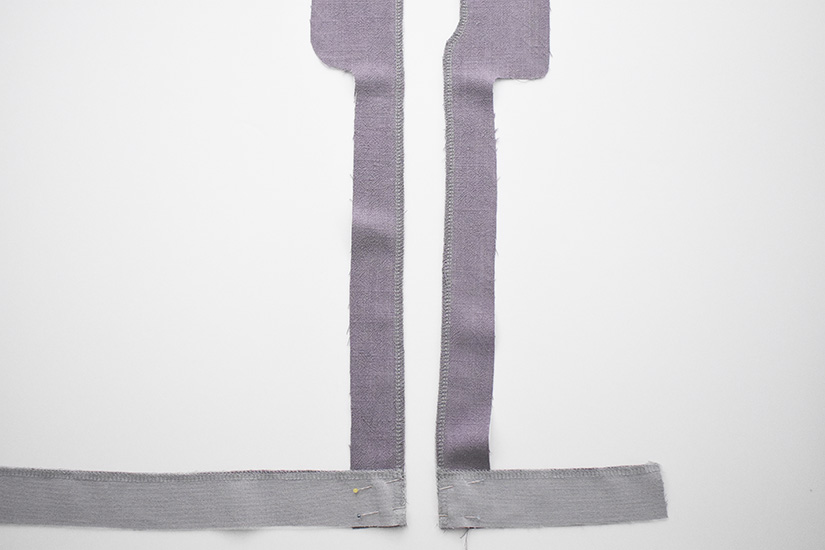
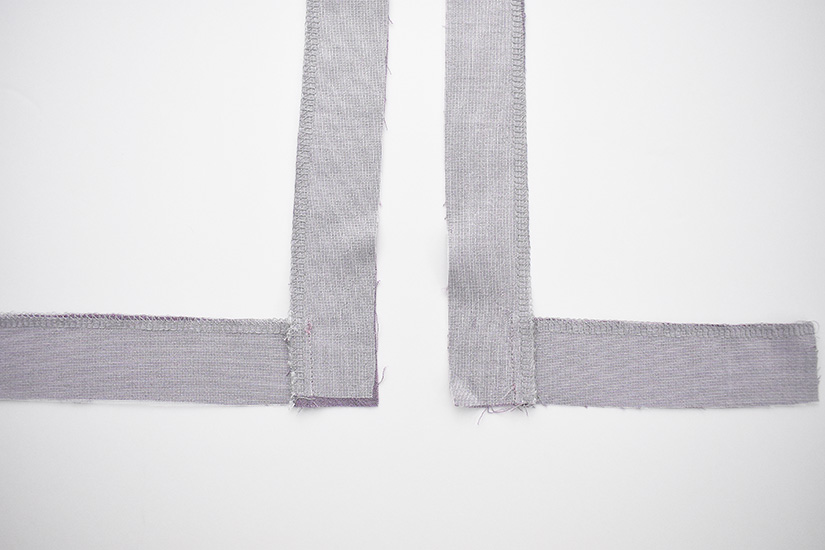
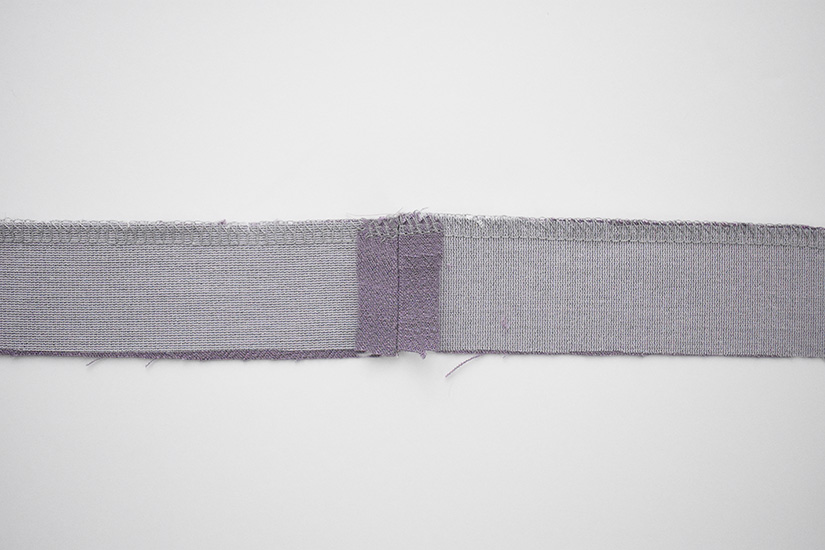
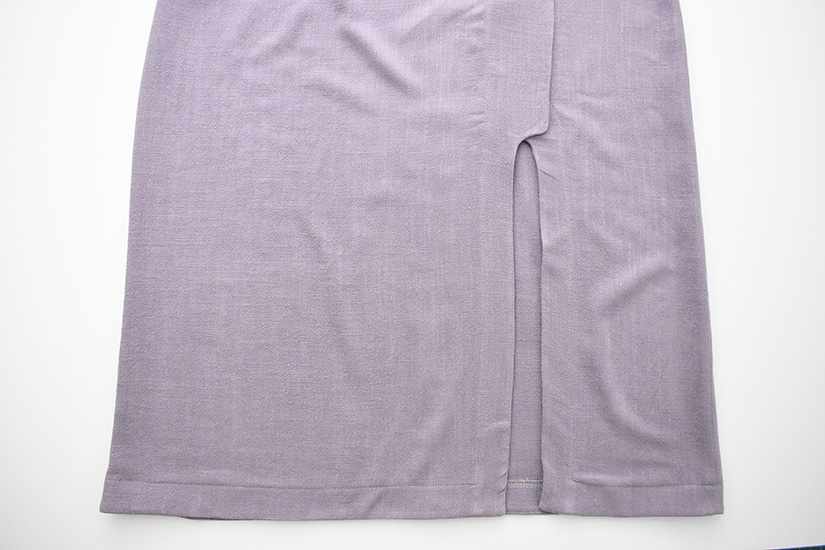
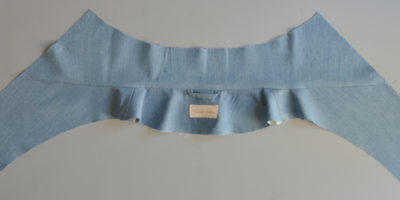
SEW THE SLIT FACING TO THE HEM FACING
Place your slit facings right sides up with the finished edges in the center. Pin the short finished edge of the front hem facings, right sides together, to the hem corner. The shorter left hem facing will be on the right. The longer right hem facing will be on your left. Sew and press the seam towards the hem facing.
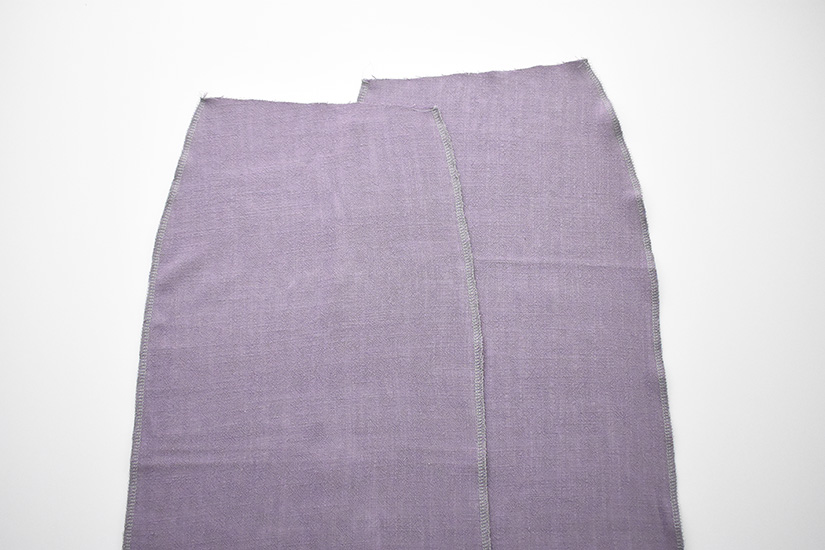
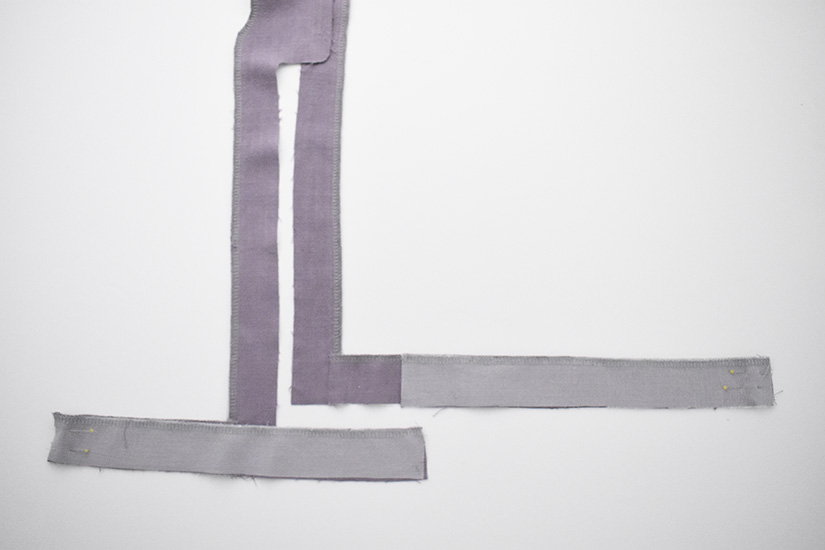
SEW THE HEM FACING SIDE SEAMS
With the right sides together, sew the side seams of the hem facings, matching the notches that are near the top of the
finished edge. Press the seams open.
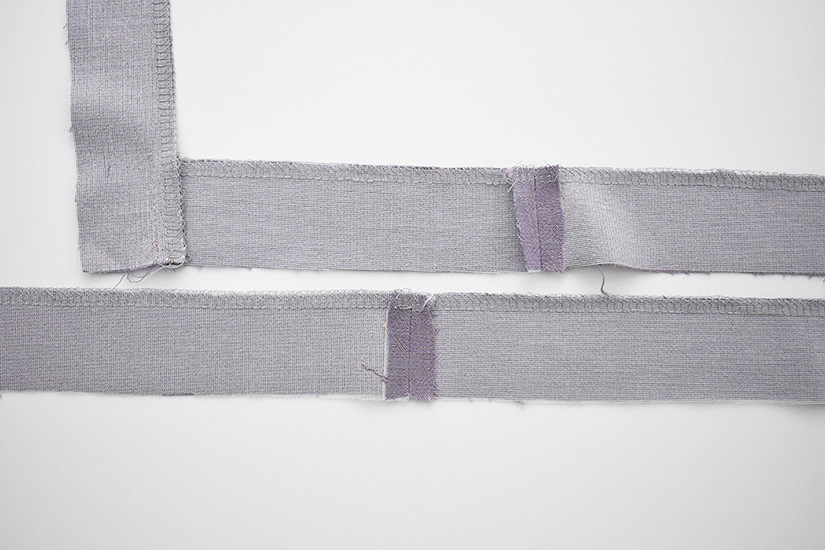
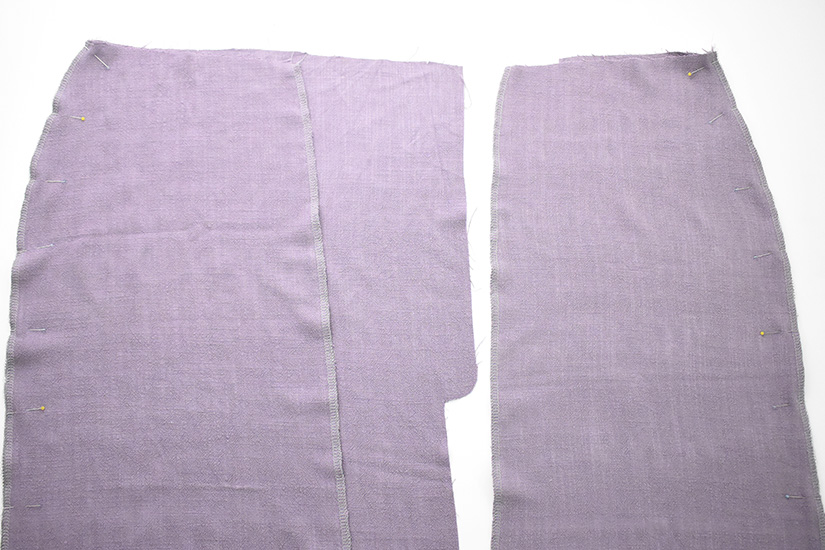
SEW THE HEM FACING AT THE CENTER BACK
With the right sides together, sew the hem facings at the center back at 3/4” (2 cm). There are double notches to indicate the center back seam. Press the seams open.
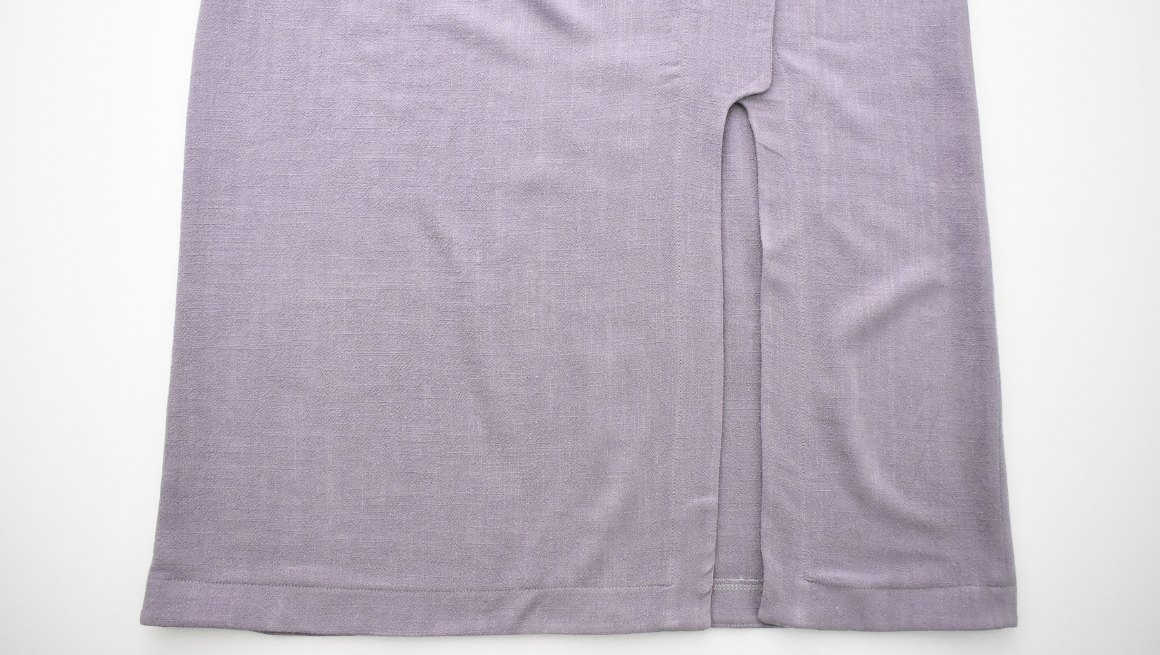
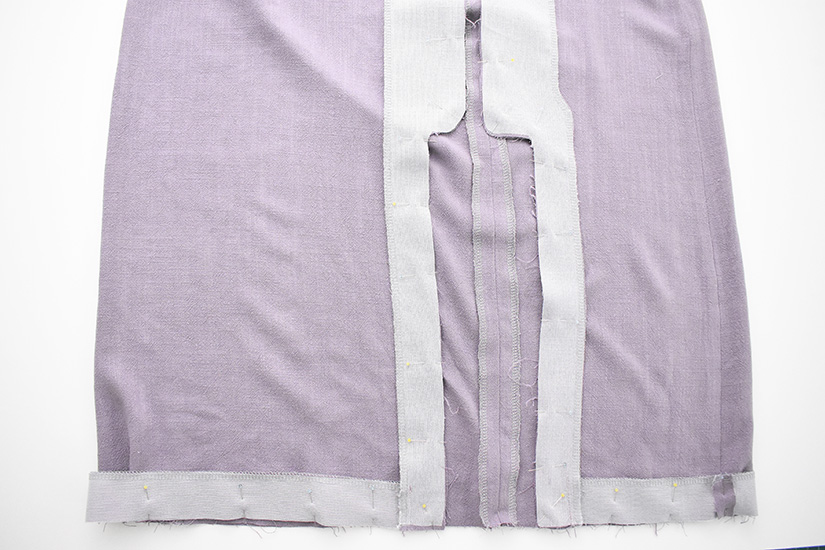
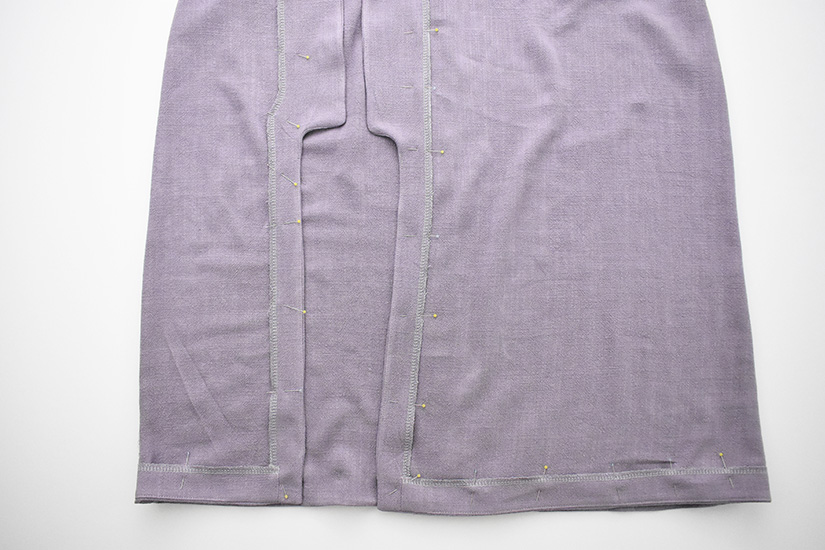
SEW THE FACING TO THE SKIRT
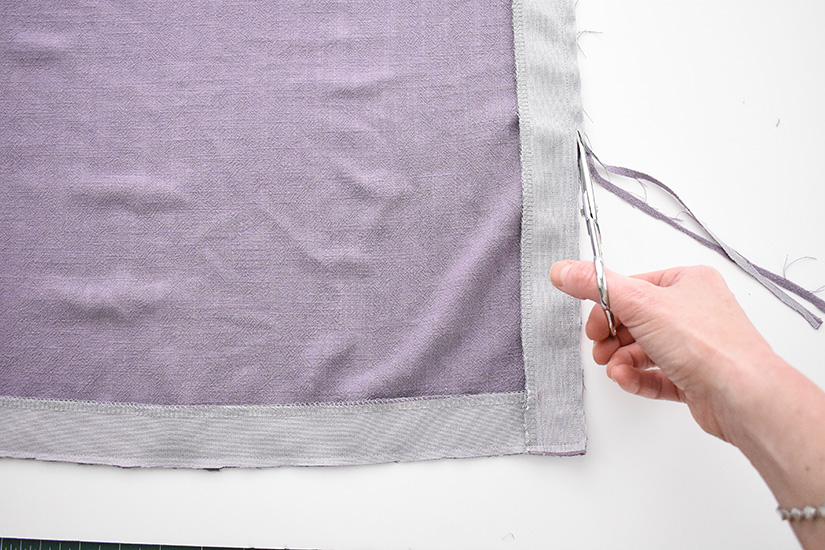
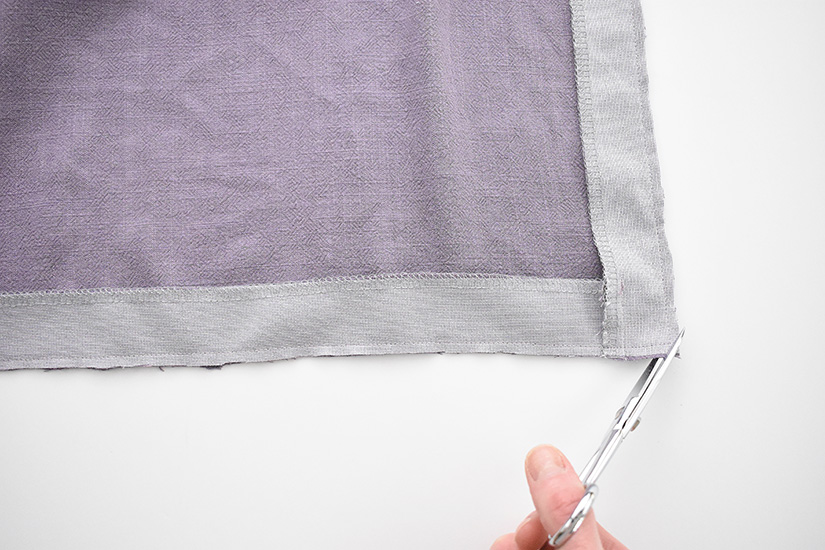
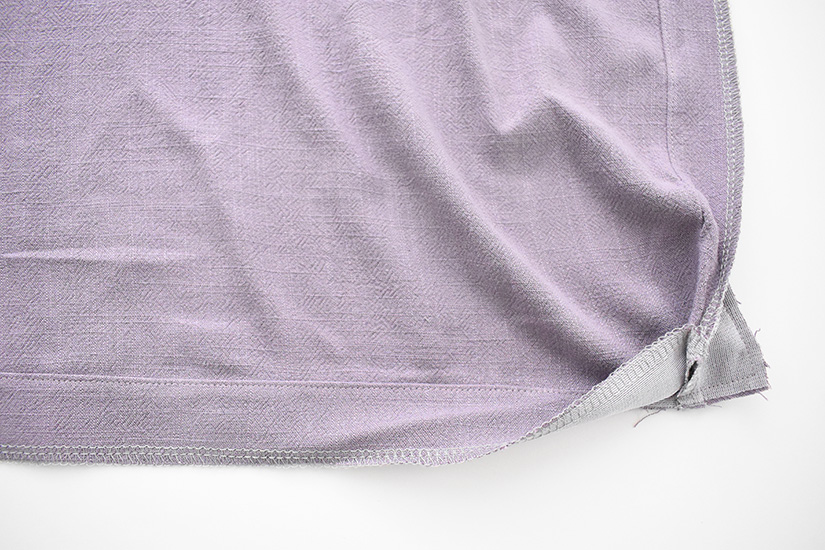
With the right sides together, pin the sewn slit and hem facing to the skirt. Starting at the waist, sew down the edge of the button placket. Shorten the stitch length around the curves and sew down the front slit. Pivot at the hem corners and continue around the hem of the skirt and then back up the other side. Trim your seam allowance to half. If your fabric is thick, grade your seams by trimming the facing seam allowance to 1/8” (0.3 cm) and the skirt seam allowance to 1/4” (0.6 cm). Clip curves and corners. Press the seams towards the facings.
UNDERSTITCH THE FACINGS
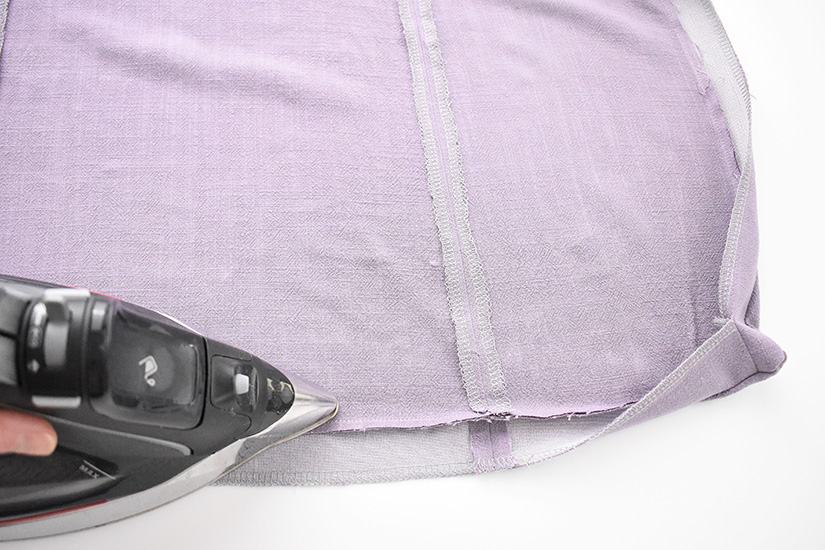
To help your facings stay to the inside of your skirt, it is recommended to understitch the facings. Understitch by stitching a line 1/16” (0.15 cm) away from the seam. Make sure to catch the seam allowance towards the facing when stitching. You might not be able to get to the corners and curves, but understitch as much as you can. Turn the facings right side out and use a point turner to smooth out the corners and curves. Press your facings in place.
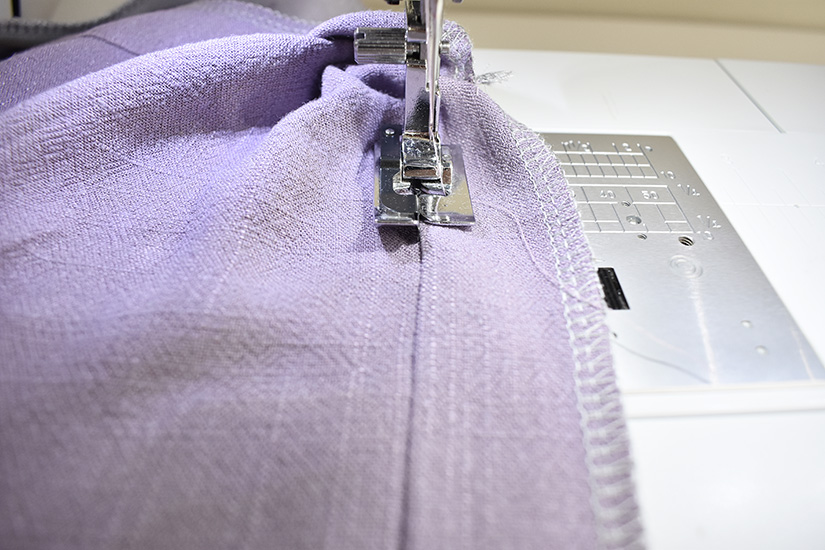
EDGESTITCH THE FACINGS
Pin the edge of your facings all the way around the skirt. Sew from the wrong side during this step, edgestitching the facing in place at 1/16” (0.15 cm). When stitching from the wrong side, make sure your bobbin thread matches the right side of your garment.
To finish our View A & B skirts, we’ll attach the waistband, sew the buttonholes and add the buttons.
Evelyn Sew Along Posts | Getting Started | Sew Skirt Seams & Facings of Views A&B | Sew Waistband & Buttons of Views A&B | Sew Skirt Seams, & Waistband of View C | Attach Waistband, Sew Slit Facing & Hem View C
