
In this post, we’ll be constructing the front fly and attaching the zipper to our jeans. We will begin by sewing the front rise.
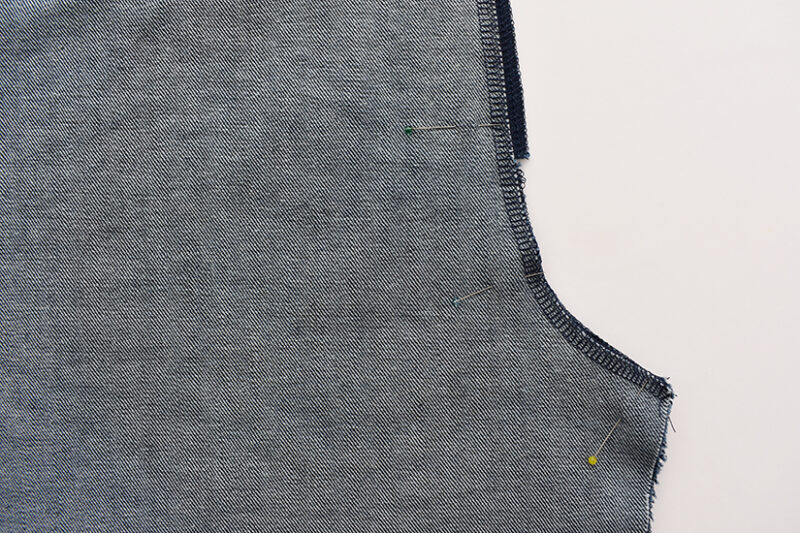
SEW THE BOTTOM OF THE FRONT RISE
Pin the front rise with the right sides together. Sew the seam from the bottom of the rise to the marked point at 1/2” (1.25 cm). Backstitch at the marked point to secure.
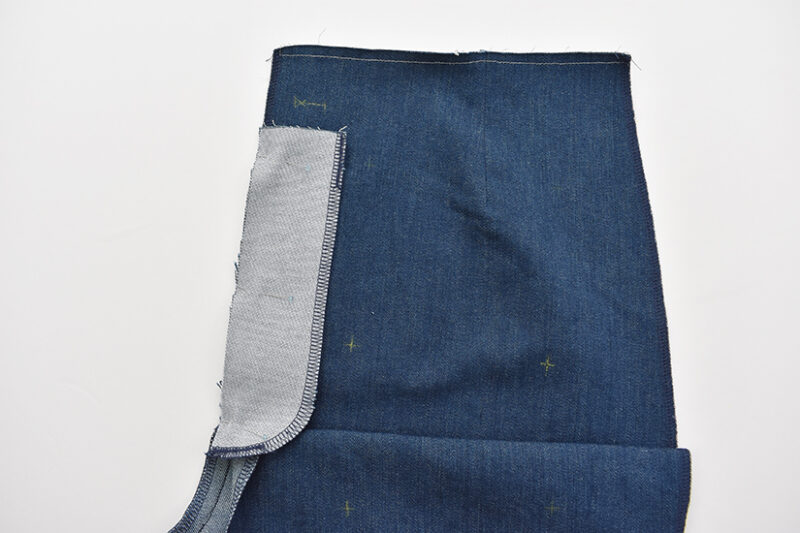
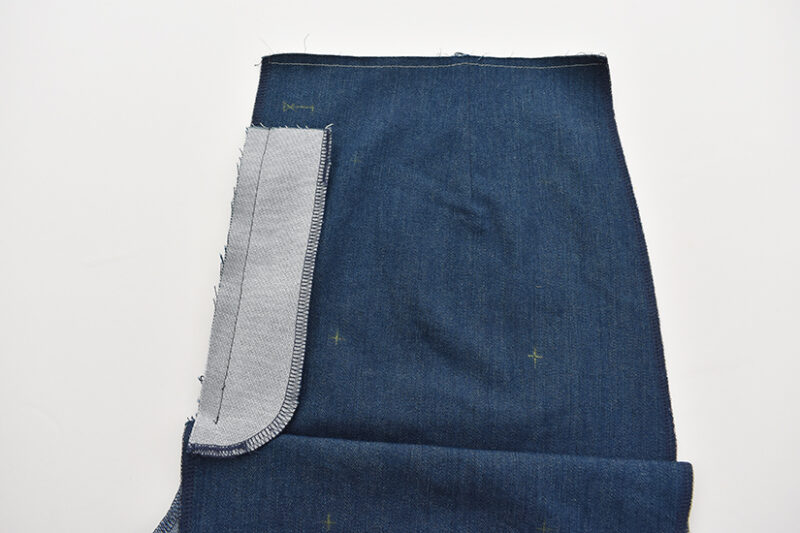
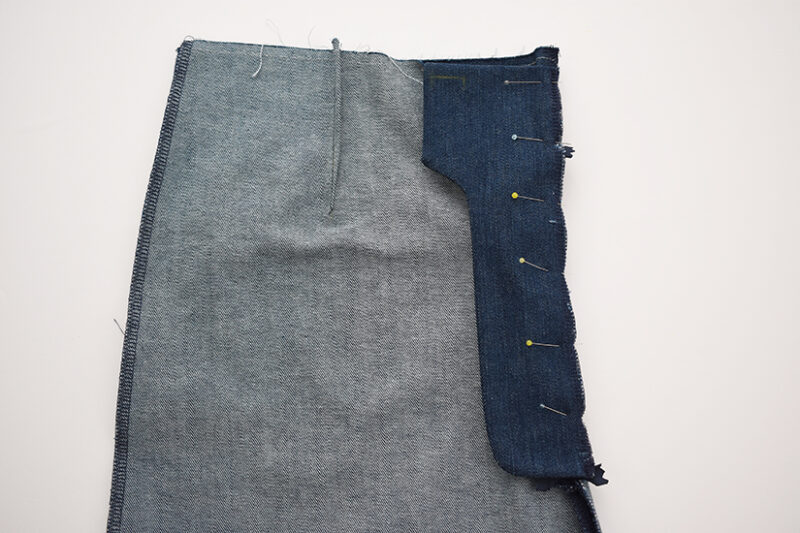
ATTACH THE FLY GUARD
Flip the front right side up. Place the fly guard right side down on the wearer’s left side, the side that was trimmed. Match the cut edge of the fly guard to the finished edge of the rise, matching the three notches. The top of the fly guard will not touch the top of the front piece. Sew the seam.
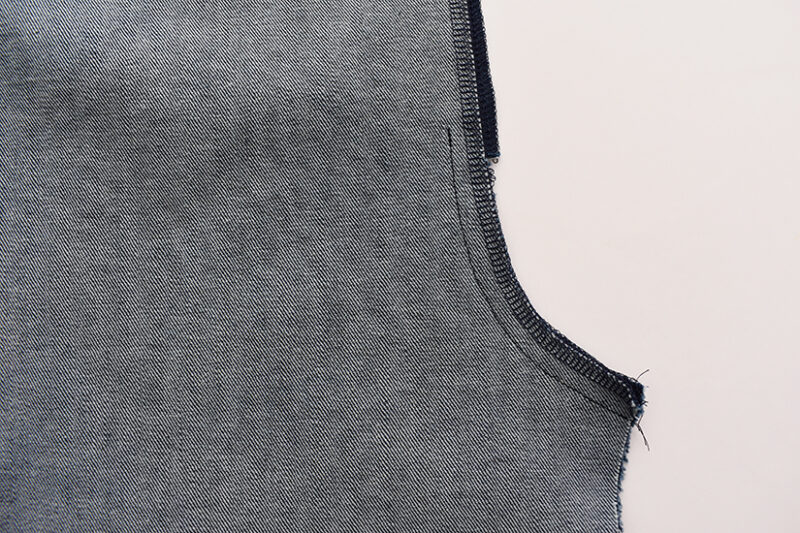
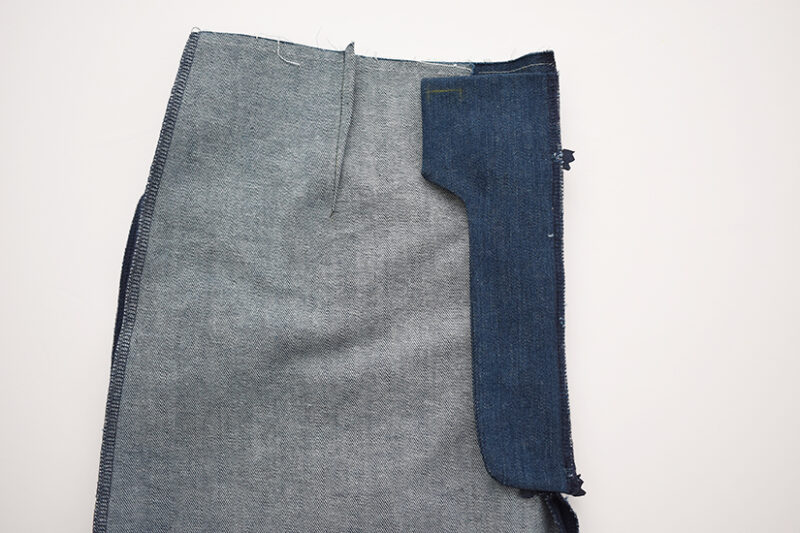
UNDERSTITCH THE FLY GUARD
Understitch the fly guard by stitching a line 1/16” (0.15 cm) away from the seam on the fly guard. Make sure to catch the seam allowance towards the center front when stitching.

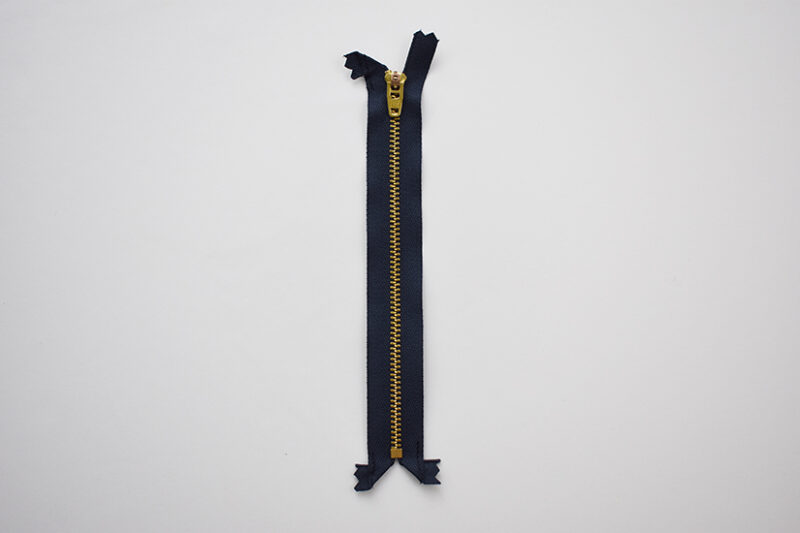
PREP THE ZIPPER
Shorten zipper if necessary. To help install the fly zipper, fold back the tabs on the zipper. When looking at the zipper right side up, the top left and bottom tabs should be folded back and stitched in place.

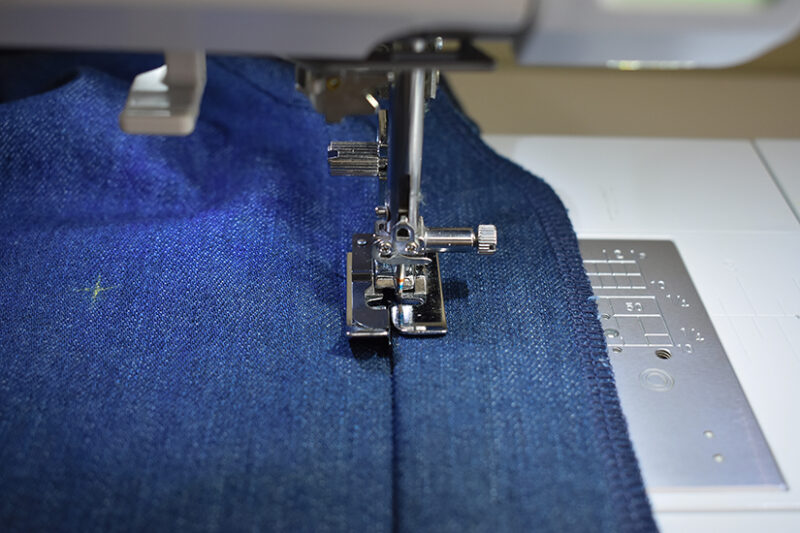
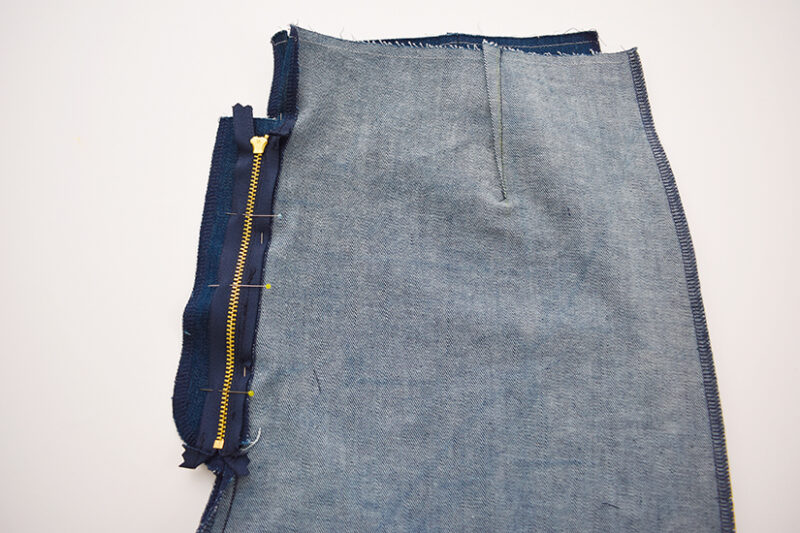
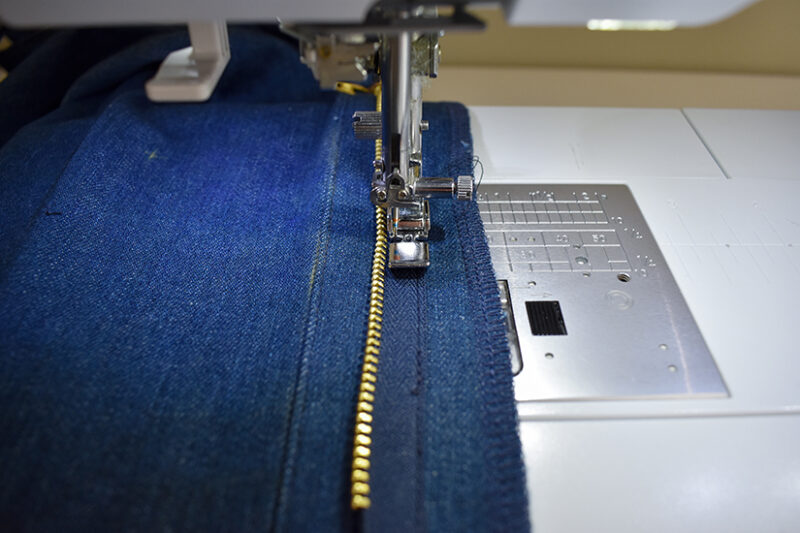
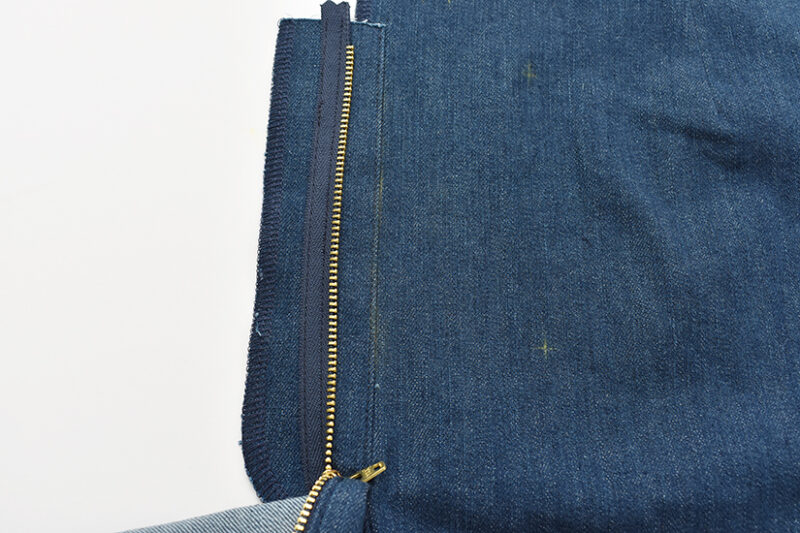
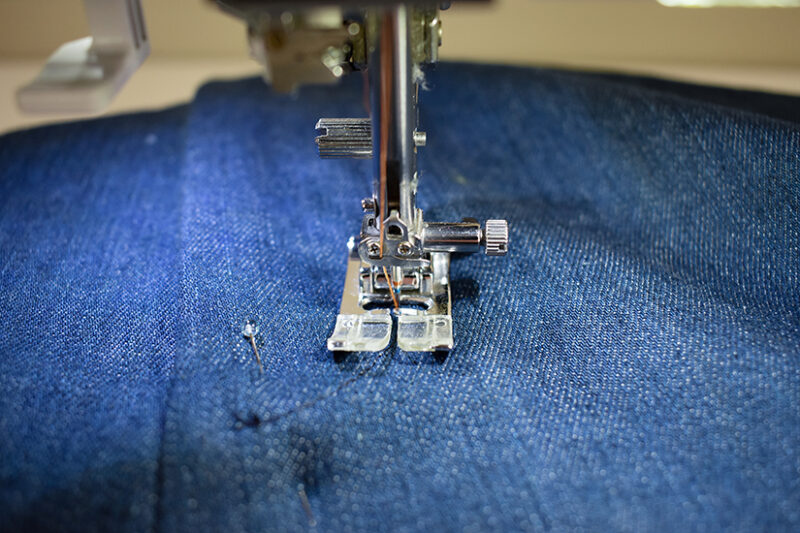
ATTACH THE ZIPPER TO THE RIGHT SIDE & EDGESTITCH
Use a zipper foot for the next 4 steps. Place the wearer’s right rise right side up. Place the zipper right side down, aligning the edges. The top of the zipper stop should line up with the top notch. The bottom of the zipper stop should line up with the bottom notch. Sew just under 3/8” (1 cm), close to the zipper teeth. Open and close the zipper to move the zipper head out of the way while sewing. Press the seam allowance toward the wearer’s right front. The zipper will be set to the right of the marked center front line about 1/2” (1.25 cm). Edgestitch the zipper, starting about halfway and sewing to the bottom of the zipper.
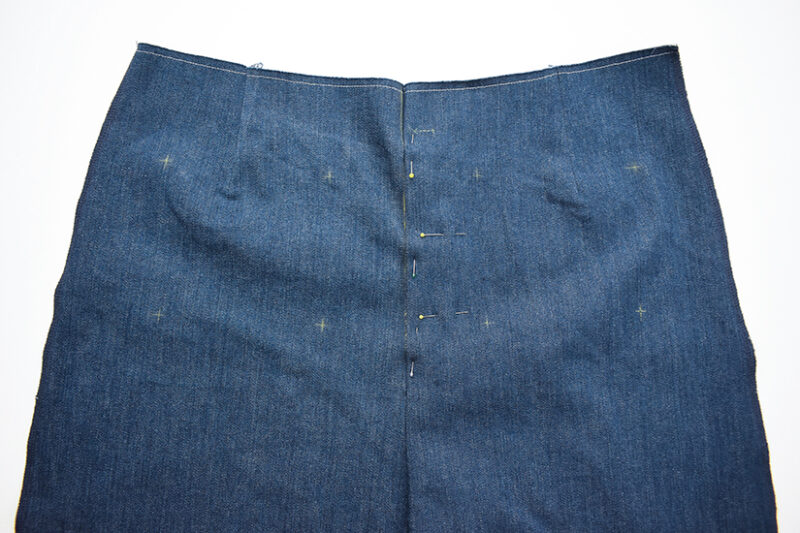
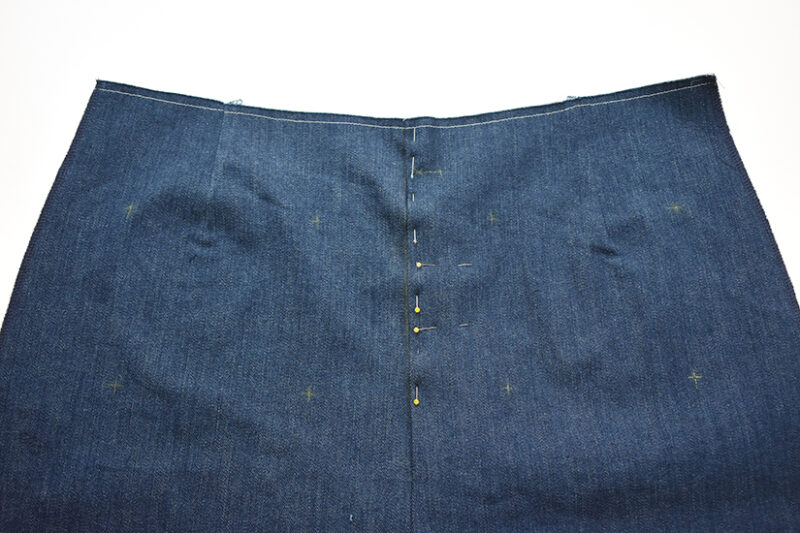
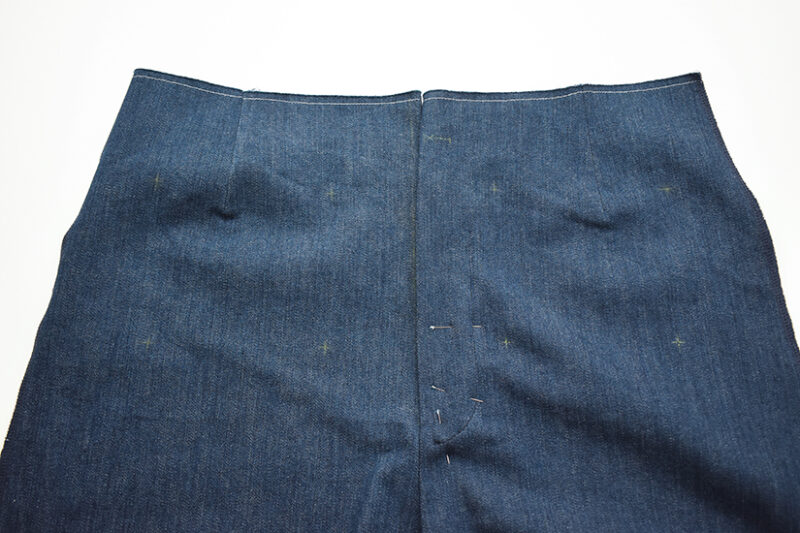
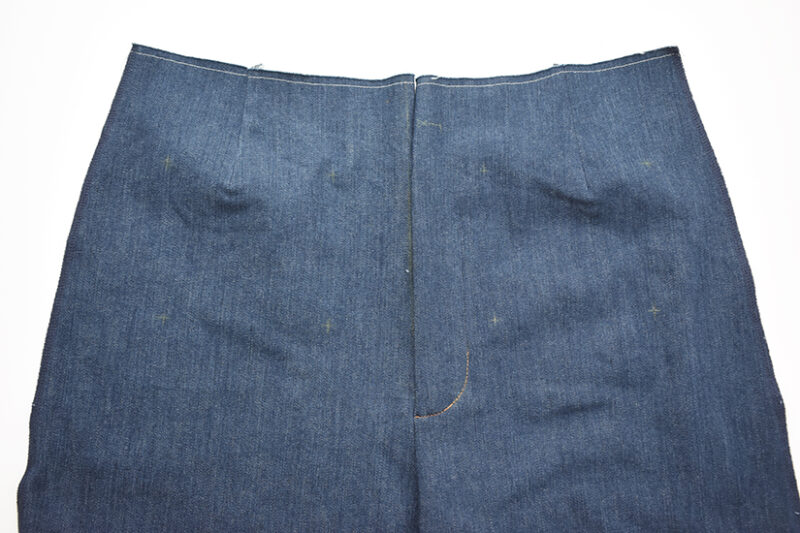
PIN THE CENTER FRONT CLOSED
With the jeans right side up, pin the front rise closed by matching the center front at the waist notch and the marked
center front line. Check to make sure your zipper is set under the wearer’s left side. The zipper should not be visible under the center front seam. Add a few pins to secure the fly guard placement.
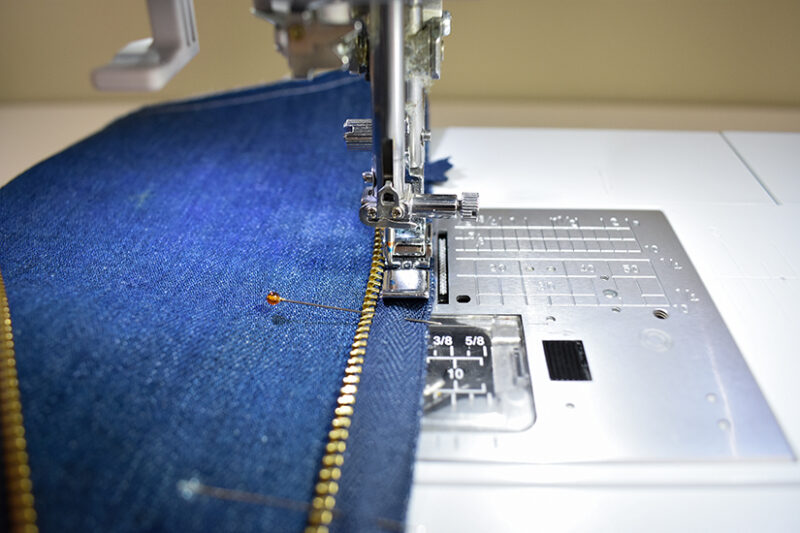
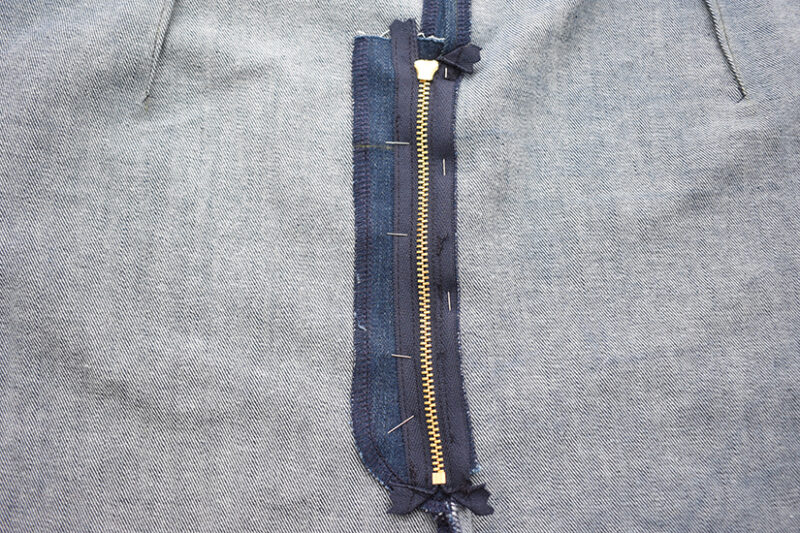
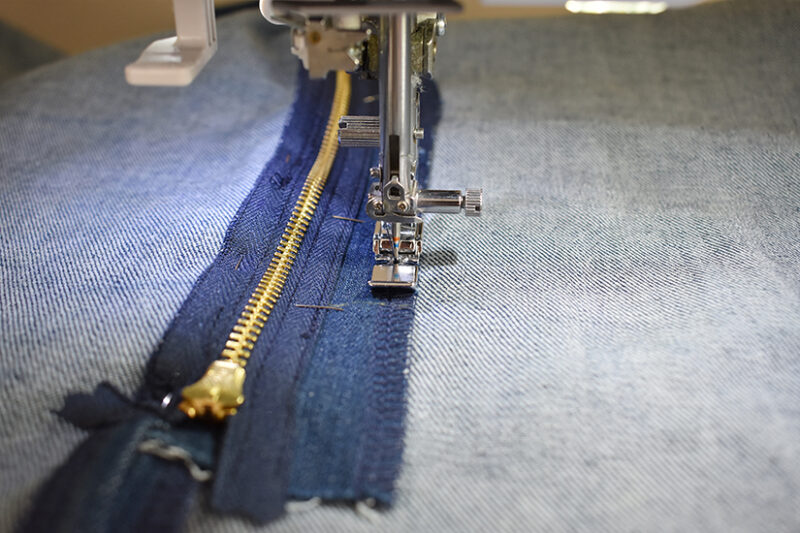
ATTACH THE ZIPPER TO THE FLY GUARD
Flip the front rise right side down. Pin the zipper to the fly guard in the placement marked by step 14. Sew two lines of
stitching to secure the zipper to the fly guard. Make sure the wearer’s left side is out of the way and you are sewing through just the zipper tape and the fly guard. Sew the first pass at the edge of the zipper tape. Unpin the front rise and sew a second row close to the zipper teeth. Open and close the zipper to move the zipper head out of the way while sewing the second pass.

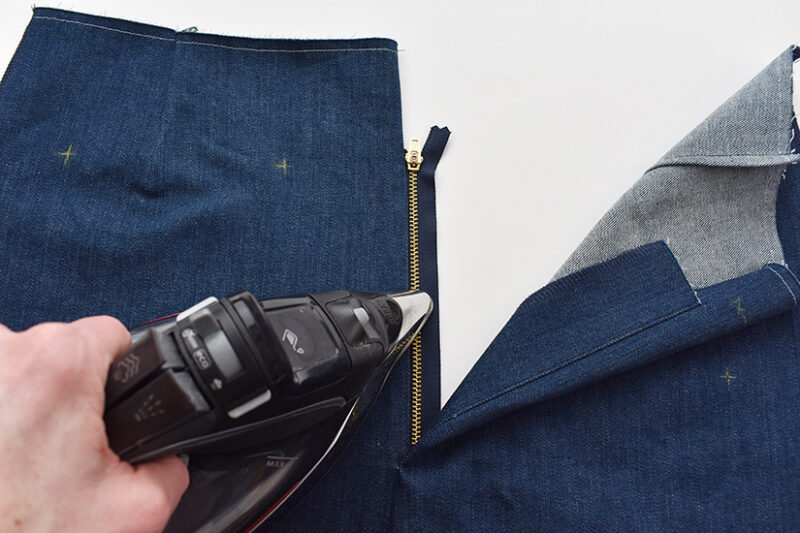
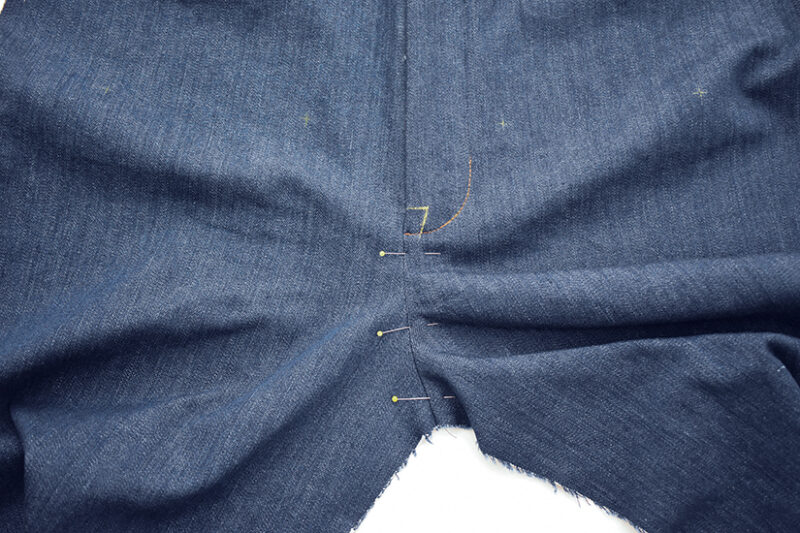
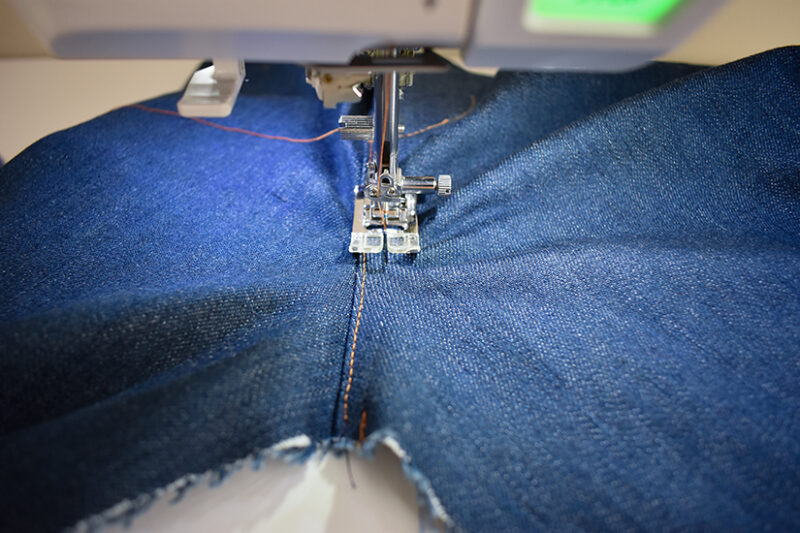
STAYSTITCH THE FLY GUARD IN PLACE
Pin the center front closed again, matching the center front at the waist notch and the marked center front line. Add a few pins to secure the fly guard placement. Flip the front rise right side down. Use the finished curved edge of the fly guard as your stitching guide. Start at the bottom and stop about 2” (5 cm) from the top of the fly guard. Make sure to avoid the zipper stop. If you are adding contrast topstitching, you will use this stitch line as a guide for your fly topstitching line. Unpin the front rise.
ATTACH THE FLY SHIELD
Pin the fly shield to the wearer’s right rise seam allowance, matching the notches. The fly shield will be set 1/2” (1.25 cm) down from the waistline, and the bottom of the shield should cover the zipper stop. Sew the fly shield to the wearer’s right front rise seam allowance at about 1/4” (0.6 cm).
TACK THE FLY SHIELD IN PLACE
Switch back to a regular sewing foot. From the right side, pin through all of the layers of the front fly. Starting at the bottom of the curve, sew just the lower curve, sewing through all of the layers to secure the fly shield in place. If you are using contrast topstitching thread, sew this step with your topstitching thread. You’ll sew the top of the fly at a later step.
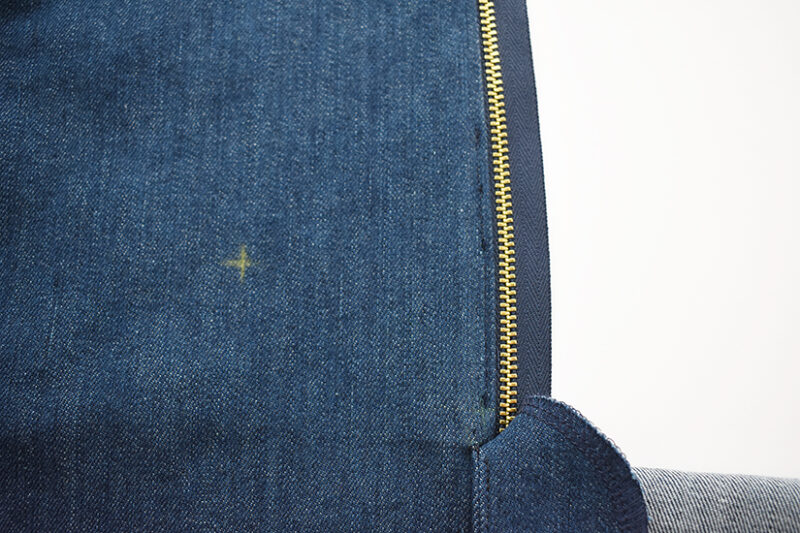
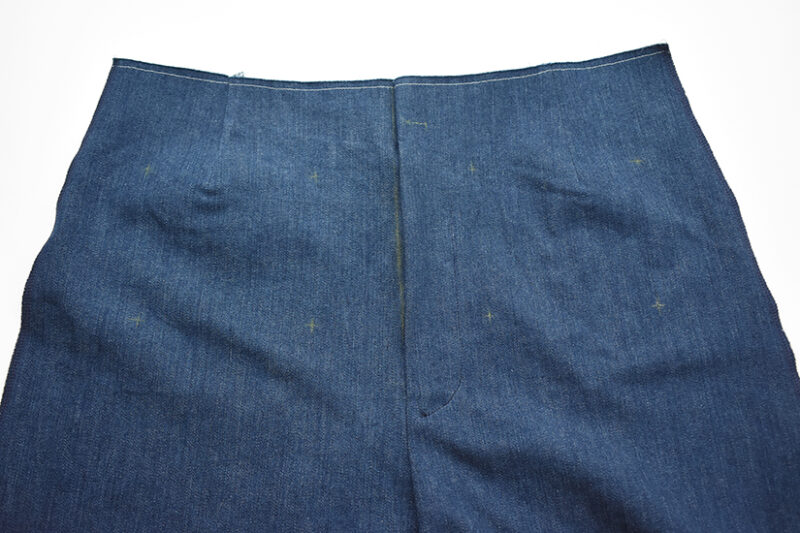
TOPSTITCH THE FRONT RISE
Press the front rise seam allowance towards the wearer’s left side. Edgestitch the seam allowance 1/8” (0.3 cm) away from the seam, and sew a second row of topstitching about 1/4” (0.6 cm) away from the edgestitching. Sew about 1/2” (1.25 cm) past the fly curve, avoiding the zipper stop.

In the next post, we’ll sew the back rise, and prep and attach the pockets. Then we’ll sew the inseam and side seams.
Isle Jeans Sew Along Posts: Getting Started | Add Interfacing, Prep Center Fly & Sew Darts | Sew Front Rise, Attach Zipper & Sew Front Fly | Sew Back Rise, Attach Pockets, Sew Inseam & Side Seams | Sew & Attach Belt Loops, Attach Pockets & Waistband Facing | Topstitch Fly, Sew Buttonholes, Attach Buttons & Sew Hems

