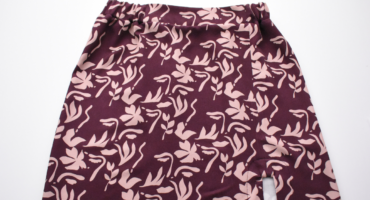
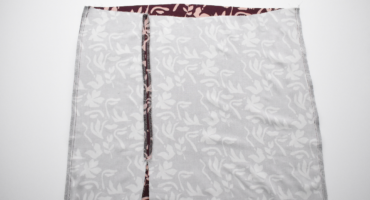
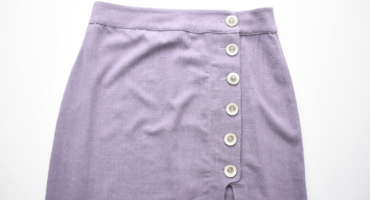
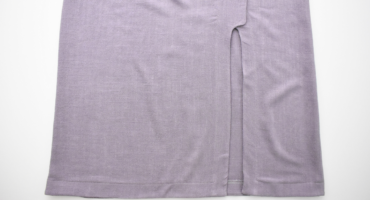
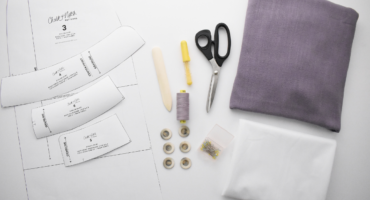
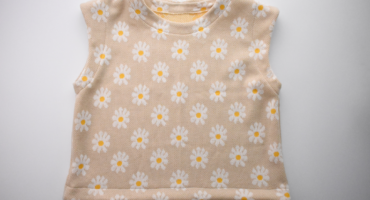
Welcome to the Pony Tank Sew Along! We will be showing you each step of how to sew this v-neck swing tank. We will be sewing the cropped view since the construction is the same for each view. We hope that this sew along will provide all of the support you need to sew this
Now we are ready to attach the prepared waistband. We’ll also add the slit facing and sew the hem to finish our View C skirt. SEW THE WAISTBAND TO THE SKIRT Take your sewn waistband and pin the right side of the waistband to the right side of the skirt waistline with raw edges up.
We’ll begin sewing View C by sewing the front seam, the slit facing, side seams, and assembling the waistband. FINISH THE FRONT AND SLIT EDGES Finish the straight edge above the slit curve on the front skirt pieces. Finish the outer edge of the slit facing. If you prefer a clean finish on the slit,
We’re going to continue by sewing our waistband and attaching it to our skirt. We’ll finish our skirt by adding the buttonholes and buttons. SEW THE WAISTBANDS AT THE SIDE SEAMS There is a waistband and waistband facing. The waistband facing is 1/8” (0.3 cm) shorter to help it roll to the inside of the
We’ll begin sewing our View A or B skirt by sewing the skirt seams and attaching the hem and slit facings. FINISH THE SLIT AND HEM FACINGS Prepare the slit and hem facings by finishing the straight edges on the slit facings. Finish the front edge of the front hem facings and the top edges
We are happy to be able to bring you a sew along for the Evelyn skirt pattern. We will be sewing Views A and C in the sew-along. View B uses the same construction steps as View A, so if you are sewing View B you’ll also have all of the information you need. This
We’re so close to finishing our Max tees! We’ll wrap up the sew along by sewing a turned-up hem or attaching the hem facing. SEW THE HEM FACING With the right sides together, sew the hem facing to the bodice hem, matching the notches and side seams. Trim your seam allowance to half. If your