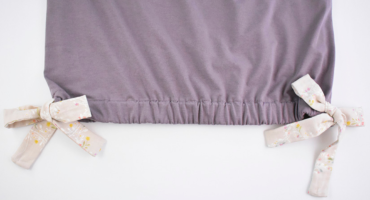
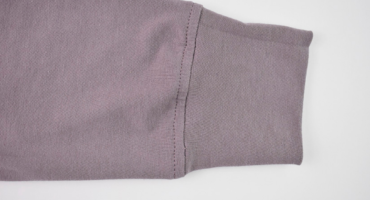
We are close to finishing our Pixies! In this post, we’ll finish the hems on all views of the pattern. FOLD AND STITCH THE SLIT – VIEW A The slit is already folded from pressing the seam allowance open. Pin the 3/8” (1 cm) seam allowance in place. Use a straight stitch to stitch the
We are continuing with attaching the sleeves to our front and back bodices. In this post, we’ll demonstrate how to sew the long sleeves and side seams for Views B & C. SEW SLEEVES TO ARMHOLE With the right sides together, pin the sleeve to the armhole flat, matching the notches, and sew the sleeves.
We are ready to attach the sleeves to our front and back bodices. In this post, we’ll demonstrate how to sew and hem the short sleeves and side seams for View A. If you’re sewing long sleeves, adding hem bands, or a regular hem skip ahead to the next post. SEW SLEEVES TO ARMHOLE &
Before you begin to sew, we recommend that you read over all of the instructions and make sure you are familiar with the seam allowances and markings. Our first step is to sew the hem ties for View A. If you are sewing view B or C, scroll down to the third step where we
Welcome to the Pixie Tee Sew Along! Over the next four posts we will be showing you how to sew this oversized tee. We will be sewing View A with the hem ties, but also demonstrating how to attach the sleeve cuffs and hem bands. The steps are the same for the top and dress
If you are looking for help fitting your Max, you’ve found the right post! We have put together this post covering the most common fitting adjustments for the Max Tee. Find fitting posts for each of our patterns in the fitting and custom adjustments library here. Please check out our Max Tester Inspiration post here
It’s been a while since I’ve been excited to get dressed! An elevated Tee is just the perfect transition piece for spring. I love pairing my Max Tees with jeans, cut-off shorts, and skirts. I look forward to seeing how you style and wear yours! Along with the release of the Max Tee pattern, we’ve