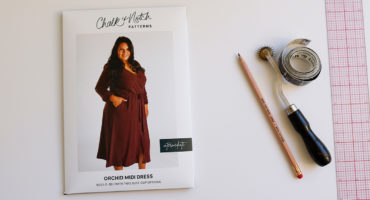
This post will guide you through assembling the lining and hem facing. As a reminder, if you made any adjustments to the main fabric sleeves or bodice length, you will need to make the same adjustment to the lining pieces. SEW THE CENTER BACK LINING SEAM & PLEAT The pleat images are from the
Once you start to assemble the main fabric, things can move quickly and you will start to see your jacket taking shape. By the end of this post, you will be able to try on your outer shell. SEW SLEEVE SHOULDER SEAM & PRESS HEM With right sides together, sew the sleeve shoulder seam at
Now we get to start sewing! If you have premade drawstrings, I still suggest making the center back hanger loop out of your main fabric. I’ll be showing photos of the drawstrings and center back loop in a contrast fabric. I actually used the main fabric for my sample, but my original photos did not turn
Time to get cutting! Yes, there is a lot of cutting and fusible prep to get this pattern ready to sew, but don’t let that stress you out. If you take your time with this part, you will set yourself up for smooth sailing during sewing! CUT LISTS Update Nov 2021 || The Joy Jacket
Welcome to the Joy Jacket Sew Along! Over the next nine posts, you will find everything you need to sew your own Joy with extra tips and tricks along the way. Each step has a photo reference, and there are a few videos for the tricky parts. Please feel free to ask questions in the
Deciding what size to sew for yourself can sometimes be confusing. Take some time to review the size chart and finished measurements below. Start with your bust measurement and confirm you have enough hip ease. If not, you can blend sizes. Keep in mind that this style is designed to have a relaxed fit. When
Note: As of November 2020, the Joy Jacket pattern has been updated to include sizes 0-30 as well as A/B and C/D cup options. Those who tested the update and submitted photos for this post have been added below. I loved putting this post together. This is a HUGE thank you to 37 amazing people