Rivi Blouse & Dress Fitting and Custom Adjustments
Looking for assistance fitting the Rivi sewing pattern? You’ve come to the right place! We have put this post together to cover the most common fitting adjustments you may need for the Rivi. Find fitting posts for each of our patterns in the sew along library here.

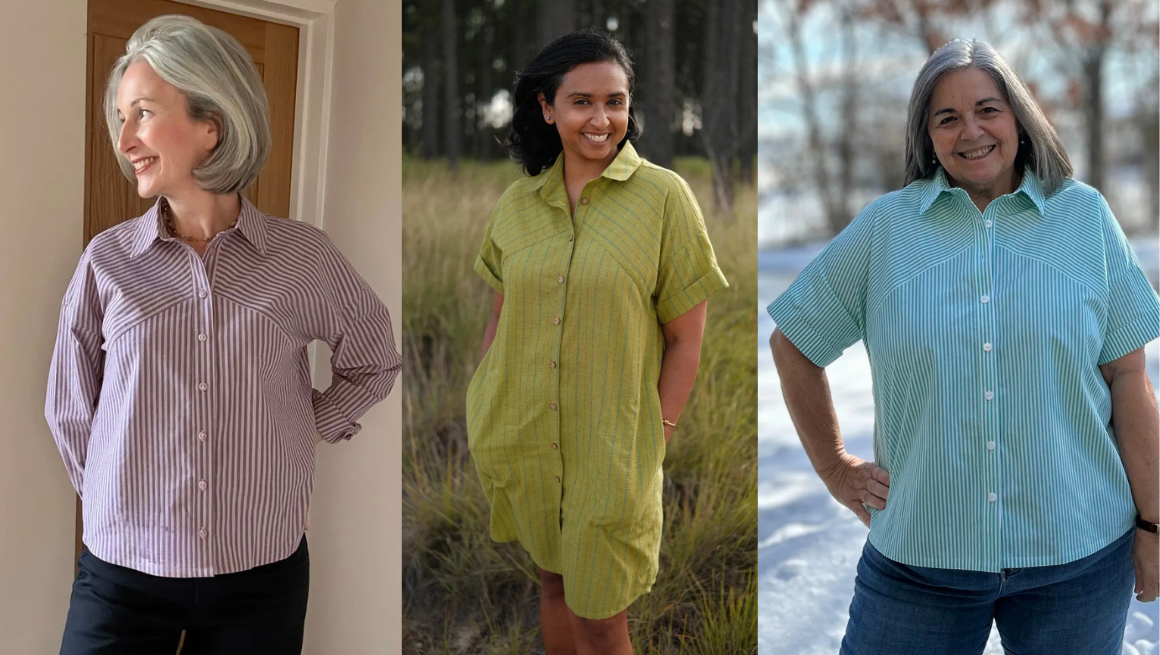
You can check out our Tester Inspiration post here if you’re interested in seeing it on a variety of body types. During testing, we work through the fit for each tester, which helps inform the fitting and custom adjustments we discuss in our fitting posts. Most of these adjustments are included in the pattern tutorials, and if more fit questions come up, we will continue to add them to this blog post.
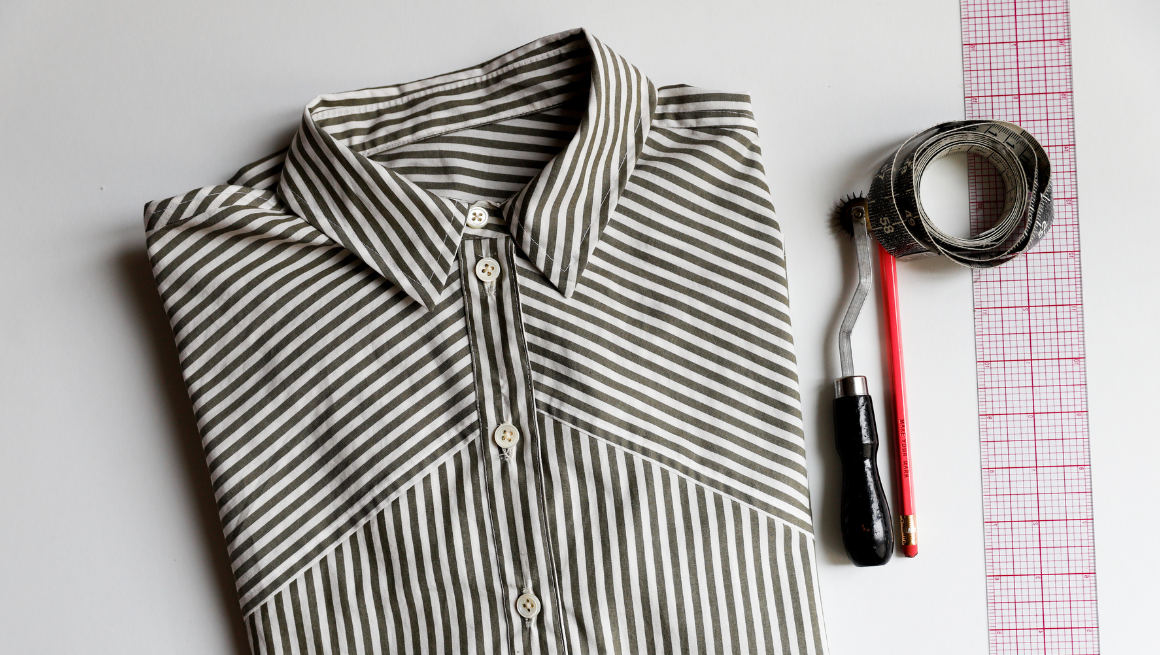
The Rivi is an oversized woven button-up blouse and dress with a dropped armhole. The garment is finished with French seams. There are seam lines on the bodice and back yoke that allow for playing with the stripe direction. View A is a blouse. View B is a dress. There are two sleeve options: a full-length sleeve and a short sleeve with cuffs. Both views include optional side slits. The C/D cup size range includes a bust dart.
Before we get started, I like to note that the goal is to create a comfortable garment you will enjoy wearing. I don’t think it’s important to get rid of every single drag line or pull, so be kind to yourself as you analyze your fit. If you have specific questions about fitting the Rivi Blouse or Dress, you can always reach out in our Chalk and Notch Facebook Group or email us here.

HOW TO PICK A SIZE
First, take new measurements before starting any project. Our bodies change, and starting with accurate numbers is the first step toward a good fit. You will need the following measurements:
High Bust – Measure around your body, above your bust, just under your arms. Make sure your tape is level around your body. Rest your arms at your sides when measuring.
Full Bust – Measure around your body, at the fullest part of your bust. Make sure your tape is level around your body. Rest your arms at your sides when measuring.
Waist – Measure around your body, at the smallest part of your torso. If you are having trouble finding your waist, lean over to one side, your waist is where your body bends.
Hips – Measure around your body, at the fullest part of your hips/bum.
A few other measurements will be helpful. Cross-check these with the finished garment measurement chart to see if you need any custom adjustments.
Bicep – Measure the circumference of your bicep, about 2″ down from your armpit.
Center Back Neck to Sleeve Hem (for Long Sleeves) – Measure from the center back neck to the shoulder point and down to your wrist where you want your cuff to end. The long-sleeve length is designed to end mid-hand, so that when you reach forward, the sleeves finish at your wrist.
Center Back Neck to Hem (for Dress View) – Measure from the center back neck to where you want your dress to finish. The finished length of the dress is designed to finish above the knee.
Review the finished garment measurements to determine if you would like to adjust the length.
BODY MEASUREMENTS
This style is intended to fit oversized. Use the high bust and full bust measurements to determine your size. If you have a small bust, use the high bust to ensure enough ease through the upper back. If your hips put you in a larger size, consider blending sizes to allow enough room through the hips when sewing the dress. It is always recommended to sew a test garment to confirm fit.
This pattern includes two bust cup options, and the cup size is determined by calculating the difference between the high and full bust.
If the difference between your high bust and full bust is between 0″ and 2″ (5 cm) use the A/B cup. If the difference is between 2″ (5 cm) and 4″ (10 cm) use the C/D cup. If you have more than a 4″ (10 cm) difference, you may need a full bust adjustment.

FINISHED GARMENT MEASUREMENTS
Pick the size for each of the measurements that works best for your body and preferred fit.

REVIEW THE INTENDED EASE & FINISHED LENGTH
BUST – There is 8” (20 cm) of ease through the bust.
WAIST – There is 16” (40.5 cm) of ease through the waist.
HIPS – There is 6” (15 cm) of ease through the hips in the dress view.
*The C/D cup has 2” (5 cm) of additional ease through the waist and hips in the front bodice.
FINISHED LENGTH – The blouse length finishes at the high hip. The dress finishes above the knee. The bicep is measured 1” (2.5 cm) down from the armhole. To find the finished length of the long sleeve, measure from the center back neck to the shoulder point, then to the cuff. To find the finished length of the blouse or dress, measure from the center back neck to the center back hem. Review the finished garment measurements to determine if you would like to adjust the length.
MAKING A MUSLIN
I will always advise you to make a muslin or toile (test garment) before cutting into your final fashion fabric. If you’d like more info on fabrics, we have a recommended fabric post for the Rivi here.

CUSTOM ADJUSTMENTS
There are often many ways to make the same adjustments, and a simple adjustment can affect many areas. The following are the most common adjustments we saw during testing.
ADJUSTING THE LENGTH OF THE BLOUSE & DRESS
To find the finished length, measure from the center back neck to the desired hem length. Review the finished garment measurements to determine if you would like to adjust the length. Adjust blouse and dress length at the hem. Be sure to make the same adjustment to the center front placket. You may also need to adjust the buttonhole spacing or add an additional button.
To adjust the length at the hem:
- If adding length, add the amount desired to the hem and extend the center front or center back to the side seams.
- If shortening, trim the hem the desired amount.
- Make the same adjustment to the center front placket.

ADJUSTING THE LENGTH OF THE SLEEVES
If you decide you would like to add or remove length in the sleeve, adjust at the hem for the short sleeve and at the lengthen/shorten line for the long sleeve. The sleeve cap drop is about 3” (7.5 cm) from your shoulder point. The long sleeve includes a 3 1/4” (8.25 cm) cuff. The short sleeve includes a 4 1/2” (11.5 cm) fold back cuff.
To adjust the short sleeve:
- If adding length, add the amount desired and extend the side seams.
- If shortening, trim the hem.
To adjust the long sleeve:
- Cut the sleeve at the indicated line.
- If adding length, add paper and add the amount desired.
- If shortening, overlap at the cut line the amount desired.
- Re-draw the side seams.

FULL BUST ADJUSTMENT
If you have over 4” (10 cm) difference between your high bust and full bust, you may need a Full Bust Adjustment to the C/D Cup Bodice.
- First, decide how much more ease you need through your bust, and you will add half that amount to your pattern. If you need 1” (2.5 cm), then you will add 1/2” (1.25 cm) to the pattern.
- Cut from the hem, below the bust point (#1) to the bust point (#2) and to the top seam (#3), not cutting all the way through. Lay this on top of a new piece of paper.
- Cut from the center of the bust dart (#4) to the bust point (#2) without cutting all the way through at the bust. Open the ease at the bust (#4), and make your pattern parallel, adding more length at the hem (#1). When doing this, you will open ease at the points (#1, #2 & #4), creating larger darts, and add more length and width through the center front.
- Tape this new shape down on the paper and trace. Straighten out the top edge and make sure it matches the upper bodice. Close your dart to true the side seam shape. Draw the new hem shape.
- Remember to add more length to the center front placket.
- You have completed the FBA on the lower front pattern piece and center front placket.

I hope this is helpful as you fit the Rivi sewing pattern. It’s totally worth the time to make a muslin, make any adjustments, and update your printed pattern. Remember to write down notes so that when you return to the pattern, you know what adjustments you have made. Please let me know if you have any other fit questions, and I can update the post as needed.
Happy Sewing!
XO, Gabriela