Sewing Tips | How to Use Fusible Hem Tape
Struggling to get a professional looking hem that isn’t too stretched out when sewing with lightweight knit fabrics? Using fusible hem tape is a great way to stabilize hems, keep them from stretching out, and ensure that they don’t twist during sewing. Keep reading to learn how to use this sewing secret weapon.

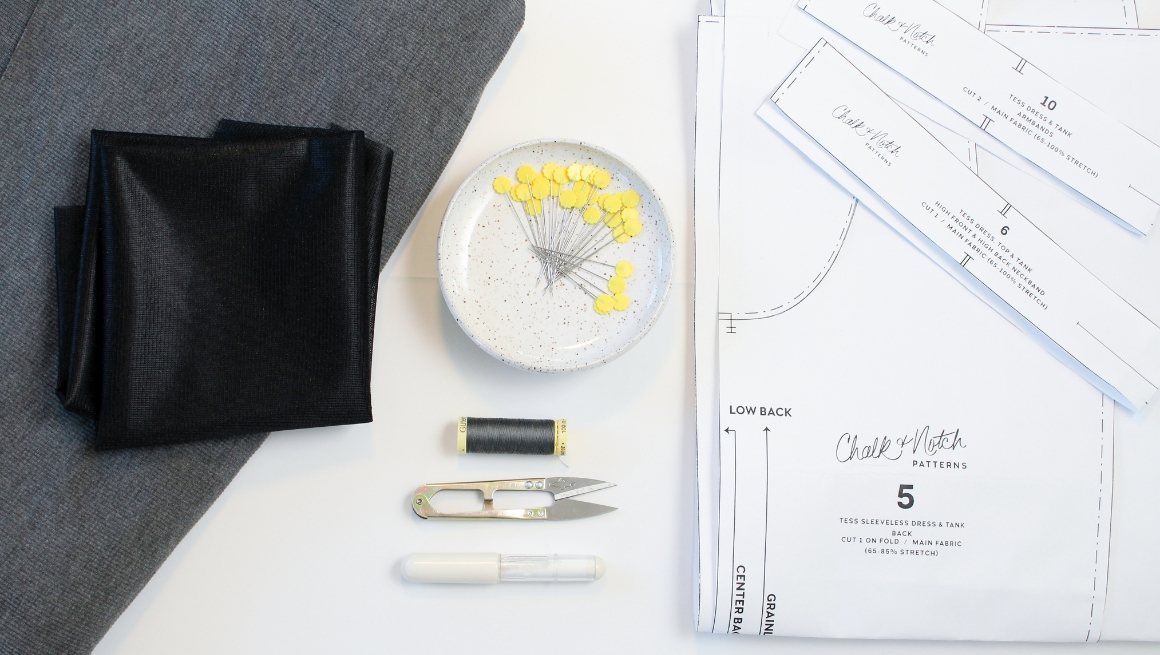
Patterns Pictured | Tess, Pony, and Waterfall
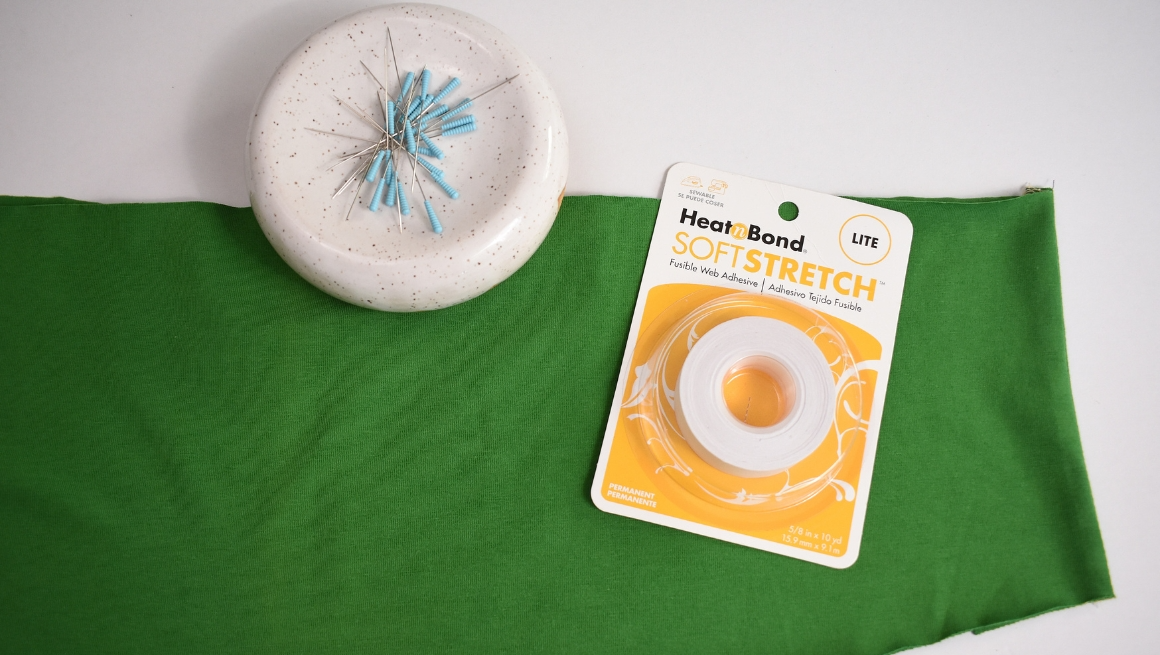
WHAT YOU’LL NEED
- A knit sewing pattern with pieces cut, sewn, and ready to hem
- Fusible hem tape, my favorite brand is Heat n’ Bond Soft Stretch lite, which is sewable.
- Soft Stretch ultra is NOT sewable, so don’t use that one for machine sewn hems
Iron

HOW TO USE IT
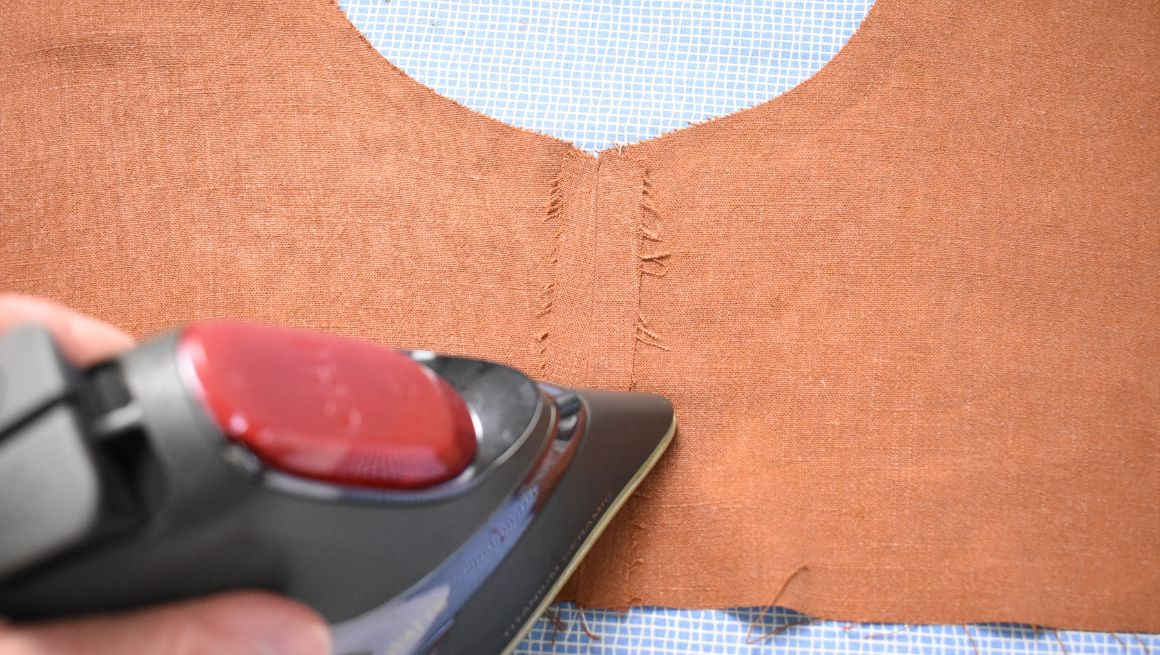
When you are ready to hem, preheat iron to high heat without steam. Place the rough, adhesive side down on fabric, aligning one edge of the tape with the raw edge of the fabric. Hold iron on the paper side for 5 seconds, repeating until the entire hem has the tape attached. For curved hems, you can snip partway through the paper and overlap it to create a rounded shape.

I like to use the paper as a guide to press the hem in place. The tape is ⅝” wide. Fold the hem up and press, continuing to use no steam.

Once the whole hem has been pressed, allow the fabric to cool. Then, peel off the paper, leaving the fusible in place along the hem of the garment.

Fold hem and fuse into place, using steam. Hold about 10-20 seconds until the hem is fused into place. Continue along length of hem.

That’s it! You are ready to sew the hem using your preferred method.

A longer straight stitch, zig zag, twin needle or cover hem will all work nicely. We have an in-depth post all about three ways to hem knits that can be found here.

Give the hem a press and you’re all finished!
Find more sewing tips and tutorials under our Sewing Tips section here, Check out our Sew Alongs here, and shop our full sewing pattern library here.