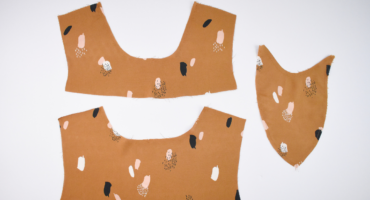
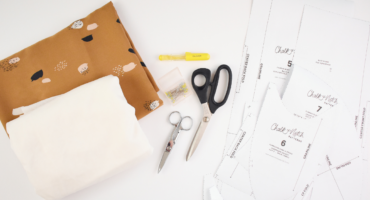
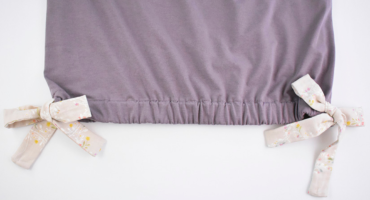
Welcome to the Max Tee Sew Along! Over the next four posts, we will be showing you how to sew this elevated, boxy tee. We will be sewing each view, demonstrating the rib-knit neckband, the mock neck, and the faced neckline and hem. We hope that this sew along will provide all of the information
We are almost done sewing our Farrah! Our last steps are to sew the underarm gussets and to finish the armholes. VIEW A The following steps finish the upper edge of the underarm gusset for view A. If you are making View B, skip ahead to attaching the gusset to the armhole. ATTACH BIAS TO
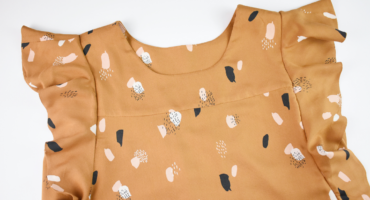
Now we will attach the ruffle sleeves to View A. Then we’ll move on to sewing the side seams and hem on both views. ATTACH THE SLEEVE RUFFLES (VIEW A) Pin the right side of the sleeve ruffle to the right side of the bodice. Start at the shoulder seam and move down the armholes
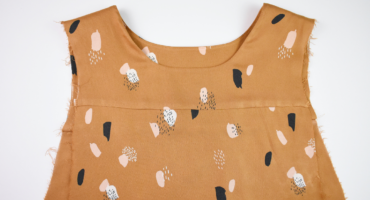
We’re going to continue sewing and attach the yokes with a clean finish. We’ll also complete the neckline of our Farrah. GATHER THE BACK BODICE Change your stitch length to the longest possible length. Sew two parallel baste stitch lines at the top of the back bodice between the notches. Make sure not to backstitch
Now that pieces have been cut and interfaced, it’s time to begin sewing. We’ll start with staystitching then sew the ruffles for both views. STAYSTITCH THE NECKLINES Unless noted, the seam allowance included is 3/8” (1 cm) for joined seams. Clip or mark the notches indicated by “T” marks and “triangles”. Before handling your cut
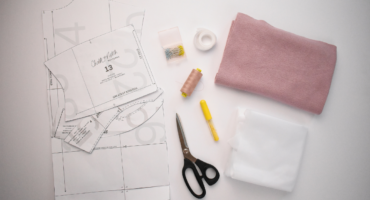
We are thrilled to be able to bring you a sew along for the Farrah pattern. We will be sewing the top length of both views in the sew-along since the construction of the dress uses the same steps. This sew along features photos of every step in the sewing process to help you create
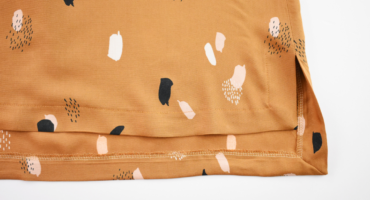
We are close to finishing our Pixies! In this post, we’ll finish the hems on all views of the pattern. FOLD AND STITCH THE SLIT – VIEW A The slit is already folded from pressing the seam allowance open. Pin the 3/8” (1 cm) seam allowance in place. Use a straight stitch to stitch the

