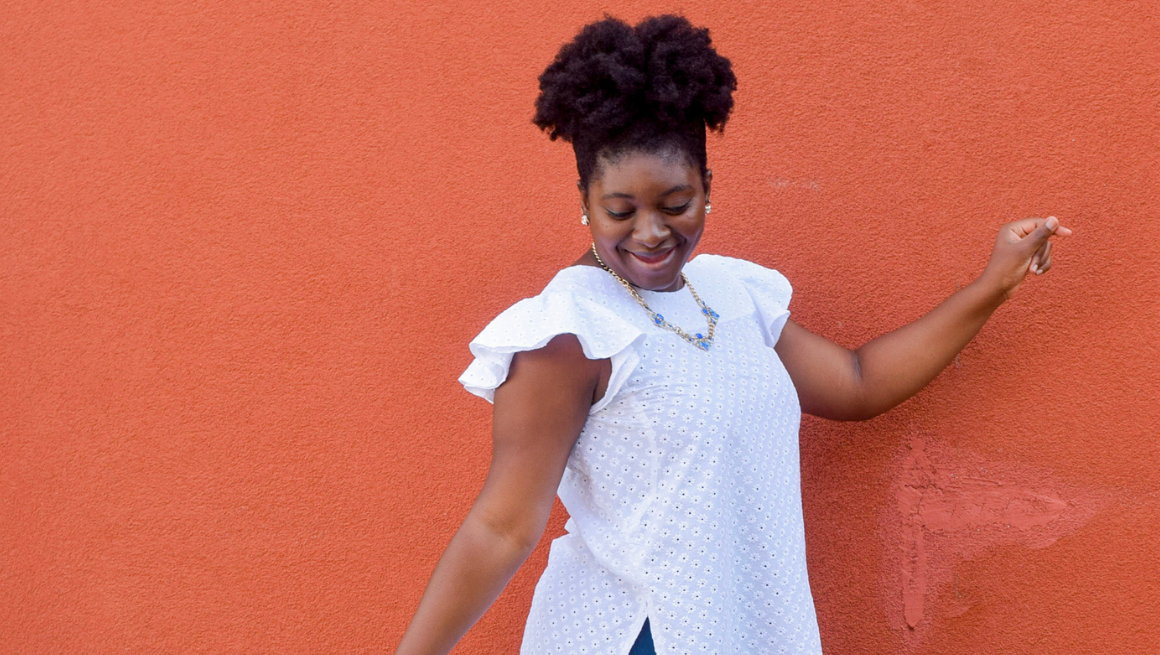
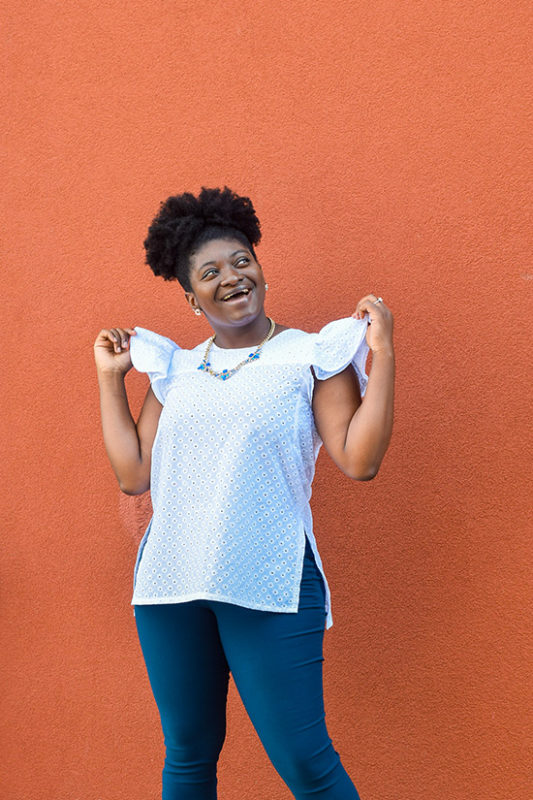
My name is Sylvia of @theravelout on Instagram and www.theravelout.com and I’m excited to share a simple double ruffle sleeves tutorial with you. I’ve decided to end the summer with a simple white cotton eyelet top, a great as a transitional piece for most seasons. I chose to make The Farrah Top which is one of the older Chalk and Notch patterns. It is a very simple pattern and a great way to show that a little change is all you need to get a different look.
Pattern
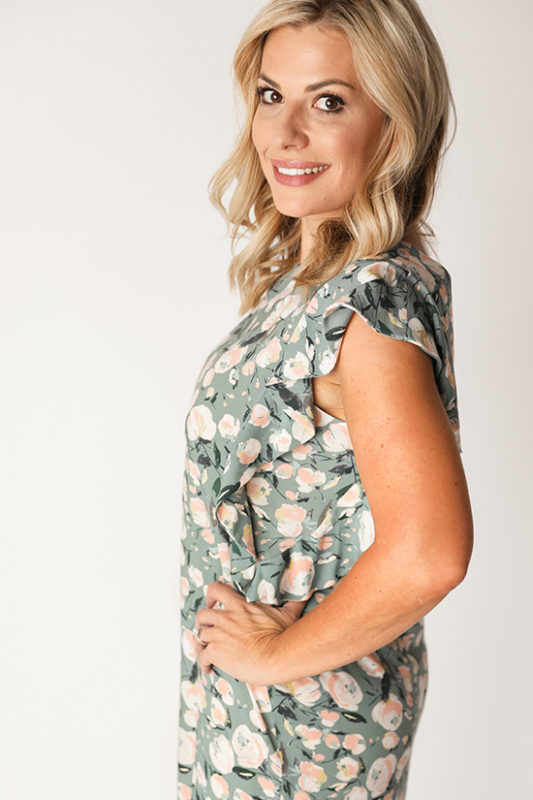
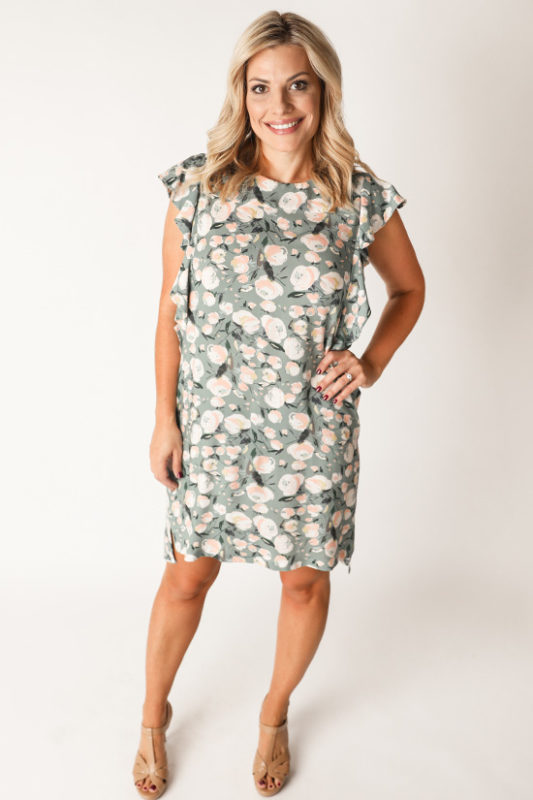
The Farrah pattern is a dress and blouse pattern and features sleeve ruffles (View A) and a front yoke ruffle (View B). View A is what I used for my tutorial and sewed a size 14. For reference, my bust is 40” waist 34” and hips 45”.
Inspiration
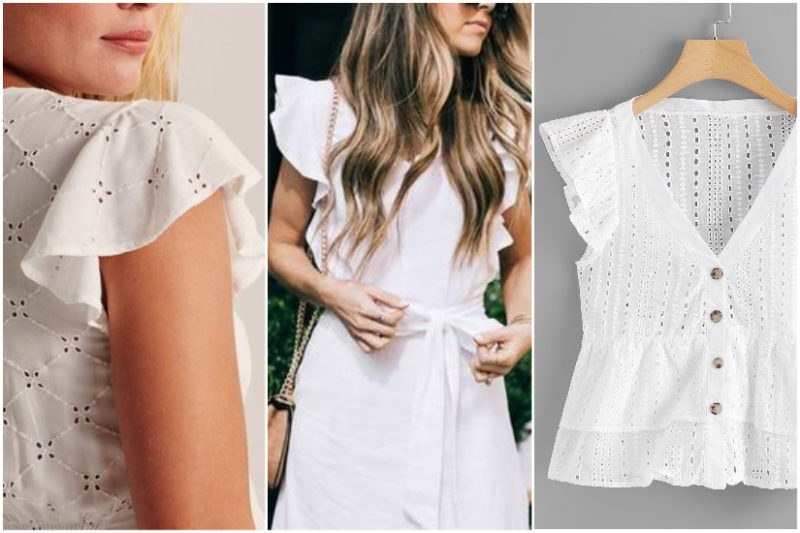
As a sewist, inspiration is everywhere but I knew I wanted two things: eyelet and ruffle sleeves. I wanted to keep the general style lines of the pattern as close to the original pattern as possible. Finally, I settled on moving the ruffle placement to the armhole instead of the gusset. Here are some Pinterest inspiration photos of what I wanted to achieve.
Fabric
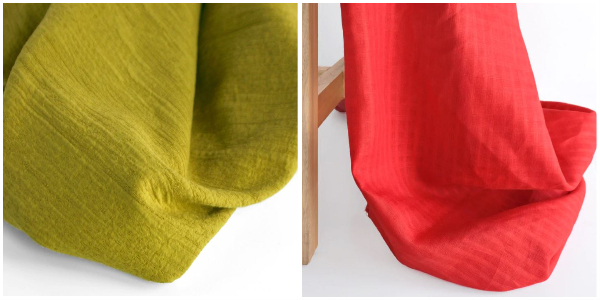
The Bloom cotton eyelet from Blackbird Fabrics was the closest to what I wanted for this top. This specific eyelet is currently out of stock but I would suggest light to medium weight fabrics for this top such as linen and cotton blends. If you choose a medium weight fabric, please make sure it has a slight drape.
Tutorial
What you’ll need:
- The Farrah Top Pattern
- 1.5 to 2 yards of fabric
- Sewing notions (scissors, measuring tape, pins)
- Cut out your pattern pieces for View A but leave out the sleeve binding and ruffles pieces, then sew the top as instructed
- Cut out your 4 pieces of ruffles – 2 back pieces and 2 front pieces. Follow the pattern instructions to create your ruffle pieces. To achieve the double ruffle look, you’ll need to cut 4 back pieces and 4 front pieces.
- Sew 2 lines of basting stitches and gather
- Pin each ruffle to the armhole and sew. If you are sewing double ruffles, you’ll need to pin 2 ruffles at each armhole
- Hem the ruffles using the preferred method
Additional Adjustments
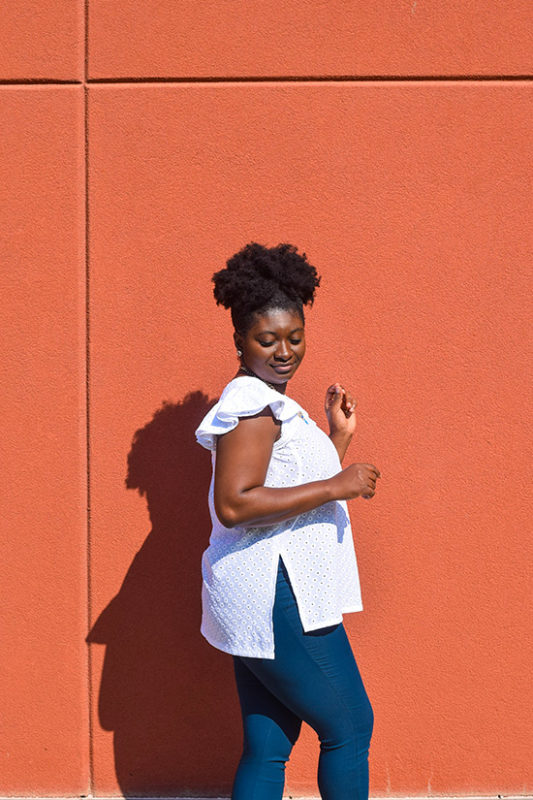
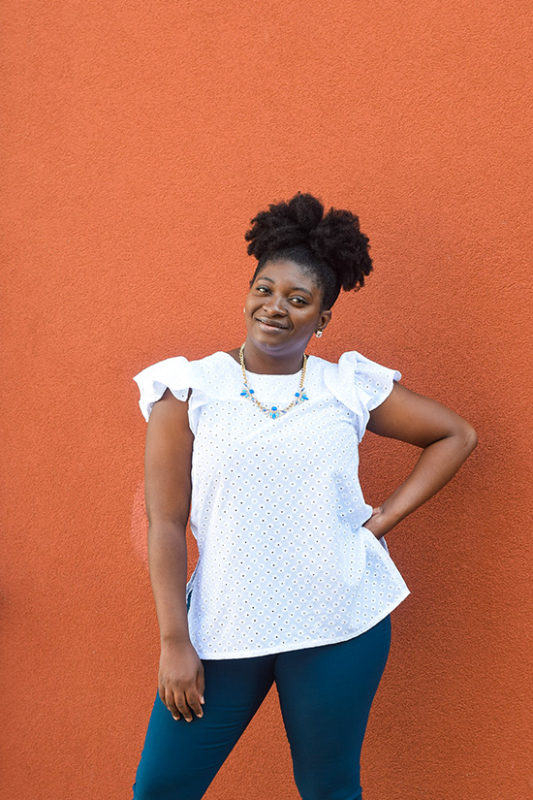
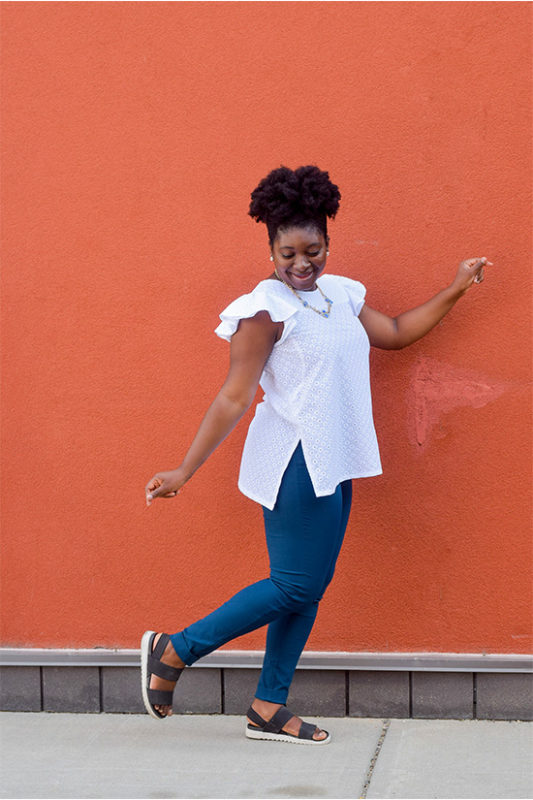
Side slits – I ended up leaving a bigger side slit than the pattern calls for. Although the top went over my hips easily, having the slits a little higher looked better around my hips which is why I made that decision. This was a personal decision to fit my body shape a little more.
In my next version, I’d choose an eyelet cotton or fabric that is a little less stiff. Also as it gets cooler, I will be styling my new top in different ways to show the versatility of it and hope to share them with you over on my Instagram page.
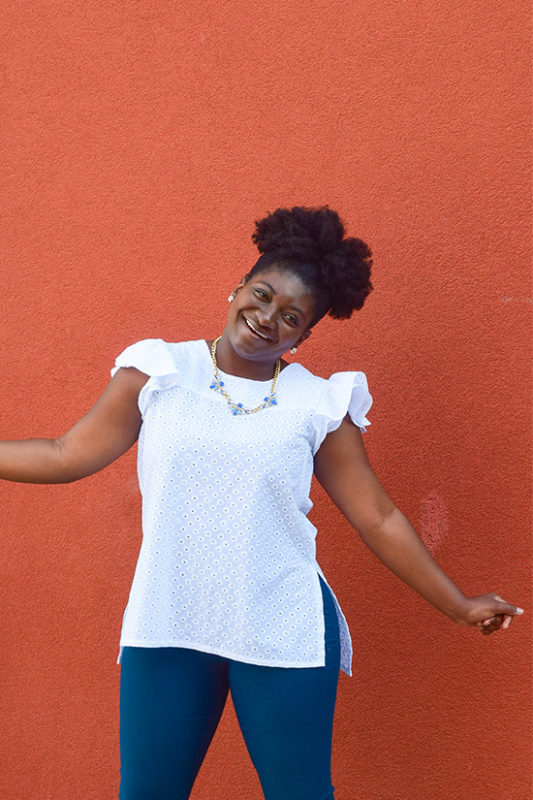
Final Look
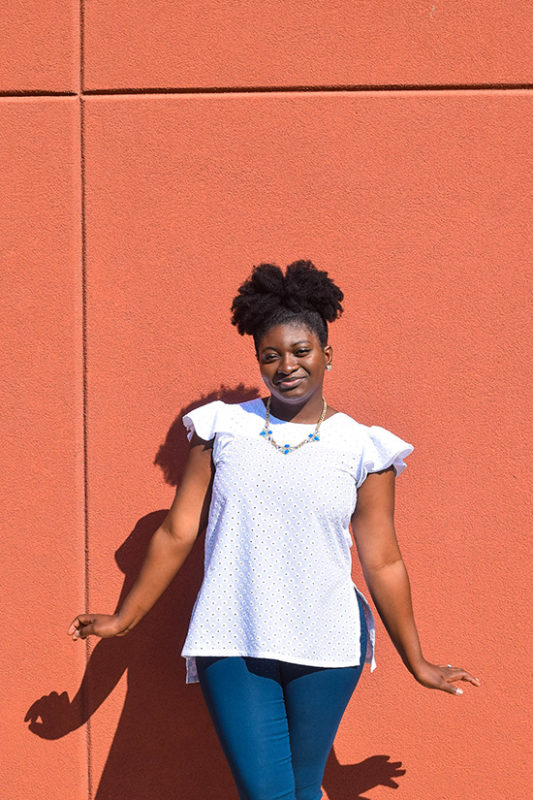
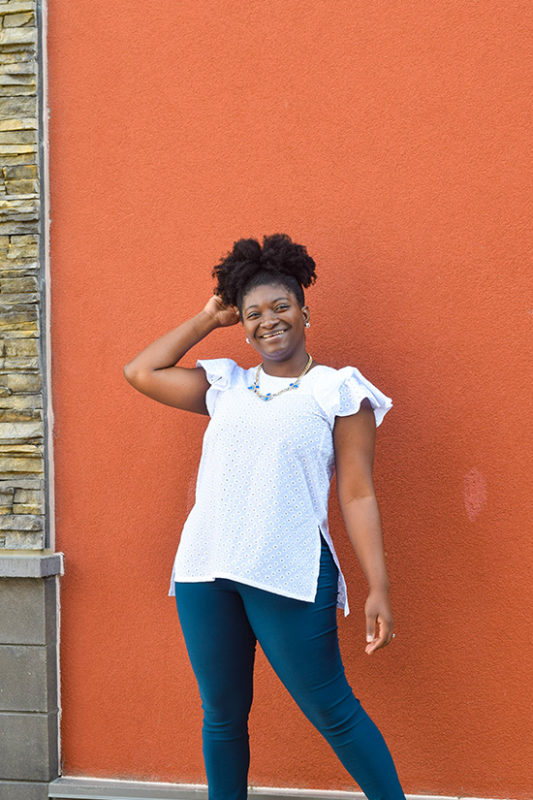
Happy Sewing!
Sylvia
Thank you to our sponsor Blackbird Fabrics for collaborating on this post. Use code: “C&NFARRAH10” for a 10% discount valid towards the purchase of fabric. Patterns, notions, and gift cards are excluded. The code expires Sunday, Oct. 4th.
