Now we will attach the ruffle sleeves to View A. Then we’ll move on to sewing the side seams and hem on both views.
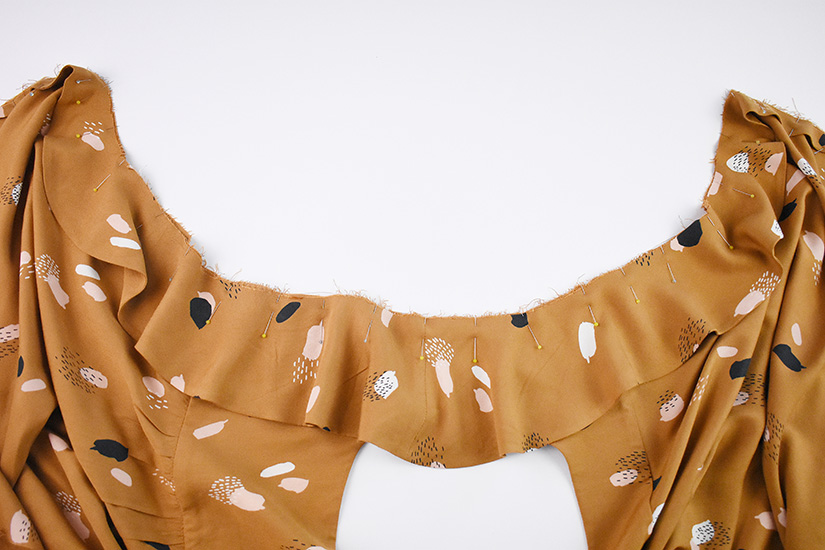
ATTACH THE SLEEVE RUFFLES (VIEW A)
Pin the right side of the sleeve ruffle to the right side of the bodice. Start at the shoulder seam and move down the armholes on both sides, matching the notches and the “+” mark. After the “+” pivot down the side seam.
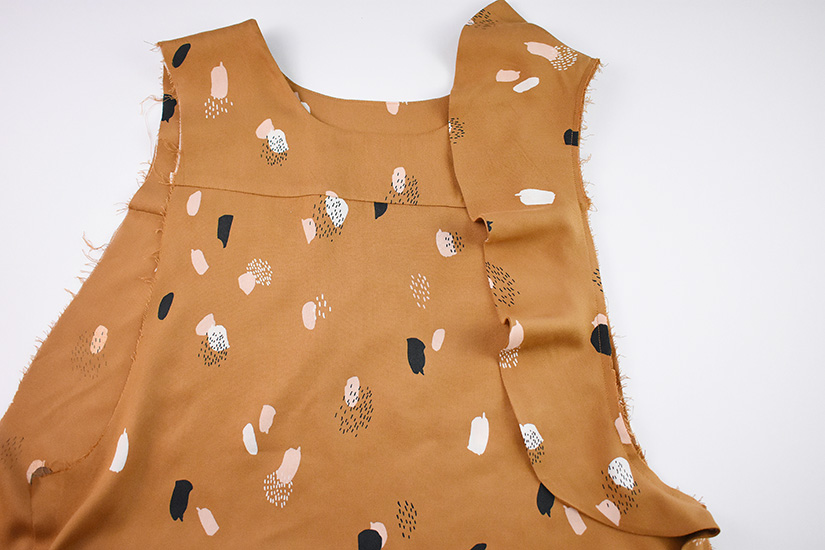
SEW THE SLEEVE RUFFLES
Sew the ruffle to the bodice at just under 3/8” (1 cm), keeping the ruffle on top while sewing. When you get to the armhole “+” mark, pivot your needle to turn the corner. It is helpful to clip the ruffle at the corner. Repeat for the other side. This seam will be finished in a later step.
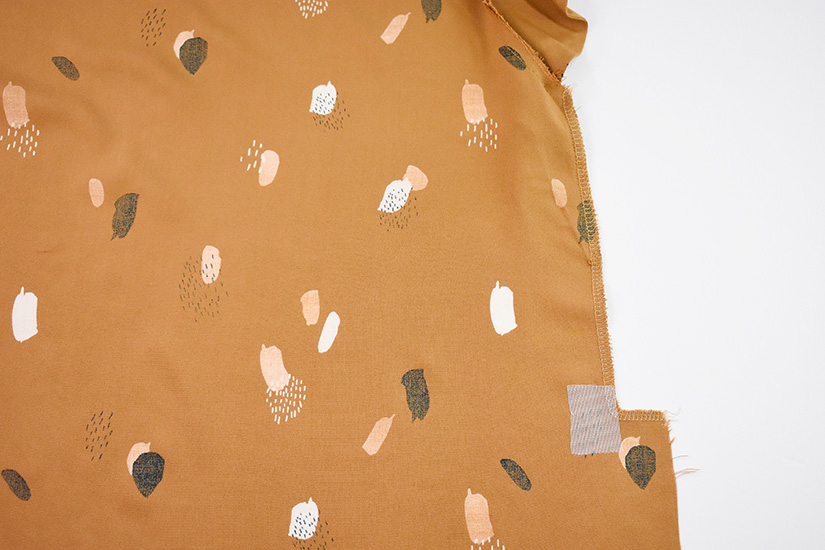
FINISH THE SIDE SEAMS
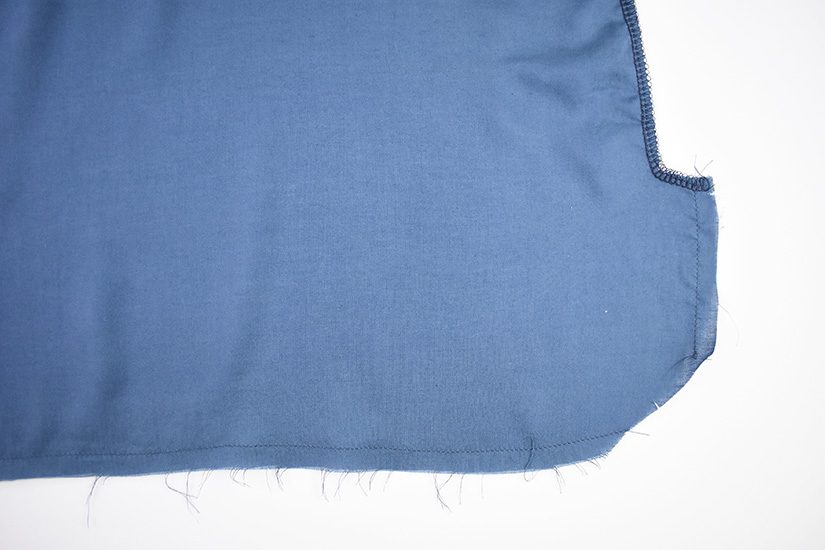
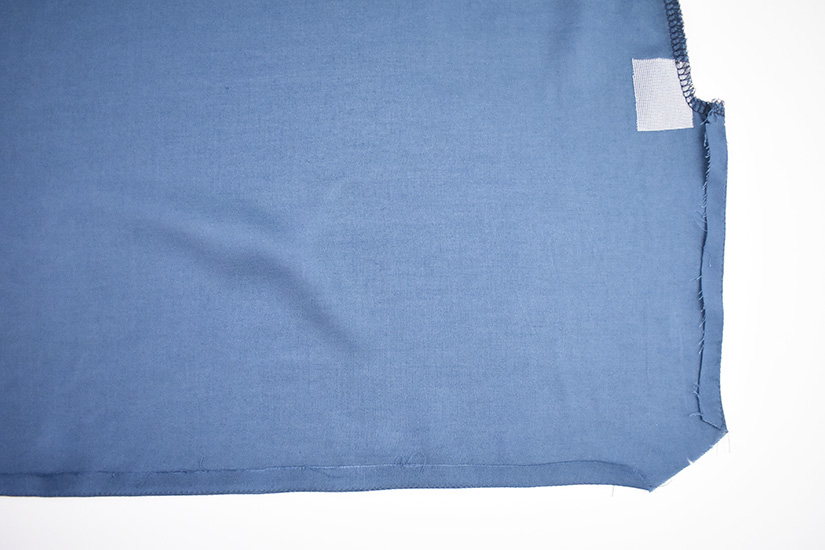
Finish the side seams separately with an overlock or zig zag stitch on both the front and back bodices, turning the corner at the slit. You can add a small square of fusible interfacing to the slit corners for added strength. Turn the front bodice and back bodice out, right sides together.
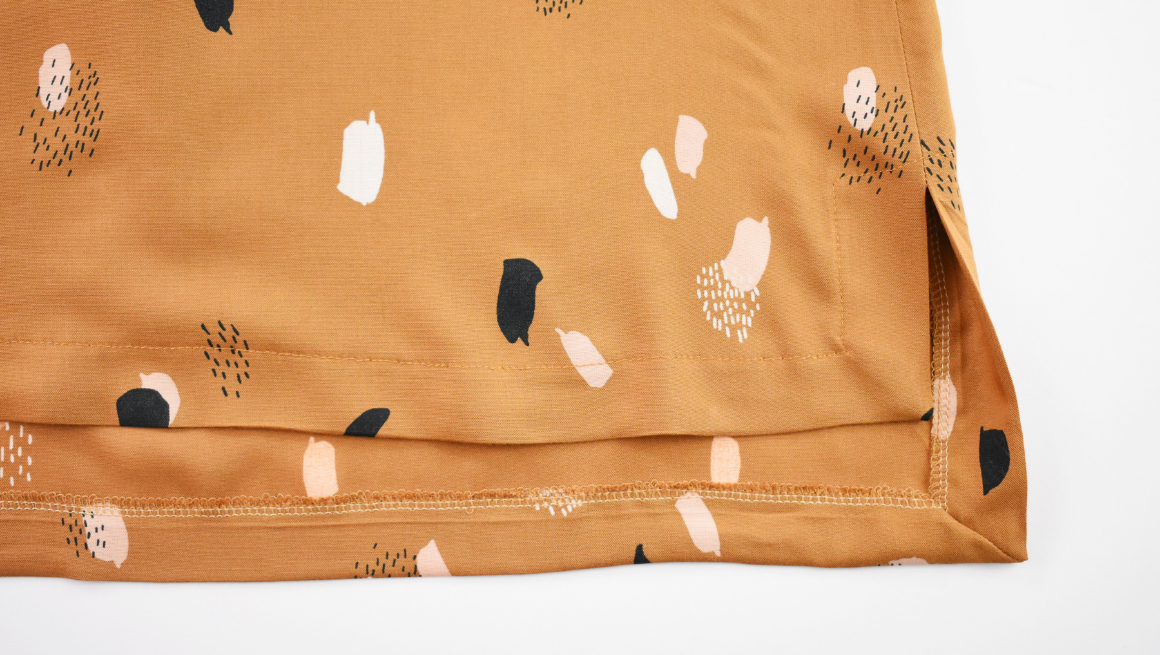
SEW A HEM GUIDE ON THE SLIT & HEM
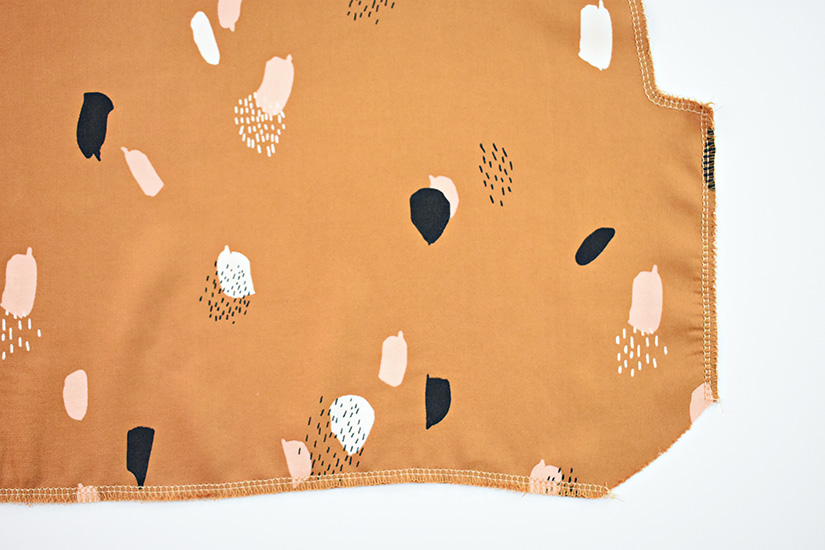
Prep the hem by stitching a baste stitch 3/8” (1 cm) from the cut edge of the hem and slit extension. Use this stitch line as a guide to fold the hem and sides of the slit to the wrong side of the mitered corners. Press the 3/8” (1 cm) folded edge in place. Alternatively, you can overlock the hem and slit extension.
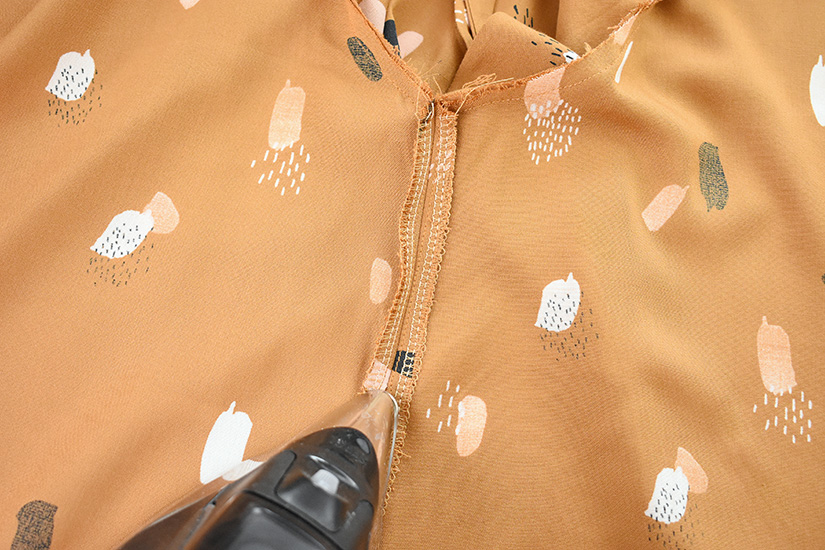
SEW THE SIDE SEAMS
Attach the front and back side seams just inside the ruffle stitch line. Sew from the top down to the slit notch, and backstitch a few times to secure. Press the side seams open.
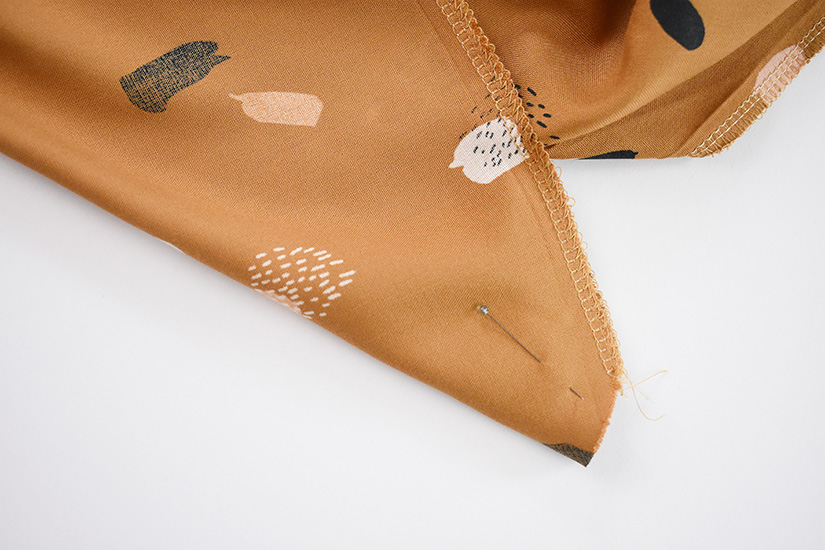
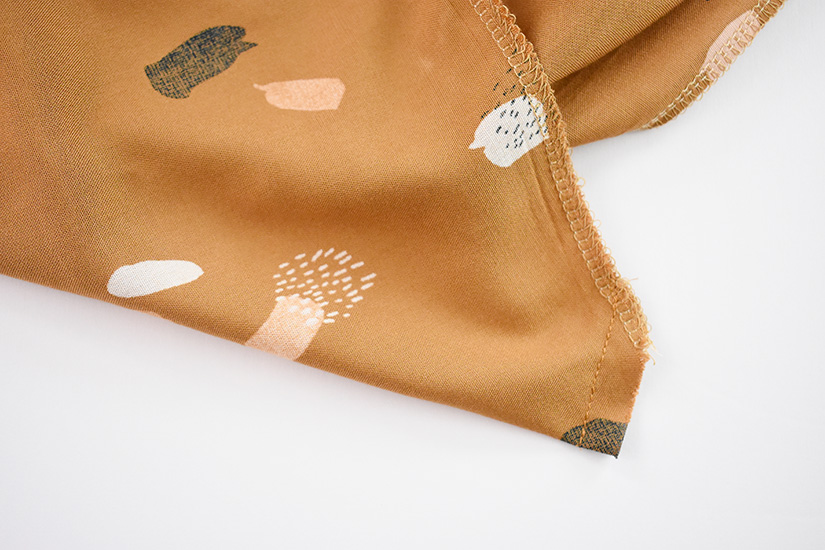
SEW THE MITERED CORNERS
Fold the mitered corners right sides together, making a 45 degree angle while keeping the folded edges in place. Sew at 3/8” (1 cm). Make a small clip at the mitered corner, being careful not to clip the seam. Turn the mitered corner right side out and press. Repeat for the remaining mitered corners.
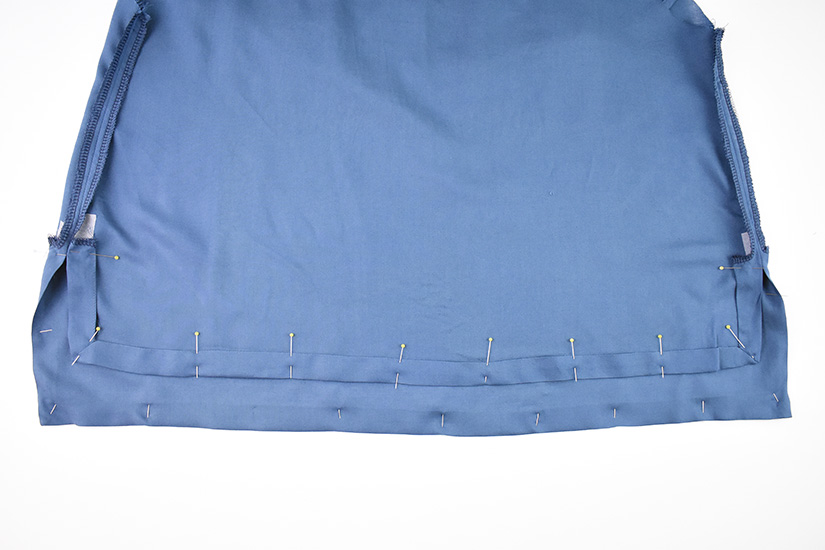
PIN THE HEM IN PLACE
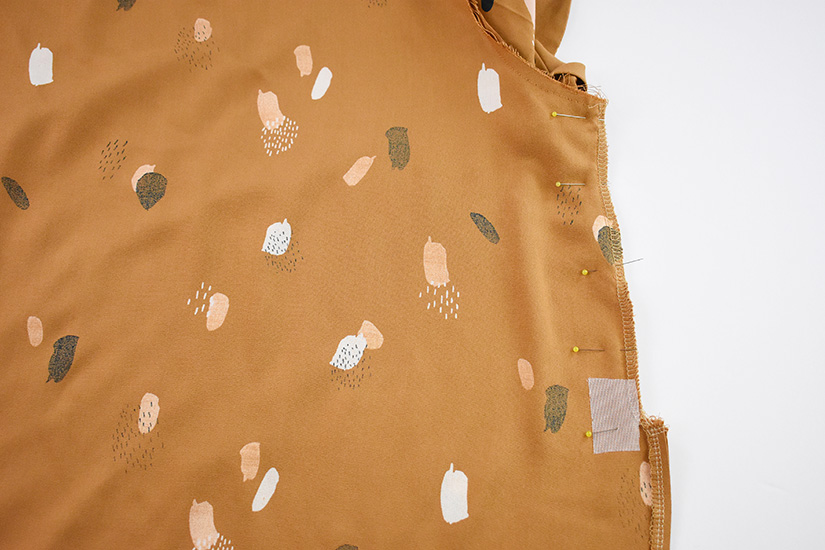
With the mitered corners right side out, pin the hem in place from the wrong side.
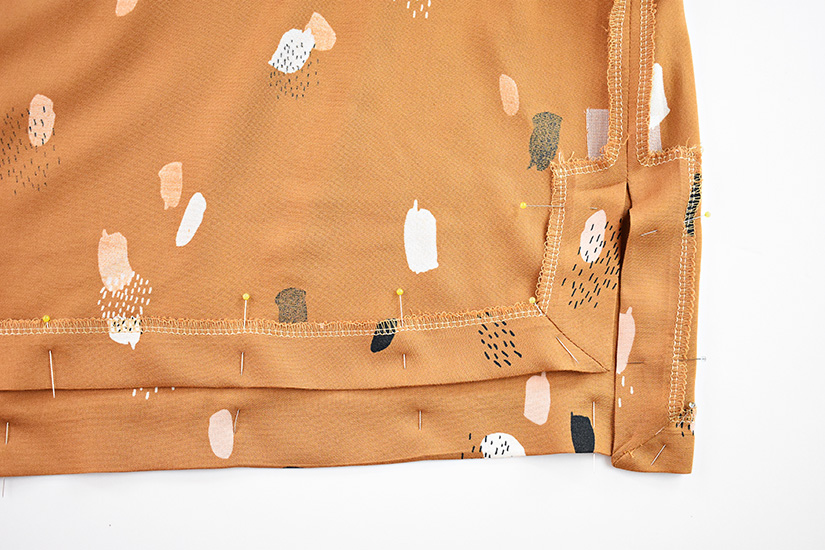
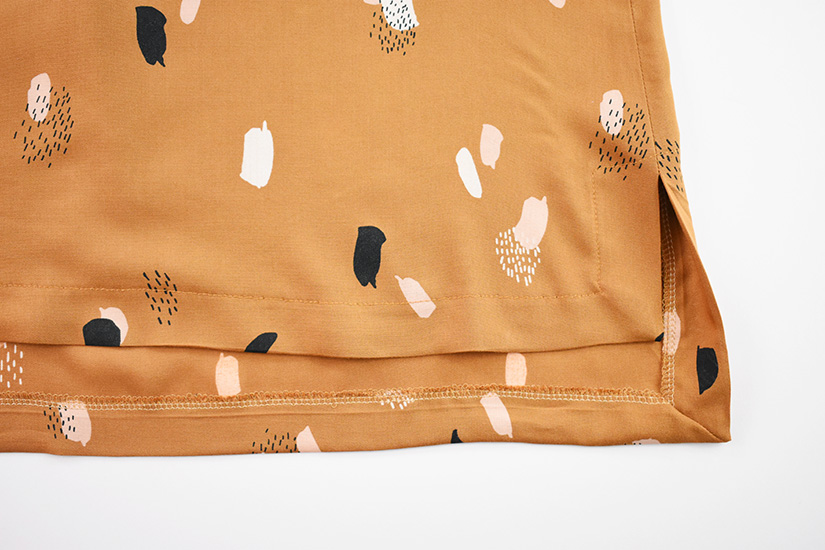
EDGESTITCH THE HEM
Edgestitch the hem, pivoting at the corners. Make sure to catch the top of the slit by stitching 1/4” (0.6 cm) across the top.

We’re ready to sew the underarm gussets and finish the armholes. Our Farrah will be finished after that!
Farrah Sew Along Posts: Getting Started | Prepare the Bodice and Sew the Ruffles | Sew Front & Back Bodices | Attach the Ruffle Sleeves, Sew Side Seams, and Hem | Sew the Underarm Gusset and Finish the Armhole

