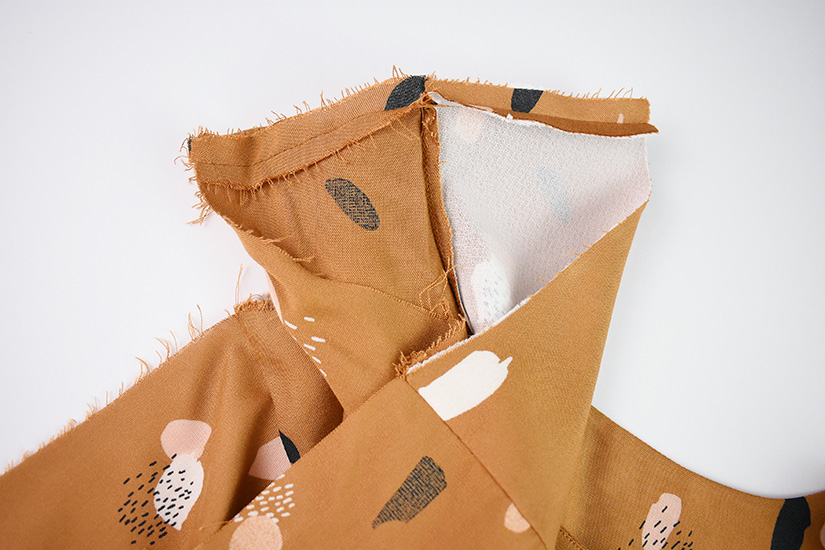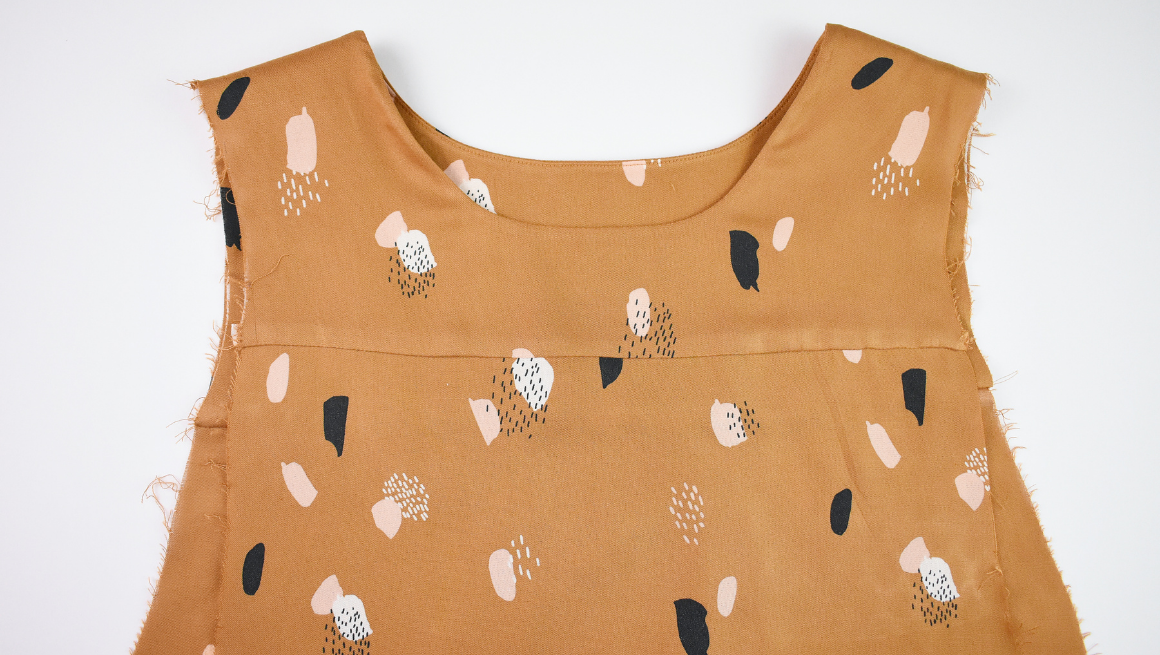
We’re going to continue sewing and attach the yokes with a clean finish. We’ll also complete the neckline of our Farrah.
GATHER THE BACK BODICE
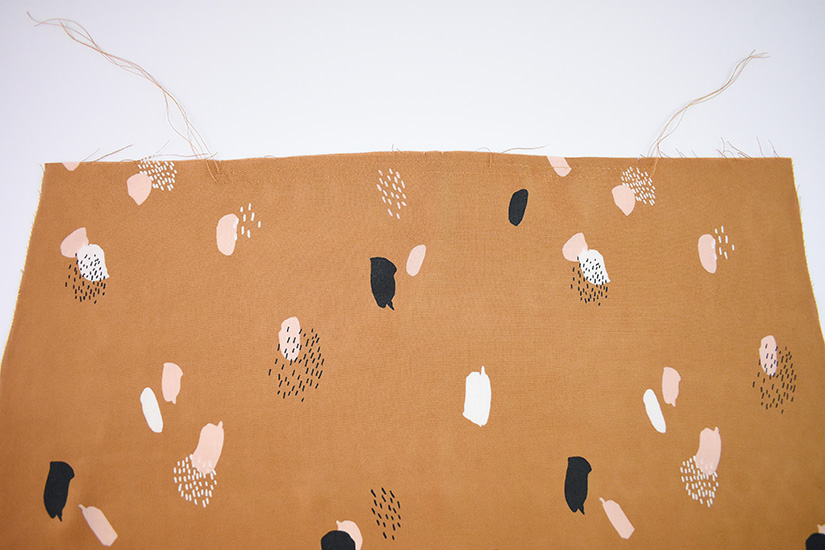
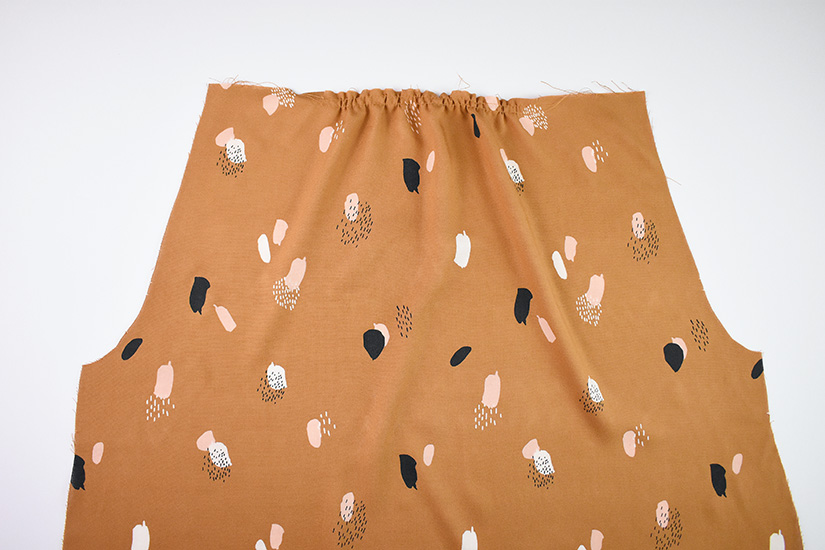
Change your stitch length to the longest possible length. Sew two parallel baste stitch lines at the top of the back bodice between the notches. Make sure not to backstitch at the beginning or end of your stitch lines and leave long ends to your threads. The first line is 1/4” (0.6 cm) away from the fabric edge. The second line is 1/2” (1.25 cm) away from the fabric edge. Pull the bobbin threads to gather. Alternatively, you can add a pleat instead of gathering between the notches
SEW THE FRONT AND BACK YOKES TO THE BODICE
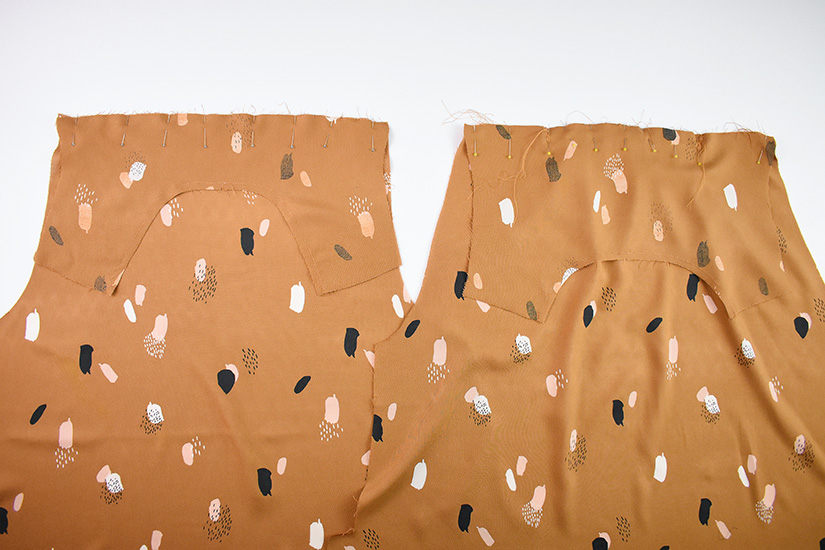
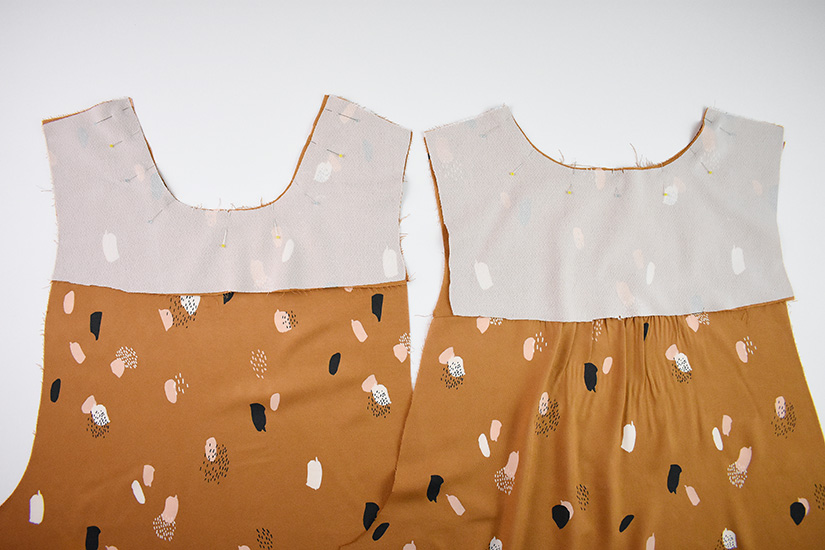
With the right sides together, pin the front yoke (without interfacing) to the front bodice, and sew at 1/4” (0.6 cm). Repeat for the back yoke and the back bodice. This seam will be enclosed when clean finishing the yoke. Press the yoke seam allowances up.
SEW THE YOKE FACING AT THE NECKLINE
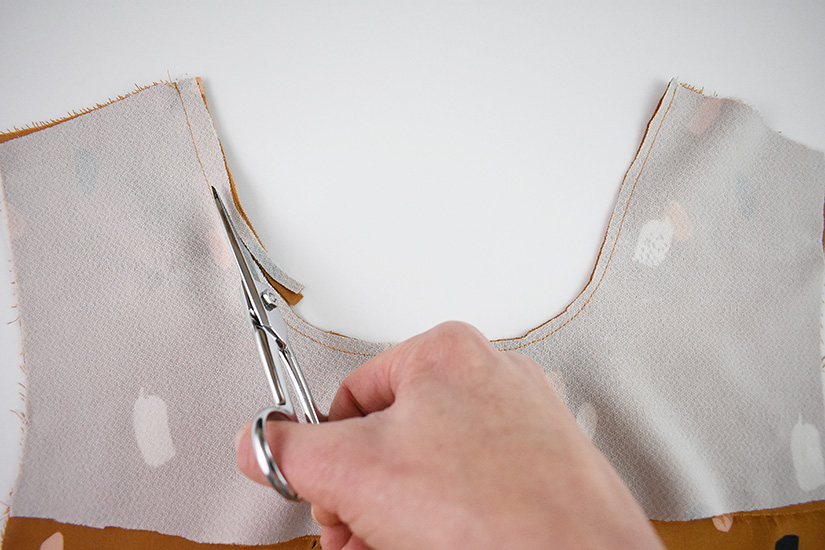
With the bodice pieces facing right side up, place the yoke facings (with interfacing) right sides together on the yoke pieces (without interfacing). Sew the neck seam and trim the curved seam to half.
UNDERSTITCH THE NECKLINE
Turn the yokes right side out. Open the facing, lay flat and press the seam allowance towards the yoke facing. Understitch the facing from shoulder seam to shoulder seam by stitching a line 1/16” (0.15 cm) away from the seam on the neck facing. Make sure to catch the seam allowance towards the facing when stitching. Turn right side out and press.
ROLL UP THE HEM
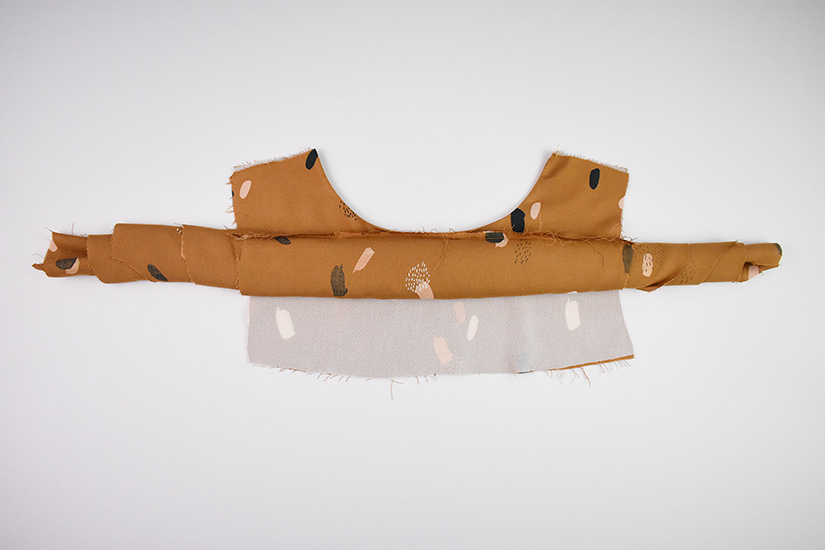
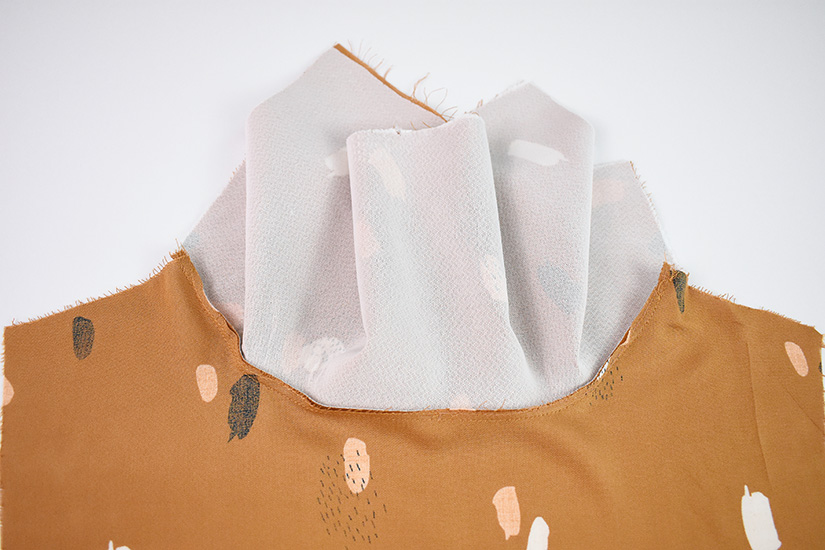
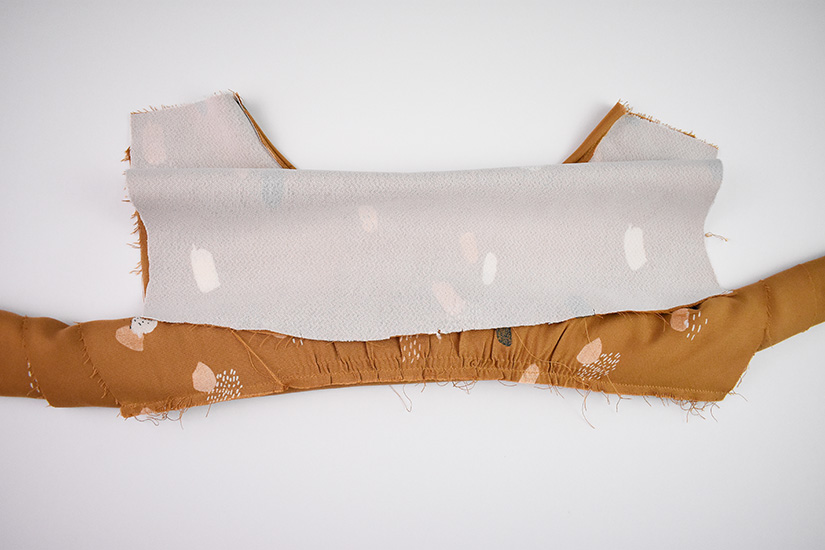
Take the bodice hem and roll it towards the yoke. Continue all the way up until all of the bodice is rolled up. Repeat for the back bodice.
CLEAN FINISH THE YOKE SEAM
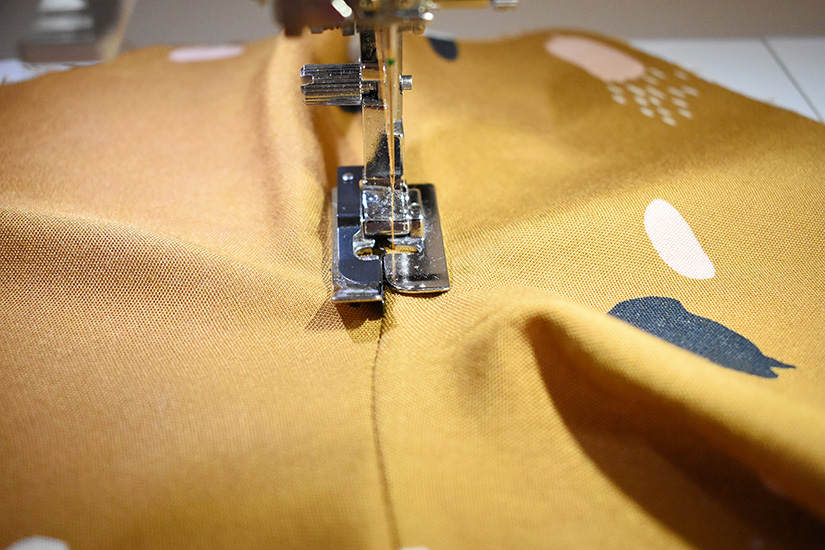
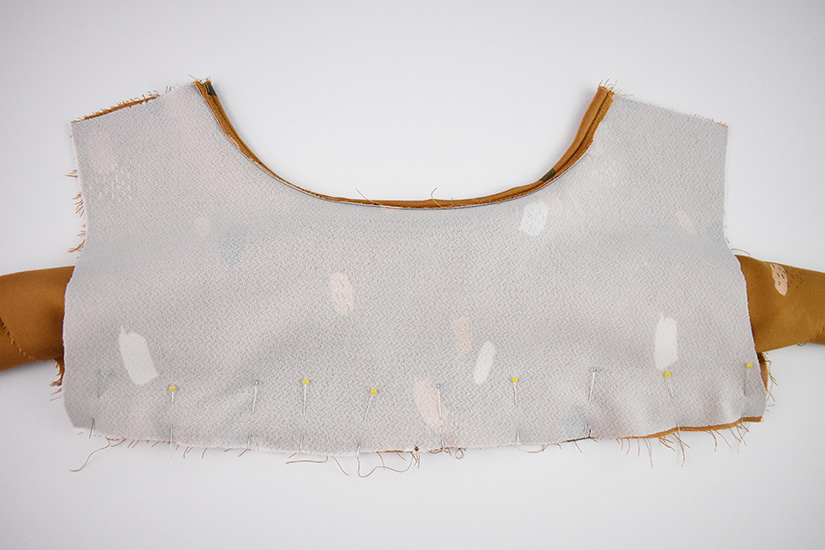
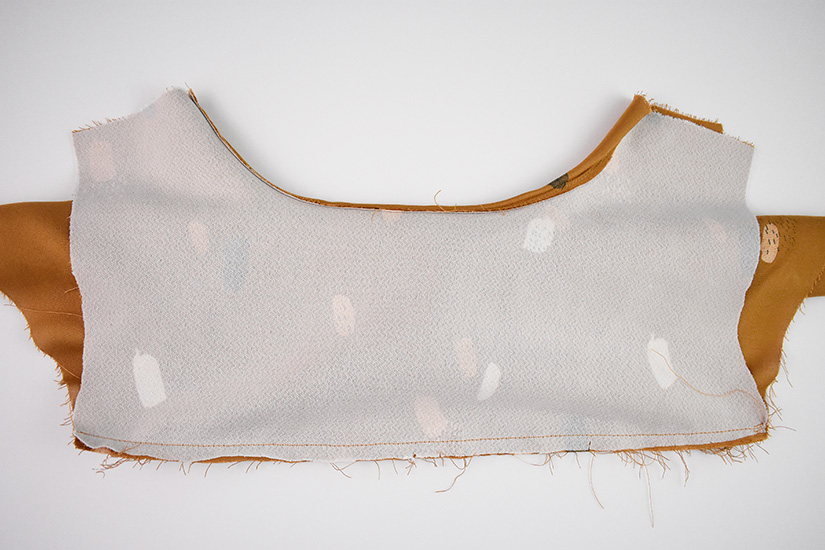
Flip the yokes so the right sides are together with the bodice rolled and between the neckline and yoke seam. Pin the yoke seams and sew at 3/8” (1 cm) to clean finish the yoke. Repeat for the back bodice.
PRESS THE YOKE SEAMS
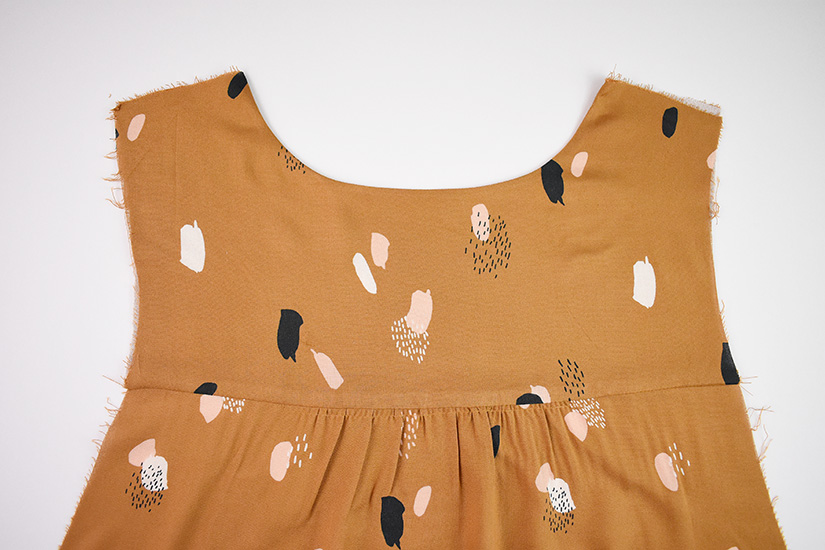
Once you have clean finished the front and back, turn the bodices right side out. Press the yoke seam.
ATTACH THE FRONT AND BACK AT THE SHOULDERS
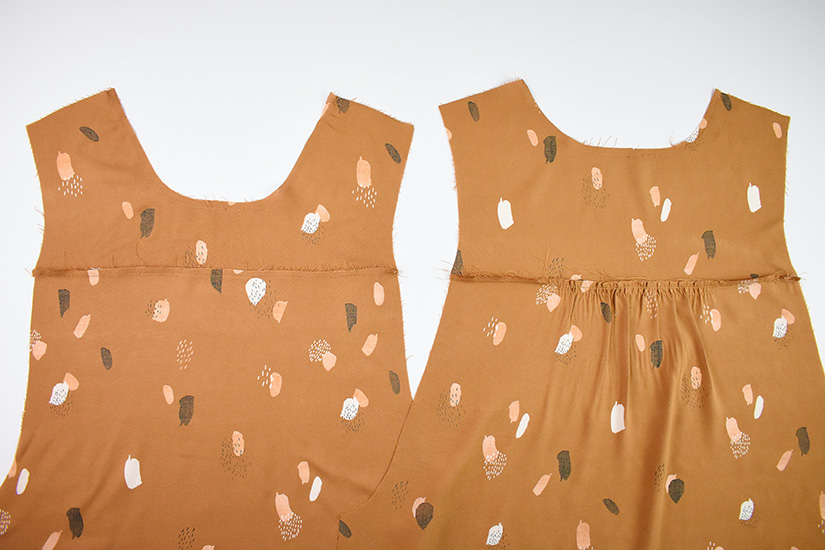
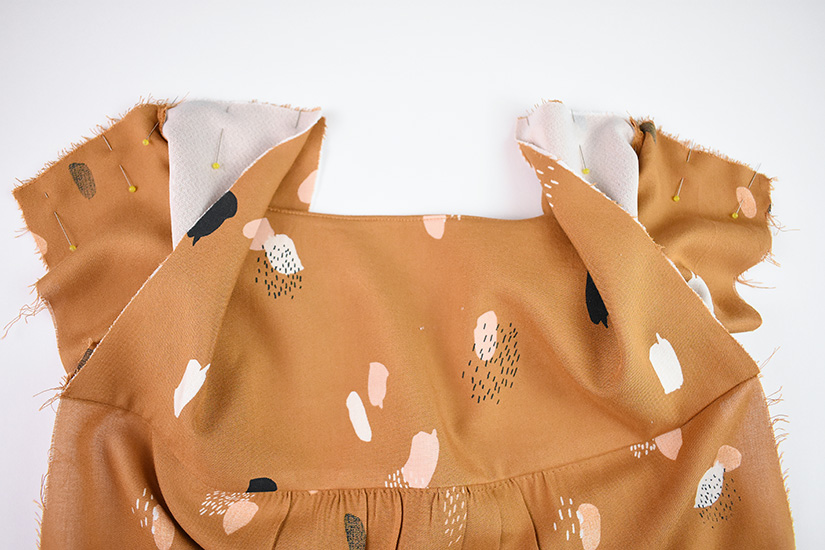
Open the front and back yokes and the front and back yoke facings. The neck seam allowances will be pressed towards the back from the under stitching. With the right sides together, sew the front and back shoulder seams together and the front and back facing shoulder seams together, all in one pass. Press the seams open.
PRESS THE NECKLINE
Turn the bodice right side out and press the shoulder seams and neckline.
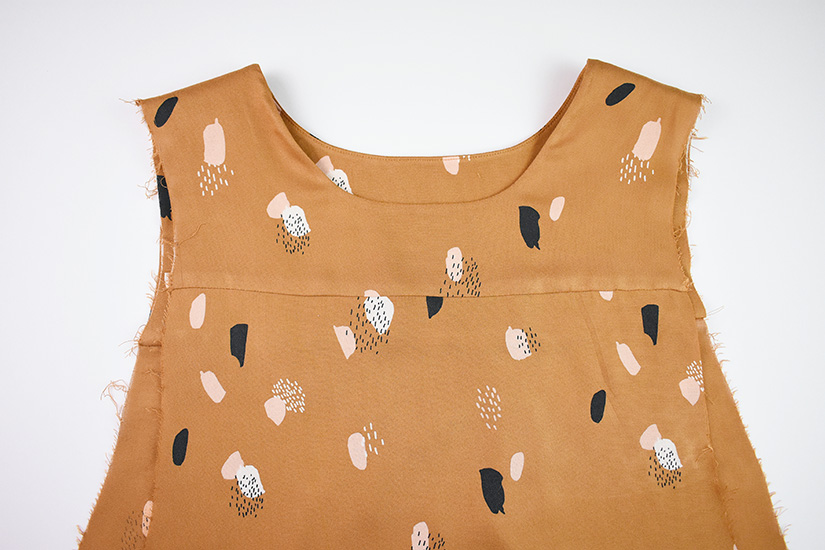
We will attach the ruffled sleeves for View A and sew the side seams for both views next. We’ll also sew the mitered hem.
Farrah Sew Along Posts: Getting Started | Prepare the Bodice and Sew the Ruffles | Sew Front & Back Bodices | Attach the Ruffle Sleeves, Sew Side Seams, and Hem | Sew the Underarm Gusset and Finish the Armhole

