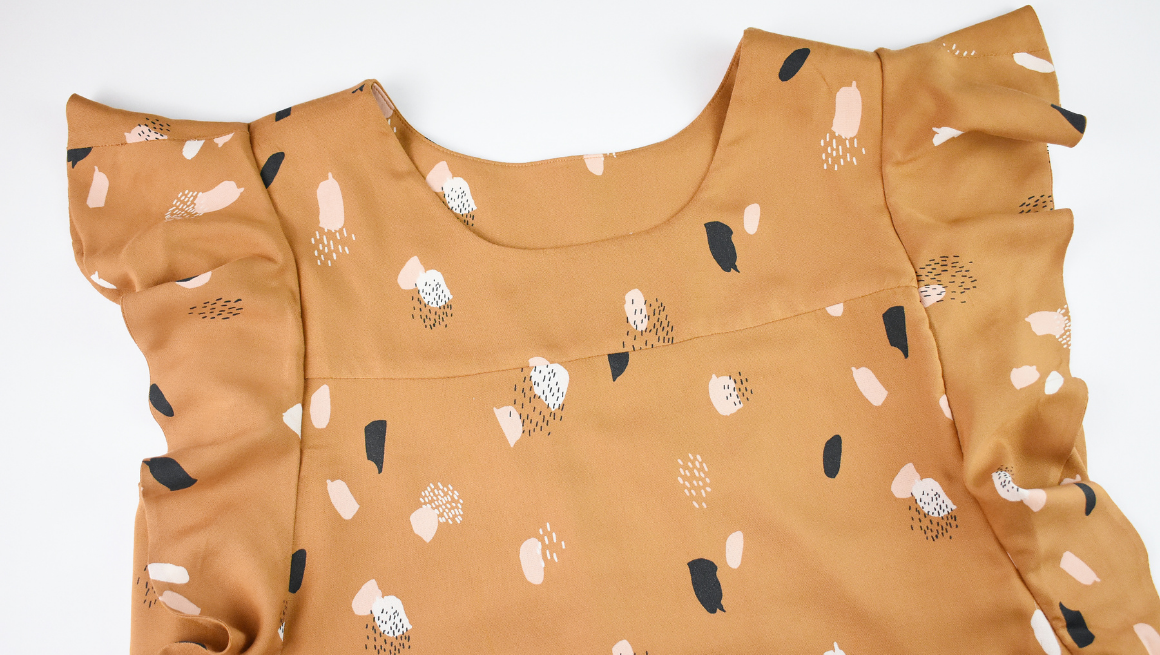
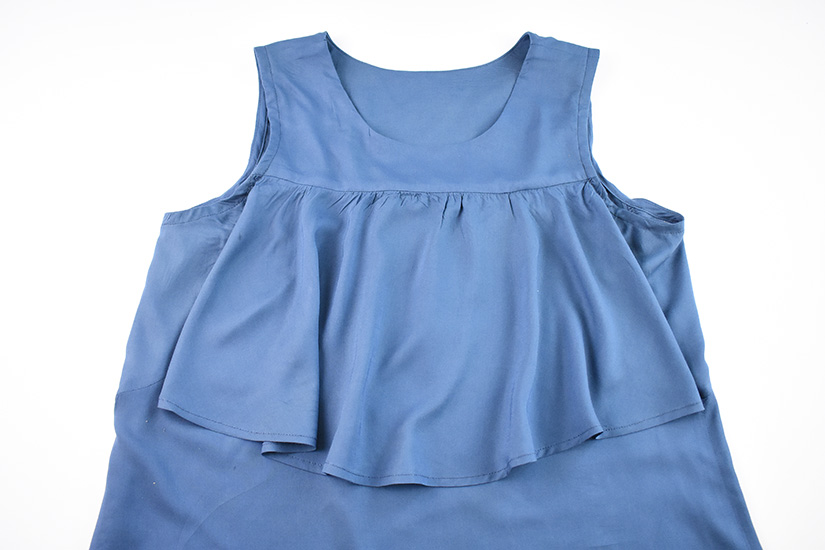
We are almost done sewing our Farrah! Our last steps are to sew the underarm gussets and to finish the armholes.
VIEW A
The following steps finish the upper edge of the underarm gusset for view A. If you are making View B, skip ahead to attaching the gusset to the armhole.
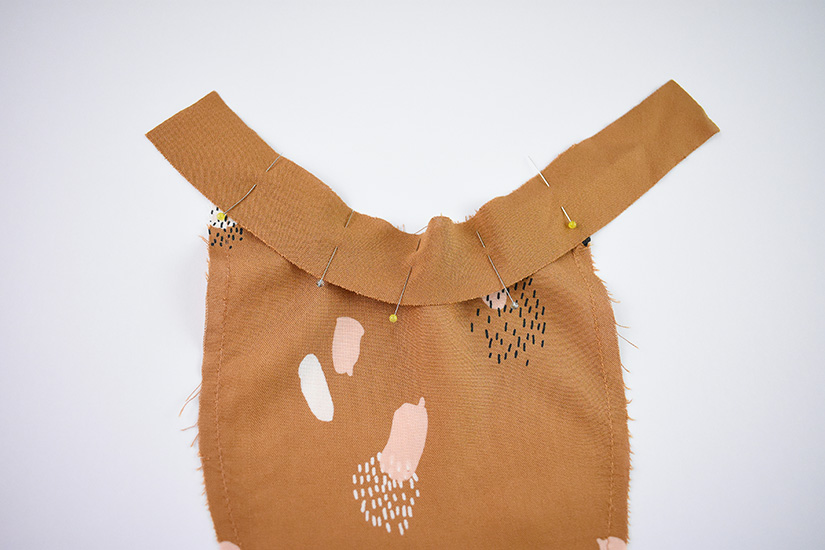
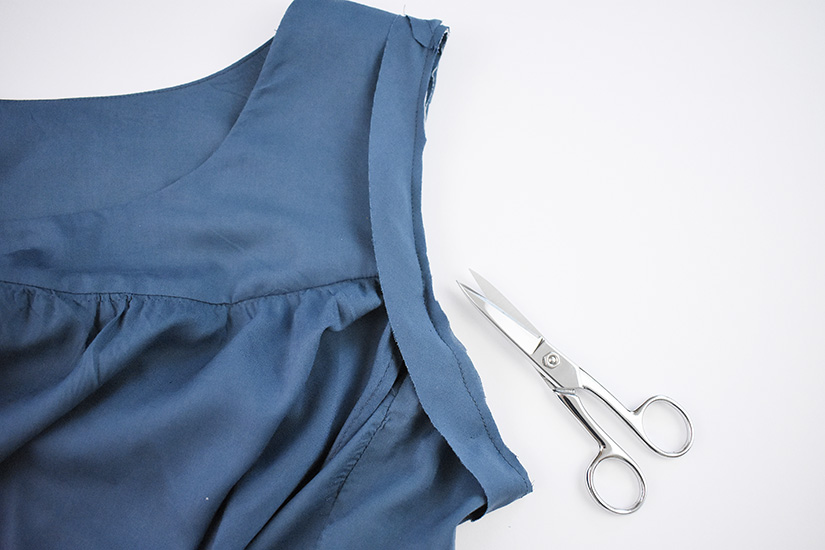
ATTACH BIAS TO THE UNDERARM GUSSET
Pin the bias to the top edge of the gusset and attach at 3/8” (1 cm). The bias will be longer than the top edge. Trim the seam allowance to half to reduce bulk. Press the seam towards the bias.
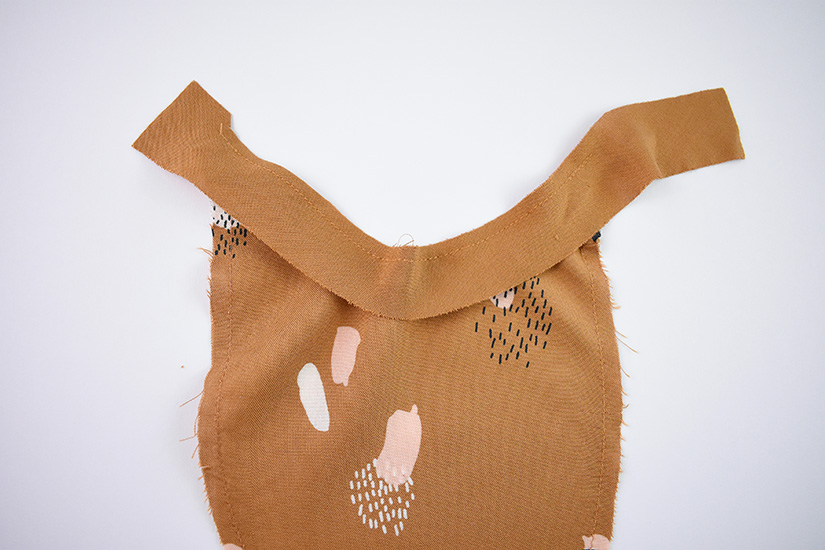
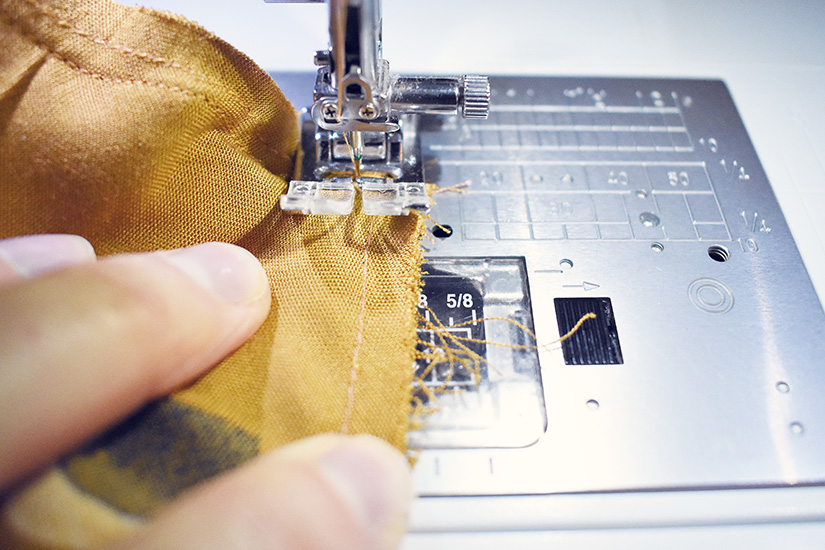
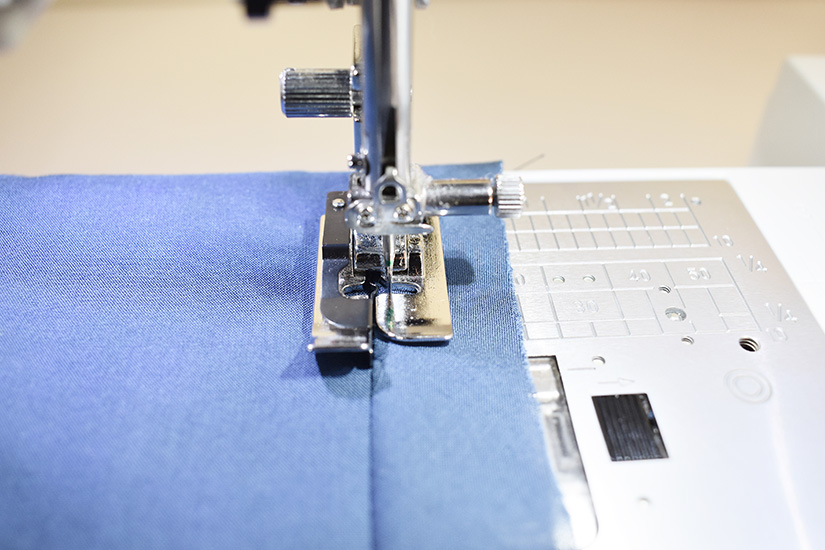
UNDERSTITCH THE BIAS
Understitch by stitching a line 1/16” (0.15 cm) away from the seam on the bias. Make sure to catch the seam allowance towards the bias when stitching.
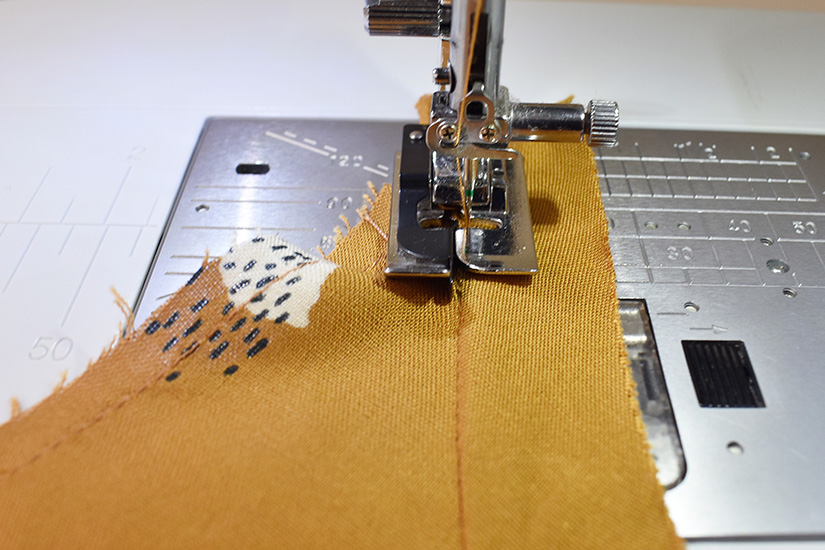
EDGESTITCH THE BIAS
Flip the gusset so it is wrong side up. Press the bias edge towards the center so the cut edge meets the stitch line. Fold one more time so the bias is lying on the inside of the gusset. Pin in place. Edgestitch the bias from the wrong side, catching the very edge. Trim bias excess. Press.
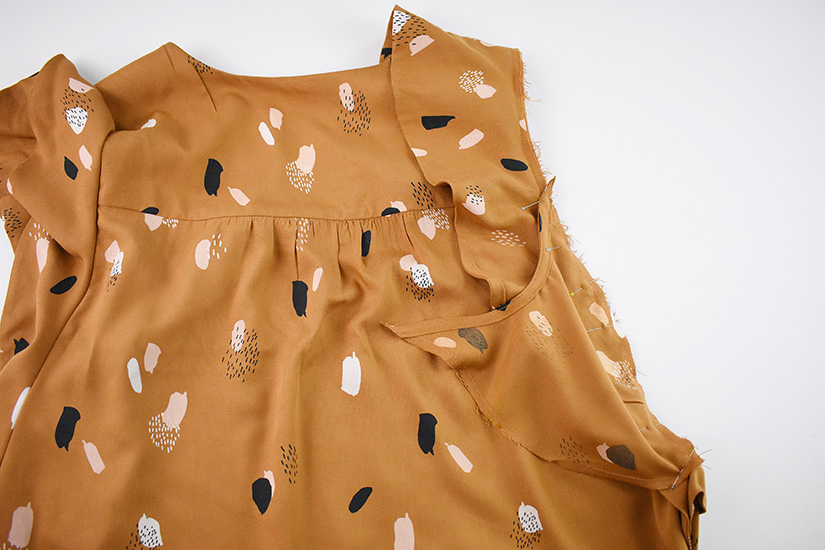
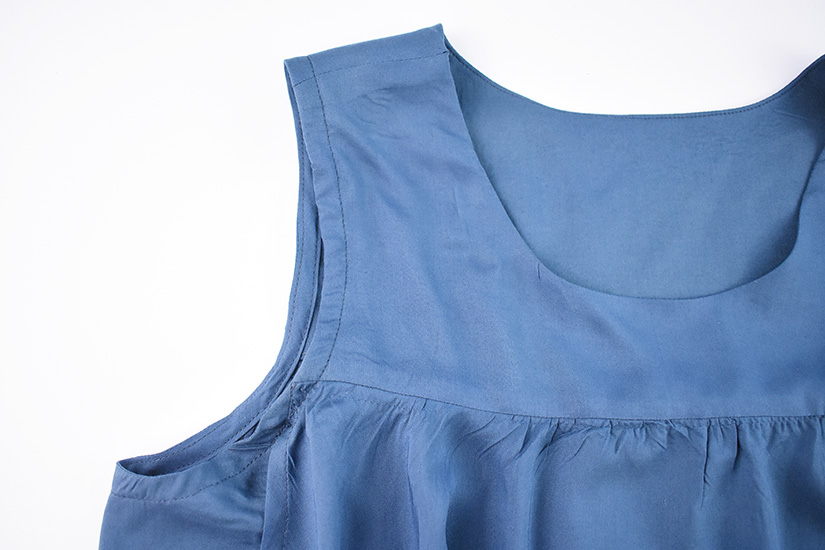
ATTACH THE GUSSET TO THE ARMHOLE (BOTH VIEWS)
Start pinning the gusset to the armhole with the gusset on top of the bodice for better visibility. The top edge of the gusset starts at the yoke seam, matching the notches. Make sure the “X” at the bottom of the gusset meets the side seam. At the side seam, leave your needle in the down position and clip the corner at a 45 degree angle without cutting into the seam. Pivot your fabric, bring the other side of the gusset to the armhole, matching the notches and ending the gusset at the yoke seam, pin and sew. Repeat for the other side.
FINISH THE GUSSET & ARMHOLE SEAMS
Flip the bodice wrong side out. Clip the “V” point on both sides of the gusset seam to help the corner lie flat. For View A, finish the edges of the exposed gusset and armhole with an overlock, zig zag or you can add bias binding to finish the seam. For View B, finish the edges of only the gusset with an overlock or zig zag and press the seam allowances up.
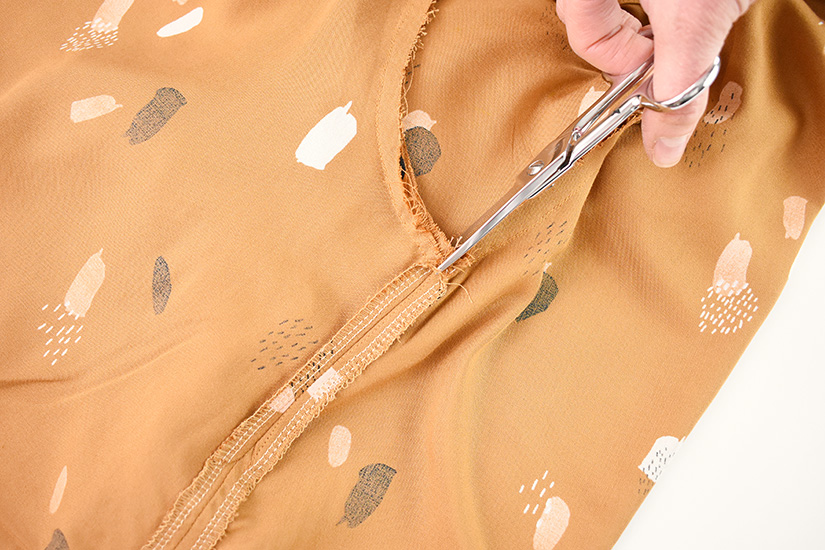
FINISH THE GUSSET SEAMS
Flip the bodice wrong side out. Clip the “V” point on both sides of the gusset seam to help the corner lie flat.
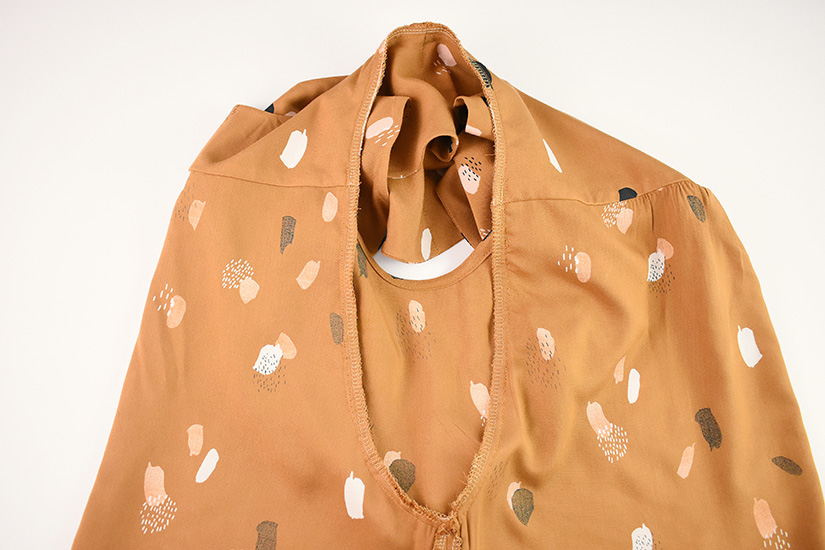
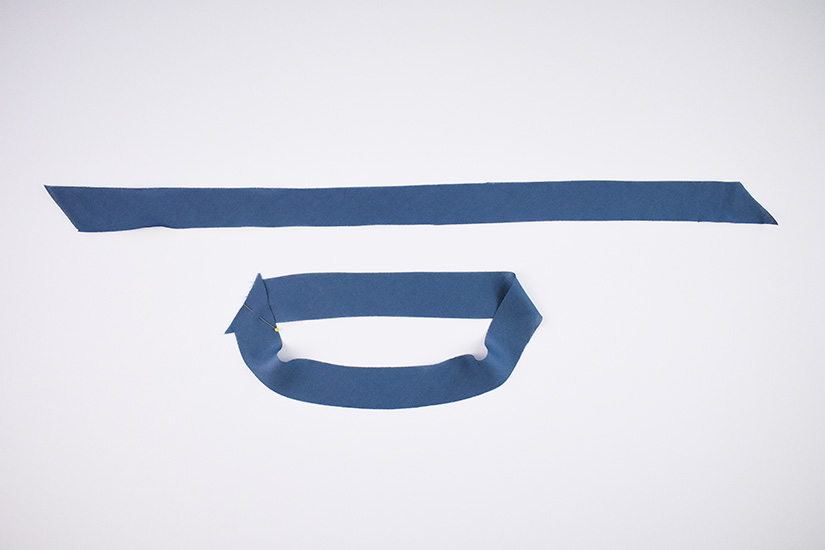
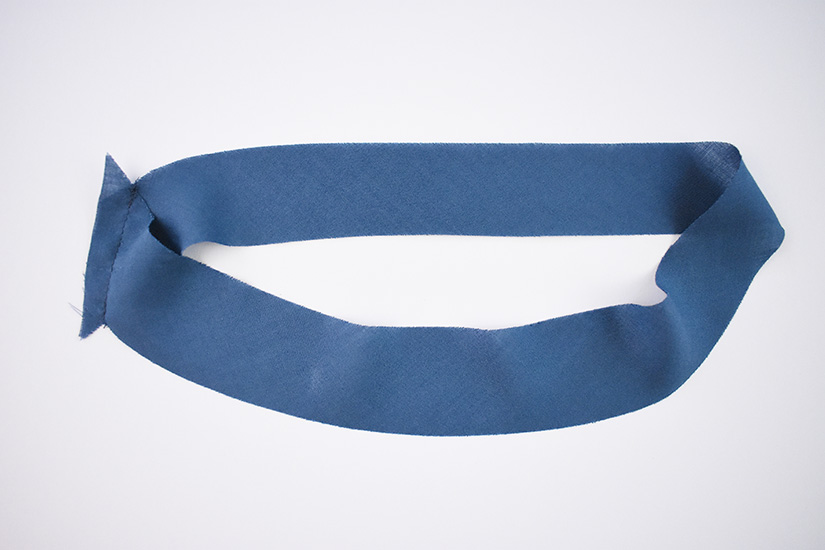
SEW THE BIAS IN A CIRCLE
To finish the armhole with bias binding, sew the bias strips right sides together to form a circle for the armhole. Press the seam allowance open.
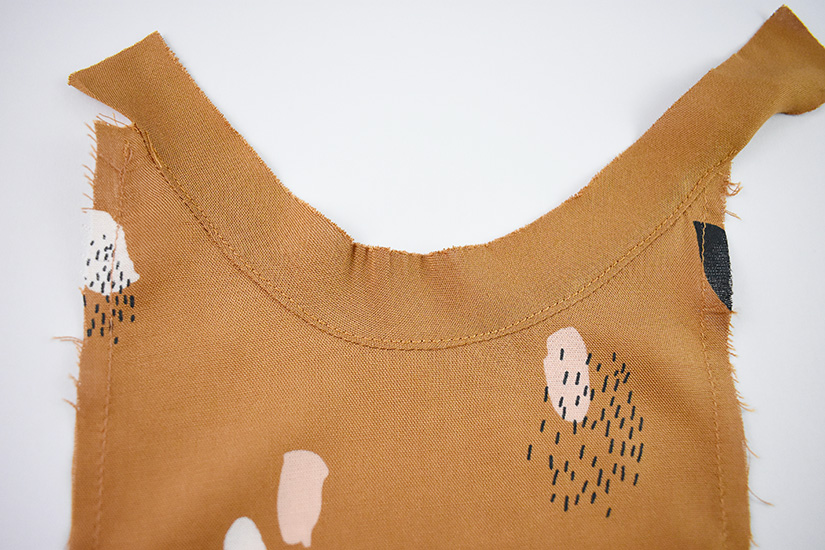
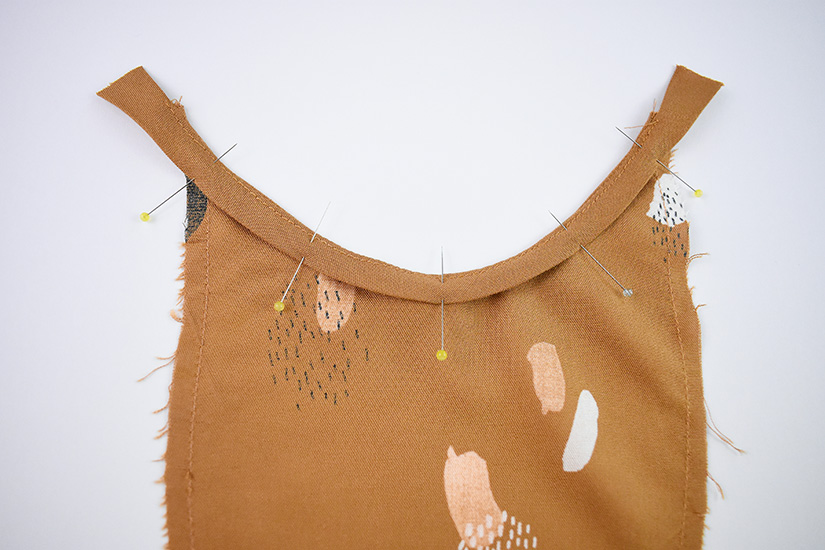
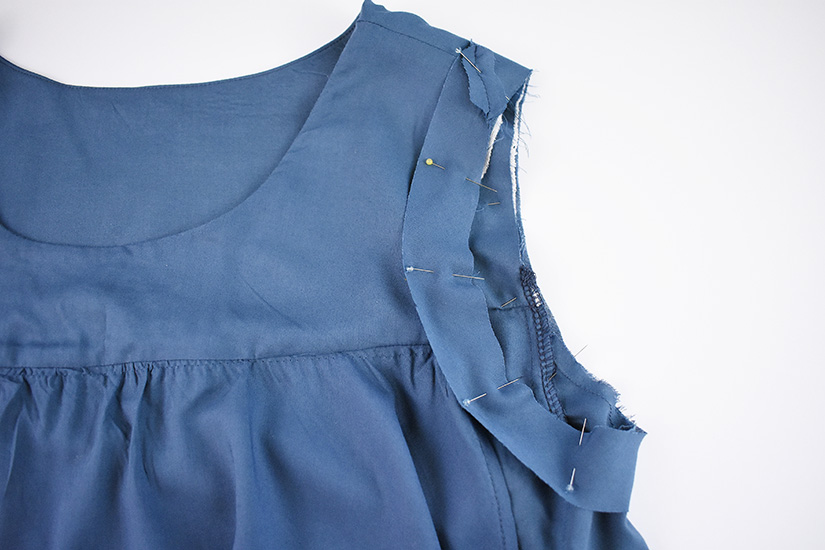
SEW BIAS TO THE ARMHOLE
Pin the bias in a circle and attach it to the armhole. Trim the seam allowance to half to reduce bulk. Press the seam allowance toward the bias.
UNDERSTITCH THE BIAS
Understitch by stitching a line 1/16” (0.15 cm) away from the seam on the bias. Make sure to catch the seam allowance towards the bias when stitching.
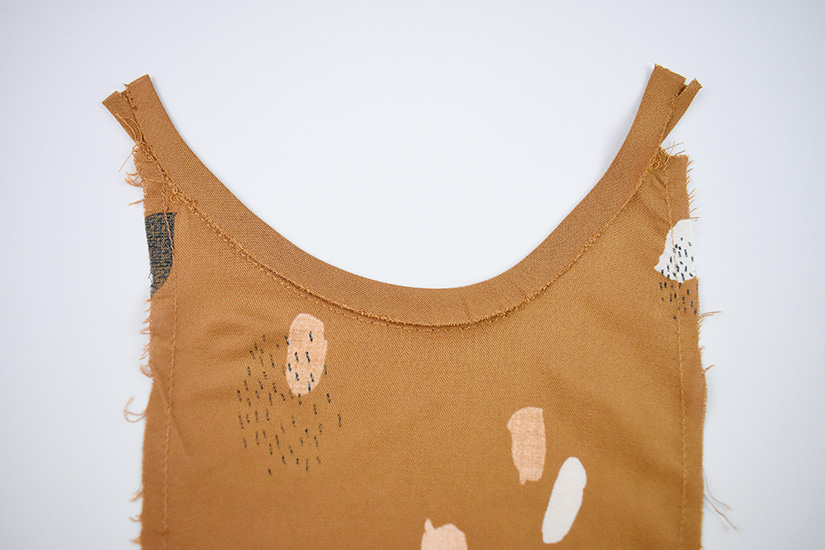
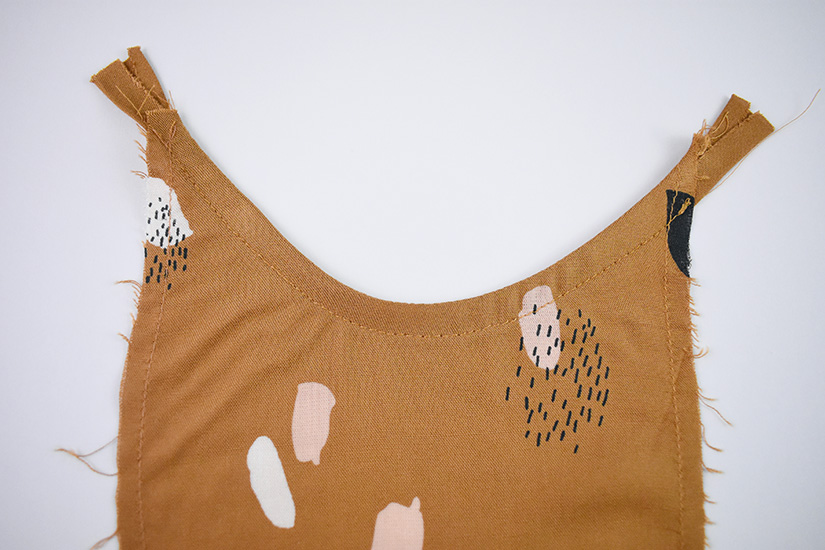
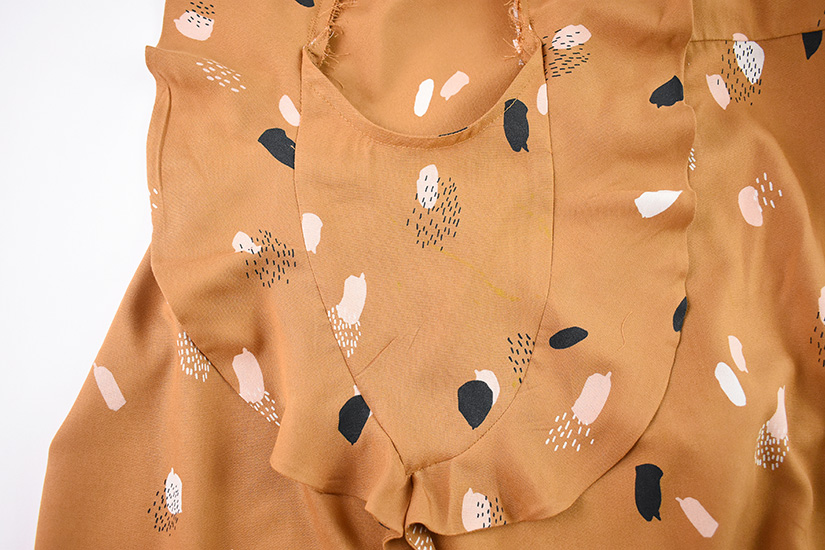
EDGESTITCH THE BIAS
Flip the bodice so it is wrong side up. Press the bias edge towards the seam so the cut edge meets the stitch line. Fold one more time so the bias is lying on the inside of the armhole. Pin in place. Edgestitch the bias from the wrong side, catching the very edge. Start under the ruffle, and as you move around the armhole make sure not to catch the ruffle, and finish right above the ruffle in the front.
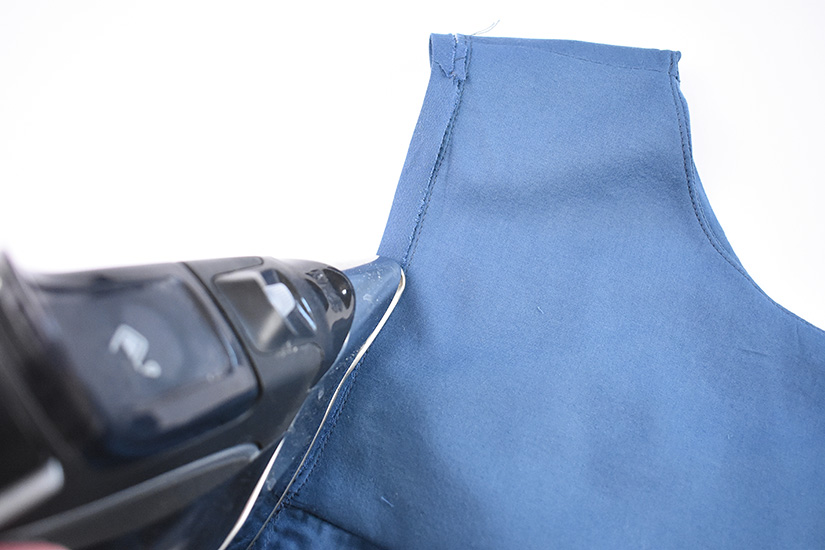
FINAL PRESS
You are finished! Give your Farrah top or dress a final press!

Farrah Sew Along Posts: Getting Started | Prepare the Bodice and Sew the Ruffles | Sew Front & Back Bodices | Attach the Ruffle Sleeves, Sew Side Seams, and Hem | Sew the Underarm Gusset and Finish the Armhole
