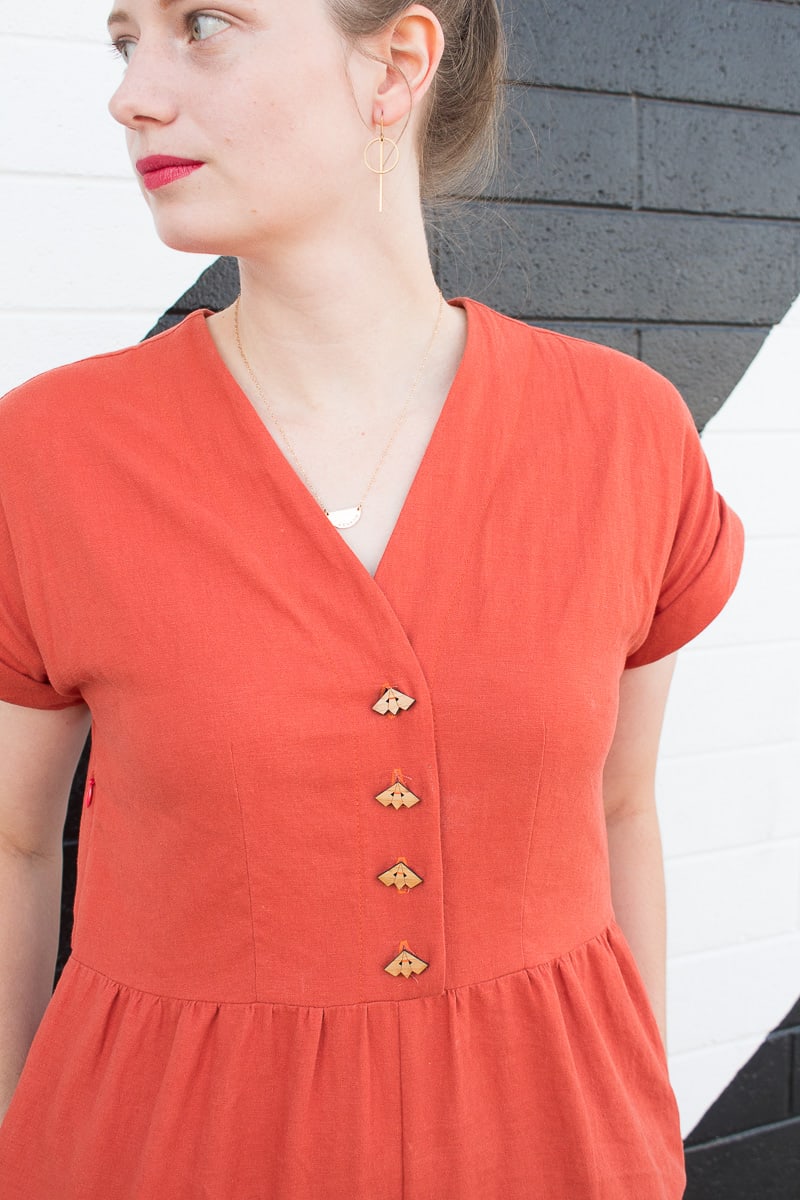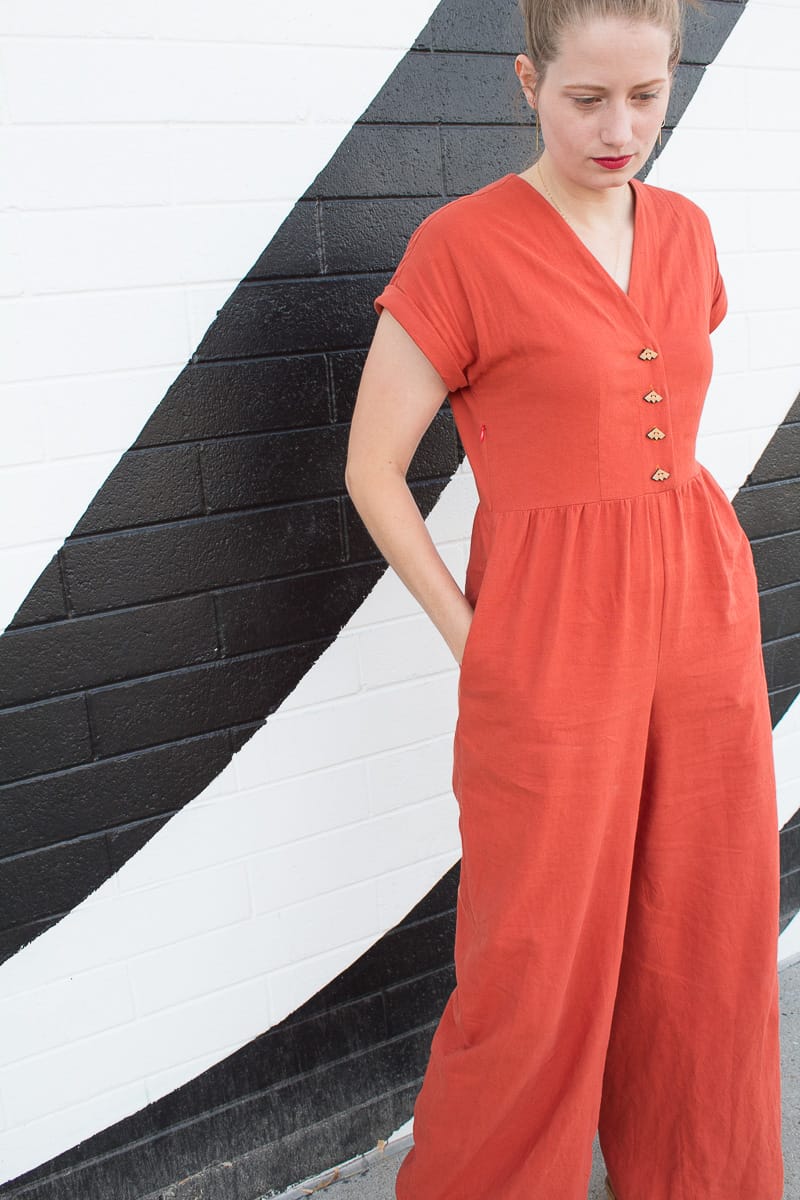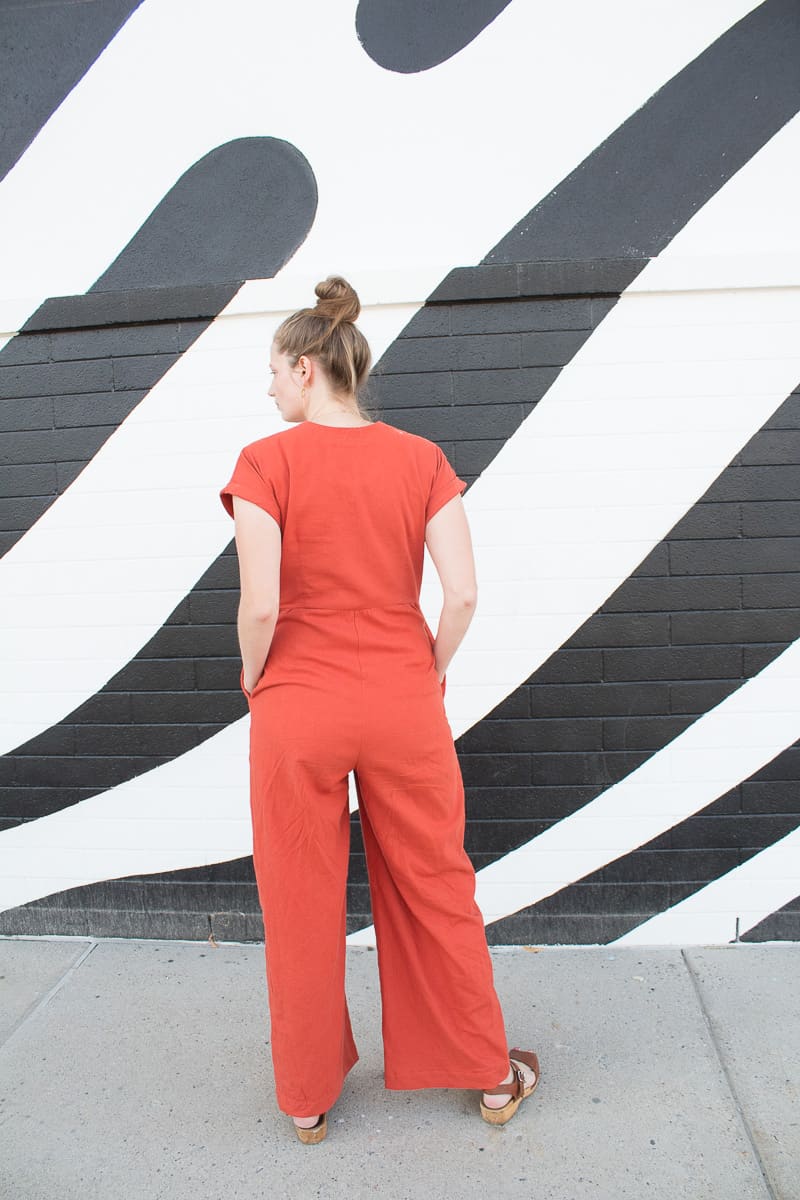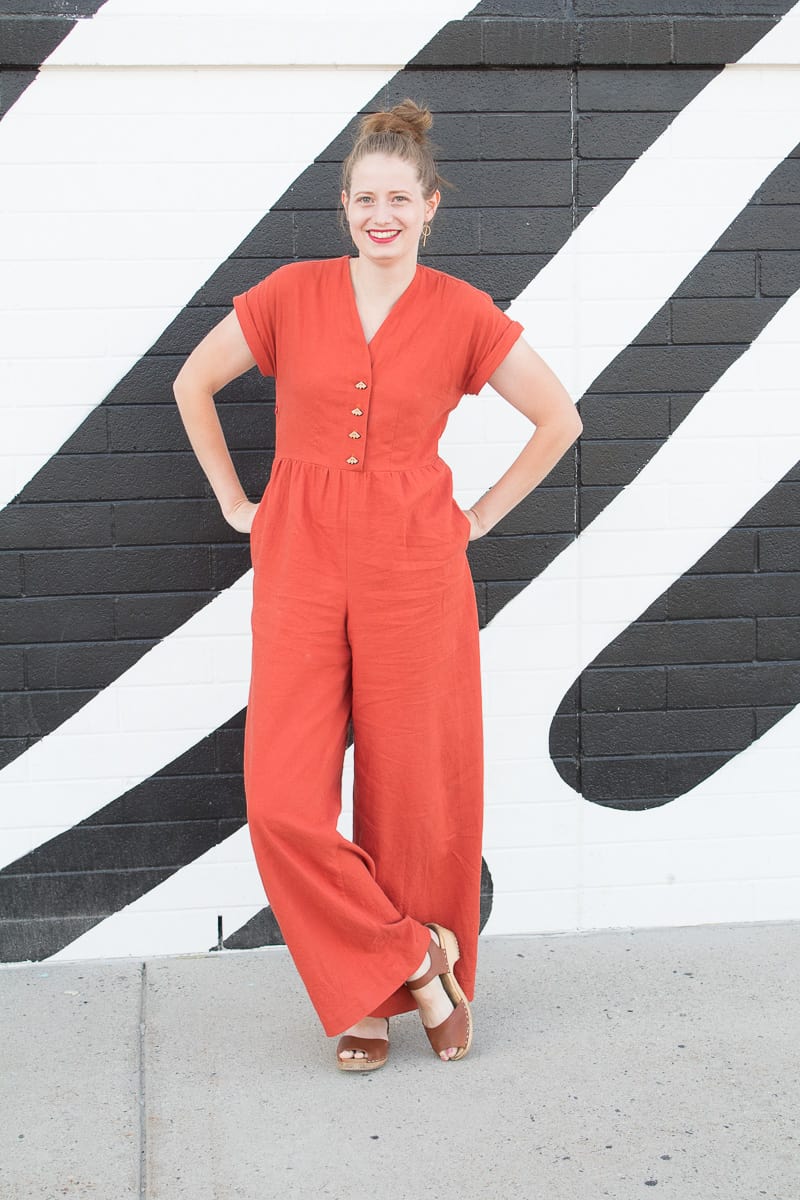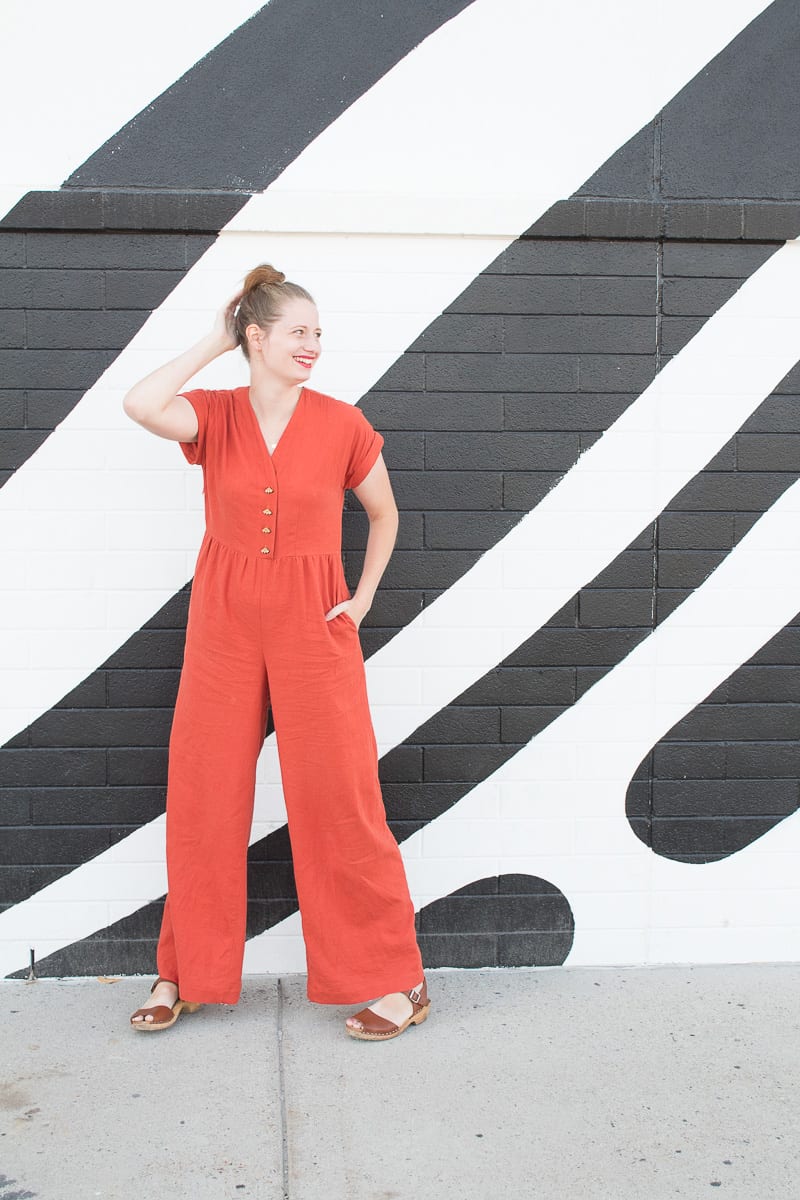
Hi friends! I’m Nicole and I blog over at Merritts Makes and can be found on IG at @nf_merritts. I’ve been a fan of the Fringe since making my first version last summer. While I LOVE my Fringe Dress, I decided that what I really needed in my closet was a Fringe jumpsuit. Today I’m sharing all about mine and how you can make one of your own. Ready? Let’s do this!
Fringe Fabric Inspiration:
Let’s talk fabric for a quick minute. The fabric I used for this jumpsuit is a rayon/linen blend purchased from Joann Fabric. I purchased it in-store and can’t find the exact fabric for sale online. It has a slightly heavier weight than a rayon challis, but still maintains a beautiful drape. Other fabrics that would work beautifully for this jumpsuit include Tencel twill, silk noil, and other drapey linen blends. Here are a few that I thought would work well. Clearly, I’m really into a fall color palette at the moment.
Here’s what you’ll need:
Gather the Fringe Dress View A bodice pieces, pockets, and View B cuffs. Second, you’ll need a wide leg pants pattern. I used the Sew House Seven Burnside Bibs version #1 pants for this jumpsuit. I think this could work equally well with the Helen’s Closet Winslow Culottes or, if you’re looking for a lot of volume on the bottom, you could try the Named Clothing Ninni Culottes. You’ll also need a coordinating 12-14” invisible zipper. The zipper is crucial because, unless your hip measurement is smaller than your waist, you will not be able to get your jumpsuit on and off.
Getting Started:
Let’s talk pattern alterations. I made no real alterations to the bodice pieces except to add one inch to the length so it would hit at my natural waist. Since I’m 5’10,” this is a common alteration for me and one I made on my last Fringe.
The pants needed only slightly more work. I needed the pants to meet the bodice at my natural waist, so I achieved this by adding 1/2” to the front and back crotch length. My non-expert way of determining whether to lengthen or shorten crotch depth is by holding the pattern pieces around my body and noting their distance from my waist. Next, I straightened out the tops of the back pattern pieces as I opted out of the back darts and chose to gather the pants instead. That’s it.
Cut out your pockets, bodice pieces, and cuffs according to the Fringe Dress instructions. Cut two front pant pieces (mirror image) and two back pant pieces (mirror images).
Finally, It’s Time to Sew:
1. Follow the Fringe pattern instructions through step 12 to assemble your View A bodice. Attach View B cuffs. DO NOT sew the side seams yet.
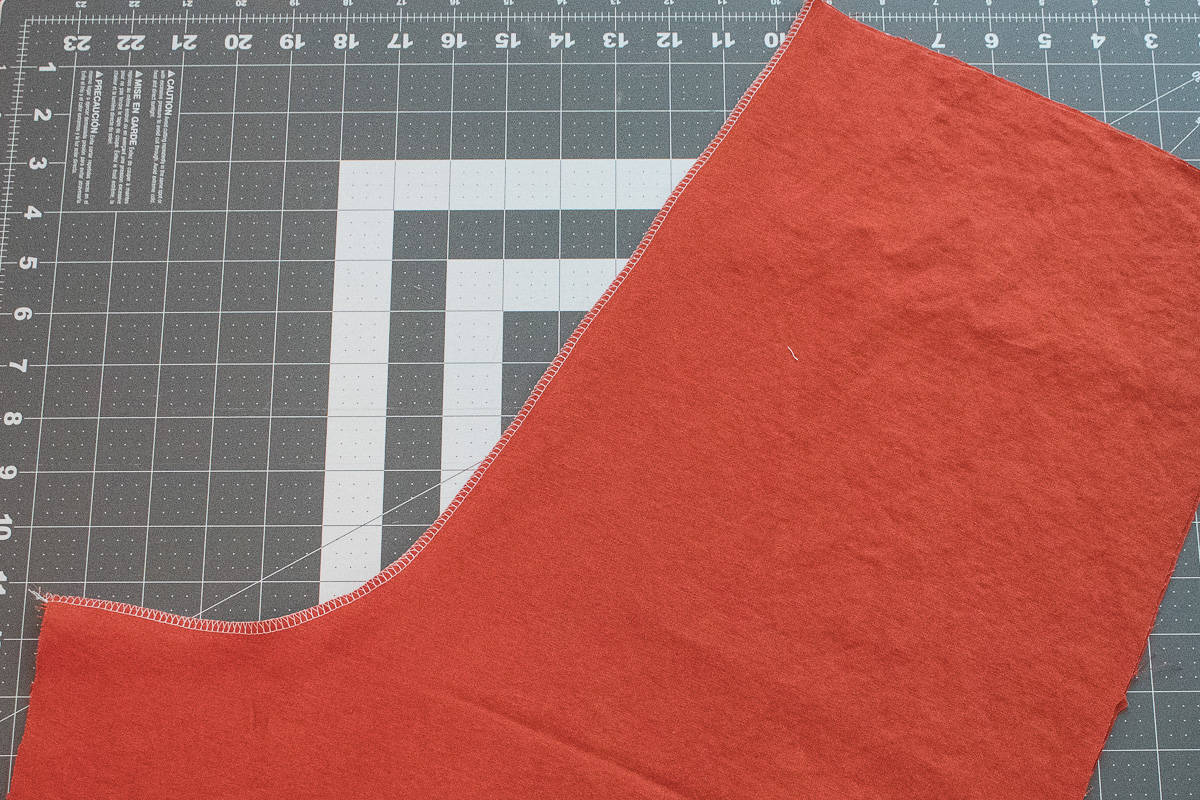
2. Use a 3/8″ seam allowance to stitch the front and back crotch seams. Finish crotch seams.
3. With right sides together, match the front pant to the back pant along the inseam. Sew at 3/8″. Press, finish the seam and topstitch at 1/8″ if desired. DO NOT sew outer side seams.
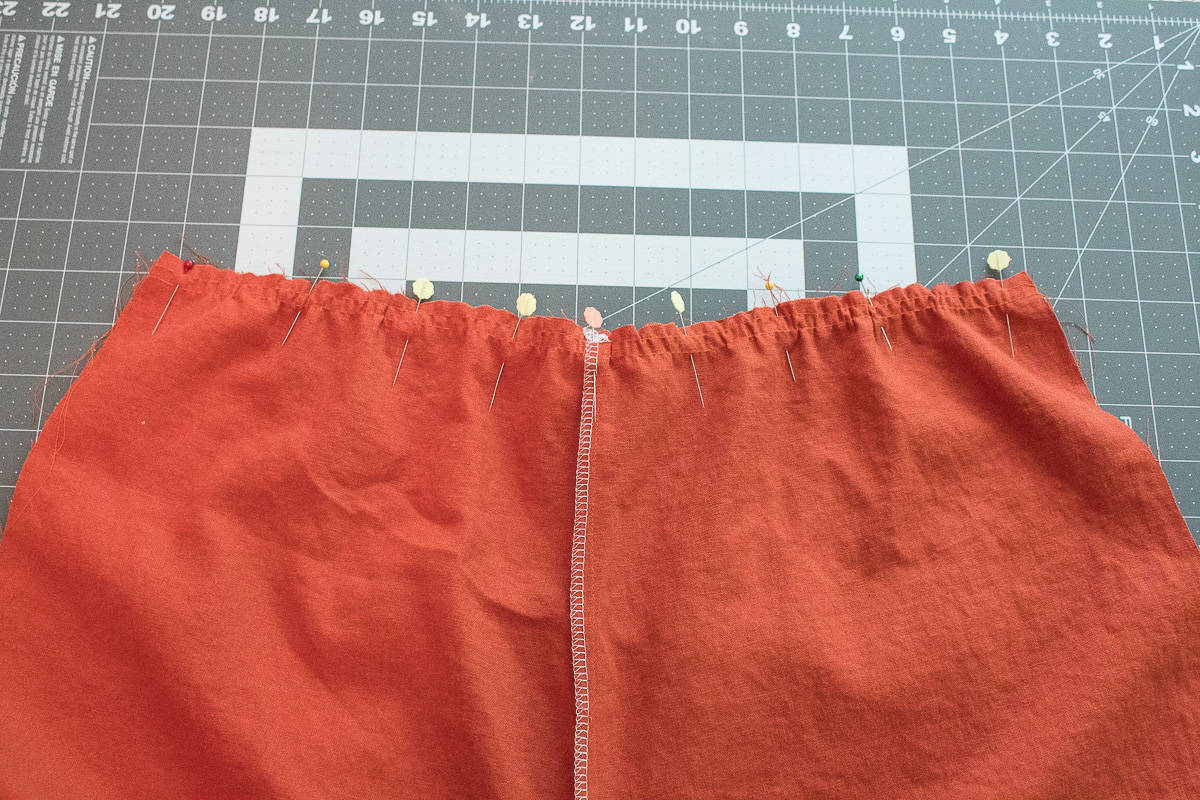
4. Run basting stitches 1/2″ and 1/4″ away from the top of pants front and pants back. Gather the pant waistline to fit bodice.
5. With right sides together, stitch the bottom of the front bodice to the top of the front pant at 3/8″. Repeat with back bodice and back pant.
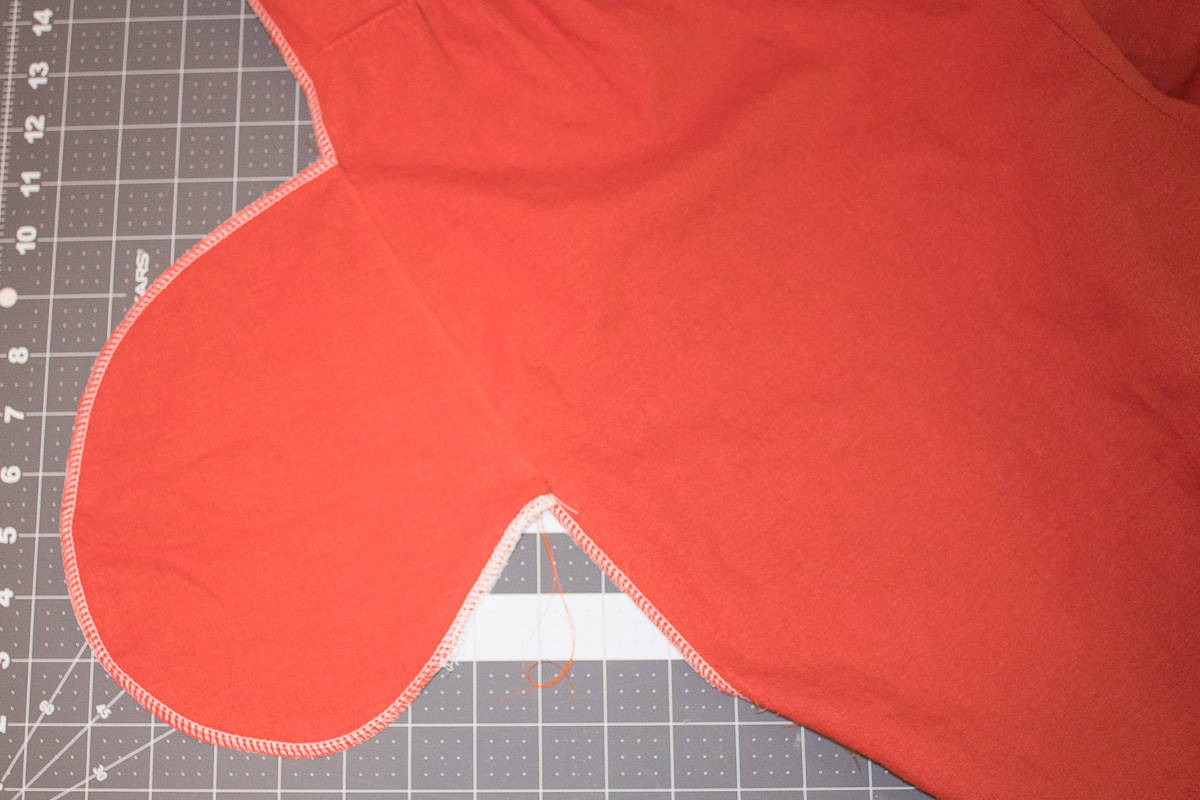
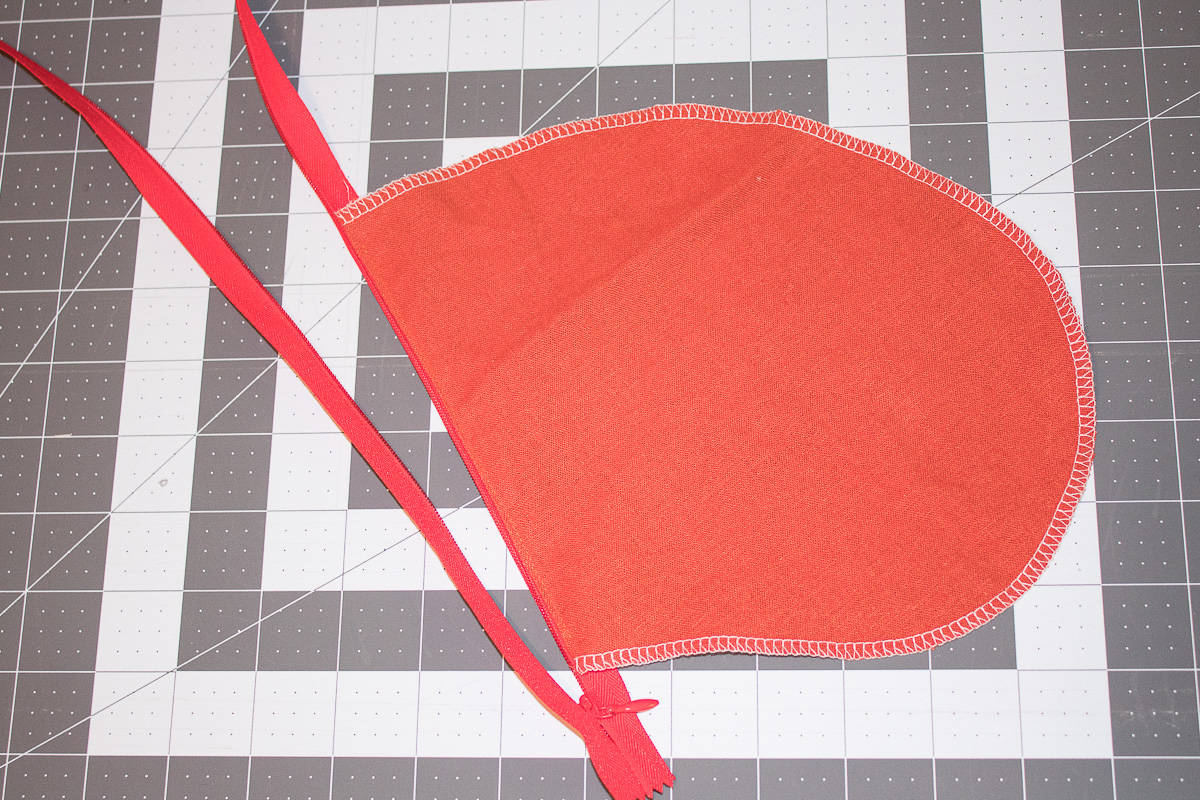
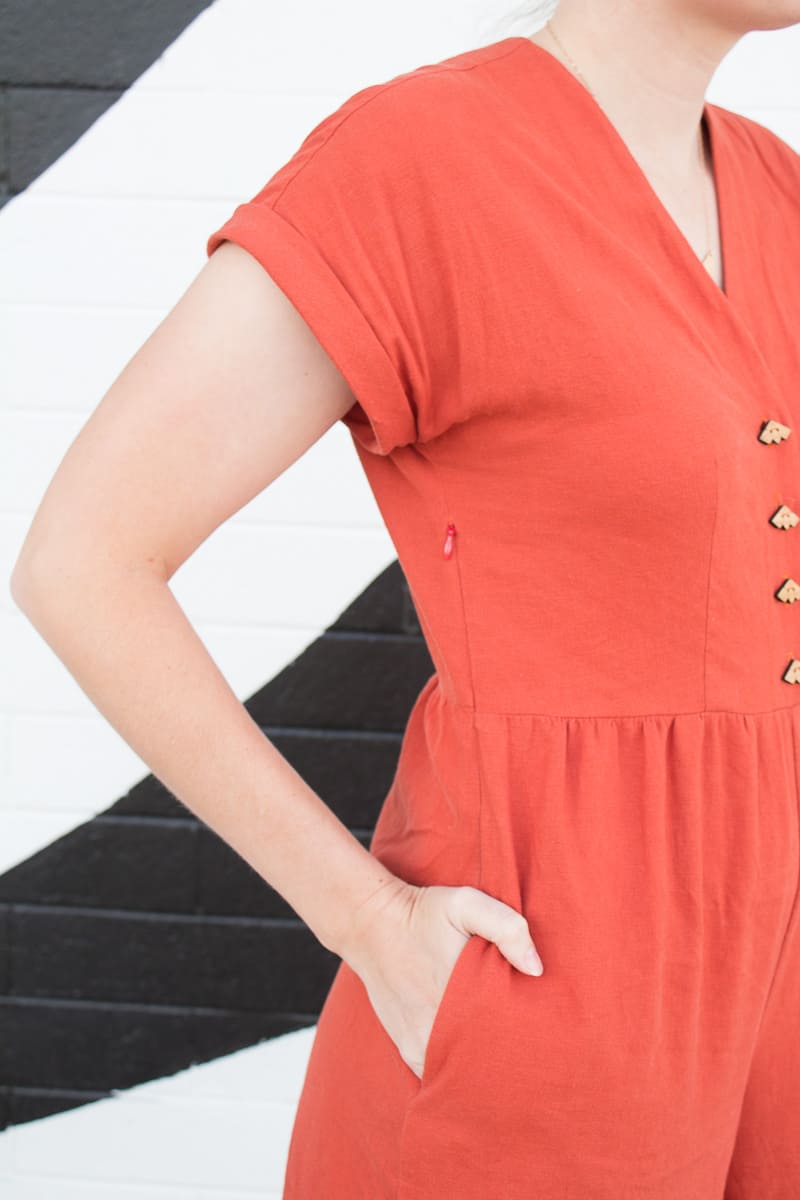
6. On the left front and back (wearer’s right), use a pencil to mark your zipper placement. My zipper starts 2.5” below the armpit and ends about 1” below the bottom of the pocket opening. The top of my pocket opening is about 2” from the waistline. Lay your zipper next to the left front and mark it where it lines up with the top and bottom pocket openings.
7. Attach one pocket piece to the left front (wearer’s right) of your jumpsuit.
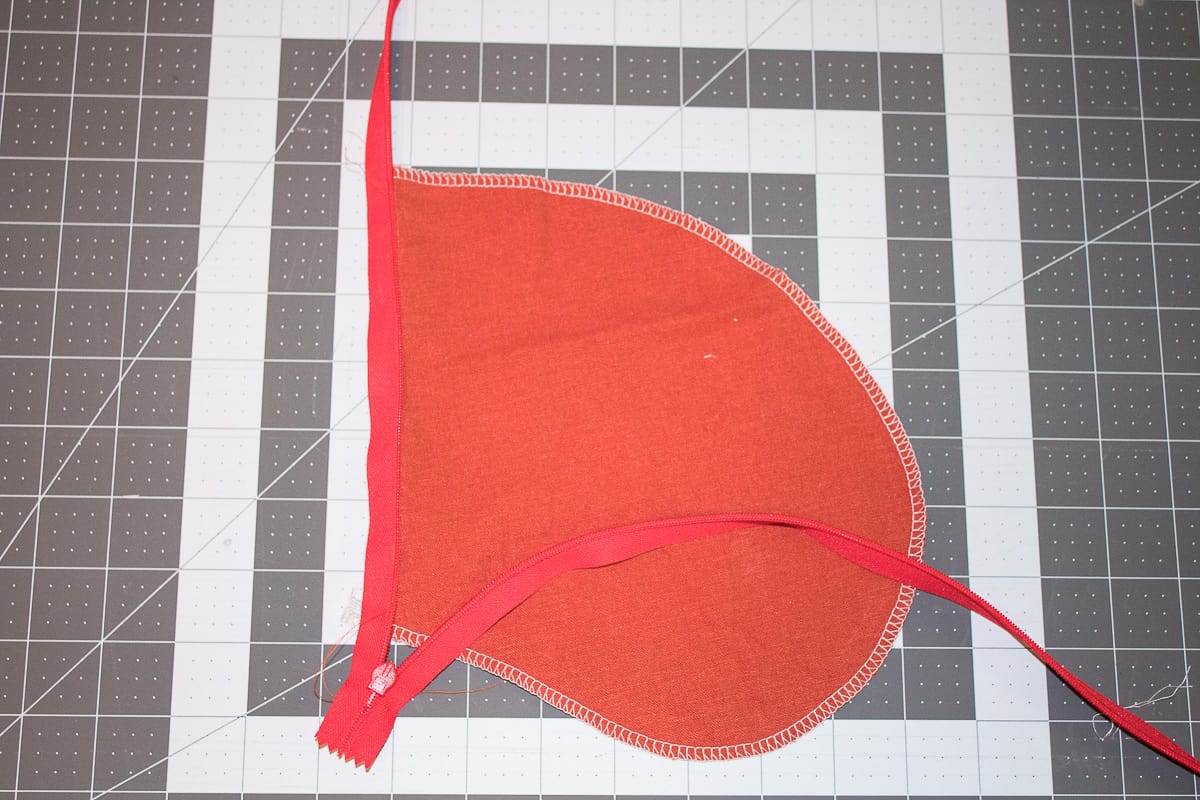
8. Press and prepare your invisible zipper. (In this tutorial, I’m assuming you have experience inserting an invisible zipper. If you don’t, do not fret. It’s really simple. Find a great tutorial for that here.)
9. Grab the pocket piece that is a mirror image of the piece you just attached to the left front. Line it up with the markings you made on the zipper in step 6. Sew the right side of your zipper to the pocket piece. Press away from zipper and understitch at 1/8″.
10. Sew the outside of your pocket pieces together at 3/8″.
11. Lay the right side of the zipper on left front and finish attaching the remaining top and bottom. Stop stitching and backstitch when you reach the top pocket opening. At the bottom pocket opening, start stitching again until you reach the end of the zipper.
12. Lining it up at the top and bottom zipper markings, attach left side of the invisible zipper to jumpsuit back.
13. Follow the Fringe Dress pattern instructions to insert inseam pocket on right side of the jumpsuit.
14. Place right sides together and sew up side seams.
15. Finish attaching cuff according to View B cuff instructions in the pattern.
16. Hem to the desired length.
17. Swan around in your newly finished jumpsuit!
Thanks so much for checking out the Fringe jumpsuit tutorial, if you try it out let me know I’d love to see it!
Nicole


