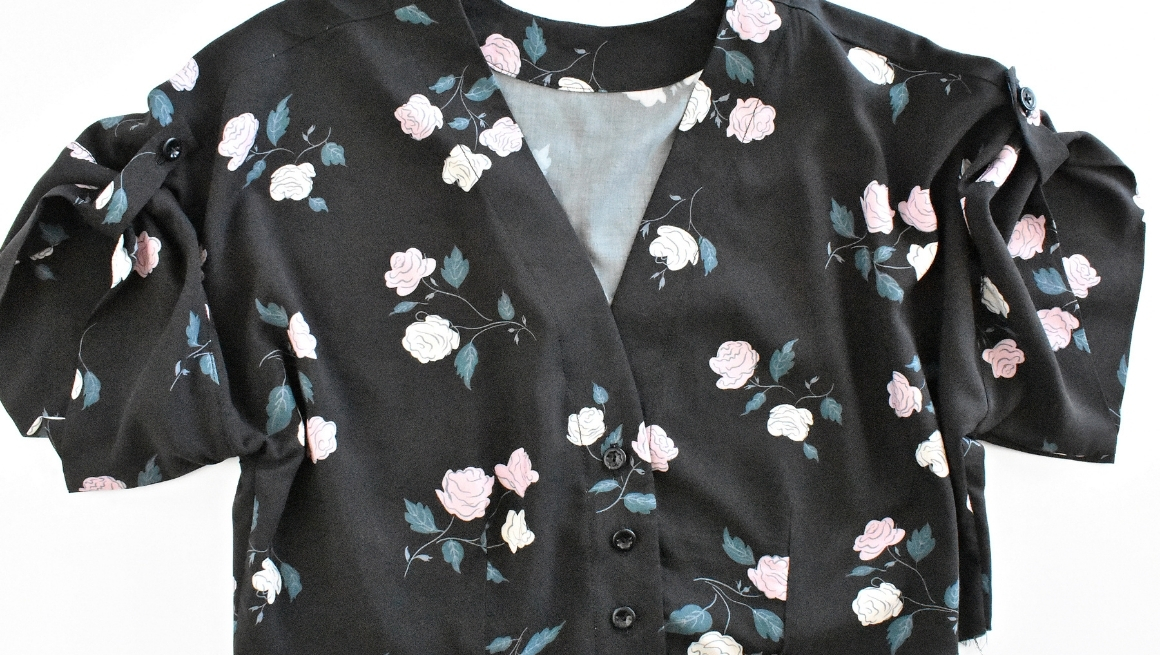
We’re almost finished with the bodice portion of the Fringe. The sleeve and cuff options are interchangeable for both views. If sewing View B, skip all View A instructions below.
SEW THE SLEEVE TABS – VIEW A
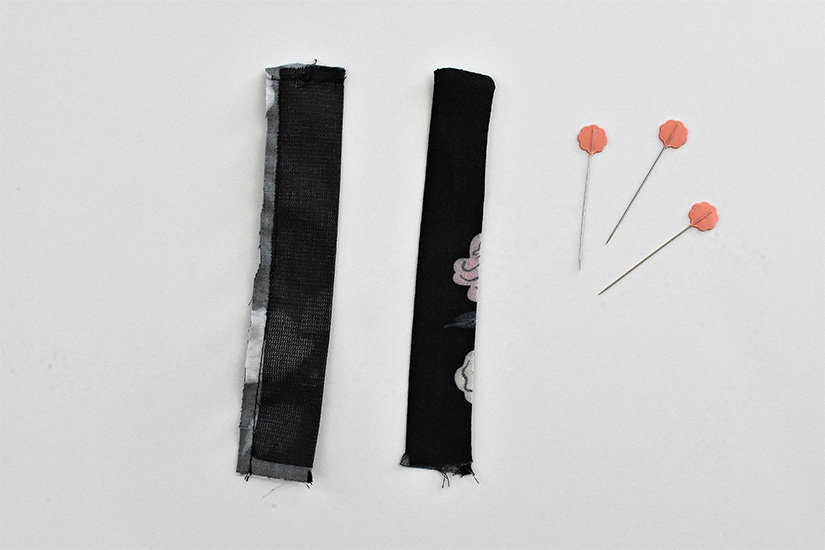
With right sides together, fold the tabs in half at the fold line. Reduce the stitch length to get a sharp corner. Stitch around two sides, pivoting at the corner. Trim the sea allowance to 1/8″ (0.3 cm). Turn right side out and press.
SEW THE SLEEVE BUTTONHOLES – VIEW A
Sew a buttonhole at the end of the tab, centered and 3/8″ (1 cm) from the edge. Use pattern piece #22 to mark your buttonhole placement. The template length is for 1/2″ (1.25 cm) buttons; you can adjust based on the size of your buttons. Use fray check before opening the buttonholes.
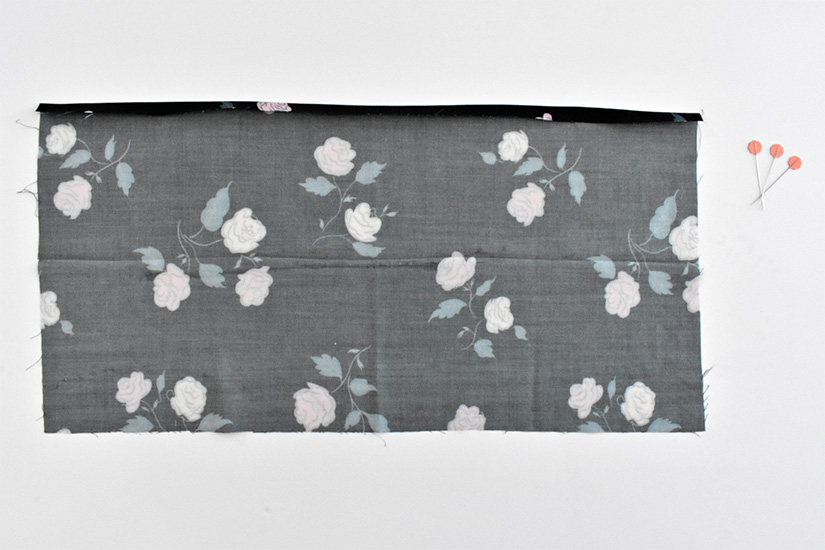
SEW THE SLEEVES OR CUFFS
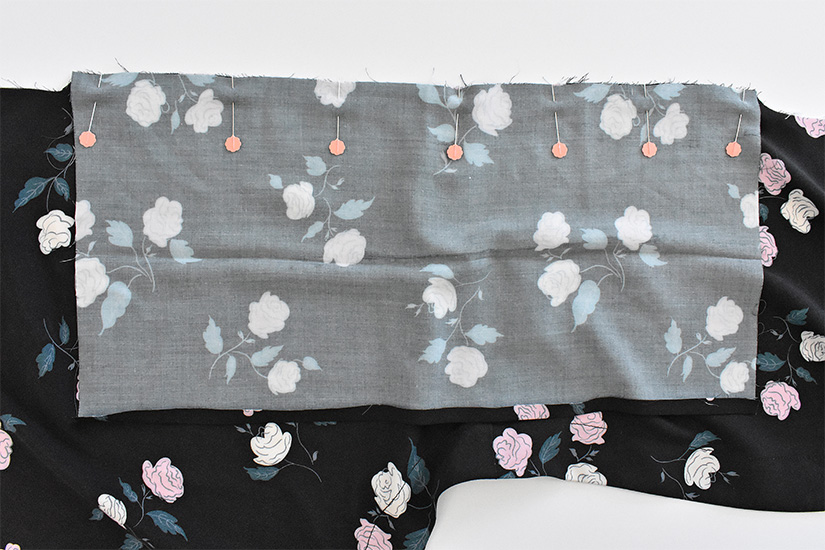
Prep the sleeves or cuffs by folding in the long edge without the notch by 3/8″ (1 cm), wrong sides together, and press. Unfold. This fold guide will be used when hemming the sleeves.
Note: View A is depicted in these photos, but the steps are the same except where indicated.
ATTACH TABS – VIEW A
Pin the right side of the sleeve tab to the wrong side of the bodice at the shoulder seam.
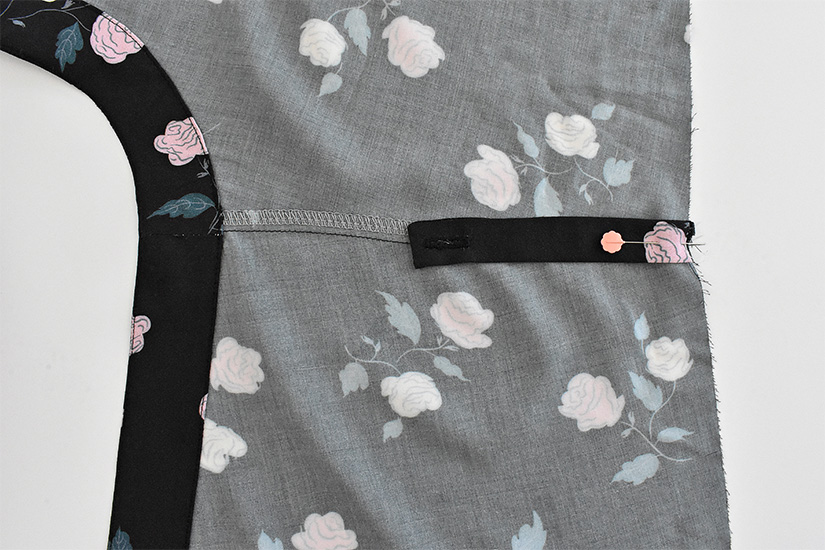
ATTACH THE SLEEVES OR CUFFS
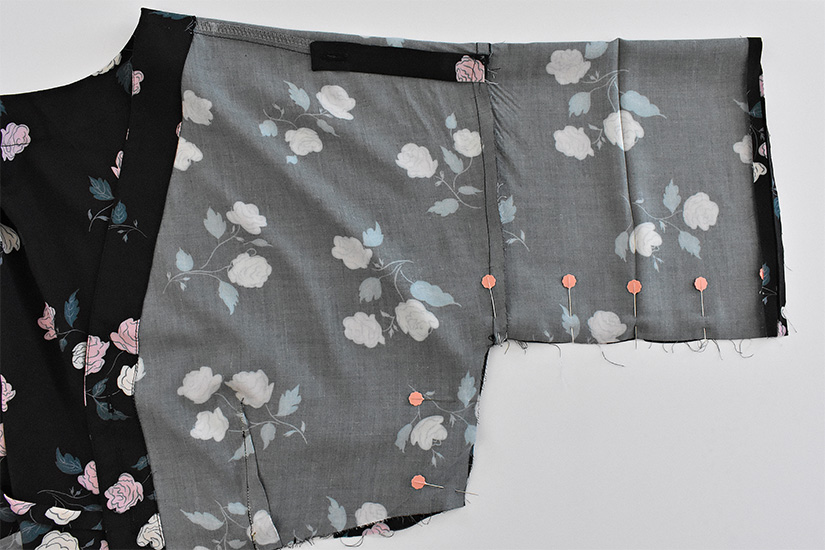
Flip the bodice right side up and pin the sleeve to the bodice, right sides together, matching the notch to the shoulder seam. Sew the seam.
Flip the garment over and press the seam allowance towards the sleeve and the sleeve tab towards the bodice.
SEW THE SIDE SEAMS
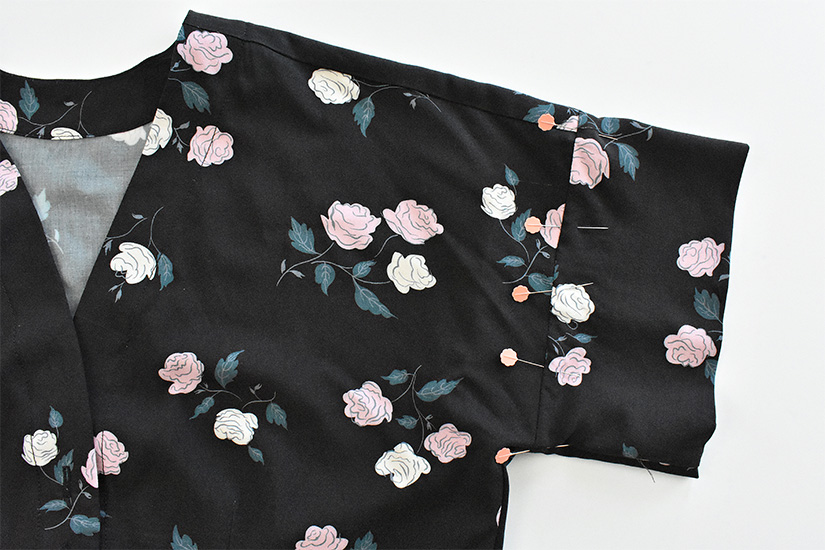
Fold the garment with right sides together, matching the side seams. Sew from sleeve to waist.
Clip armhole curve. Finish seam edge. Repeat for other side. Press seams towards the front on back depending on preference.
FOLD THE SLEEVE OR CUFF AND STITCH TO CLEAN FINISH
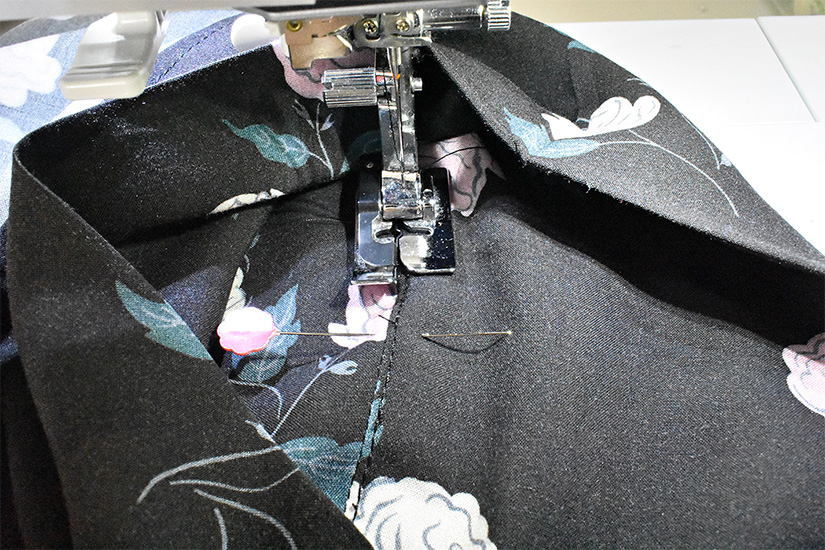
With bodice and sleeve inside out, fold the sleeve up and cover the seam where the sleeve joins the bodice. Pin from the right side to catch the sleeve edge.
Sew the sleeve in place from the right side (with your machine needle on the inside of the sleeve opening). Press sleeve.
BASTESTITCH THE CENTER FRONT HEM – VIEW A
Baste the bodice at center front. Place the wearer’s right side on top of the wearer’s left side, matching the center front notches. Stitch at 3/8″ (1 cm) with a long basting stitch.
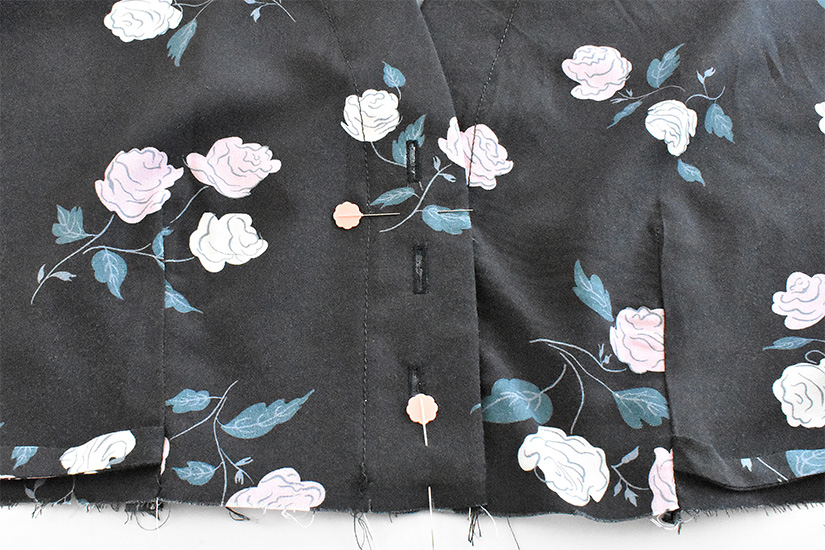
ATTACH BUTTONS – VIEW A
Sew buttons on the wearer’s left side and at the shoulders. Use the buttonholes to place the center front buttons. The shoulder notch on the pattern is the shoulder button placement. The suggested placement for the shoulder buttons is 2″ (5cm) from the sleeve seam on the shoulder seam.
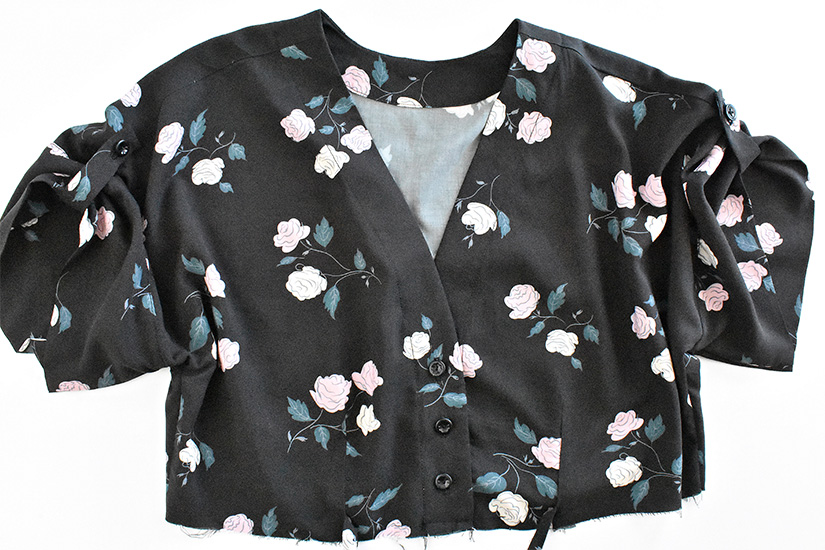
That’s it! Now you’re ready to sew the optional pockets and skirt side seams.
Fringe Sew Along Posts: Getting Started | Prepare Facings and Sew Darts | Sew Shoulder Seams and Attach Facings | Attach the Sleeve/Cuffs and Sew the Side Seams | Sew Pockets and Skirt Side Seams | Hem and Attach Bodice to Skirt
