Let’s continue construction on your Fringe bodice with shoulder seams and facings for both Fringe views and the Mini Fringe (with a bodice lining).
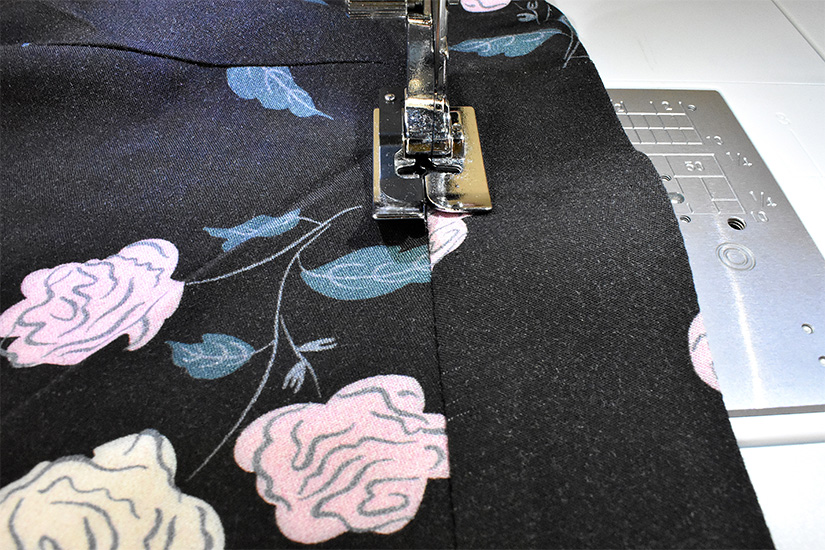
SEW THE SHOULDER SEAMS
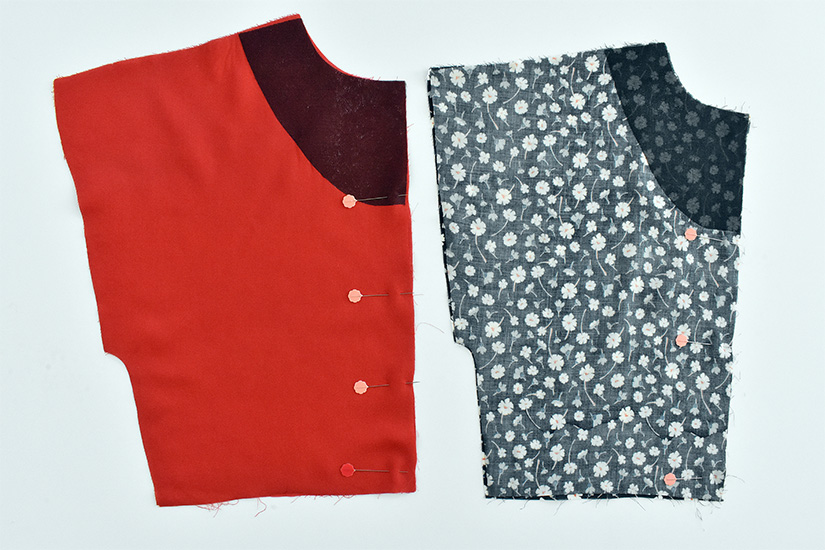
Before you attach your facings, you’ll need to sew the shoulder seams. With right sides together, sew the shoulder seams, matching the shoulder notches. The shoulder notches on View A indicate the shoulder button placement. Finish seams and press towards the front or back depending on preference. This construction is the same for both views.
Depending on which view you are sewing you can scroll to where each view starts.
VIEW A
ATTACH THE FACING – VIEW A
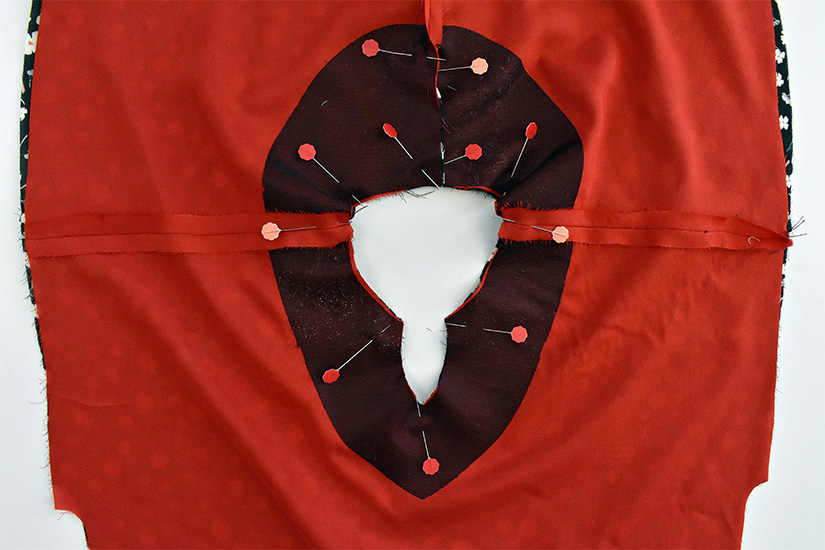
With right sides together, place the neck facing on the bodice. Match the center back notch and shoulder seams. Pin, using a lot of pins to keep the neckline in place. Stitch the neckline.
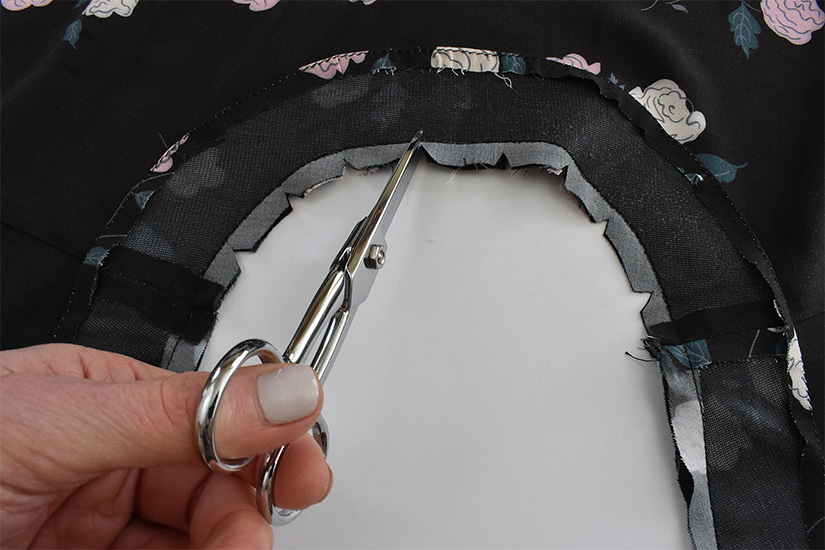
Trim seam allowance and clip the curved edges.
UNDERSTITCH THE FACING VIEW A
Open the neck facing and press the seam allowance towards the facing. Understitch the facing by stitching a line 1/16″ (0.15cm) away from the seam on the neck facing. Make sure to catch the seam allowance towards the facing when stitching.
TOPSTITCH THE FACING – VIEW A
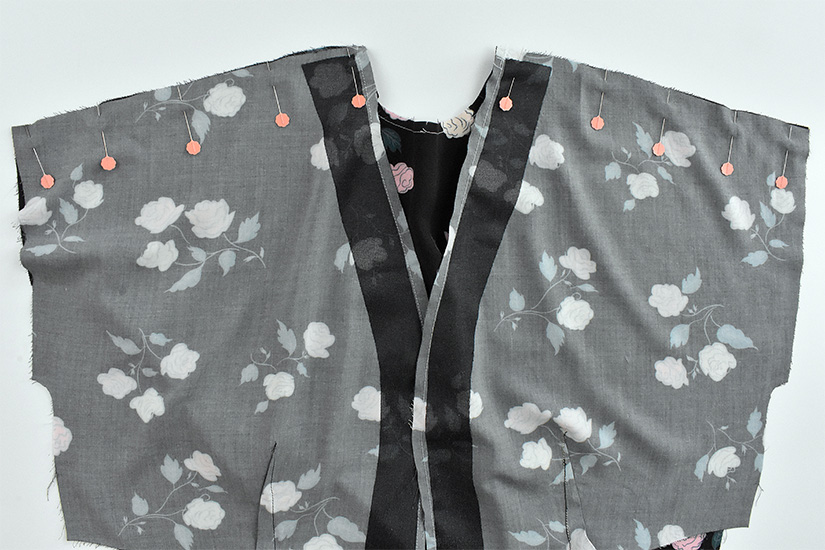
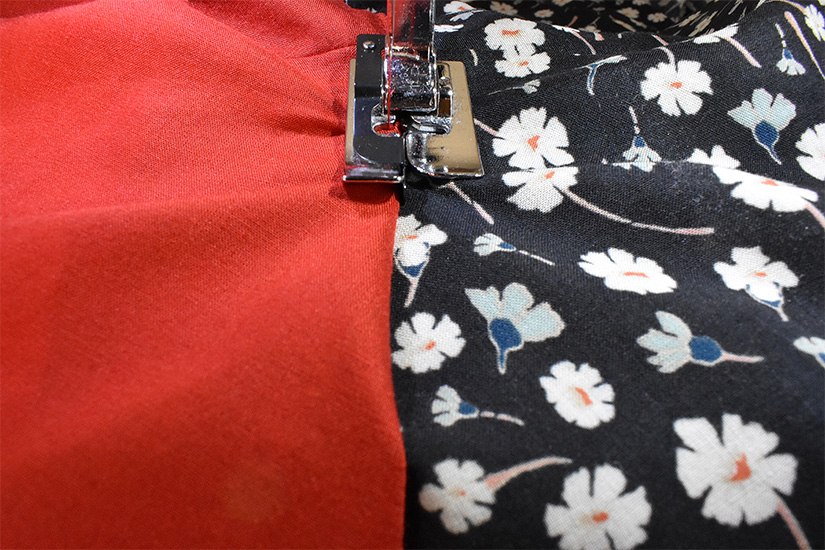
Press the facing towards the inside of the garment and pin, using a lot of pins to keep the facing in place. I prefer to sew from the wron side during this step, edgestitching the facing in place at 1/16″ (0.15 cm). If you stitch from the wrong side, make sure your bobbin thread matches the right side of your garment.
Press the neckline.
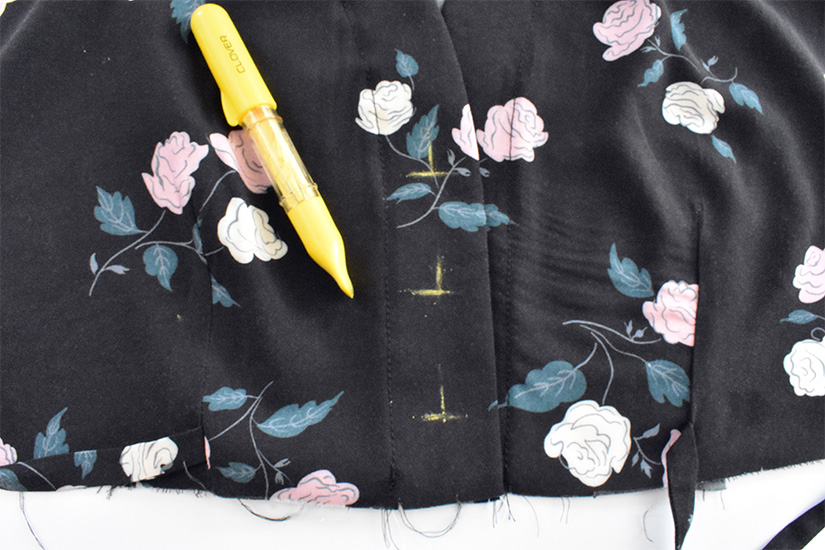
SEW BUTTONHOLES – VIEW A
This is a good time to stitch your bodice buttonholes. Use pattern piece #10 or #19 to mark your buttonhole placement and test the spacing before sewing your buttonholes. The template length is for 1/2″ (1.25 cm) buttons; you can adjust this based on the size of your buttons. Use fray check before opening the buttonholes. You can also add your buttonholes at the end.
VIEW B
ATTACH THE FACING – VIEW B
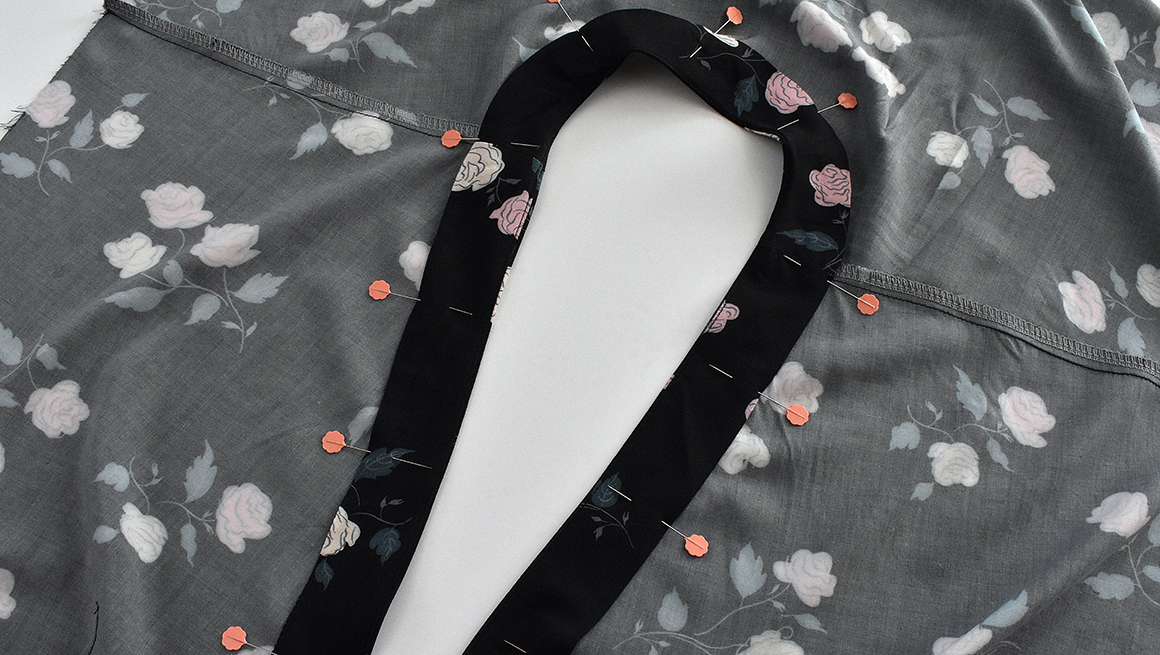
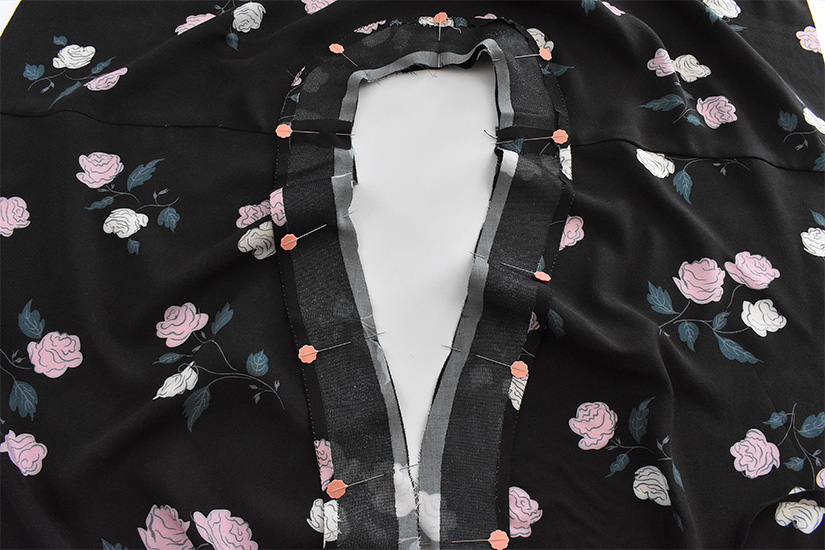
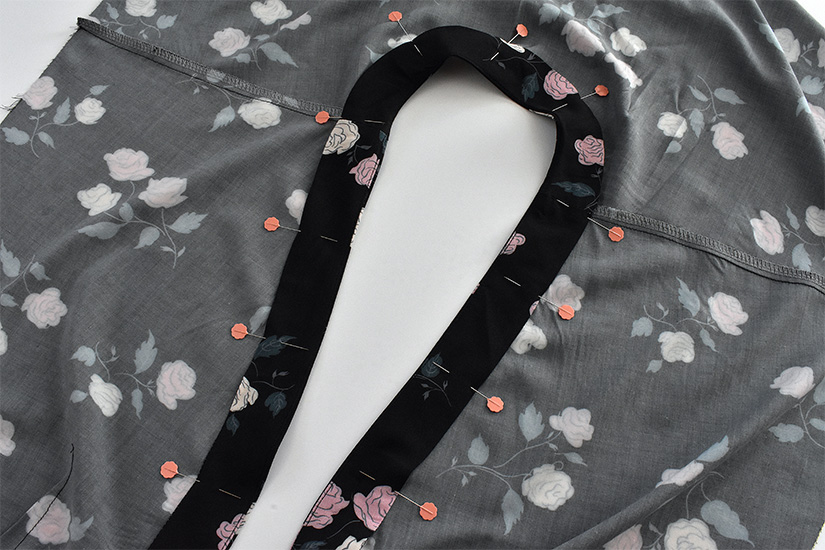
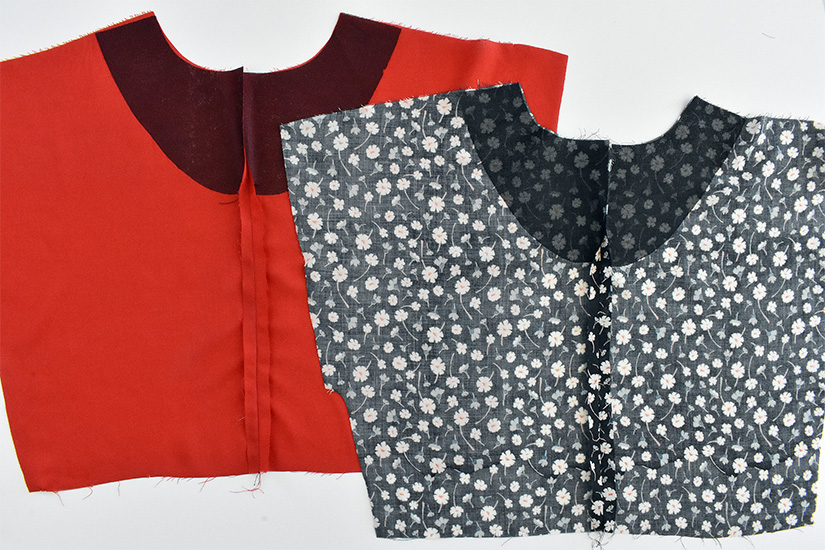
The construction is the same for view B, but since the shape is different, we photographed both views for your reference. With right sides together, place the neck facing on the bodice. Match the center back notch and shoulder seams. Pin, using a lot of pins to keep the neckline in place.
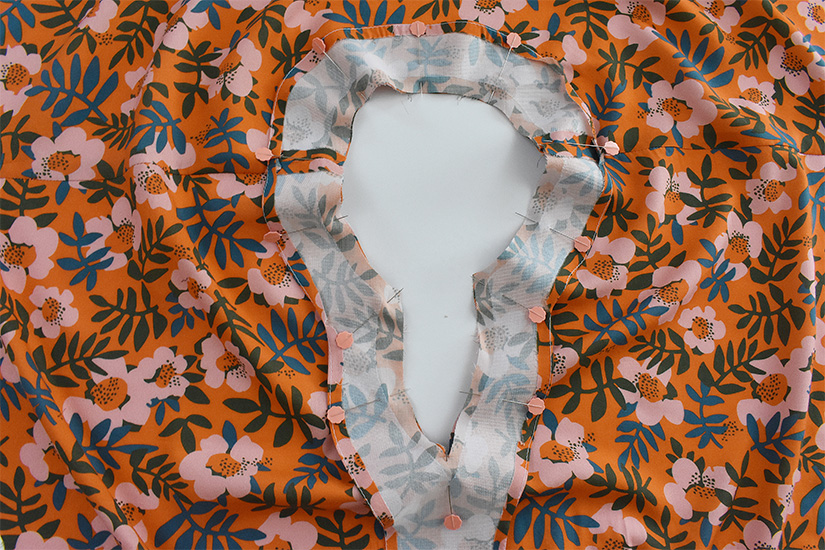
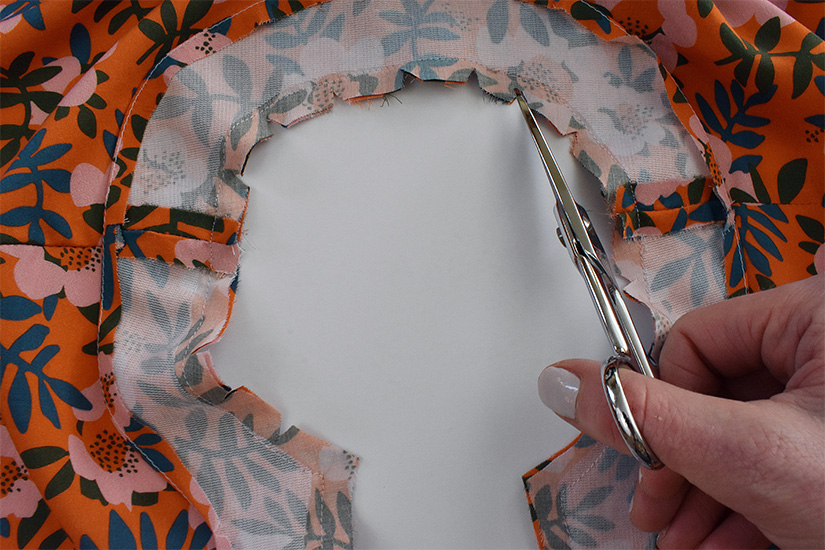
Stitch the neckline, taking care to pivot at each corner to maintain the shape of the neckline. Trim seam allowance and clip the corners and curved edges. Turn right side out and push out the notched points.
UNDERSTITCH THE FACING – VIEW B
Open the neck facing and press the seam allowance towards the facing.
Understitch the facing by stitching a line 1/16″ (0.15 cm) away from the seam on the neck facing. Make sure to catch the seam allowance towards the facing when stitching. You might not be able to get around the points, but understitch as much as you can.
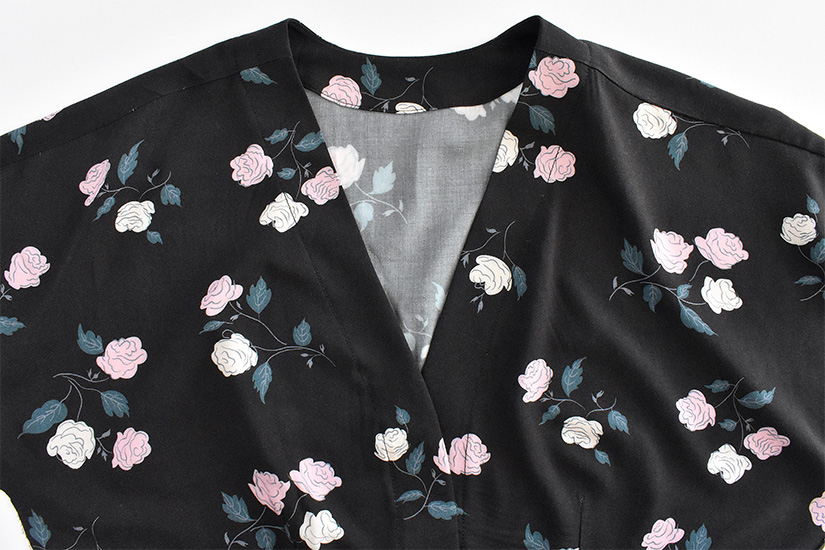
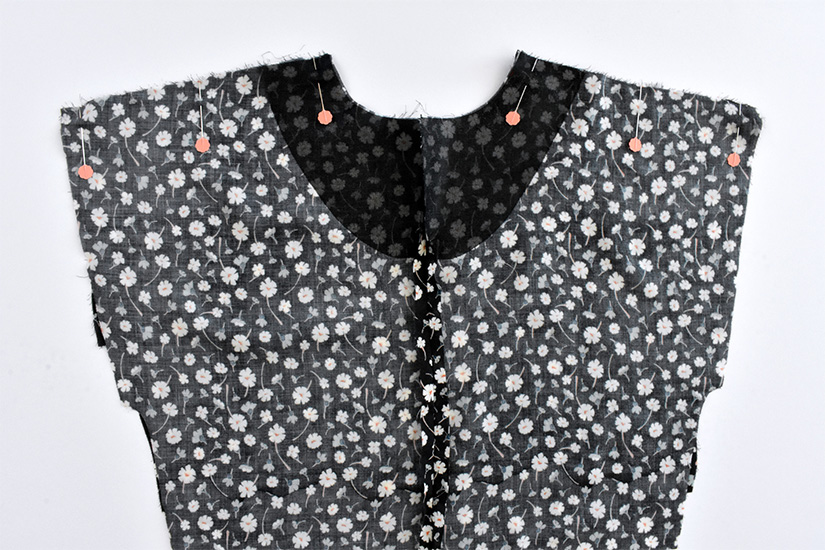
TOPSTITCH THE FACING – VIEW B
Press the facing towards the inside of the garment and pin, using a lot of pins to keep the facing in place.

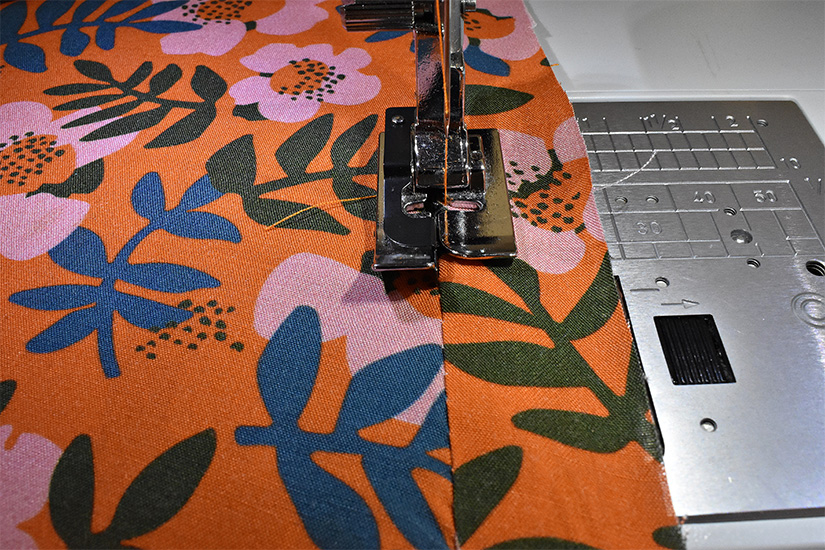
I prefer to sew from the wrong side during this step, edgestitching the facing in place at 1/16″ (0.15 cm). Take care to pivot at each corner to maintain the shape of the neckline. If you stitch from the wrong side, make sure your bobbin thread matches the right side of your garment. Press neckline.
MINI FRINGE – VIEW B
We added a lining for the Mini Fringe – View B, this is a different construction then the adult Fringe bodice.
If you haven’t already, attach the fusible to the wrong side of the front and back neck lining pieces. You can also add fusible to the main neck if you think your fabric could use it. I suggest Tricot fusible interfacing, but you can use any lightweight interfacing.

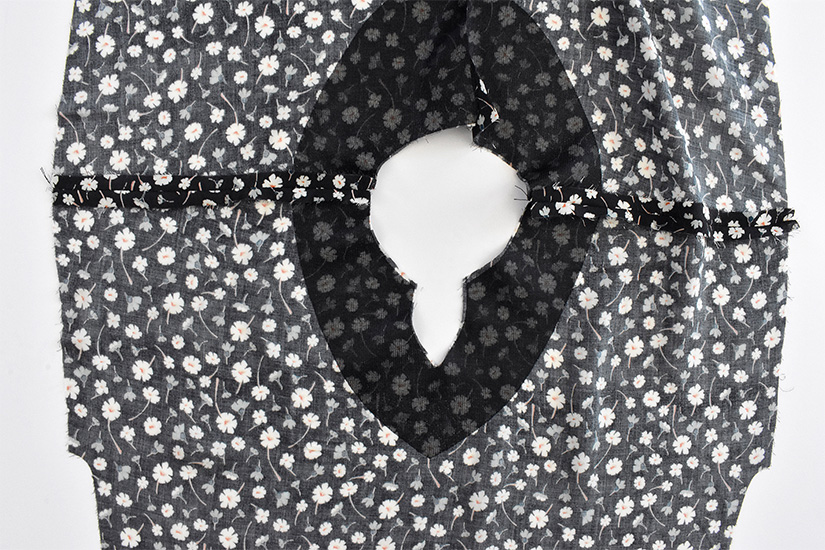
SEW THE CENTER BACK SEAM
With right sides together, sew the center back seam stopping at the notch. Clip at the notch, stopping before the stitch line. Press the seams open up to the notch. Repeat for lining.
PRESS THE CENTER BACK SEAM OPEN
SEW THE SHOULDER SEAMS
With right sides together, sew the shoulder seams, matching the shoulder notches. Press the seams open. Repeat for the lining.
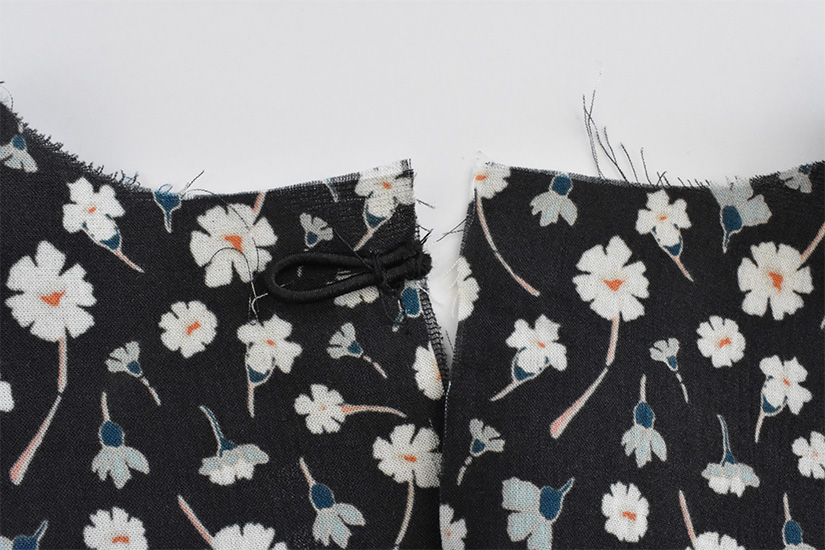
ADD THE ELASTIC BUTTON LOOP
Take a small piece of elastic cording and make a loop that will fit your button. Stitch the loop in place to the right side of the main fabric, at the wearer’s left center back seam, about 1/2″ (1.2cm) down from the neckline.
SEW THE NECKLINE AND CENTER BACK SLIT
With right sides together, align the neckline of the main bodice and lining. Pin, using a lot of pins, to keep the neckline in place. Starting exactly at one center back notch, sew up and around the neckline, finishing at the opposite center back notch. Trim seam allowance and clip the corners and curved edges. Turn right side out and push corners out at center back and notched front.
UNDERSTITCH THE NECKLINE
Open the neckline and press seam allowance towards the lining. Understitch the lining by stitching a line 1/16″ (0.15cm) away from the seam on the neckline. Make sure to catch the seam allowance towards the lining when stitching. You might not be able to get around the points, but understitch as much as you can.
Now you’re ready to prepare and attach your cuffs/sleeves and sew the bodice side seams.
Fringe Sew Along Posts: Getting Started | Prepare Facings and Sew Darts | Sew Shoulder Seams and Attach Facings | Attach the Sleeve/Cuffs and Sew the Side Seams | Sew Pockets and Skirt Side Seams | Hem and Attach Bodice to Skirt
