
Tutorial | Fringe Two-Piece
Hi all, for those who don't know me, I'm Thao from Little Cumquat. I'm very grateful to be invited again as a guest blogger for Chalk and Notch, and I'm thrilled to be sharing with you this simple two-piece Fringe hack that I hope you will love. The Fringe pattern is one of my favorites. Well, let's be honest, I love all of Gabriela's patterns. How could I not? They are always so beautifully drafted!
Inspiration
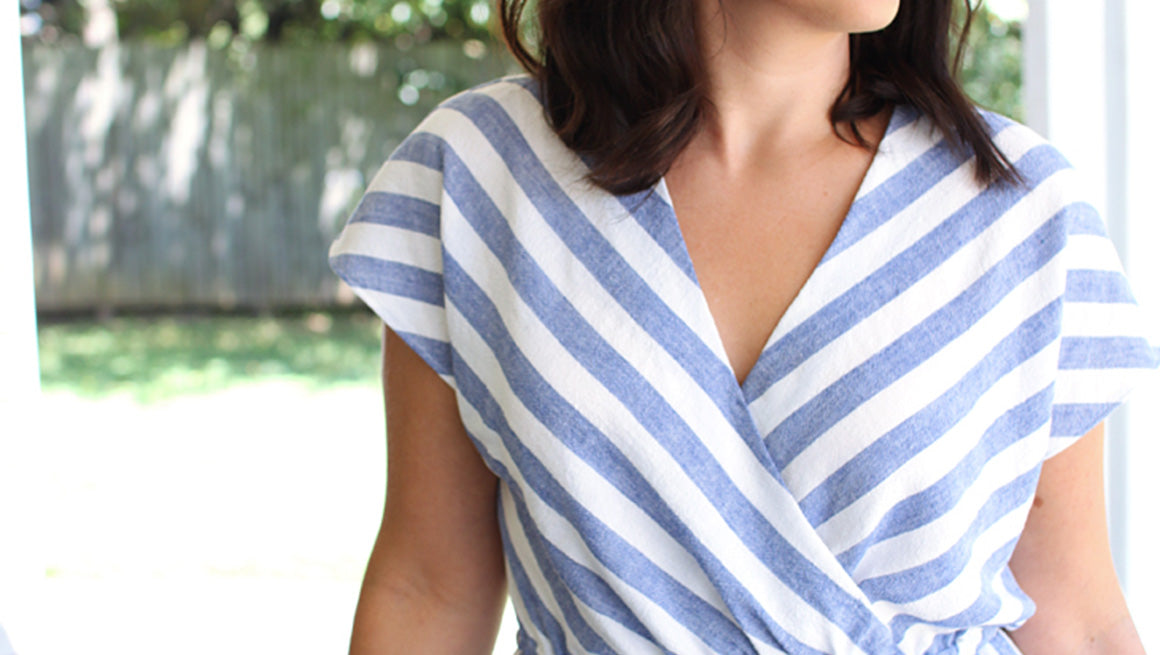
I toyed with a couple of ideas for this hack, but in the end, I was drawn to the casual street wear (grunge) t-shirt and skirt inspired look.
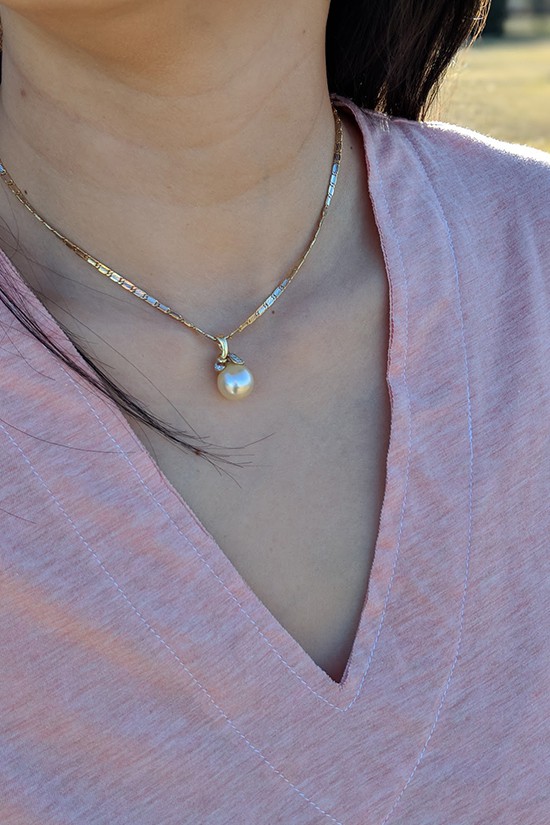
I love my V-neck tees, and the Fringe neckline was perfect for it. While for the skirt, I wanted something that was simple and easy to throw on, and I've noticed that elastic waist skirts, which pair nicely with t-shirts and sneakers, have been very popular lately!

Fabric
Knowing summer is fast approaching, I chose a viscose knit (that I can't recall where I purchased) for its light weight and drape, which suits the raw-edge t-shirt look. You can also use bamboo, rayon or tencel jersey, which all have similar qualities of softness and drape.

1 | 2
For the skirt, I chose this lovely Rifle Paper Co. for Cotton and Steel rayon fabric because I wanted that softness and drape feel to carry through. I purchased this print from Miss Matatabi, but it looks like she's out of this specific rayon. However, she does have a lot of other beautiful rayons. I also love the range of rayons from Stylemaker too.

1 | 2
Pattern Adjustments
First, to create the t-shirt, I chose the view B bodice, though technically, either bodice view would work for this hack. In hindsight, view A would have saved me from folding back the neckline to create the V neckline. Don't ask me what I was thinking, obviously not clearly that's for sure. Next, I cut the bodice center front on the fold (excluding the center front seam allowance) and extended the center front seam down by 7.5" and 8.25" for the side seam. I wear size 6 and am 5'1", so depending on your height, you may wish to lengthen or shorten it. At this length, the tee finishes at my high hips. I didn't worry about the ease since the pattern already includes 3" ease, plus I'm also omitting the darts.

For the back bodice, I did the same: placed the center back seam on the fold and extended the center back seam by 9.25" and side seam by 8.25". With the sleeve cuff, rather than having it as one whole piece and folding it in half, I cut it into two. Then, for the facing, you can use the facing pattern pieces or draft your own using your new bodice pieces. They should be 1.25" wide.

Lastly, cutting the skirt. Cut on the fold and straighten the waistline and top of the side seam down 1.25". No other adjustments required.

Construction
To sew the t-shirt, serge the shoulder seams together. Next, attach the facing, but before you do, don't forget to serge the outside facing edges. Rather than sewing the neckline facing right sides together then turning it over, I laid it flat and sewed it wrong sides together at 0.7cm away from the edge for an exposed raw edge.
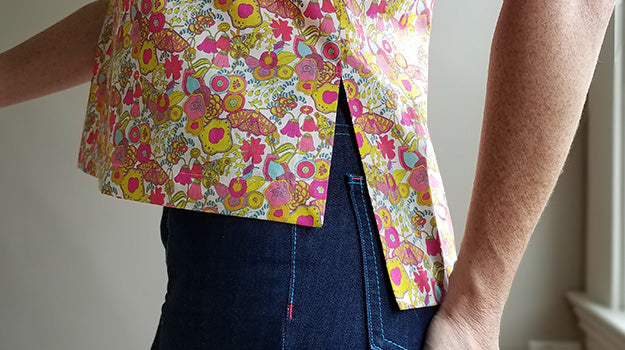
I also did the same for the sleeve cuffs. With the shirt hem, I did a 3/4" hem and then cut the hem split open to again create the exposed raw edge. Finally, for the skirt, I used a 1" elastic and serged it around the waistline. Make sure to mark the elastic as well as the skirt into quarters so the elastic is evenly distributed. Then flip the elastic waist down and edgestitch it close.
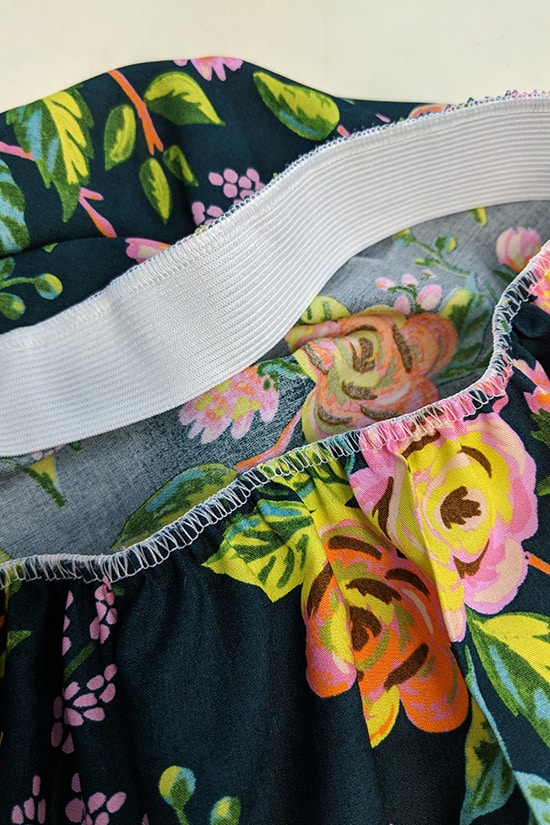
You can definitely create a casing as another option for the elastic waist, but I like doing it this way as it's super quick and the elastic doesn't roll. And there you have it, an easy peasy two-piece t-shirt and skirt set!

I hope you enjoyed reading this, and make sure to check out the other awesome tutorials in this series.