Tutorial | Fringe x Farrah Blouse
Hello everyone! I’m Brooke Smith, sewing addict and fabric collector from sunny Australia. You can find me sewing and sharing at Idle Sunshine. I’m excited to be a part of the Fringe Tutorial Series and to share my Fringe pattern hack – a Fringe and Farrah blouse pattern mash! I love a relaxed fit blouse, even more so when it has no fastenings. The pattern mashing here takes a little time, but the sewing part is pretty quick!
Inspiration
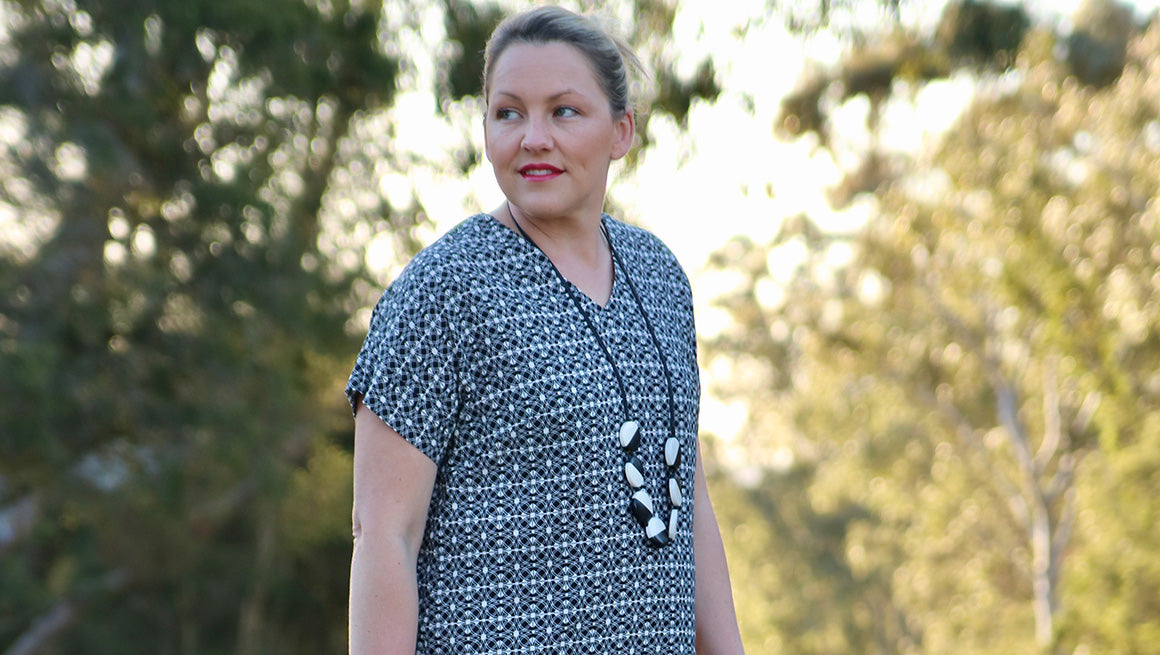
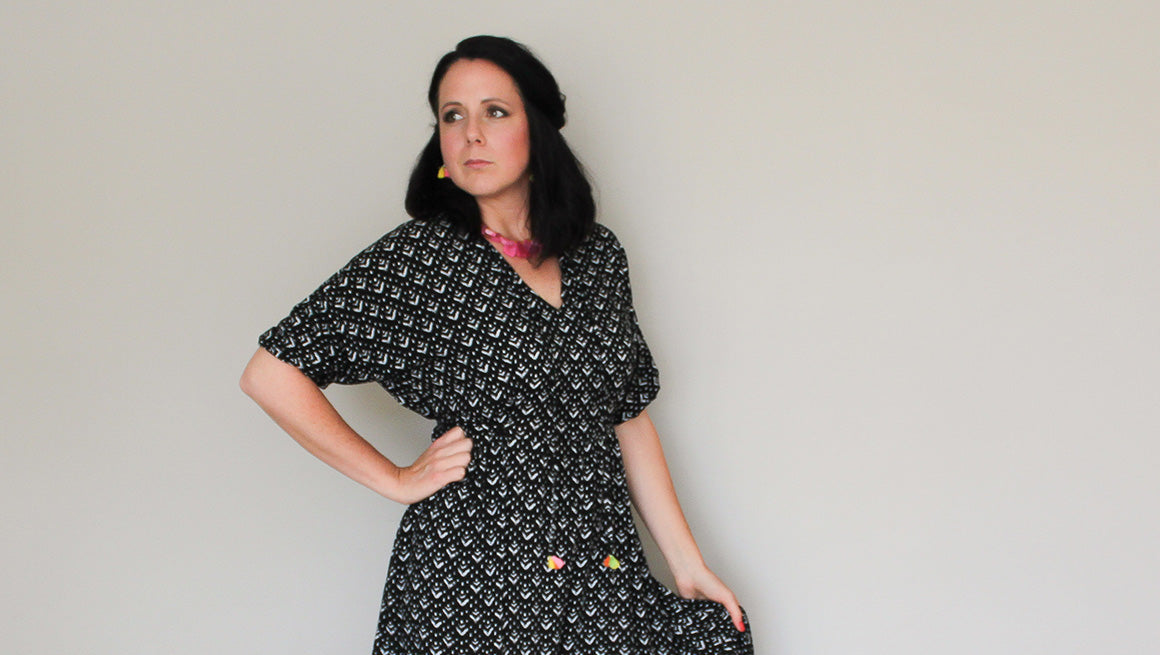
I had so many different ideas for hacking this pattern, but it really is fantastic as the original though, too! I don’t think I’ve ever seen a dress look so good on so many different bodies and personalities. With that in mind, I wanted to make something that was comfortable and easy to wear, and I came up with the Fringe/Farrah mash. It’s a classic v-neck top with a funky split hem. Perfect for work or play and a blank canvas for showcasing a variety of fabric styles.

Fabric & Notions:
I purchased this printed rayon locally in a store in Australia. It washed and dried beautifully, and I didn’t really need to iron it much, other than on the seams as I sewed. I have a stack of monochrome prints, and I think they are fantastic made up like this. They are great to coordinate with plain pants and skirts. No other notions were needed in this hack other than some sewing thread!

Pattern Adjustments:
Time to grab some paper and a pen. I like to be green and keep my kid’s school books that they bring home at the end of the school year. There’re always a couple that are barely used, which are perfect for recycling. They’re great for the kids to draw and write in, but also great for me to use instead of wasting printer paper. When you pull from the center, you get a double sheet, which means less taping together too 😉

To start, I wanted a v-shaped neckline, so I traced the View A bodice and cut down the center front line so that it could be cut on the fold. I think next time I would make it a deeper V, but for a work shirt, it is perfect.

I wanted to eliminate the center front seam, so I cut out the waist dart and rotated it to the side seam. To do this I cut a line almost to the tip of the original dart, and used that point to pivot the original dart closed. Redraw the bodice with a new dart the same size as the original in this new space you’ve created.

Now overlap the Farrah bodice yoke and front to account for the seam allowance and lay them on top of your new Fringe bodice, matching the centre front and shoulder seams. Draw in your side seam to connect the Fringe bodice to the Farrah hem.

Lay out your Fringe back bodice and trace the neck, shoulder, sleeve and side seam. Lay over the Farrah bodice back yoke and back to account for the seam allowance and lay on top of your new Fringe bodice, matching the shoulder seam and armscye (accounting for the gathered back by moving the Farrah beyond the center seam). Draw in your side seam to connect the Fringe bodice to the Farrah hem.

Now when you overlap your new front and back pattern pieces to check the side seams match them from the underarm to hem, you will realize you need to close the dart as it will be sewn first. And add a little wedge up there to straighten your side seam too while you are at it because your dart is on an angle.


If at this point your side seams do not line up, add a little to the length of your front pattern piece by splicing and adding the required length, or removing length if it is longer than the back.
Now when those hems match up and look like the original Farrah blouse hems, you are almost done!

You just need to draft a new neckline facing and interfacing pattern pieces next. Copy the front neckline and shoulder lines and create a 5.5cm facing piece using a ruler. Copy this facing piece and remove the 1cm shoulder seam allowance and 1cm neckline seam allowance to create your interfacing piece. Your back facing and interfacing pieces will still be the same as the original.


Construction:
To assemble, I sewed the neckline and facings and attached as in the Fringe pattern directions. When assembling my blouse, I did not fold under and edgestitch the base of the facing. I overlocked the edge and tacked it down by stitching in the ditch of the shoulder seams and also hand stitched a couple of single invisible stitches in the center front and center back to avoid it flipping up.

Then I sewed the darts and side seams and finished the hem as per the Farrah directions. I love how the darts disappear in this geometric print, but how awesome is that hem method? I always learn something new sewing a Chalk & Notch pattern! I am definitely using that hem again, it’s seriously good.

I finished the sleeves using the Fringe cuffs from View B. Easy as that! I love how this top came together. I always get a fantastic result using Chalk & Notch patterns.

Thanks for stopping by to see my take on the Fringe Blouse & Dress. I will make more blouses using this newly drafted mash. Next time I might try a deeper V or the original neckline from View B! What do you think?
