Once you start to assemble the main fabric, things can move quickly and you will start to see your jacket taking shape. By the end of this post, you will be able to try on your outer shell.
SEW SLEEVE SHOULDER SEAM & PRESS HEM

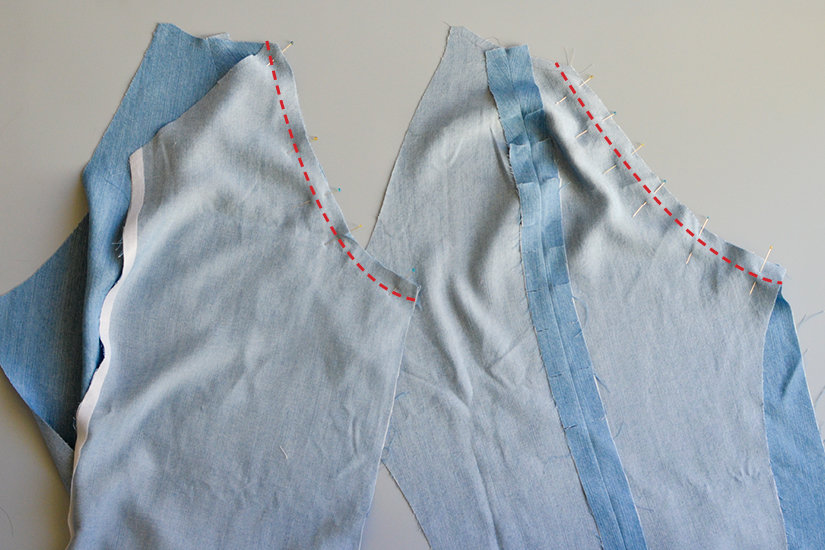
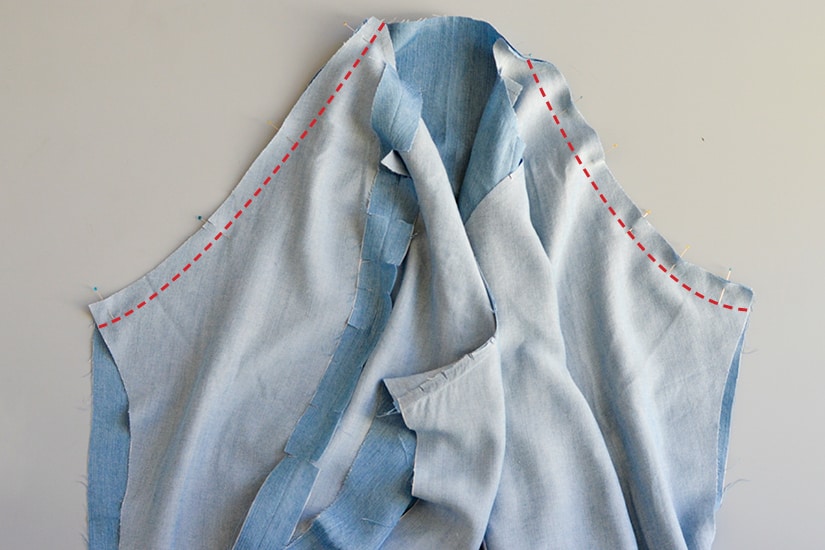
With right sides together, sew the sleeve shoulder seam at 3/4″ (2 cm). This large seam allowance will allow you to make shoulder adjustments if custom adjustments are needed.

Clip the curved edges and press the seams open. *If you haven’t made a muslin (test garment) and you think you might need to adjust the shoulder seam, don’t clip the seam allowance in case you need to let it out.
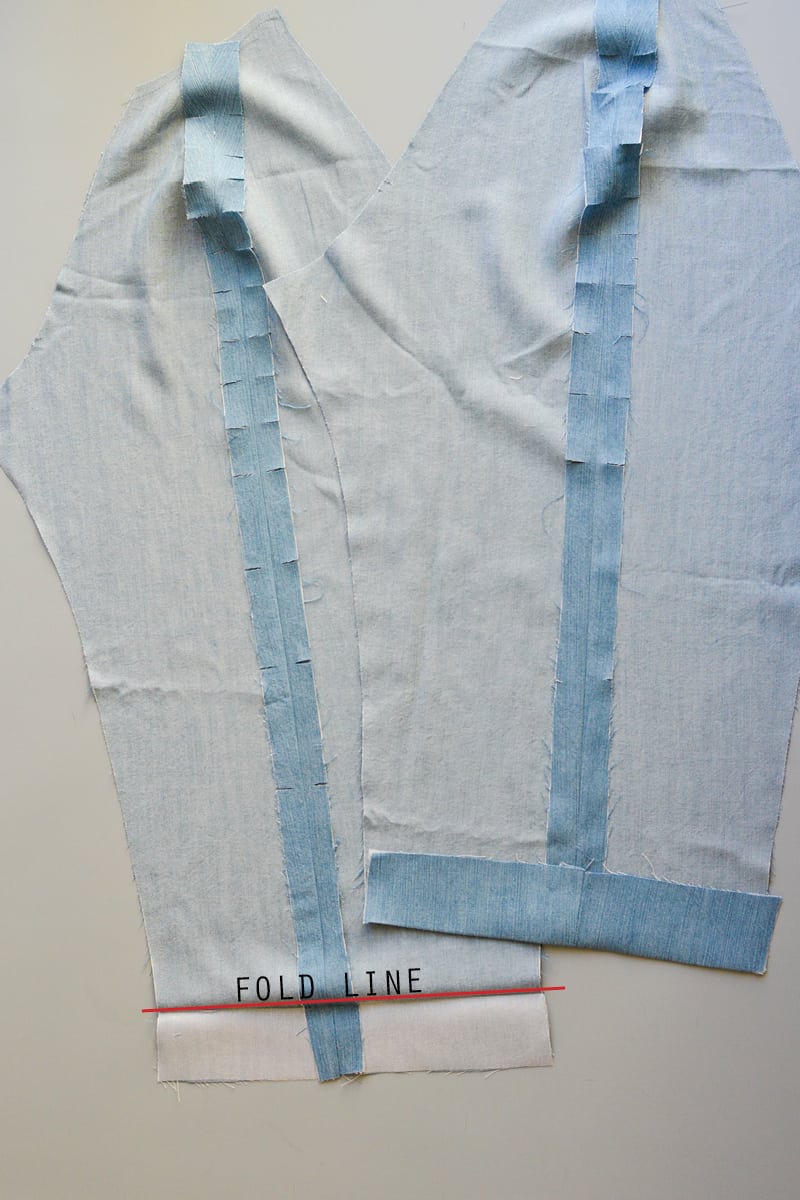
Press the hem up 2″ (5 cm), wrong sides together. This will help when hemming your sleeves later.
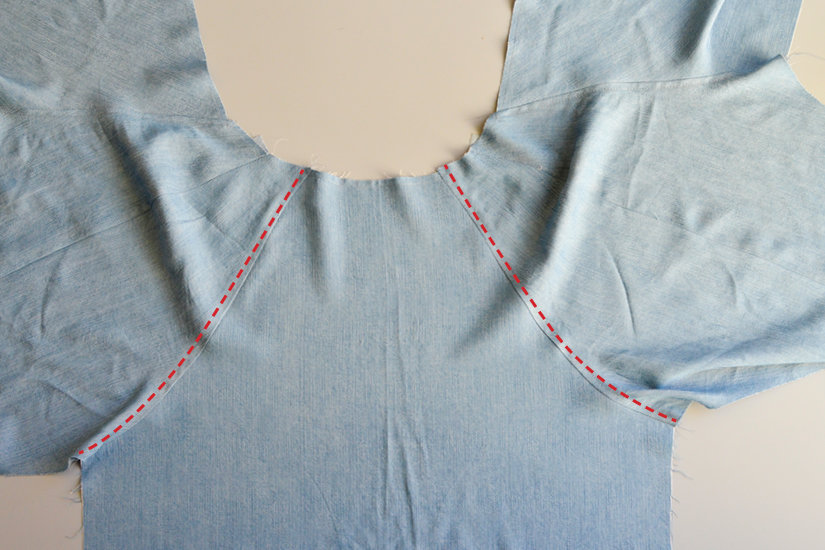
SEW FRONT SLEEVE TO FRONT BODICE
With right sides together, sew the front bodice to the front sleeve seam at 3/8″ (1 cm), matching the single notches.
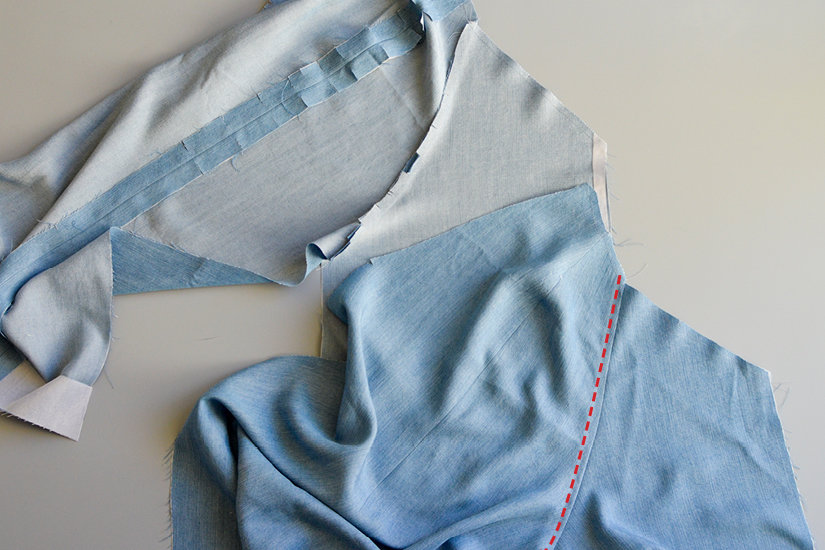
Clip curved seams and press the seam allowance towards the front sleeve. Optional: topstitch the seam allowance in place at 1/4″ (0.6 cm).
SEW BACK SLEEVE TO BACK BODICE
With right sides together, sew the back bodice to the back sleeve seam at 3/8″ (1 cm), matching the double notches. Clip curved seams and press the seam allowance towards the back sleeve.
Optional: topstitch the seam allowance in place at 1/4″ (0.6 cm).
SEW UNDERARM & SIDE SEAM
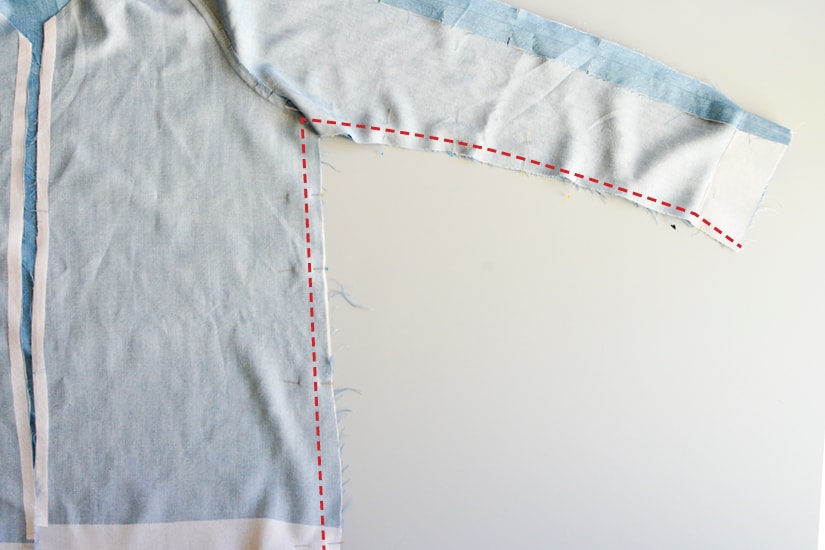
13. With the front and back sleeves right sides together at 3/8″ (1 m), sew the sleeve underarm and side seam all in one pass.

Press the seams open.
For View B, scroll down to SEW HOOD – VIEW B ONLY (step 15 in the tutorial).
SEW COLLAR – VIEW A ONLY
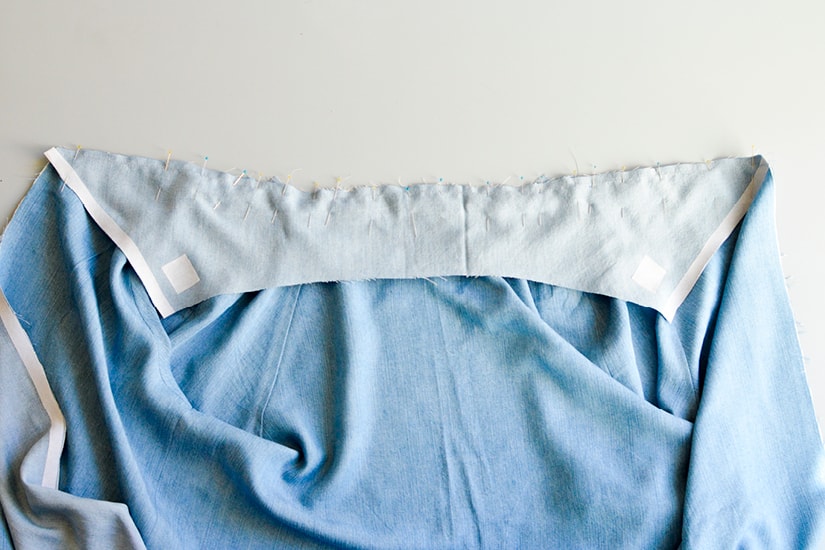
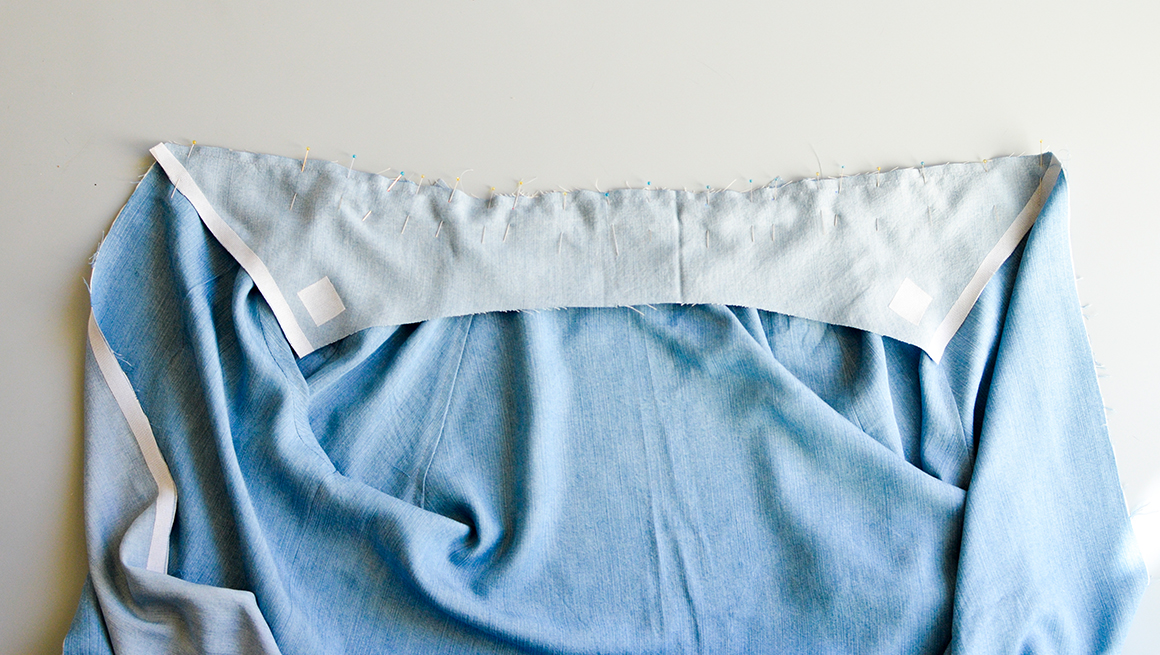
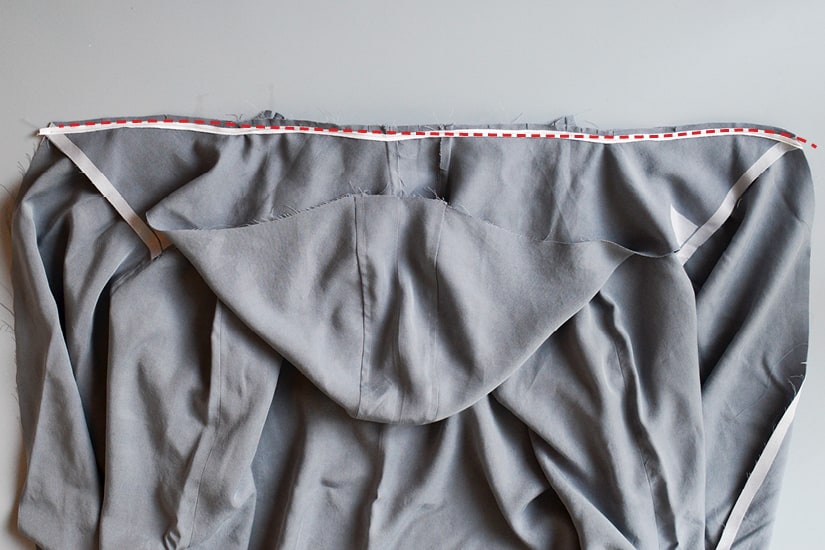
For View A only, pin the collar to the neckline, right sides together, matching the “+” marks with the seams.
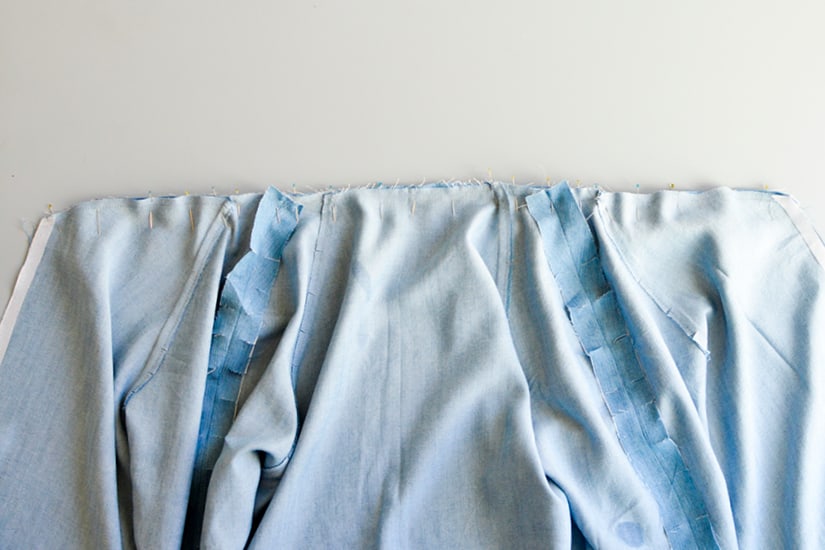
You will need to do a bit of easing to get the straight collar piece to match the curved neckline. This is the view from the other side.
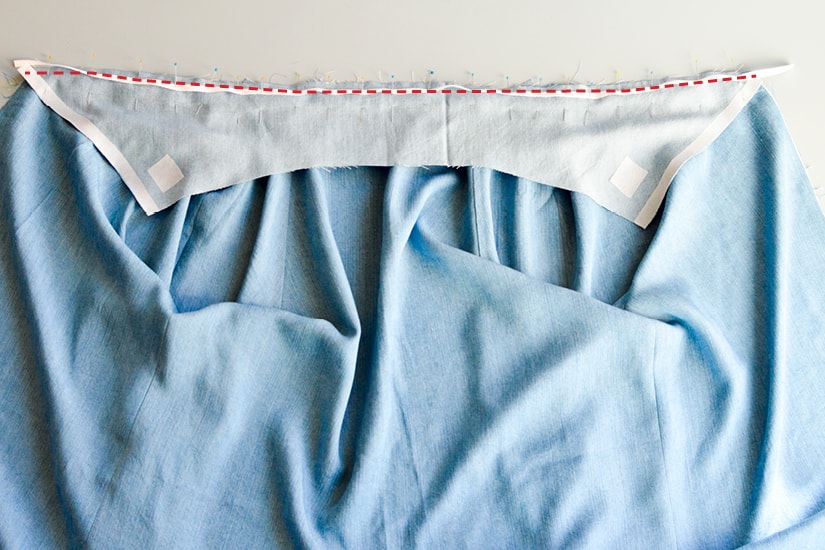
I strongly suggest adding 1/4″ (0.6 cm) twill tape to strengthen this seam. Insert the twill tape between the sewing foot and the collar, centering twill tape at the seam allowance. Sew together in one pass at 3/8″ (1 cm).
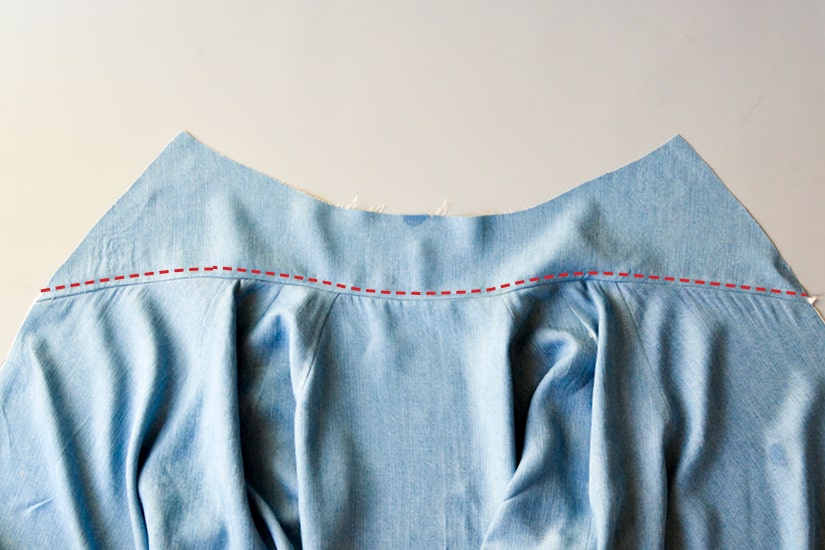
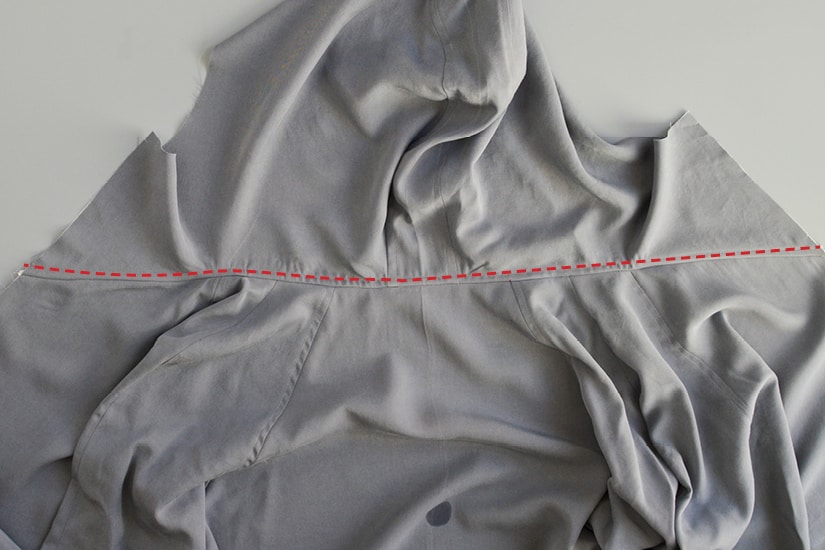
Clip the seam and press the seam towards the collar. Optional: topstitch the seam allowance in place at 1/4″ (0.6 cm). For View A, skip the hood section and go to the pockets below.
I have made a quick video to better illustrate the amount of easing required. You can review the video HERE.
SEW HOOD – VIEW B ONLY
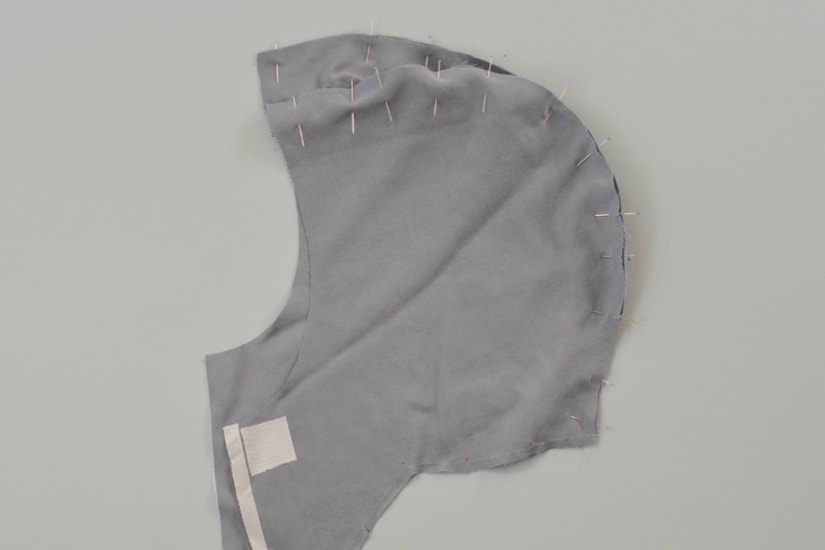
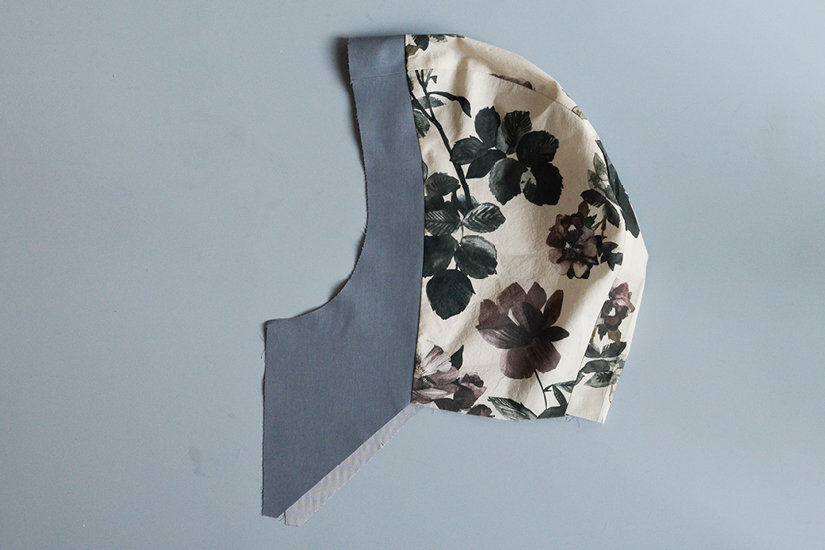
For View B only, with right sides together, sew the hood sides to the hood center panel at 3/8″ (1 cm).
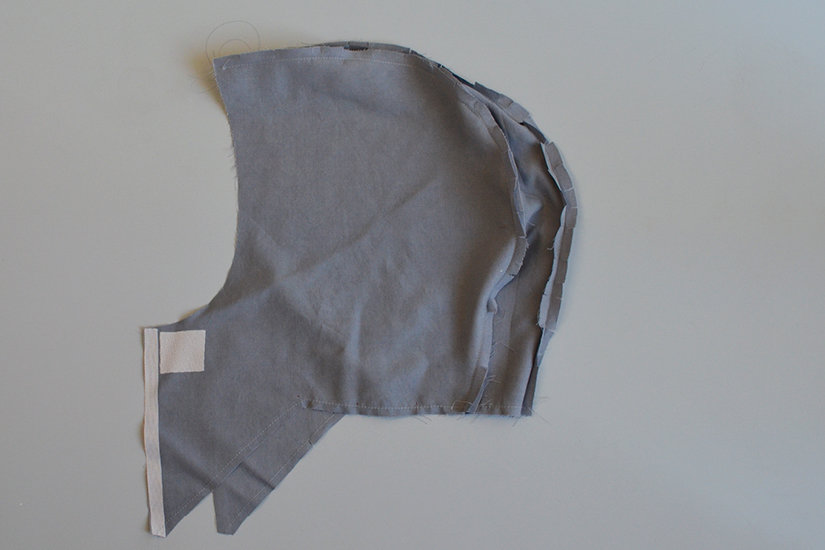
Clip the curved edges and press the seam towards the center panel.
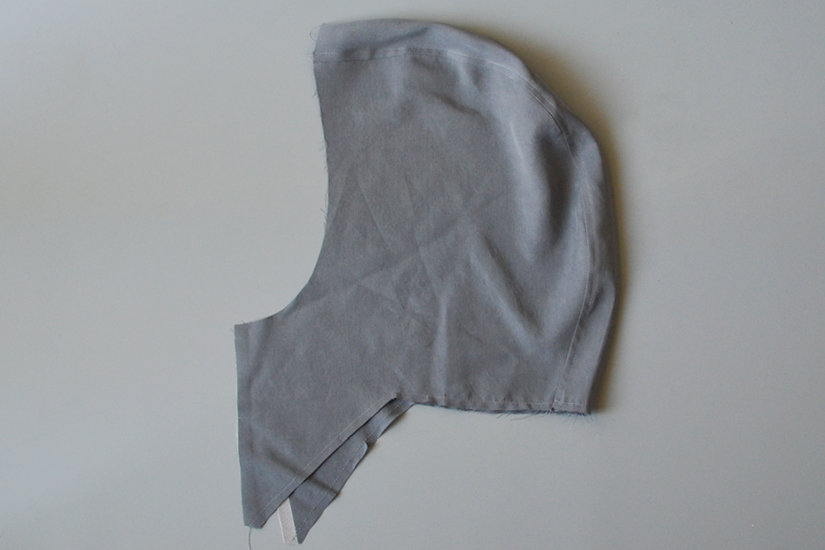
Optional: topstitch the seam allowance in place at 1/4″ (0.6 cm). Put the hood aside.
SEW HOOD FACING & HOOD LINING – VIEW B ONLY
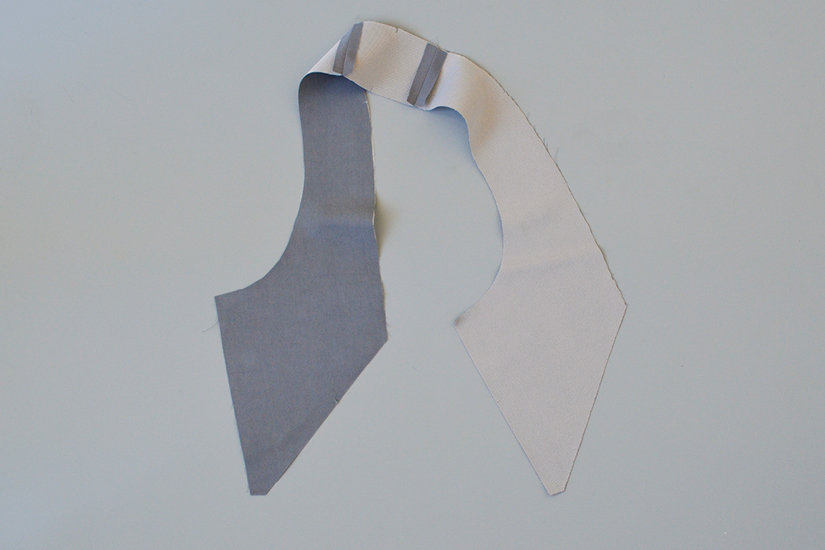
For View B only, with right sides together, sew the hood side facings to the hood center panel facing.

With right sides together, sew the hood side linings to the hood center lining at 3/8″ (1 cm).
Clip the curved edges and press the seam towards the center panel.

With right sides together, sew the hood facing to the hood lining at 3/8″ (1 cm).
Put the hood facing/lining aside.
SEW HOOD- VIEW B ONLY
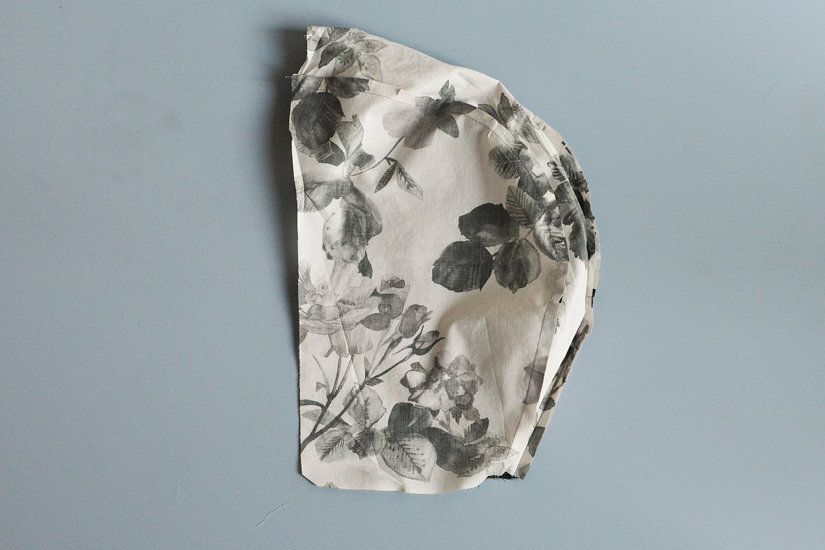
For View B only, sew the main hood to the neckline, right sides together at 3/8″ (1 cm), matching the “+” marks with the seams. I strongly suggest adding 1/4″ (0.6 cm) twill tape to strengthen this seam. Insert the twill tape between the sewing foot and the hood, centering the twill tape at the seam allowance. Sew together in one pass, backstitching as you sew over the hanger loop. Clip the seam and press the seam allowance towards the hood.
Optional: you can topstitch the neckline seam towards the hood.
FIT CHECK & SEW POCKETS
This is a good time to try on the jacket for a fit test. Check the sleeve and shoulder seam placement. Confirm the sleeve length and body length. If you need to make any adjustments to the main fabric, you will need to make the same adjustments to the lining.
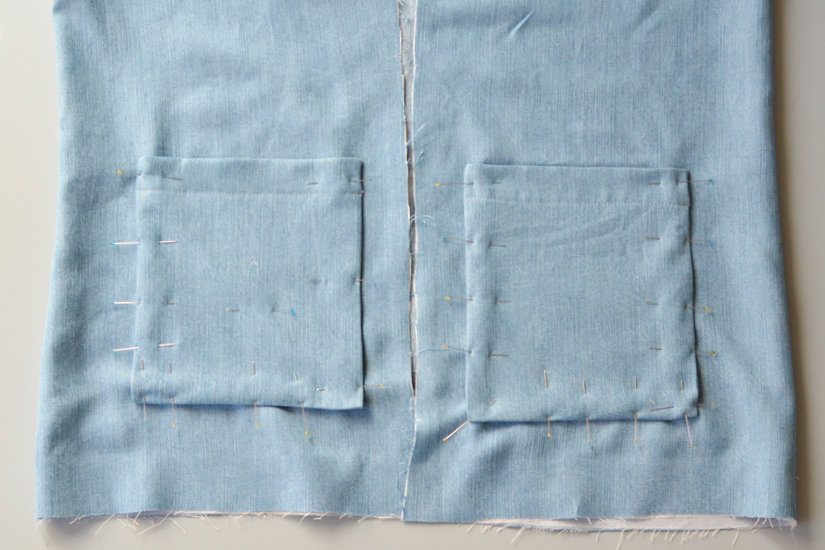
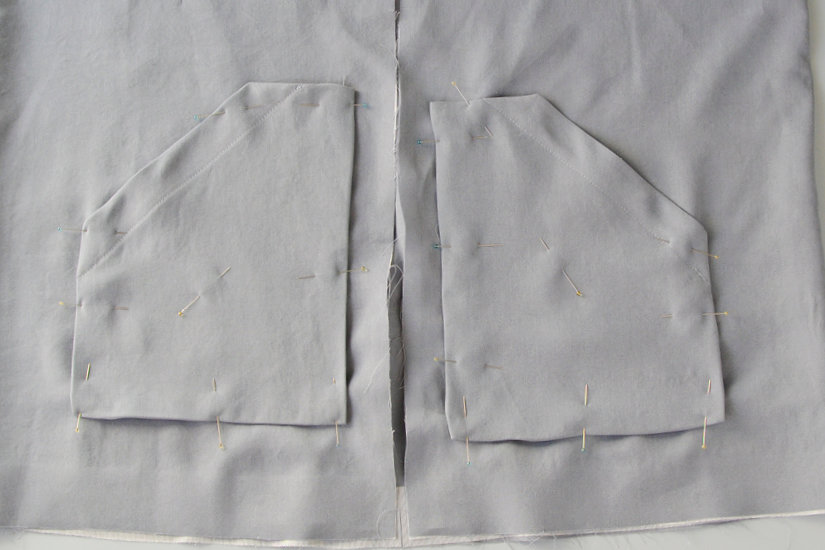
Once you are happy with the bodice length, pin the pockets in place, making sure they are even. I know mine don’t look that great here. This kind of fabric can be shifty, so just match them the best you can.

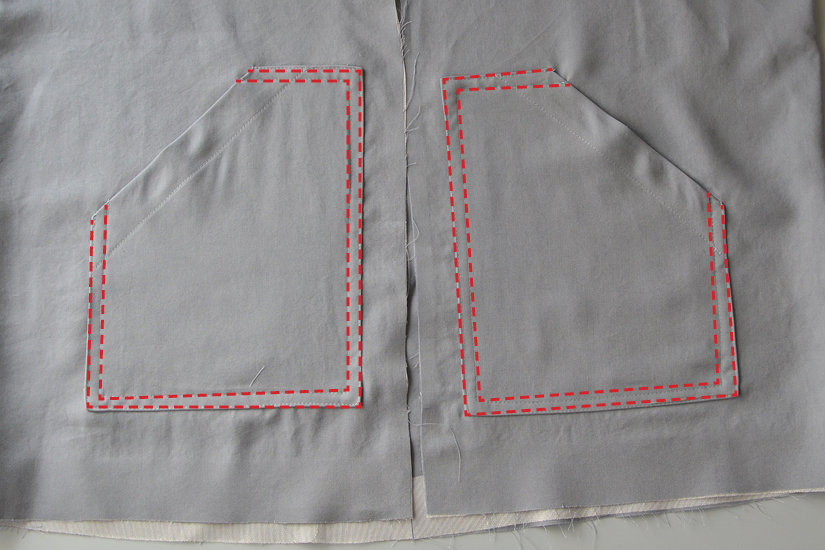
Edgestitch them in place. Sew the first row 1/16″ (0.15 cm) from the edge. Sew a second row of stitching 1/4″ (0.6 cm) from the first stitch line. You might want to trim the inside seam allowance to make sure all raw edges are enclosed inside the topstitching. Optional: add bartacks to the pocket corners to secure. Press pockets.
There you have it! Your outer main fabric is complete. Next, we move on to the lining!
Joy Jacket Sew Along
1 Sewing Supplies || 2 Pattern Adjustments || 3 Cutting and Applying Fusible || 4 Prepping Drawstrings & Pockets || 5 Assemble Outer Main Fabric || 6 Assemble Lining || 7 Assemble Facing & Attach to Lining || 8 Set Zipper & Add Grommets or Buttonholes || 9 Bagging Lining & Finishing Details
Gabriela


Comments are closed.