This post is all about adding the hardware. Don’t let that word scare you, I promise it’s not hard!
PREP ZIPPER TABS & ATTACH ZIPPER

Prep the zipper by folding back the tabs at an angle and sew them in place. This will move the excess tab fabric out of the way when inserting your zipper.
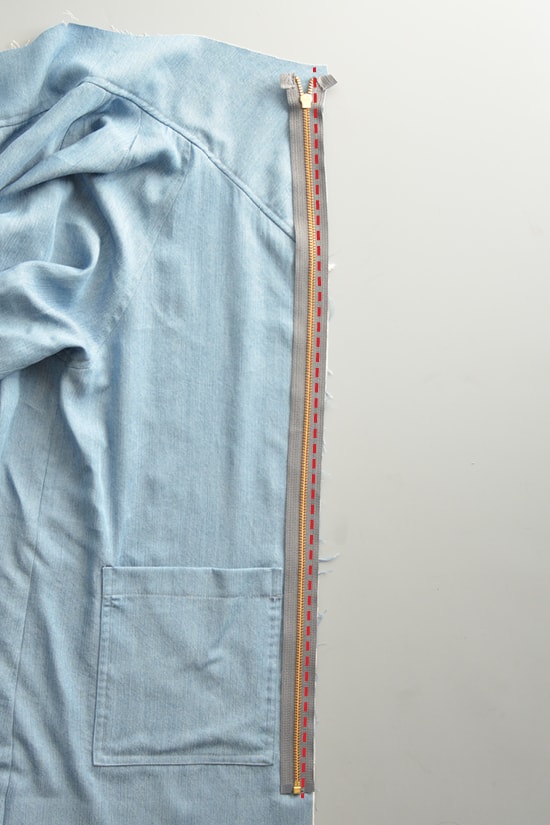
Lay the zipper right side down on the wearer’s right side of the jacket, matching the zipper stops with the notch and the tape with the center front edge. Use a zipper foot and sew the zipper at a 3/8″ (1 cm) seam allowance. Move the zipper head out of the way as you sew. The zipper will not end at the hem of the jacket. The zipper will stop at a slightly different place depending on the size you are making.
From the right side, press the fabric away from the zipper.
ATTACH ZIPPER TO OTHER SIDE
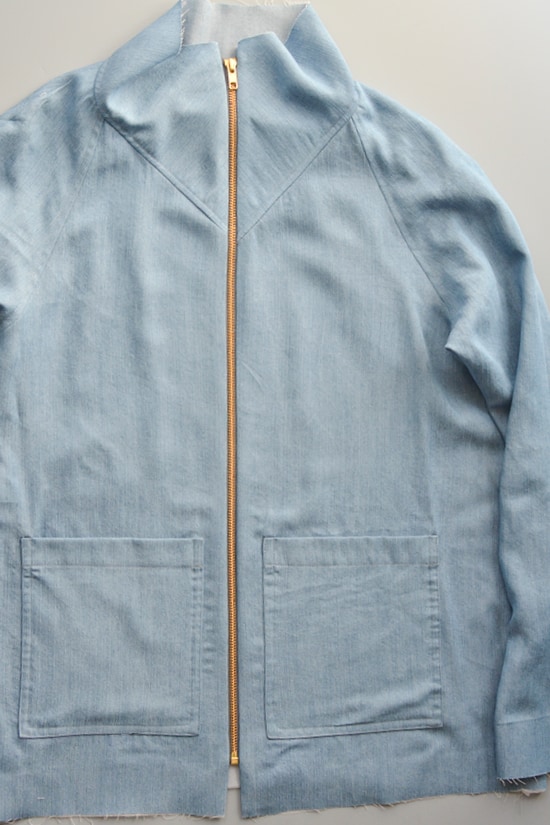
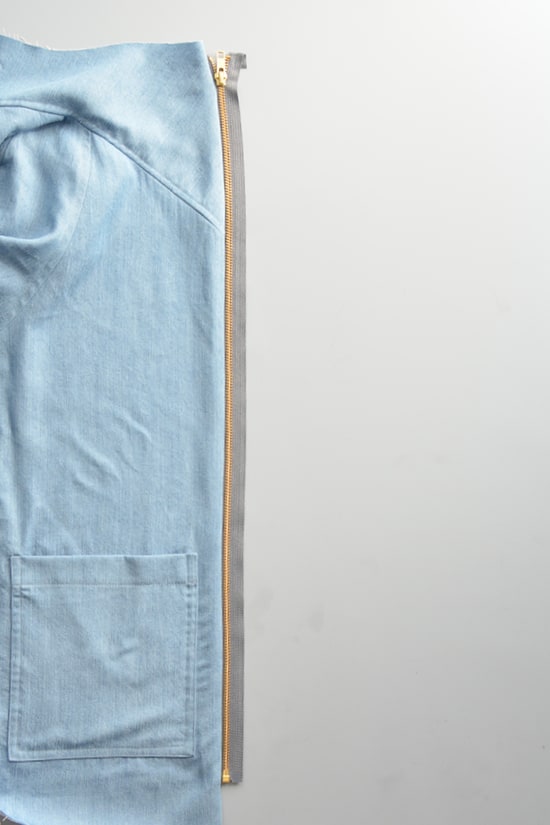
Close the zipper to ensure the zipper is even. Repeat for the other side, and check to make sure you are matching the notches on both sides. Press the center front.
I have made a short video showing how to match your center front and move your zipper head out of the way HERE.
OPTIONAL: ADD BUTTONHOLES OR GROMMETS
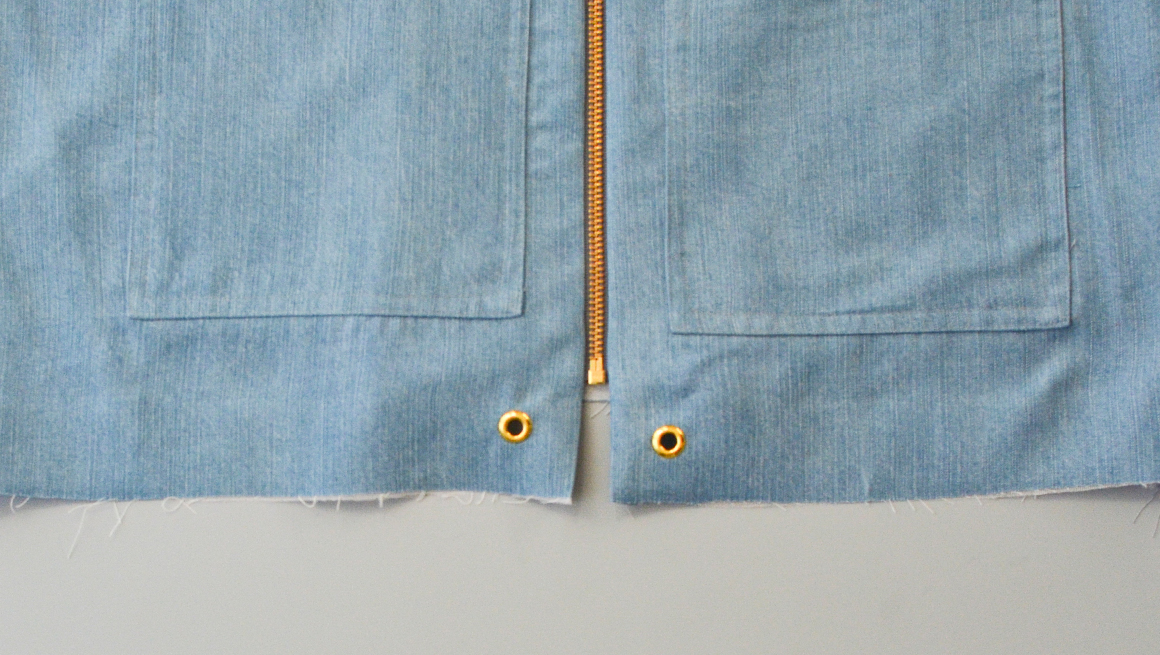
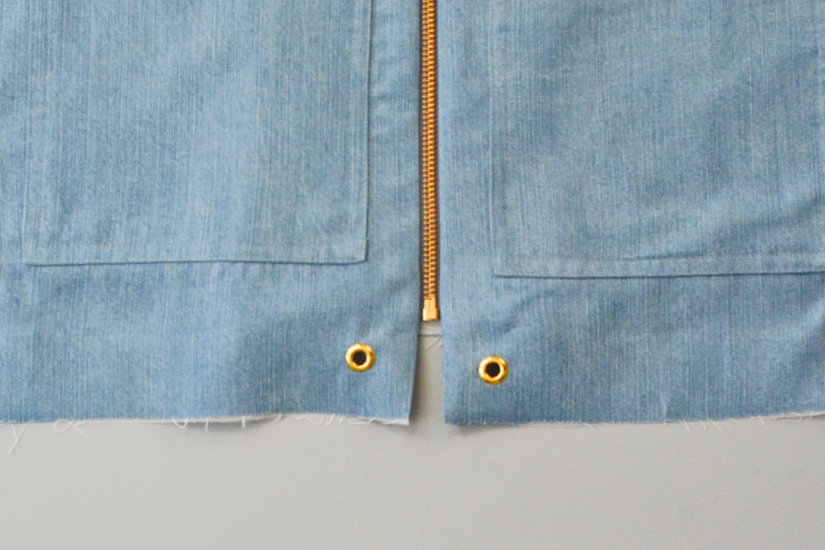
Adding grommets is optional. The drawstrings are also not necessary but add interest to the jacket. If you don’t have grommets, you can add buttonholes in their place. You’ll want to follow the directions provided with your grommets, but I’ll show you the steps I use when inserting grommets.
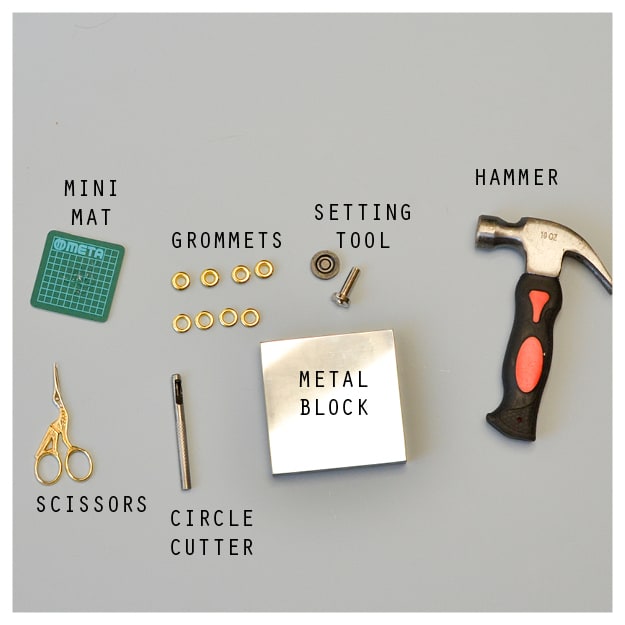 These are the supplies I have on hand to install grommets.
Mini Mat & Cutter Set, Grommets, Metal Block, Hammer and Small Scissors.
These close up photos were taken when sewing View B. The final garment pictured below is View A, but the process is the same for both.

Add a small hole at the marked placement from the pattern. I use a solid metal block. You don’t need to do this, but you will need a flat, hard surface. I place the mini mat on that hard surface and use a cutting tool to cut my hole. You can use small scissors, just don’t make your hole too big.
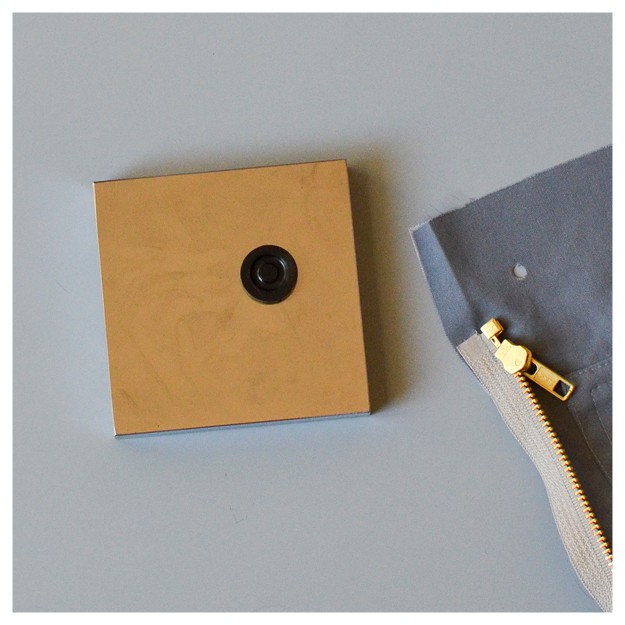
Then I lay the rubber guide that comes with the grommets on top of the mat.

The top part of the grommet is placed face down on the rubber guide.
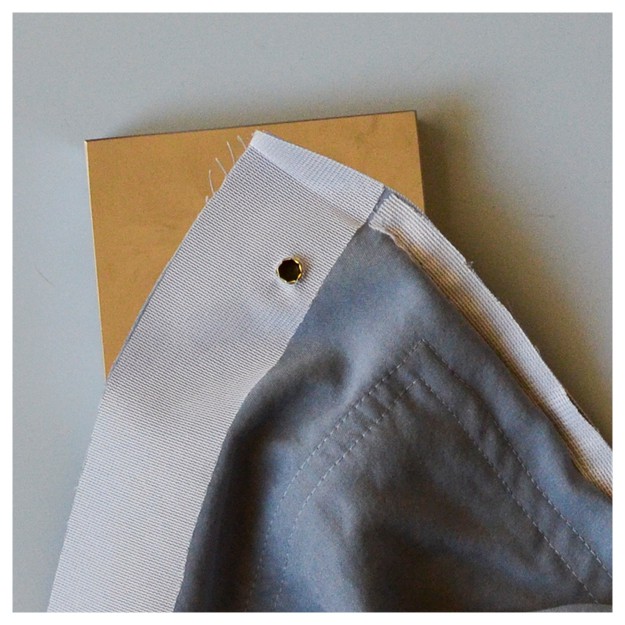
I lay the jacket face down on the grommet so that the grommet goes through the hole.
Then I place the back of the grommet on the back side of the jacket.
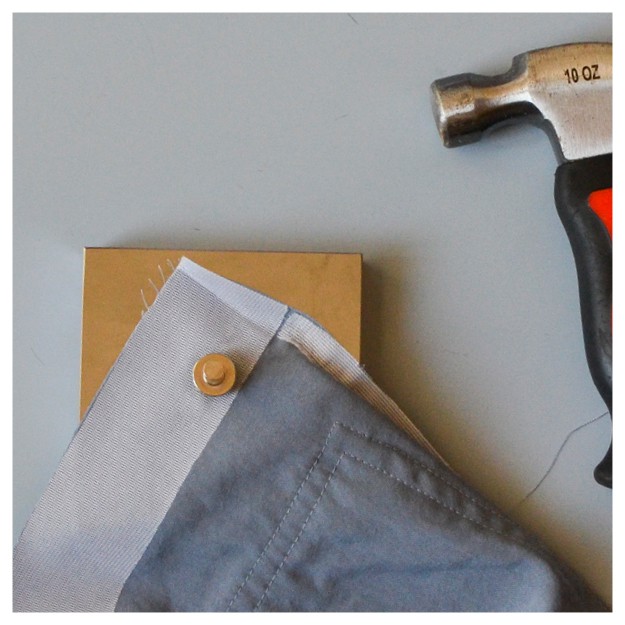
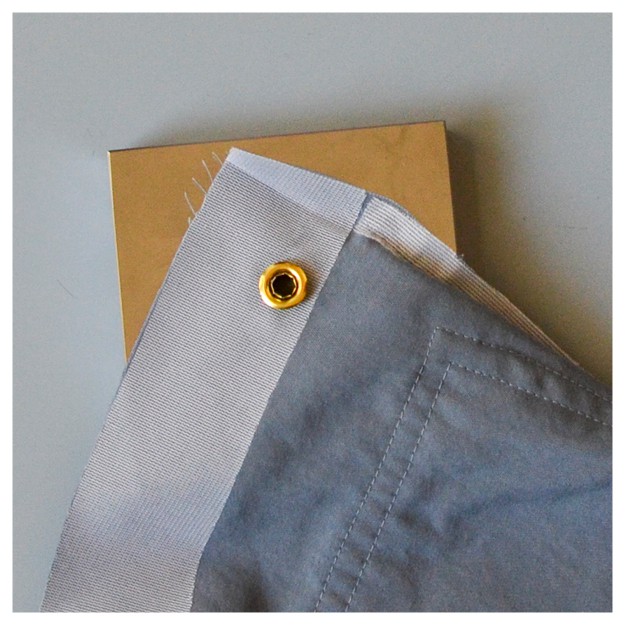
I cover the back of the grommets with the metal tool (that comes with the grommets) and hammer in place. I give it a few solid hits.
This seems like a lot but once you do it a few times, you’ll get the hang of it and they come together quickly. I always recommend testing things out on a scrap piece of fabric first before applying the grommets to your jacket.
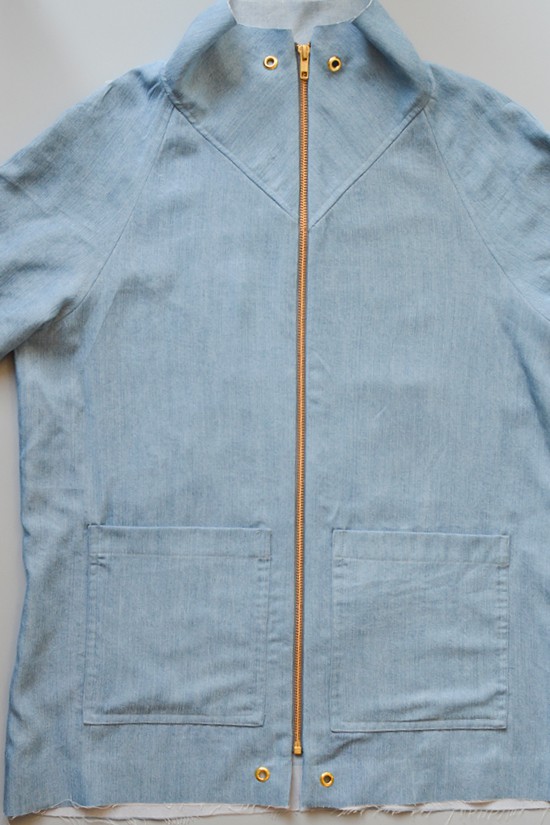
Once you have added all four grommets, you are on to bagging your jacket!
Joy Jacket Sew Along
1 Sewing Supplies || 2 Pattern Adjustments || 3 Cutting and Applying Fusible || 4 Prepping Drawstrings & Pockets || 5 Assemble Outer Main Fabric || 6 Assemble Lining || 7 Assemble Facing & Attach to Lining || 8 Set Zipper & Add Grommets or Buttonholes || 9 Bagging Lining & Finishing Details
Gabriela

