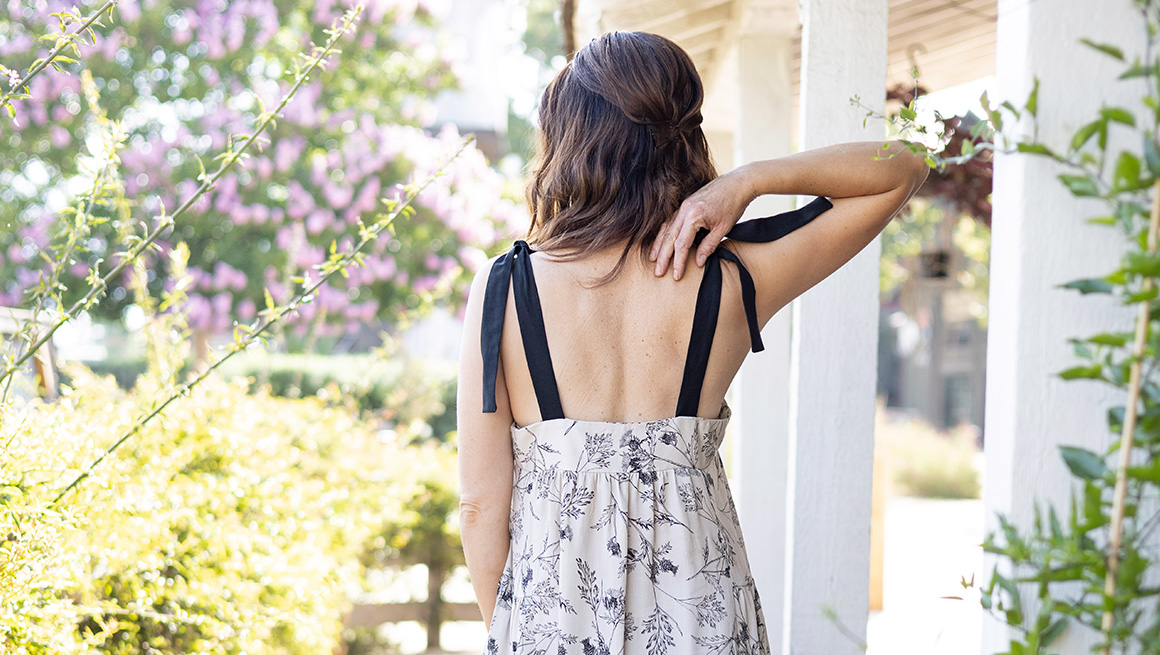
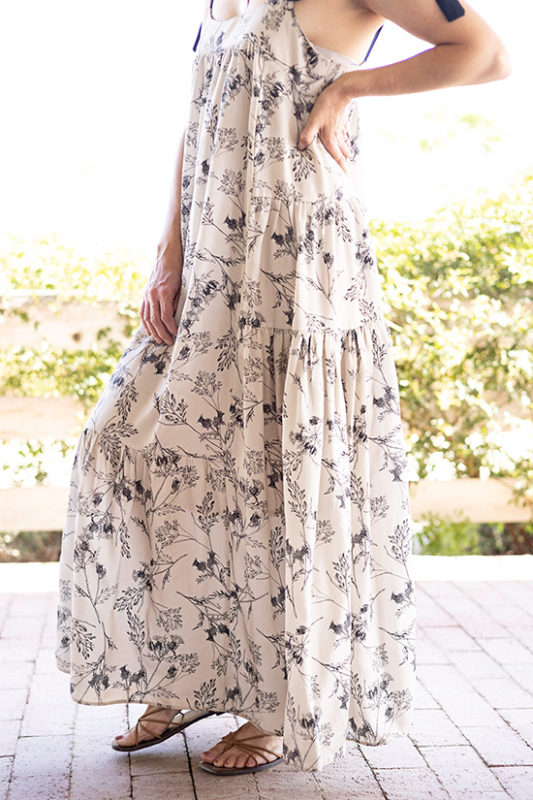
We’ve wanted to add a tutorial for adding tie straps to the Marcel (shop the PDF here or paper pattern here) since its release so when we saw Alexis’s creation as part of the 2021 Collaborator team, we knew we had to ask if we could add it to the blog. In addition to the tie straps, Alexis made a few simple changes to the Marcel seam lines to add more fullness to the hem. Read on to see the difference in the line drawings and instructions on how to create this Marcel hack.


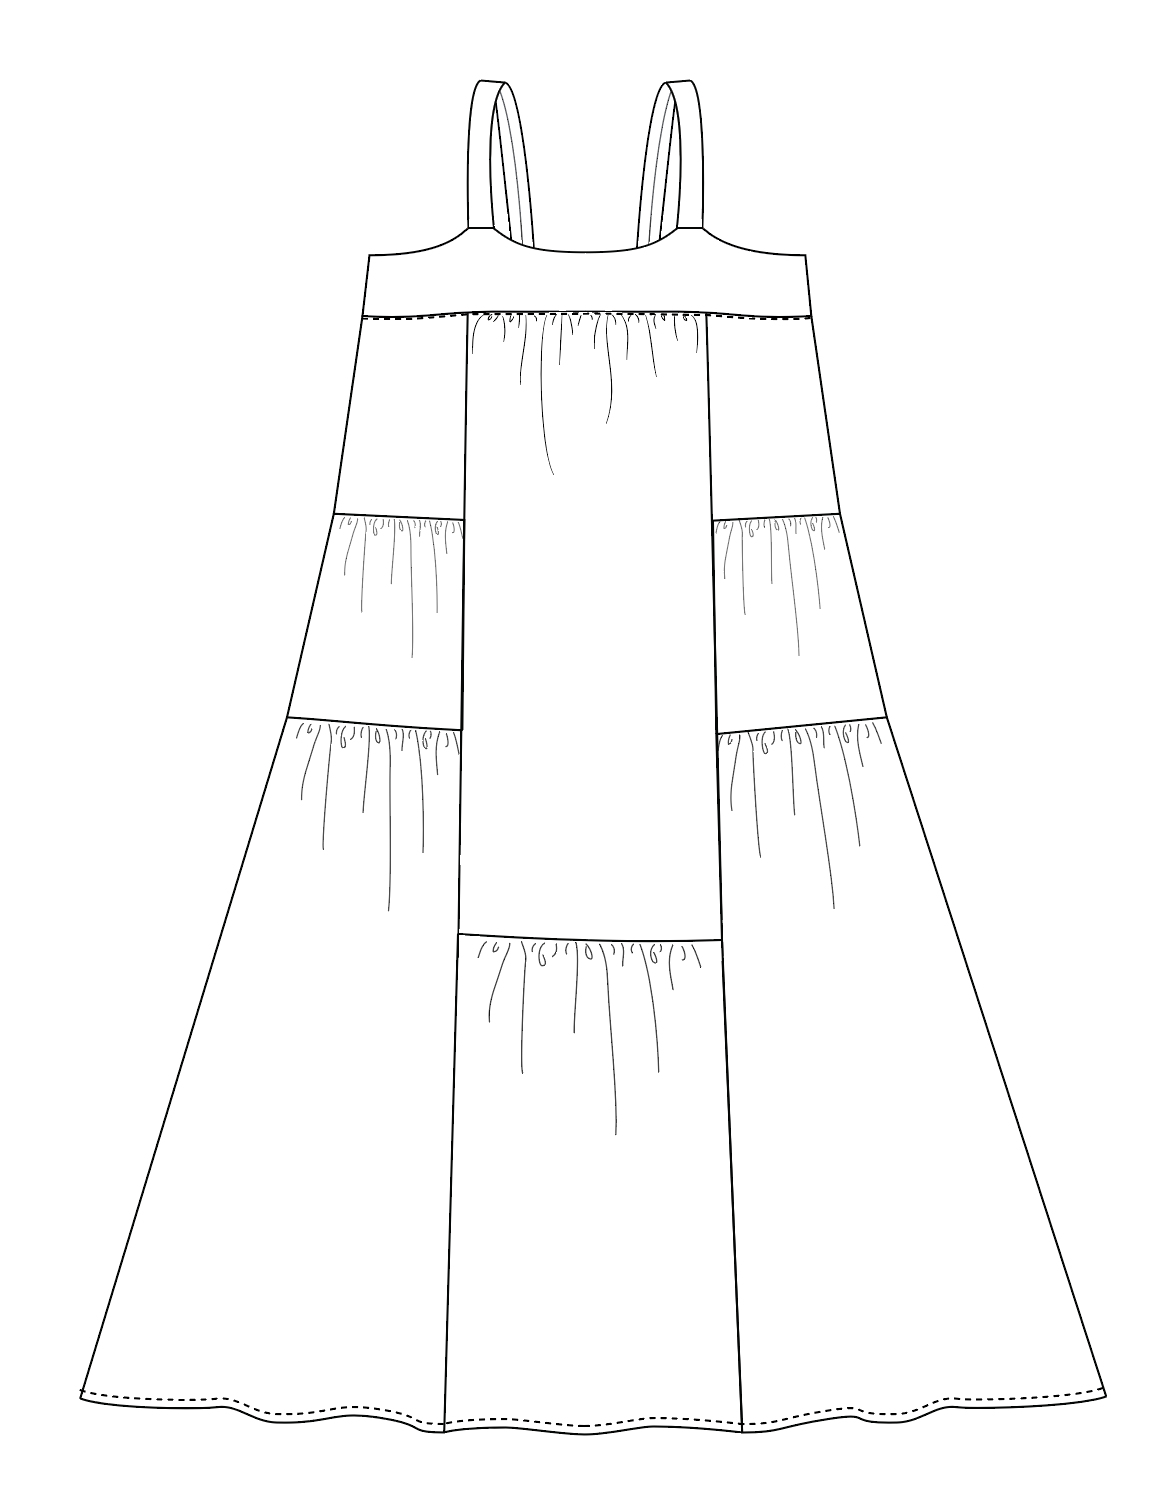
Marcel Illustrations
For reference, the original Marcel pattern includes a center front and center back panel and 5 side tiers.

Alexis’s Marcel includes two tiers for the center front and center back panels and 3 side tiers.
Side Tier Alterations
To create a new tier three panel:
- Add up the lengths of side tiers 3, 4, and 5. Subtract 1.5″ (3.8 cm) from this length to account for seam allowances.
- Using this length, and the width of tier 4, create your new tier 3 rectangle.
- Sew side tiers 1, 2, and your new tier 3 together as instructed in the pattern.
Center Panel Alterations
To create the new center front and back:
- Cut the center panels at the Mini length line and add 3⁄8” (1 cm) to the bottom for the seam allowance.
- The remaining pattern piece trimmed from the bottom will be the start of your ruffle. Add a 3/8″ (1 cm) seam allowance to the top of this piece.
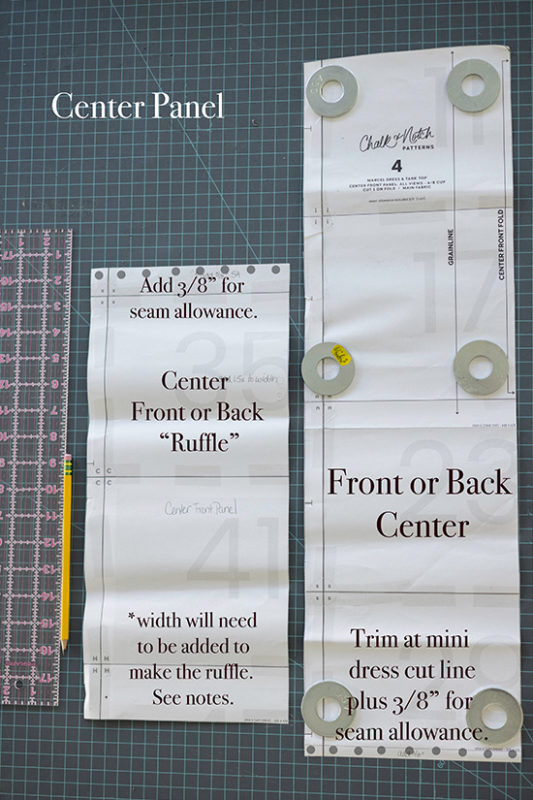
- To add width to the bottom ruffle, take the bottom panel piece with seam allowance added and measure the width of this pattern piece and multiply by 1.5″ (3.8 cm). This will be your new ruffle width.
- Repeat these steps for both front and back center panels.
- Cut your top front and back center back panel pieces on the fold. Do the same for your new “center ruffle” pieces.
- Gather the new front center ruffle piece and attach it to the bottom of the front center panel with a 3/8″ (1 cm) seam allowance. Repeat for back center panel and back center ruffle.

Tie Straps
To create tie straps:
- Cut 4 strap pieces that are 18″ (46 cm) long by original strap width.
- Fold strap piece in half lengthwise with right sides together. Sew the length and one short end with a 3/8″ (1 cm) seam allowance.
- Trim seam allowance to 1/8″ (0.3 cm) and turn right side out. Repeat for the remaining three straps.
- Attach open ends of strap pieces to the bodice as indicated in the pattern.

Finishing Details
Follow pattern instructions to construct the rest of your Marcel and you’re finished!


[/vc_column_text][/vc_column][/vc_row]
