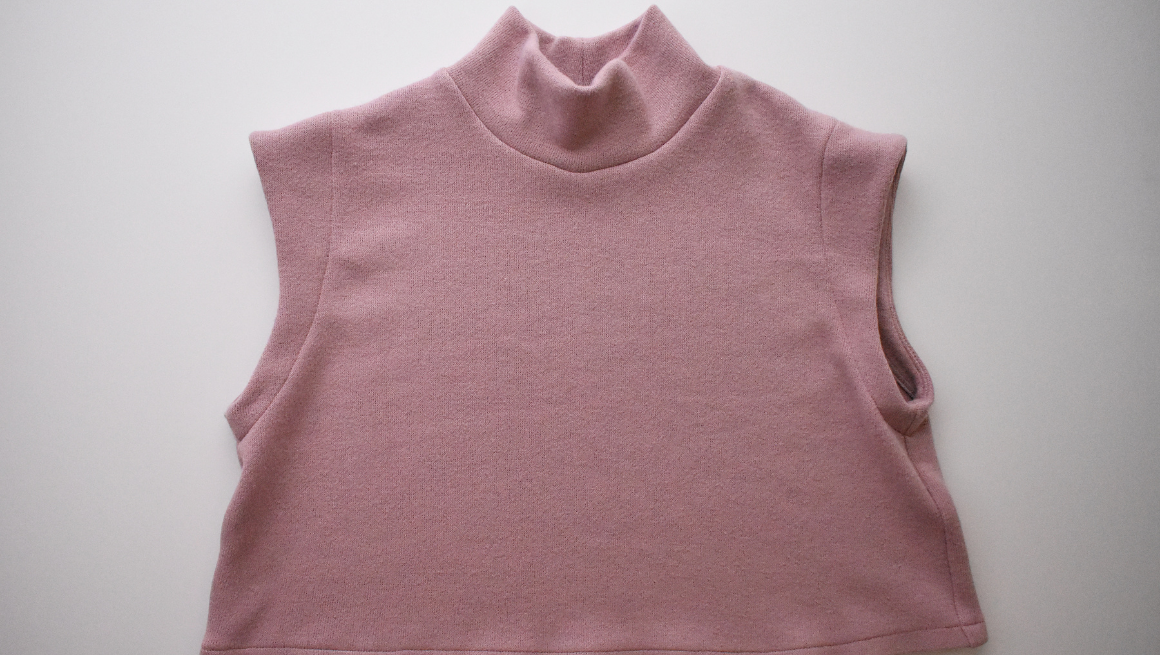
Now that we’ve sewn our bodices, we’re ready to finish the necklines. In this post, we’ll demonstrate how to sew all three neckline options: the rib neckband, the mock neckband, and the neck facings.
SEW THE RIB NECKBAND OR MOCK NECKBAND
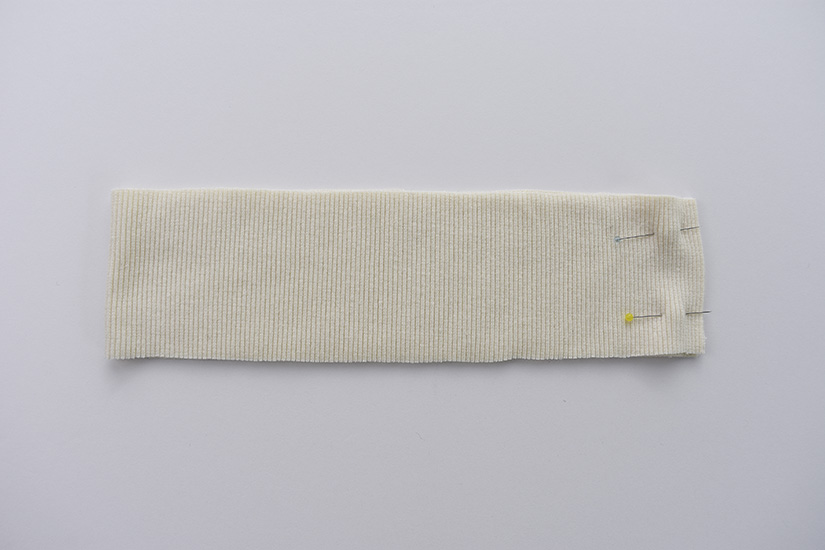
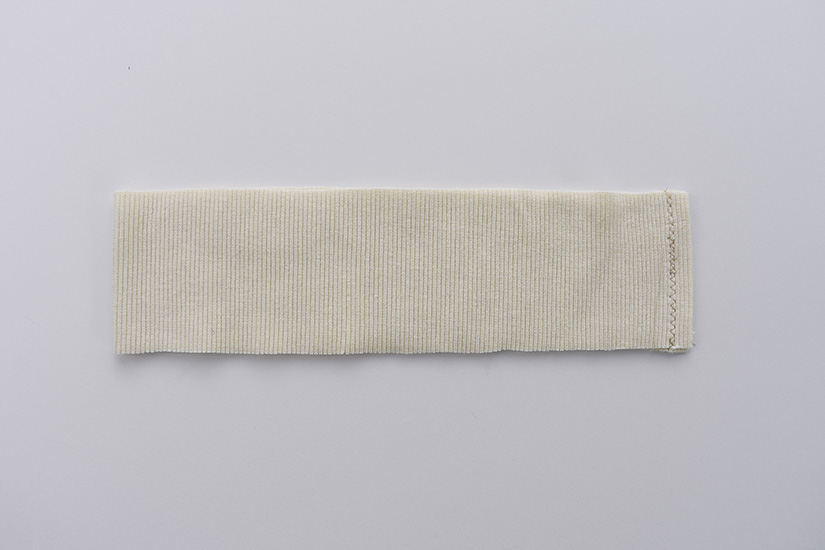
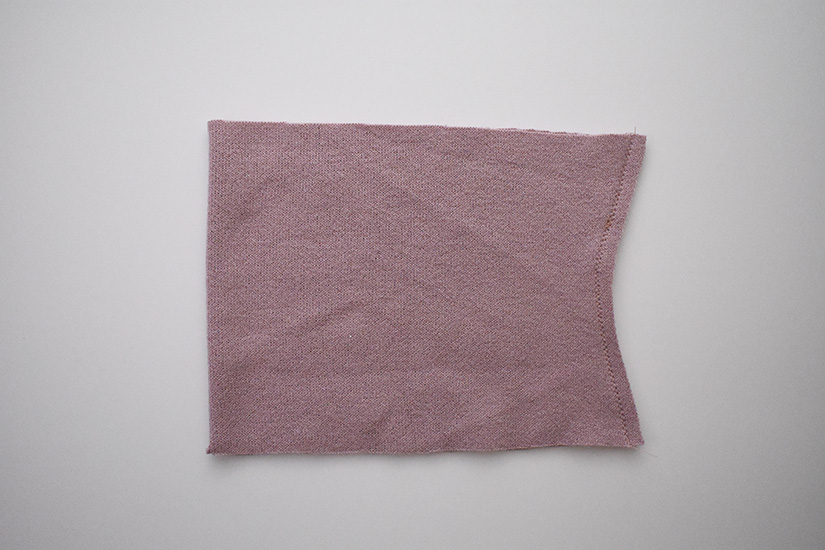
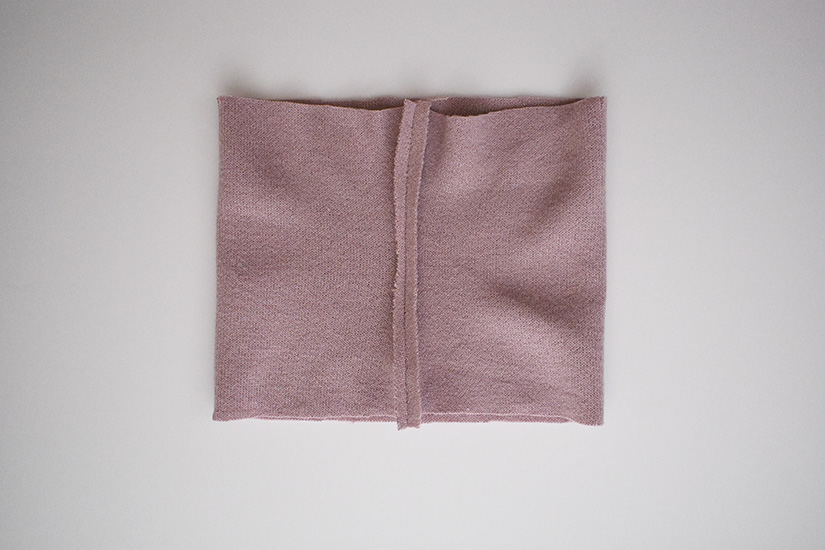
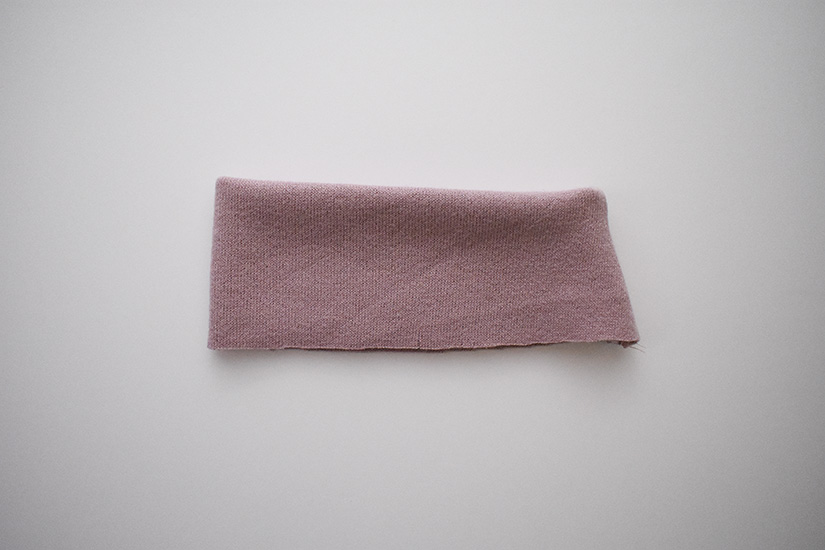
With the right sides together, sew your preferred neckband, either the rib neckband or mock neckband at the short end. Press the seam open. Fold the neckband in half lengthwise with the wrong sides together and press.
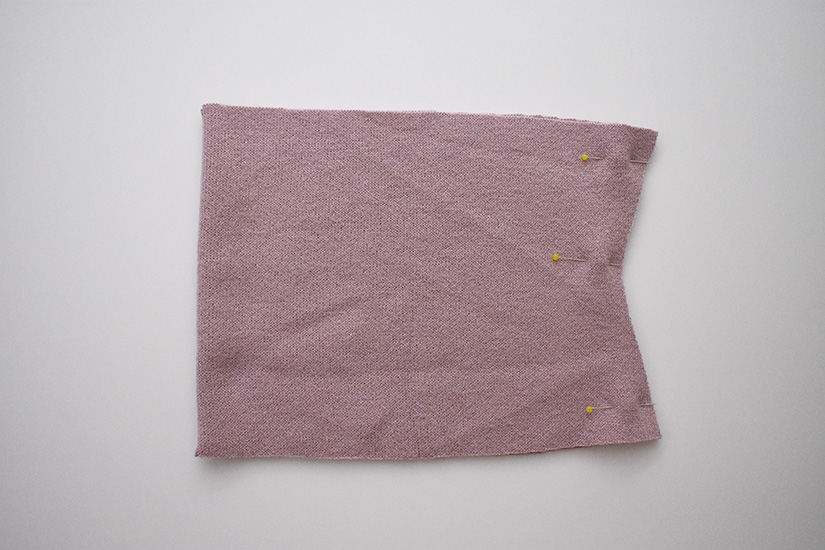
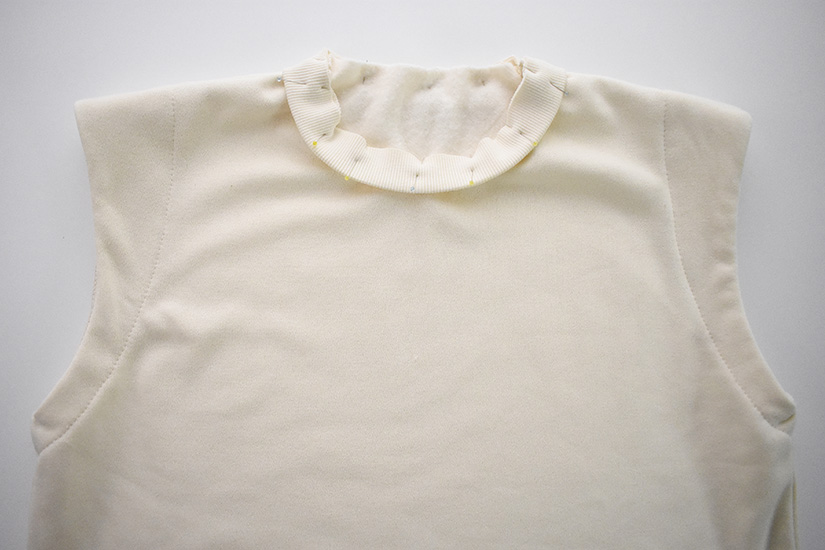
ADD QUARTER MARKS TO THE BODICE NECKLINE
You will find the center front and center back marked on your bodice. To help attach the rib neckband or mock neckband, you’ll need to add quarter notches to your neckline. Start by matching the center front and center back and find the midpoint between them. Mark this mid-quarter point with a pin, then repeat for the other side.

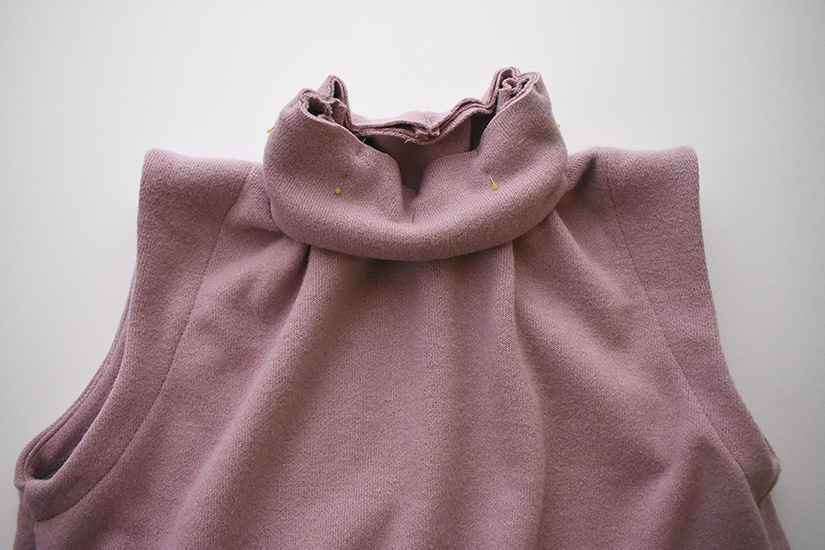
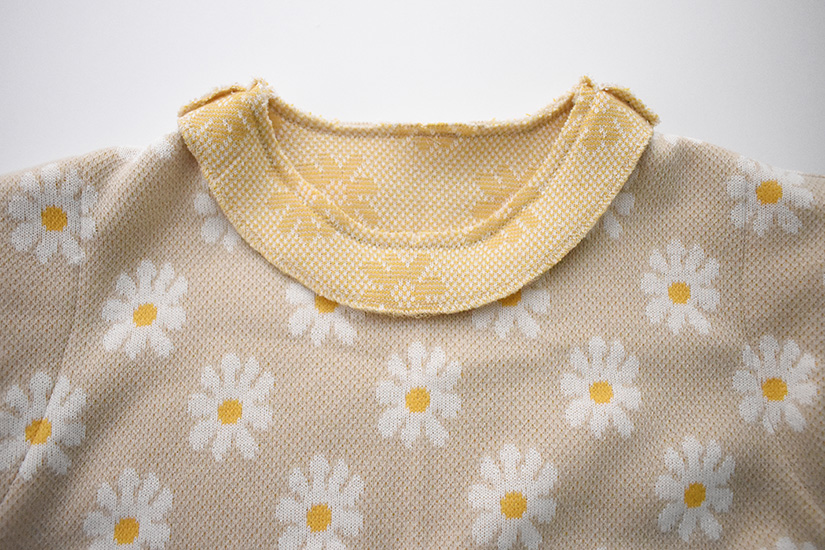
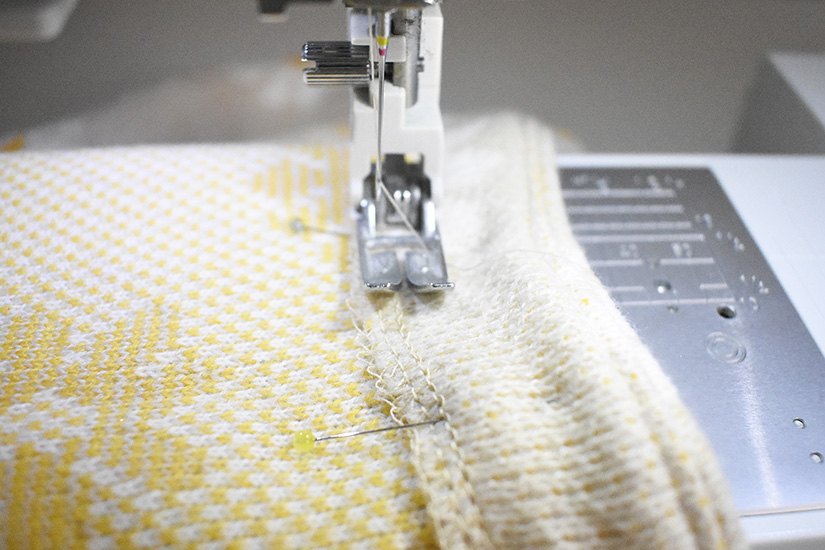
SEW THE RIB NECKBAND OR MOCK NECKBAND TO THE BODICE
Line up the neckband seam with the center back double notches. Continue to pin the rest of the neckband around the neckline, matching the notches, while evenly stretching the neckband slightly. Do not stretch the garment. Stitch with a stretch stitch or overlock. Finish and press the seams towards the bodice.
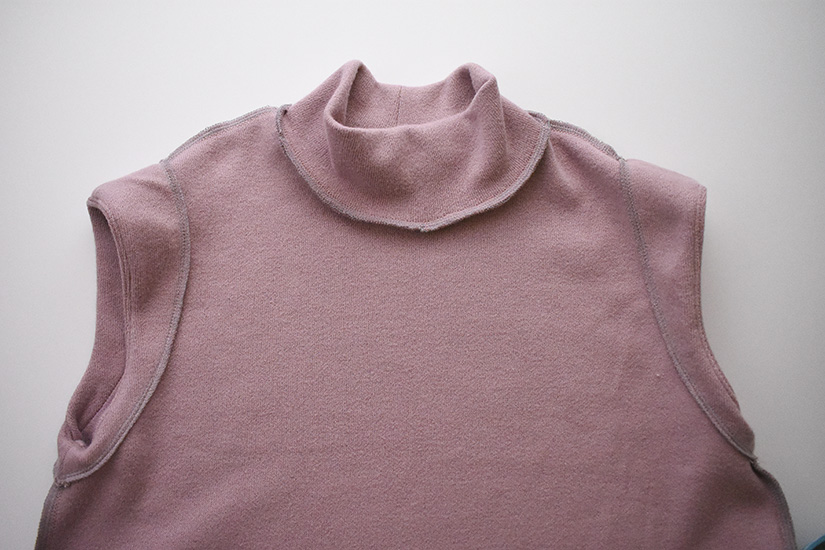
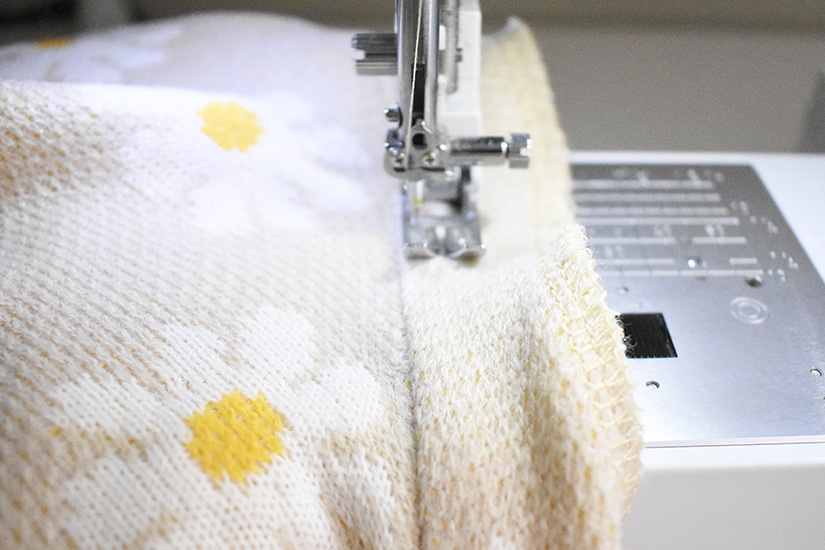
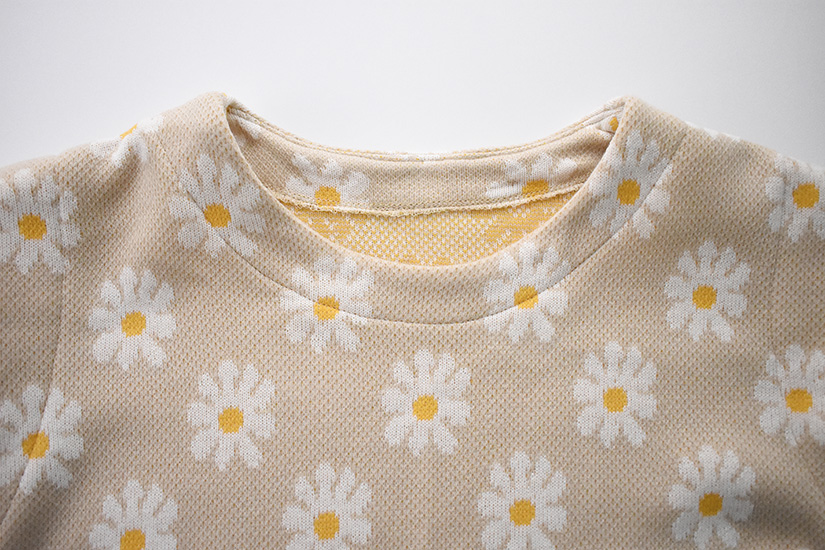
OPTIONAL NECKBAND TOPSTITCHING
Topstitch the neckline at 1/4” (0.6 cm) or 1/8” (0.3 cm) based on your preference to hold the seam allowance in place.
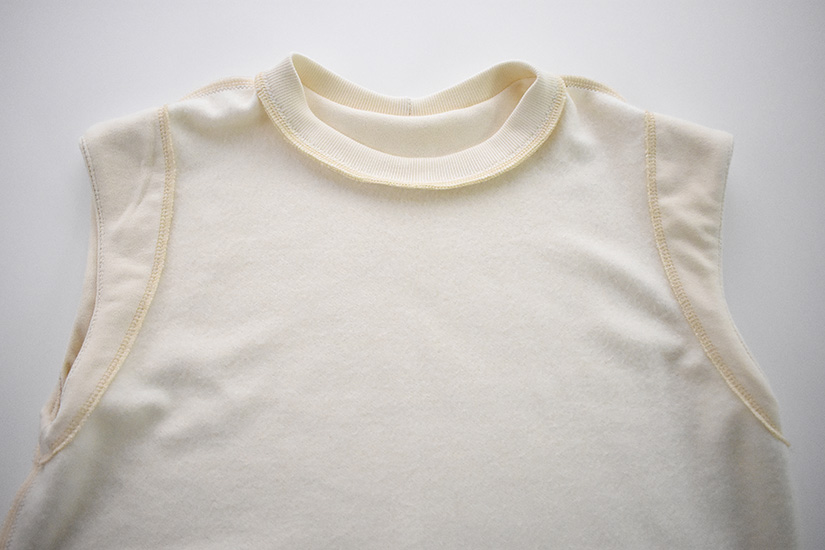
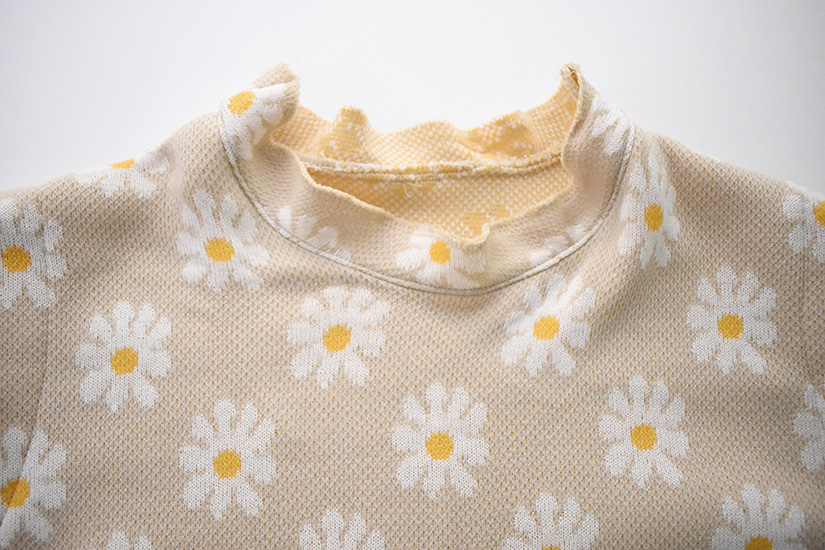
SEW THE NECK FACING
With the right sides together, sew the neck facing to the neckline, matching the notches and shoulder seams. Trim your seam allowance to half. If your fabric is thick, grade your seams by trimming the facing seam allowance to 1/8” (0.3 cm) and the neckline seam allowance to 1/4” (0.6 cm). Clip the curves. Press the seams towards the facings.

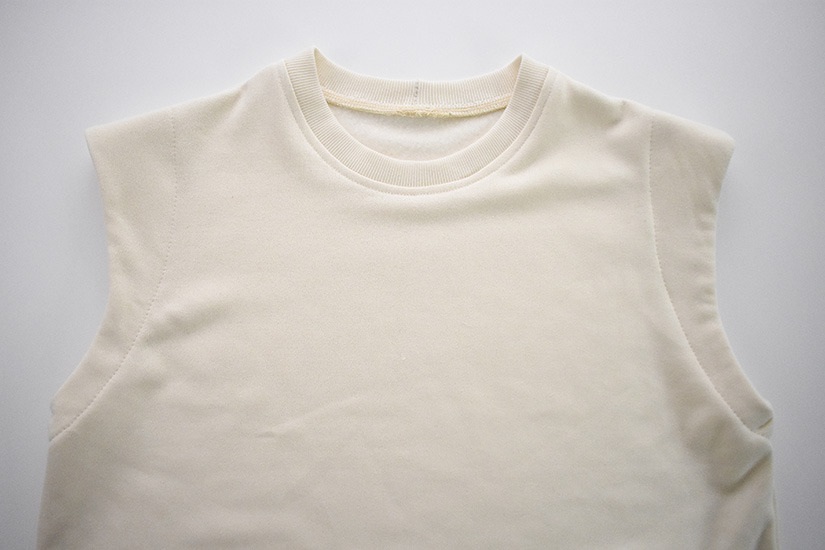
UNDERSTITCH THE NECK FACING
Understitch the neck facing by stitching a line 1/16” (0.15 cm) away from the seam. Make sure to catch the seam allowance towards the facing when stitching.
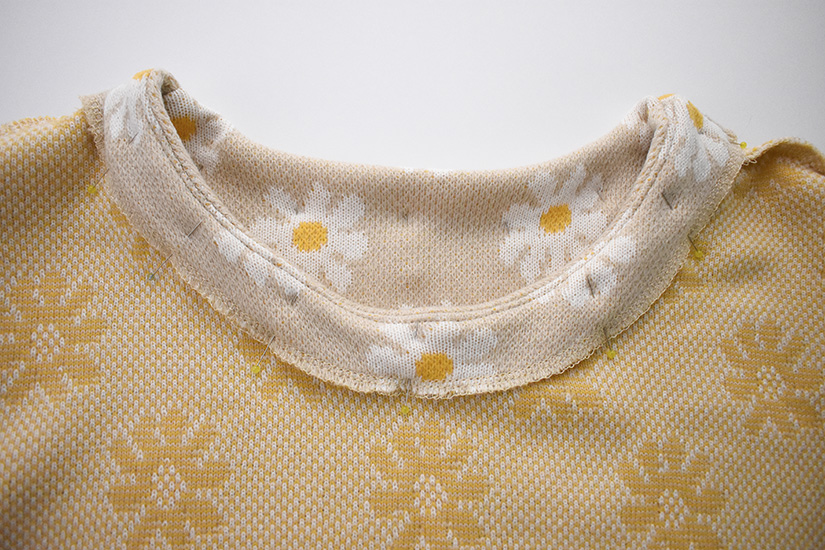
EDGESTITCH THE NECK FACING IN PLACE
Press the neck facing towards the inside of the bodice and pin in place. Lengthen your stitch length a bit. Start at the shoulder seam and sew from the wrong side during this step. Edgestitch the hem facing in place at 1/16” (0.15 cm). When stitching from the wrong side, make sure your bobbin thread matches the right side of your garment.

In our last post, we’ll be finishing our Max tees by sewing the hems.
Max Tee Sew Along Posts: Getting Started | Sew Shoulder Seams, Side Seams, and Armhole Facings | Sew the Neckbands and Neck Facings | Sew the Hem and Hem Facing
