In the recent survey, I asked if readers would be interested in more sewing tutorials detailing hacks for our current patterns. With 96% of respondents saying “Yes,” today I’m happy to introduce the 2020 Chalk and Notch Contributor Team. These eleven sewists will be collaborating and contributing in bringing tutorials to the Chalk and Notch blog throughout the year.
Contributor Sewing Tips
When determining how to write this introduction post, I wanted to find a way to introduce each contributor while bringing value to you as a reader. What better way to introduce a group of sewists than by sharing sewing tips? Each contributor was asked to answer the question: “What is your #1 sewing tip?” If you’d like to learn more about each contributor, make sure to check out the blog and/or Instagram links provided under each tip.

Meg: “My favorite sewing tip is using a glue stick to hold pieces in place before sewing. I use it on hong kong seams to make sure the bias tape gets caught in the stitching, on denim waistbands that are a little thick for pins, or on areas where I need to sew from the underside and want to make sure everything lines up just right. It’s one of my most used tools.”
Blog: Meg Made
IG: @megmadesewing
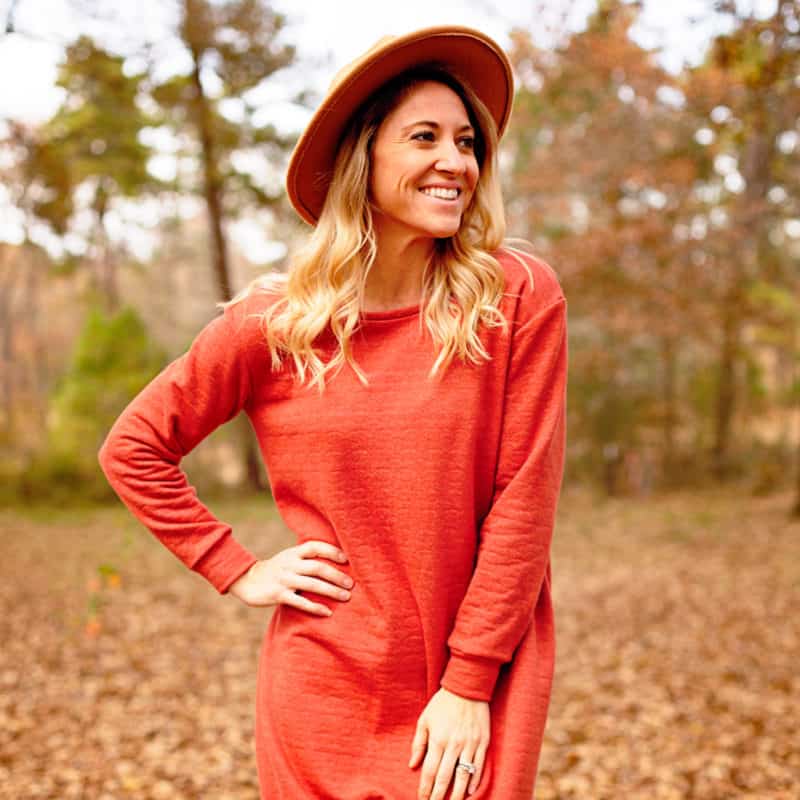
Cassie: “Don’t be afraid to make it your own. Patterns are just a wonderful starting point but be brave with your design choices, amendments to the construction or putting various aspects of different patterns together. There is no definitive right or wrong when it comes to creativity…just do what is most you!”
Blog: Lily Shine Creates

Michele: “One of the best sewing tips I’ve learned is how to cut shifty lightweight fabric accurately on the table. In the industry, to have fabric cut accurately they place a thin paper in between fabric layers. This helps the fabric from shifting around when cutting. Place your pattern piece on top of all layers and cut (fabric and paper). Just remember, don’t worry about your fabric scissors. You can always sharpen them, but you can’t fix already cut fabric.”
Blog: WinMichele
IG: @winmichele
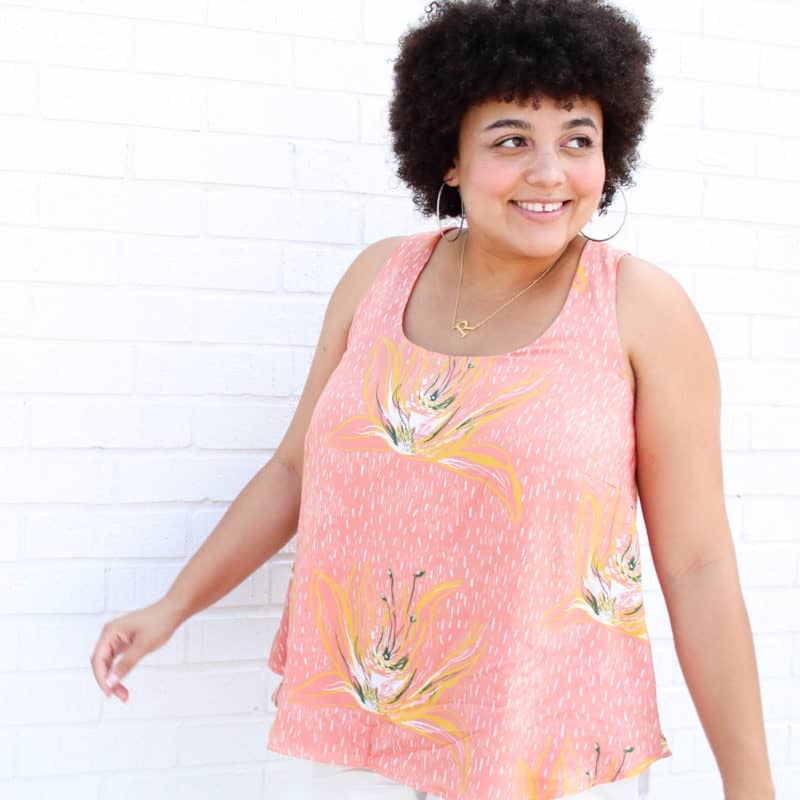
Raven: “Someone once told me that a sewing pattern is like a cooking recipe, which means that you can add or subtract “ingredients” as you like! It changed my entire outlook on sewing and experimenting with new ideas.”
Blog: Raven Maureen
IG: @ravenmaureen_

Alexis B: “My favorite tip is using a seam ripper ball down! I’ve cut myself so much from putting the pointy end in first, ball down helps me not cut the seams of my skin.”
Blog: Alexis Bailey
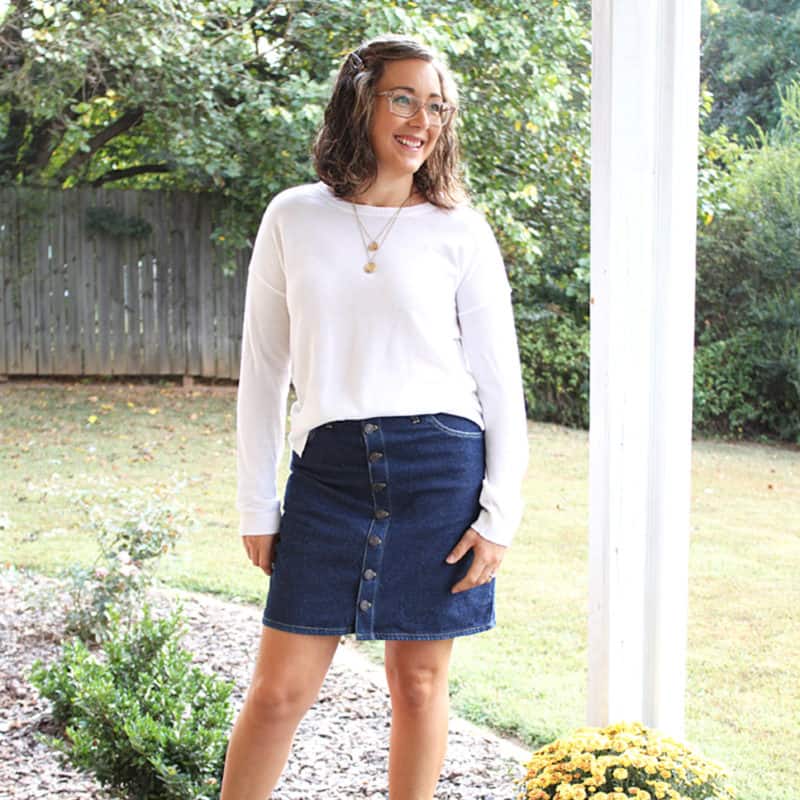
Heidi: “Dirty irons are the worst! Am I right!? When your iron is grimy and won’t glide over your fabric nicely anymore, all you need is one simple tool! A Mr. Clean Magic Eraser. Off brand works just as well. Make sure your iron isn’t piping hot and simply use a damp magic eraser on the iron plate. Even the seemingly impossible grime wipes off easily!”
Blog: Handmade Frenzy
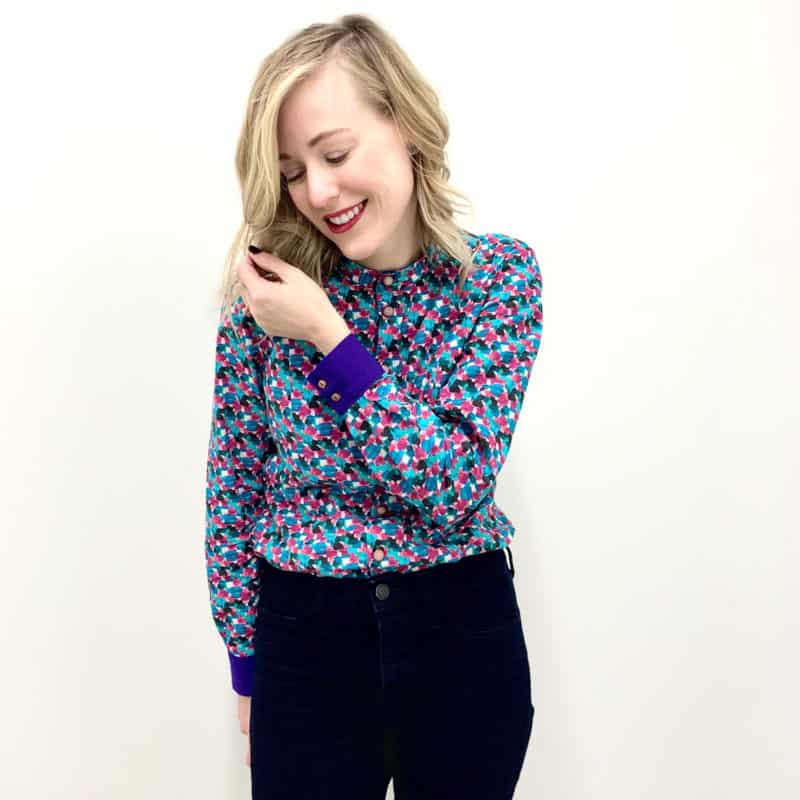
Cass: “My sewing advice is to think really hard about using the right fabric for the project. This matching makes the difference between things you love and get compliments on, versus things that will likely sit in the back of your closet. This includes so many traits, such as weight, drape, texture, color, stretch, etc. I have a spreadsheet that lists the patterns I want to make, and for each one I check off fabric attributes that would be desirable. Then when a fabric comes along I can easily determine what it may work well for.”
IG: @craftyprofessor
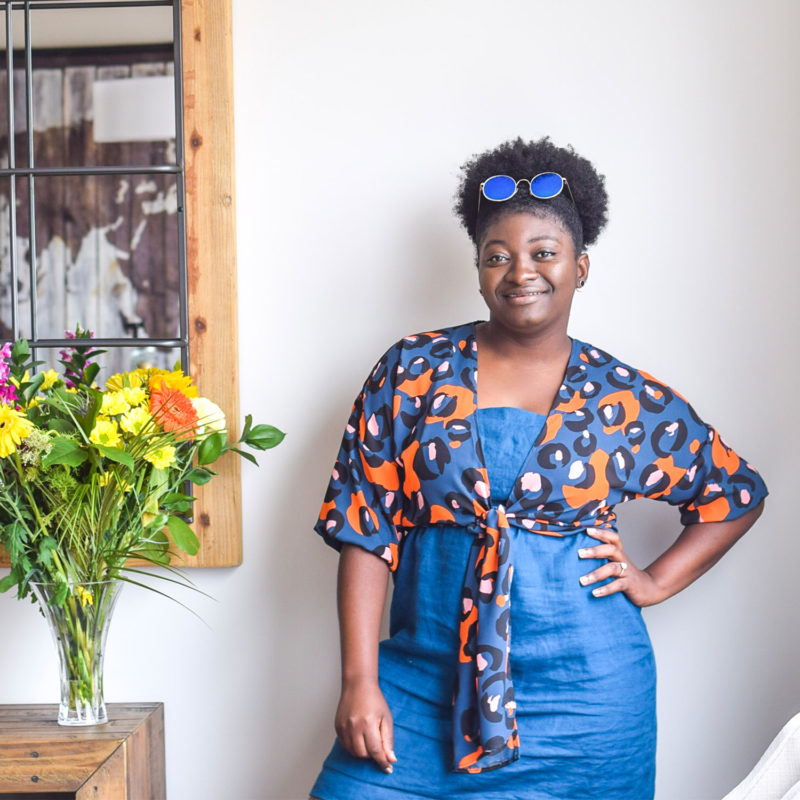
Sylvia: “Do not get rid of your dull rotary cutter blades just yet! Use the dull ones to cut your paper patterns. It makes the process a tad bit faster than using a pair of scissors. If you are like me and do not particularly enjoy the process of cutting patterns, you’re welcome.”
Blog: The Ravel Out
IG: @theravelout

Alexis W: “So many tips come to mind, but I have two products that I can’t live without. First, when sewing with knits I always make sure to take the time to iron on a knit stabilizer. I like to use HeatnBond SoftStretch Lite Iron-On on each seam before sewing them together. The second tool I can’t live without and think every sewist needs in their arsenal is the edger foot (some refer to it as the quarter foot). I have used it on pretty much every garment I have ever sewn and helps to keep my finishing topstitches straight and professional.”
Blog: My Sweet Sunshine Studio
IG: @mysweetsunshine
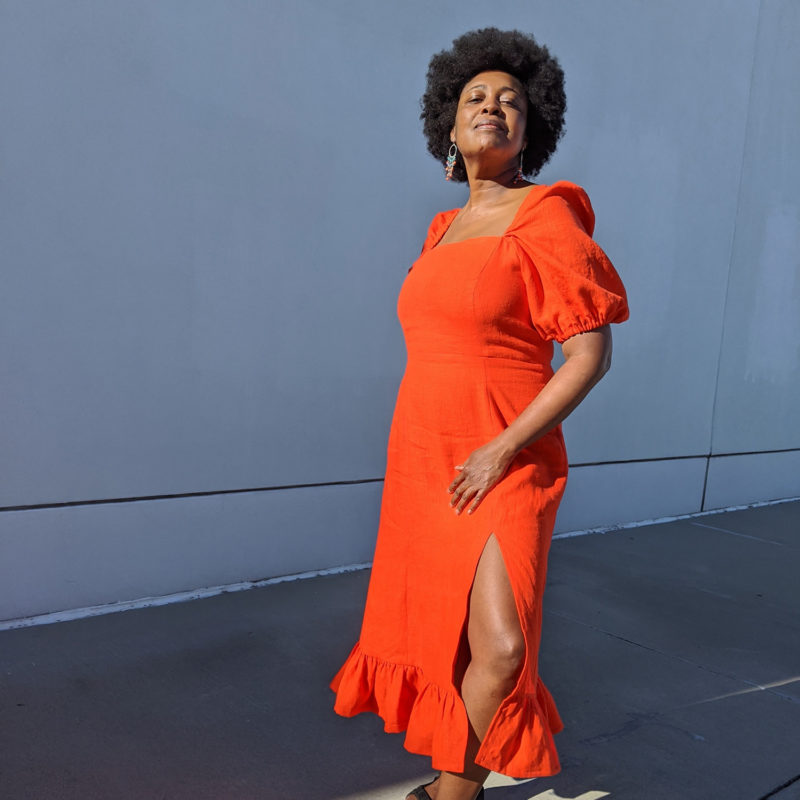
Pauline: “I save scraps of interfacing to use when I need to strengthen the zipper opening area before installing an invisible zipper. It is super helpful especially if you’re working with lightweight or even medium weight fabrics. Your seam is less likely to be wonky and you’ll have a nice straight, crisp seam.”
“I also use strips of interfacing cut on the bias to strengthen necklines, especially when I’m attaching a lining to a dress or top.”
Blog: Sew You Think You Can
IG: @sewuthinkucan
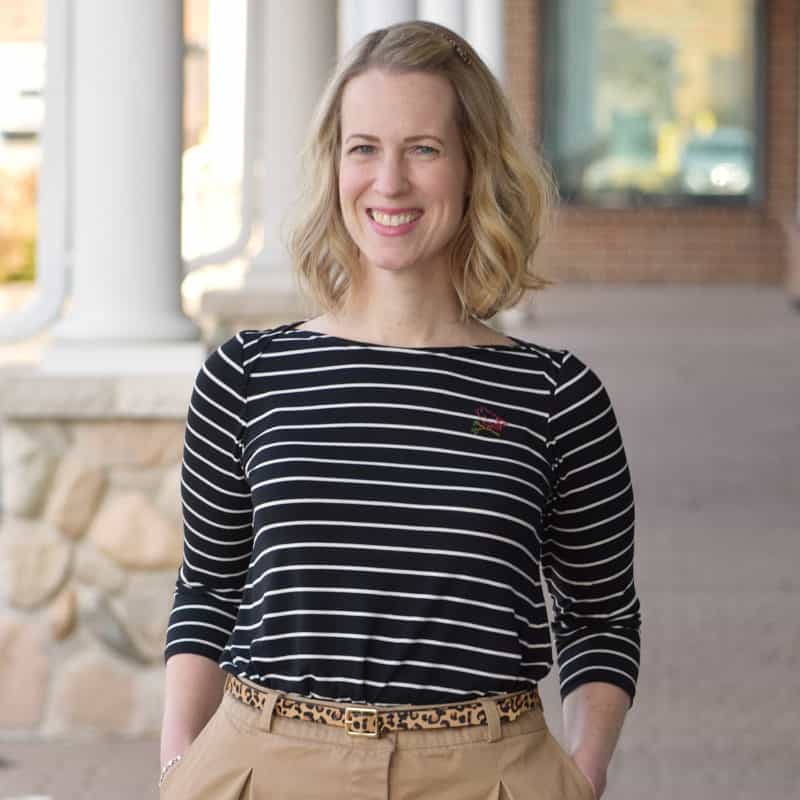
Teri: “My glue stick is my secret weapon! I use it when I assemble PDF patterns, to glue patch pockets into place before I topstitch, and to stick buttons onto my garments before I machine sew them. They work like a charm when I need to hold something in place but can’t or don’t want to use pins.”
Blog: Fa Sew La
IG: @teridodds1
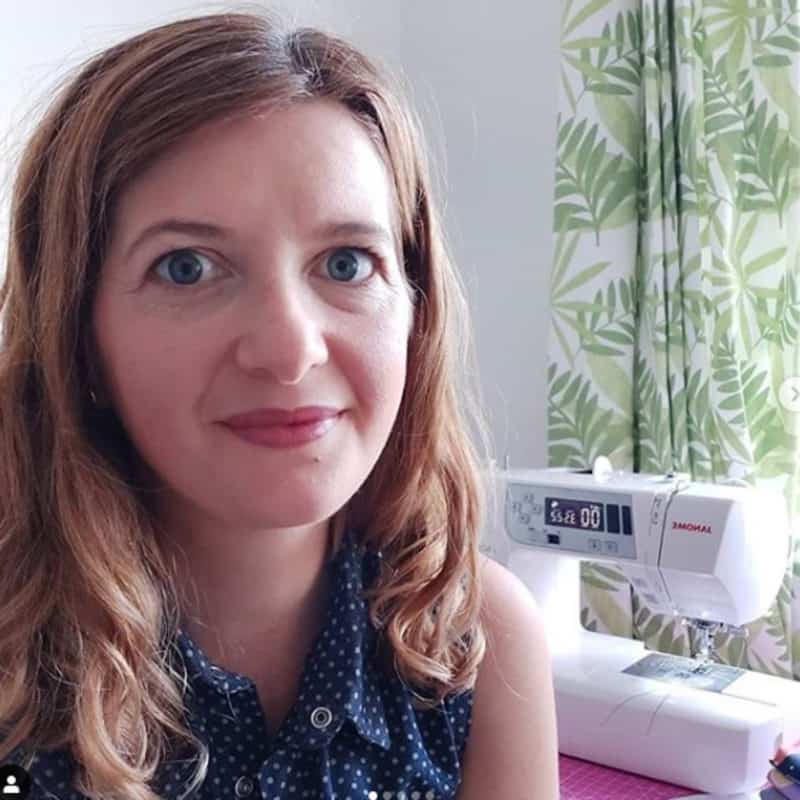
Laura: “Prepare, prepare, prepare! Prewash your fabric and take your time with your pattern placement, cutting out and marking your notches. I always find the construction process goes much better when I’ve taken the time to prepare.”
Blog: Cotton Reel Studio
IG: cottonreelstudio
Fabric Sponsors
I want to thank Blackbird Fabrics, Harts Fabric, Stonemountain & Daughter Fabrics, and Stylemaker Fabrics for collaborating with Chalk and Notch to bring you these posts. Keep your eyes out for fabric inspiration as well as accompanying coupon codes throughout the year.


