
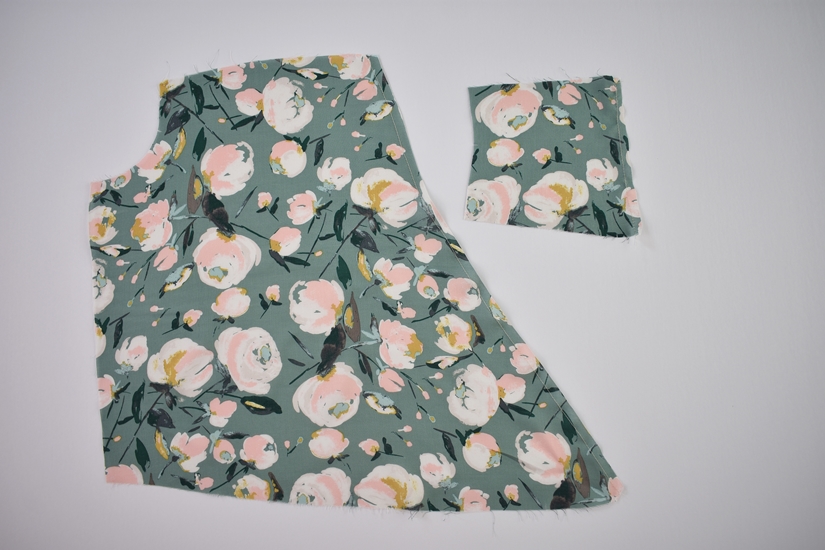
Now that pieces have been cut and interfaced, it’s time to begin sewing. We’ll start with staystitching, sewing the bodice darts on the C/D bodice, sewing the drawstring ties, and adding gathering stitches to the bodice and View B sleeves.
STAYSTITCH THE NECKLINES
Unless noted, the seam allowance included is 3/8” (1 cm) for joined seams. Before handling your cut pieces too much, I recommend sewing a stitch line 1/4” (0.6 cm) away from the fabric edge on both the front bodice and front yoke pieces at the neckline. Stitch from the upper edge of the pieces toward the bottom of the pieces. This will prevent the neckline from stretching out.
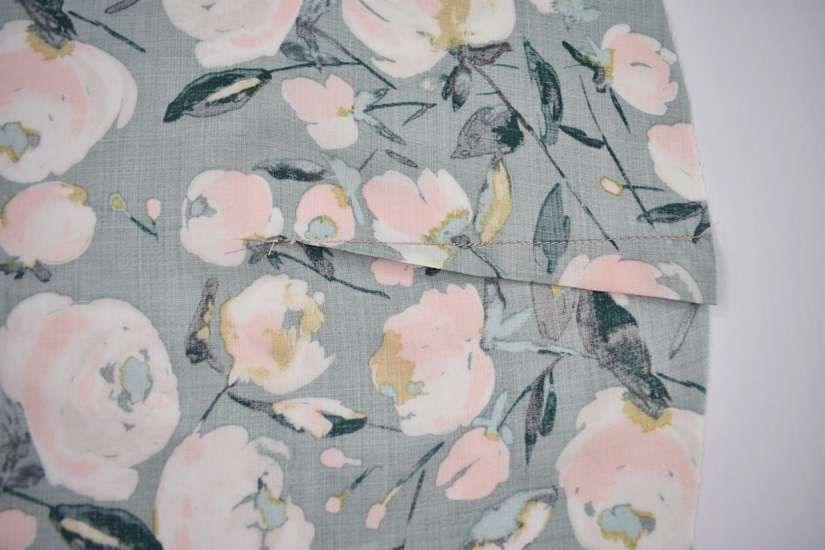
SEW DARTS ON C/D BODICE ONLY
If sewing the C/D bust cup option, sew the bust darts on the front bodice. Press the bust dart bulk down. The bust darts will not be shown in the rest of the photos.
SEW TIES
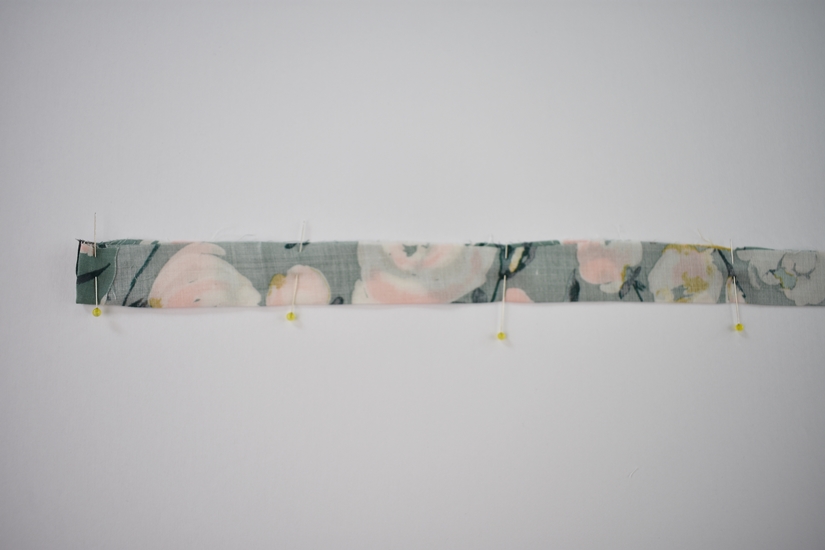
With the wrong sides together, press one short end in at 3/8” (1 cm), unfold.
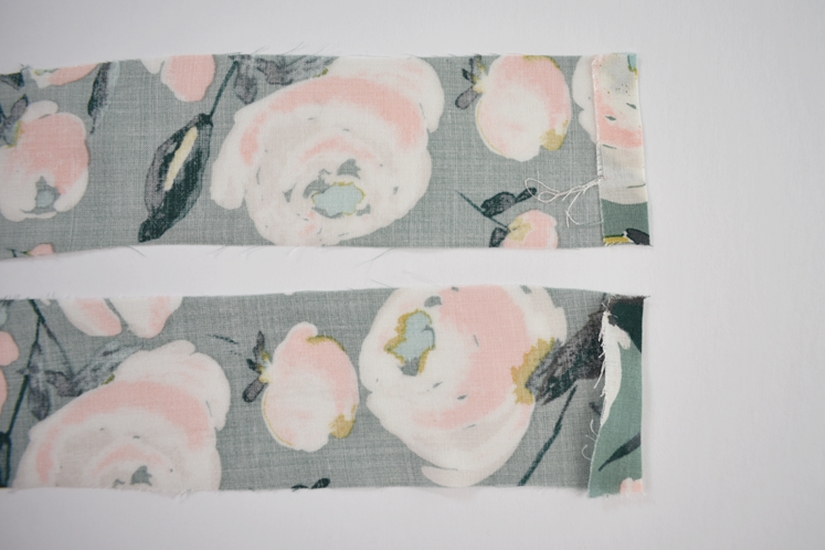
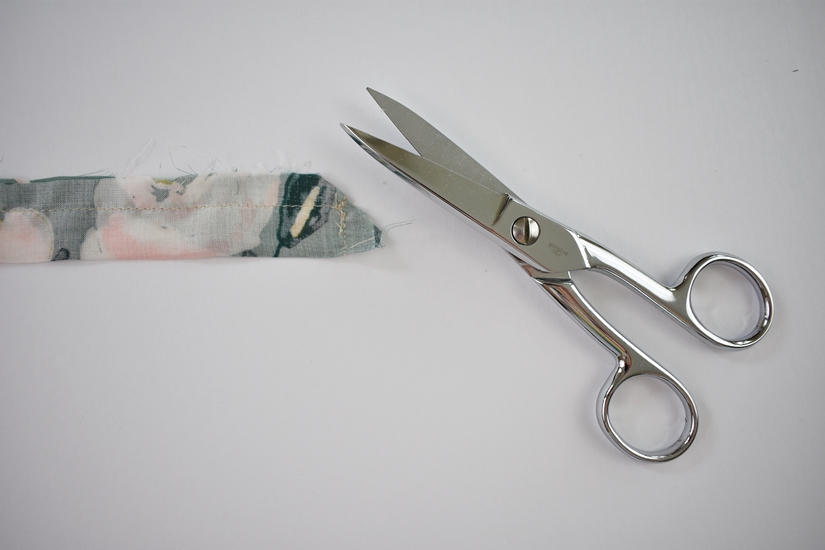
With the right sides together, fold the ties in half, lengthwise. Reduce the stitch length to get a sharp corner. Stitch at 1/4” (0.6 cm) around 2 sides (leaving the folded end raw), pivoting at the corner. Trim the seam allowance. Turn right side out and press. Repeat for the remaining tie. Using a turning tool can be helpful. Alternatively, ribbons can be used for ties. A detailed tutorial with methods to turn ties right side out can be found here.
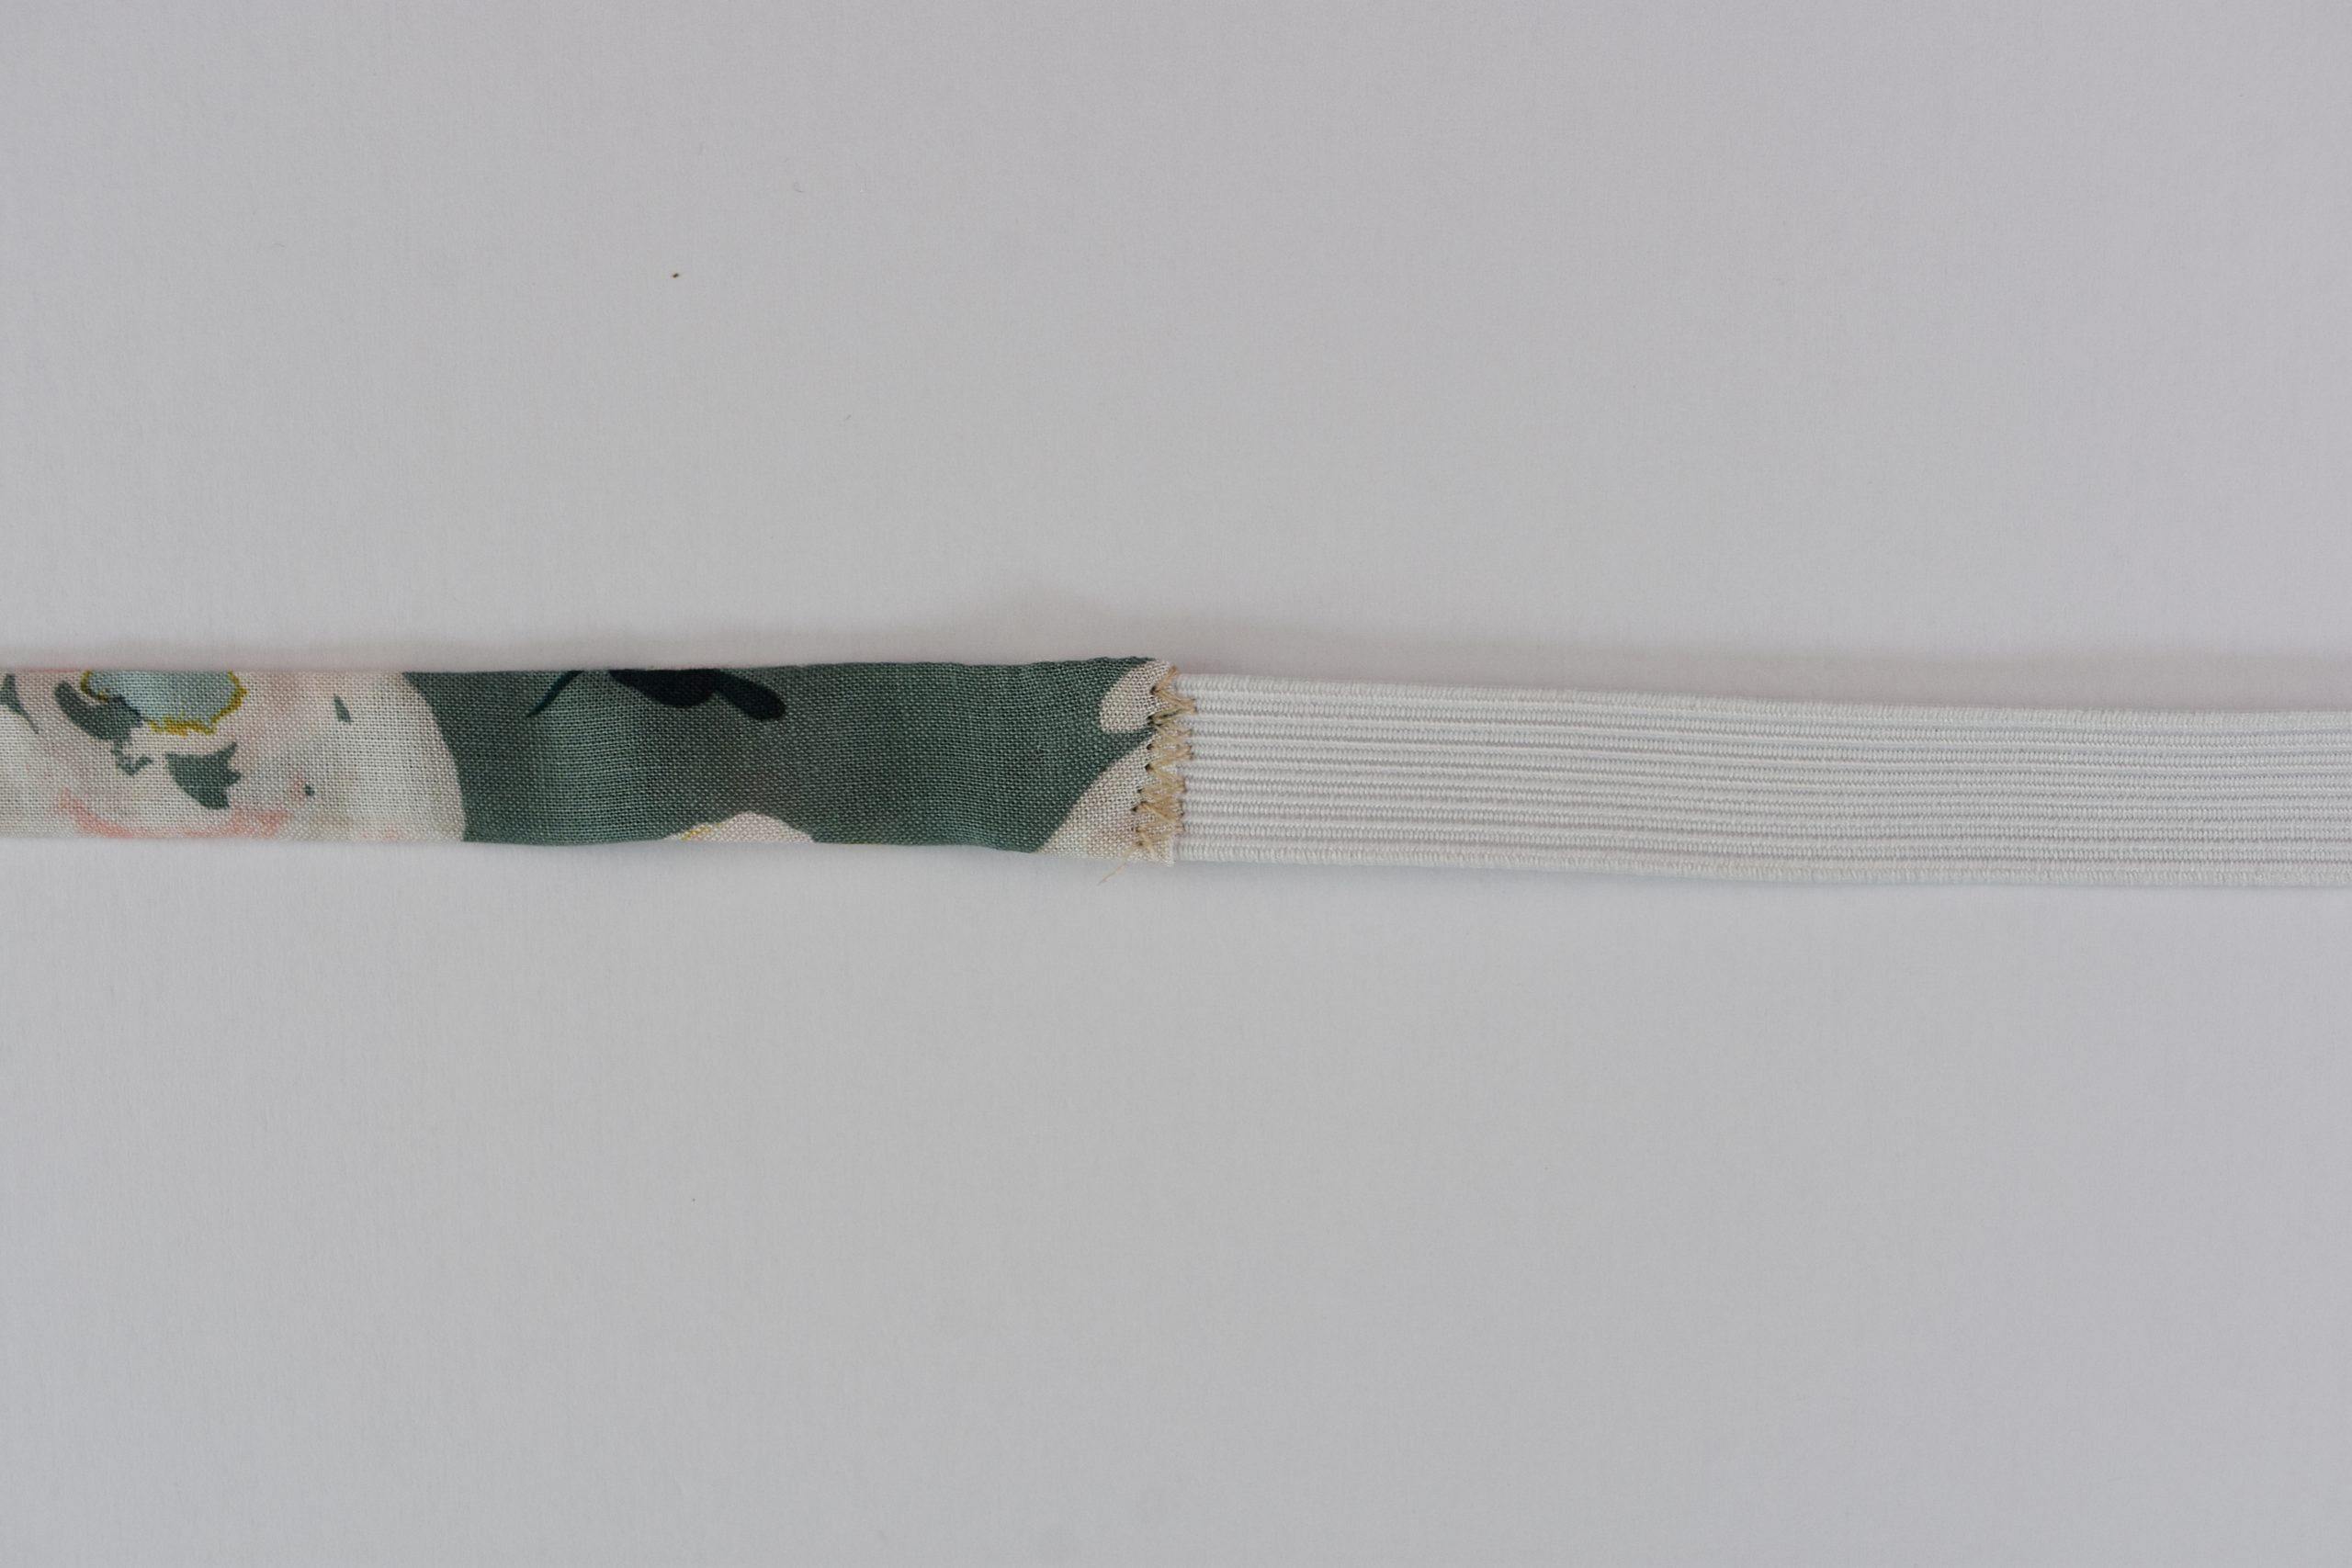
ATTACH TIES TO ELASTIC
Insert the elastic inside the ties at the open end. Secure the elastic with a zig zag stitch, backstitching a few times to secure this seam. Repeat for the other end of the elastic. Set aside.

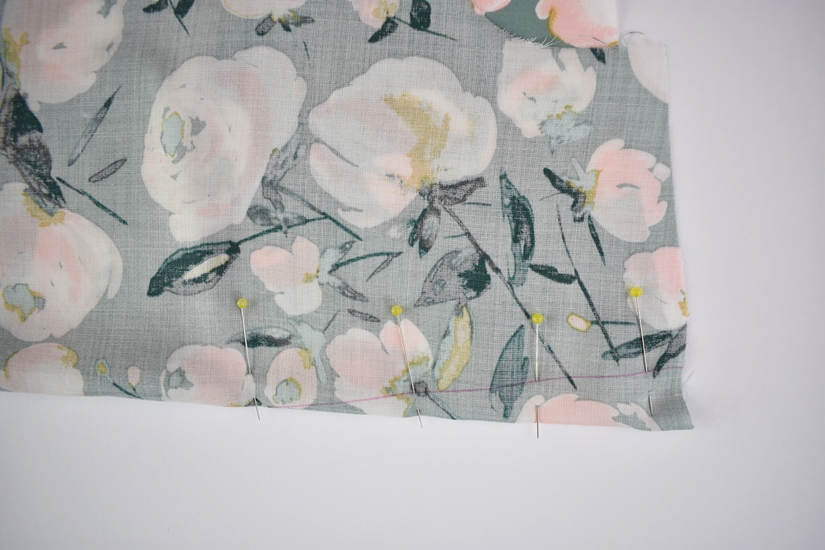
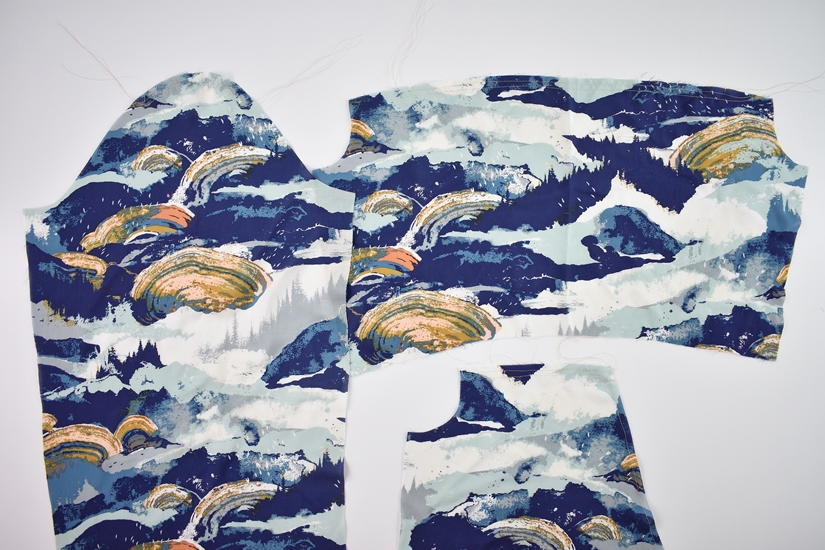
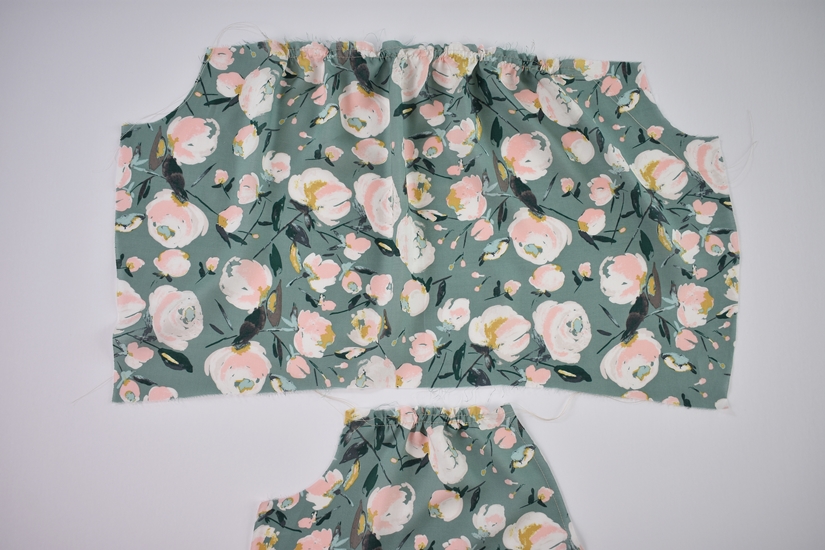
GATHER FRONT BODICE, BACK BODICE & VIEW B SLEEVES
Change your stitch length to the longest possible length. Sew two parallel baste stitch lines between the notches. Make sure not to backstitch at the beginning or end of your stitch lines and leave long ends to your threads. The first line is 1/4” (0.6 cm) away from the fabric edge. The second line is 1/2” (1.25 cm) away from the fabric edge.
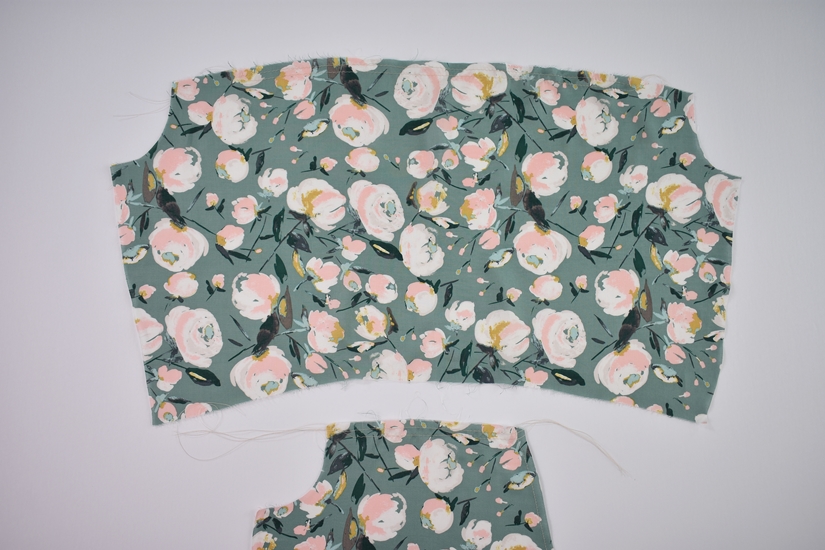
Gather the front bodice and back bodice by pulling the bobbin threads. Set the back bodice aside.
Next we’ll move on to sewing our front and back bodices.
Orchid Sew Along Posts: Getting Started | Prepare Bodice, Sew Darts and Ties | Sew Front and Back Bodices | Sew Side Seams and Sleeves | Sew Pockets and Side Seams | Sew Mitered Corners and Hem Skirt | Sew Waistband Casing and Attach Bodice to Skirt

