We’ll finish sewing our bodices by adding the sleeves and sewing the side seams. If sewing View B, skip all of the View A instructions below.
SEWING SIDE SEAMS AND ATTACHING RUFFLE SLEEVES – VIEW A
First, we will sew the side seams and then attach the ruffled sleeves to finish the View A bodice.
ATTACH SIDE SEAMS – VIEW A
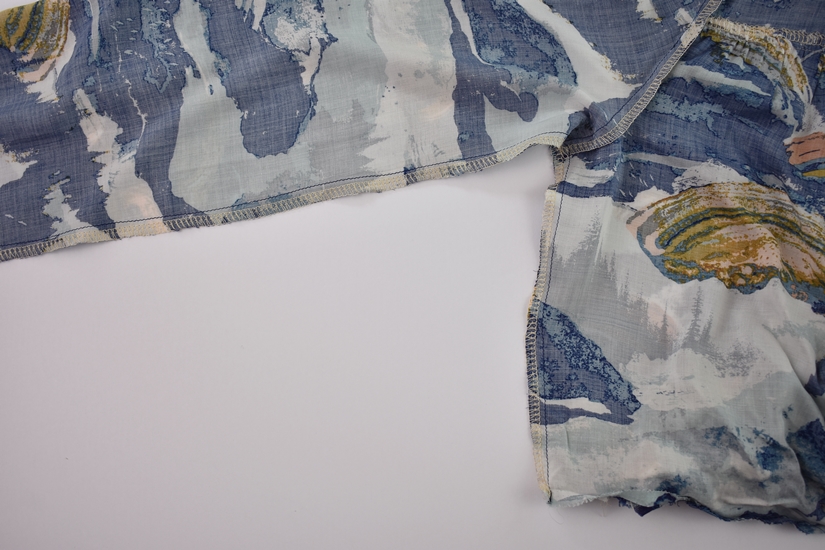
With the right sides together, sew the side seams and finish the seams. Press the seam allowance towards the back. Repeat for the other side seam.
ATTACH THE FRONT AND BACK RUFFLES – VIEW A
With the right sides together, sew the front ruffle to the back ruffle at the underarm seam to create a sleeve. Press the seam open. Repeat for the other three pairs. Optional: If lining the sleeves is too bulky, you can hem one set and omit the lining. In this case, finish the underarm seam. Press the seam towards the back.
LINE THE RUFFLE SLEEVES
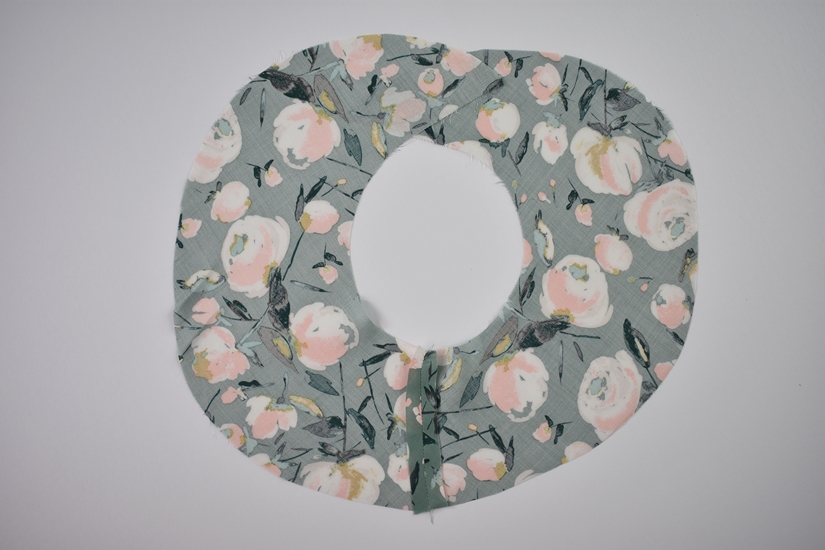
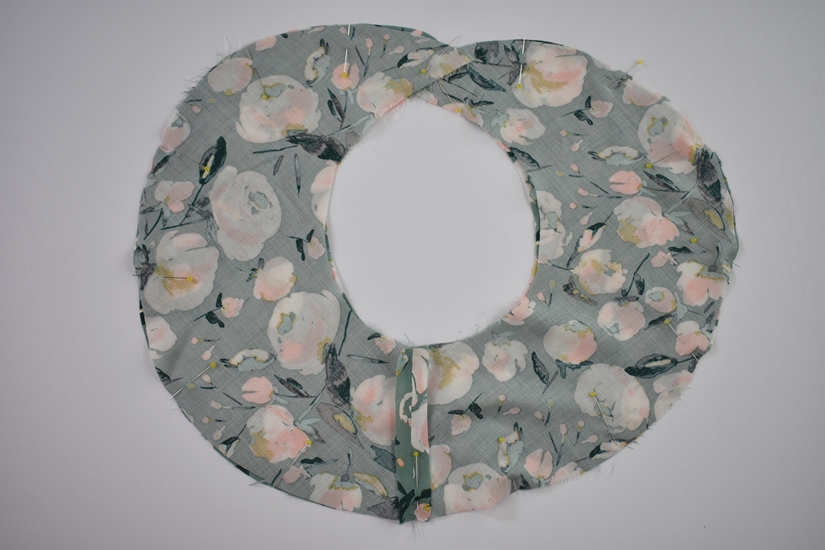
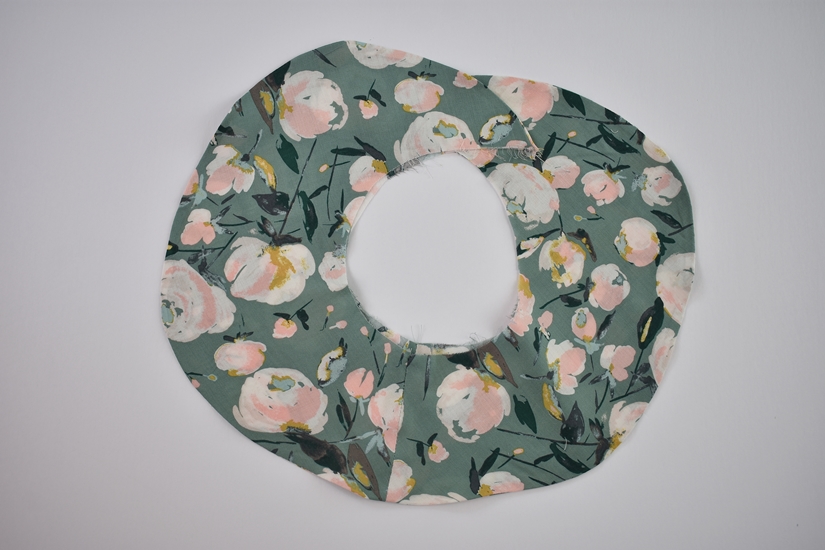
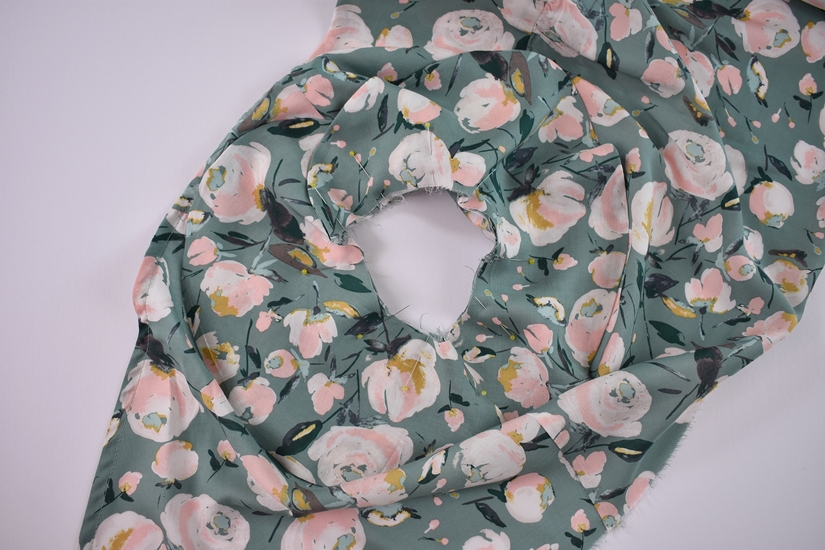
With the right sides together, sew the ruffle sleeves together on the outer edge at 3/8” (1 cm). Trim the seam allowance to 1/4” (0.6 cm), turn right side out and press.
ATTACH THE RUFFLE SLEEVE TO THE ARMHOLE
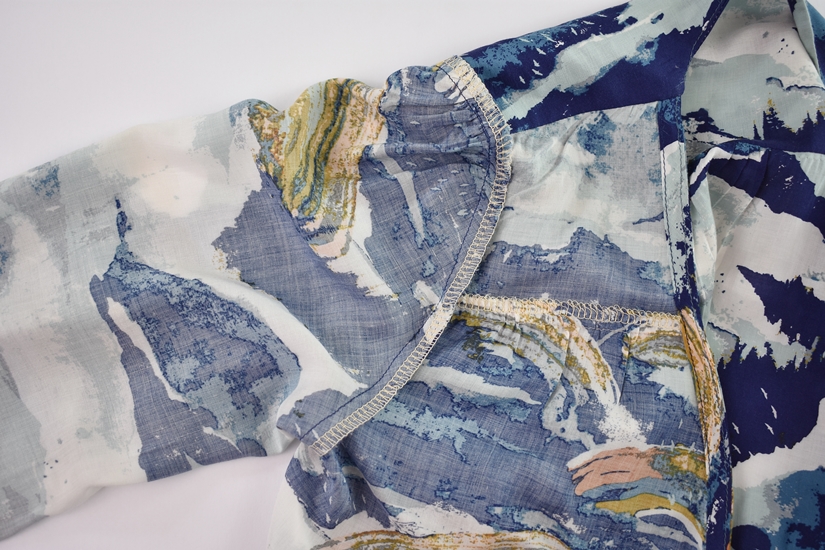
Pin the ruffle sleeve to the armhole, matching the ruffle seam to the bodice underarm seam. Match the armhole notches and the notch to the shoulder seam. There are notches on the bodice yokes (front and back) for view B (to help when gathering the cap of the long sleeve), but disregard them for view A. The back sleeve should overlap the front ruffle at the shoulder when sewing (the front ruffle is on top when wearing). Sew and finish the seam. Press the seam allowance towards the bodice.

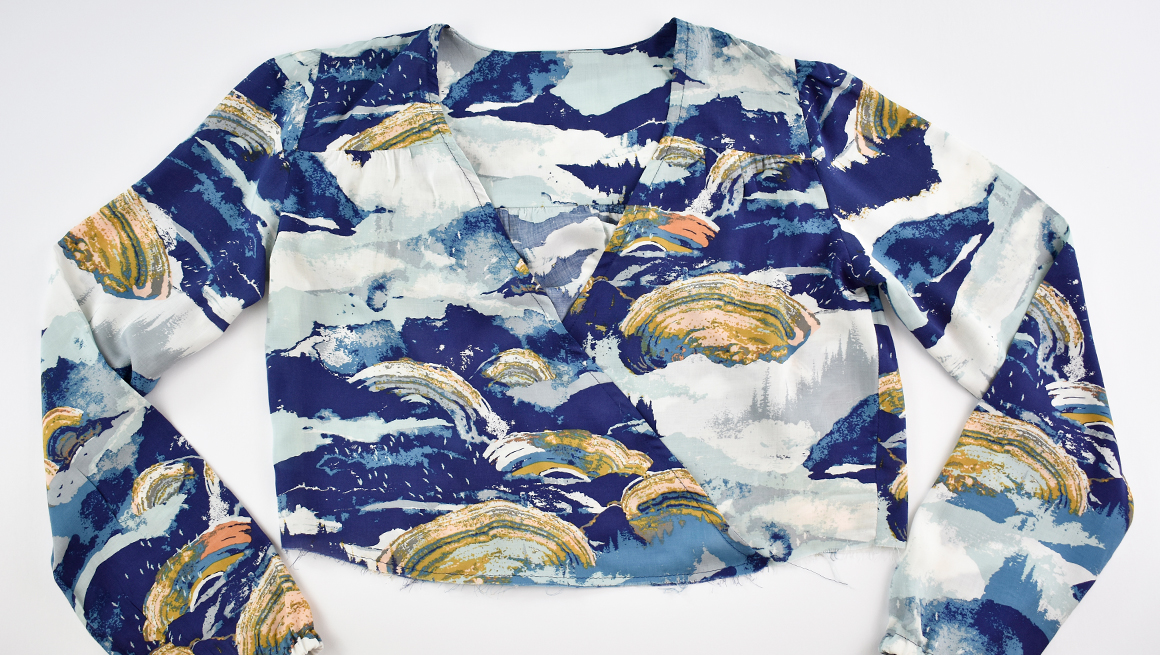
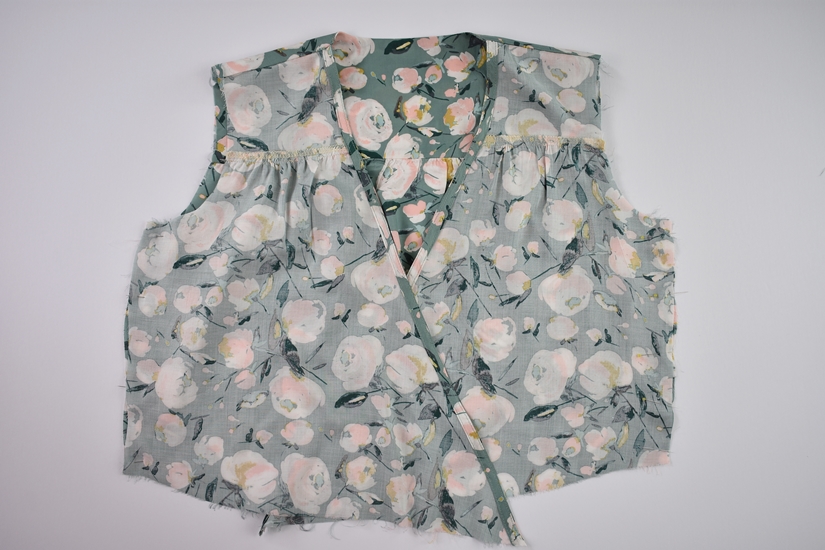
BASTE STITCH THE CENTER FRONT
Place the wearer’s right side on top of the wearer’s left side, matching the center front notches. Stitch at 1/4” (0.6 cm) to secure the center front waistline.
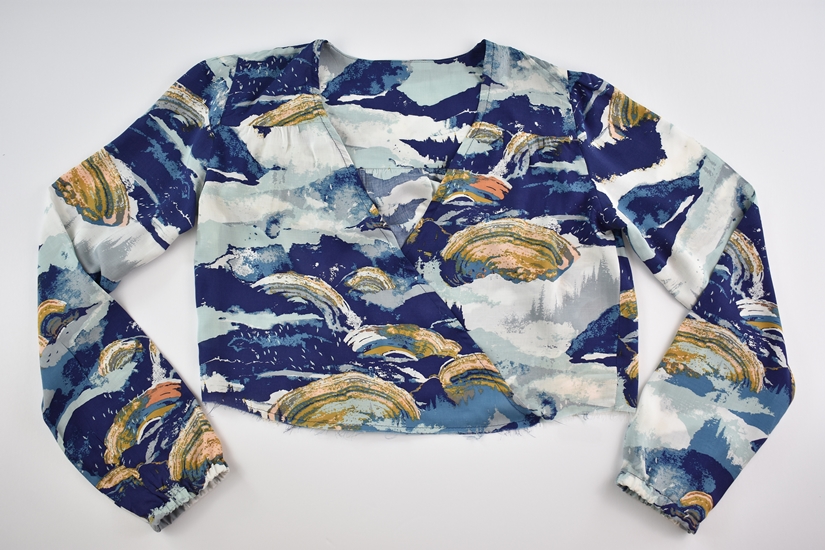
ATTACH SLEEVES AND SIDE SEAMS – VIEW B
We will begin with attaching the sleeves and move on to sewing the side seams to finish the View B bodice.
PRESS SLEEVE HEM – VIEW B
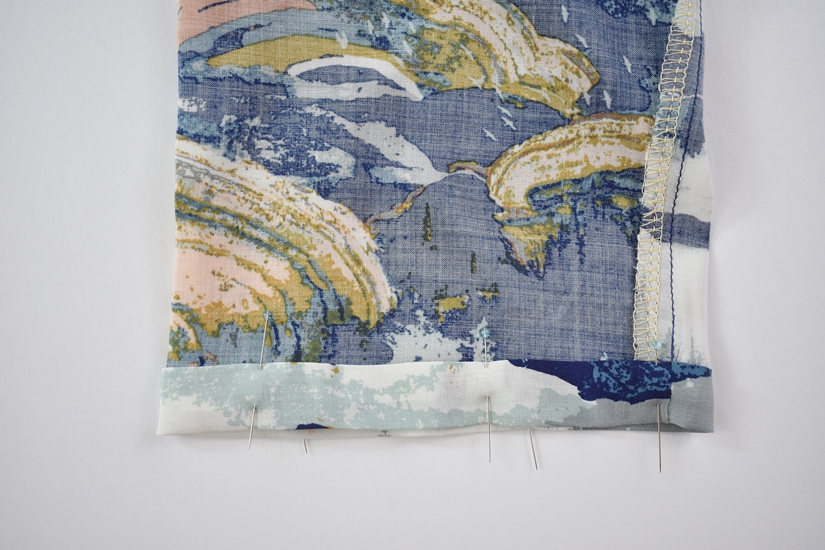
Prep the sleeve hem by measuring in 3/8” (1 cm) from the hem and press. You will keep the fold in place when sewing the sleeve seam.
ATTACH THE SLEEVES – VIEW B
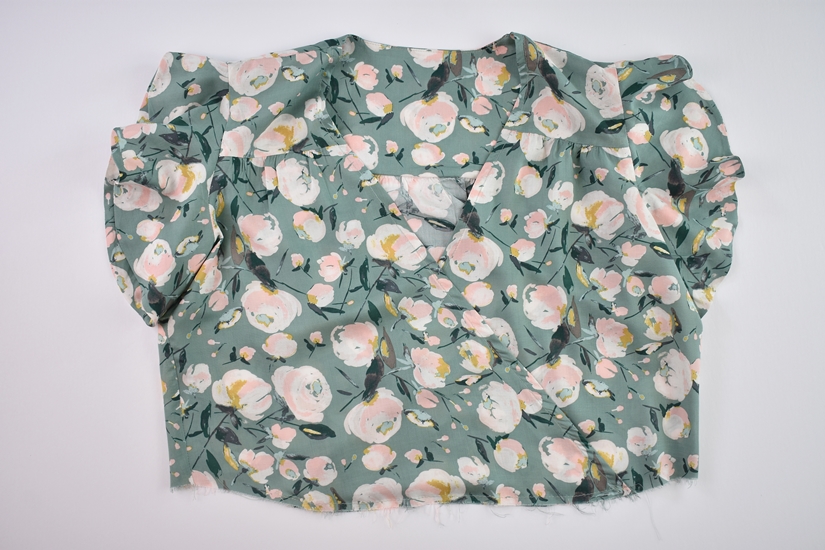
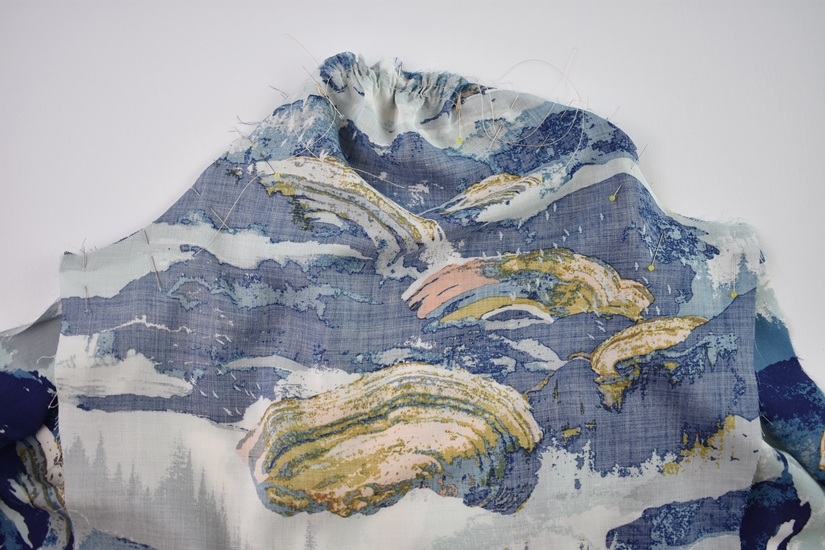
With the right sides together, pin the sleeve to the armhole, adjusting the gathering to match the notches at the cap. Sew at 3/8” (1 cm) and finish the seam. Remove any visible basting stitches and press the seam towards the bodice.
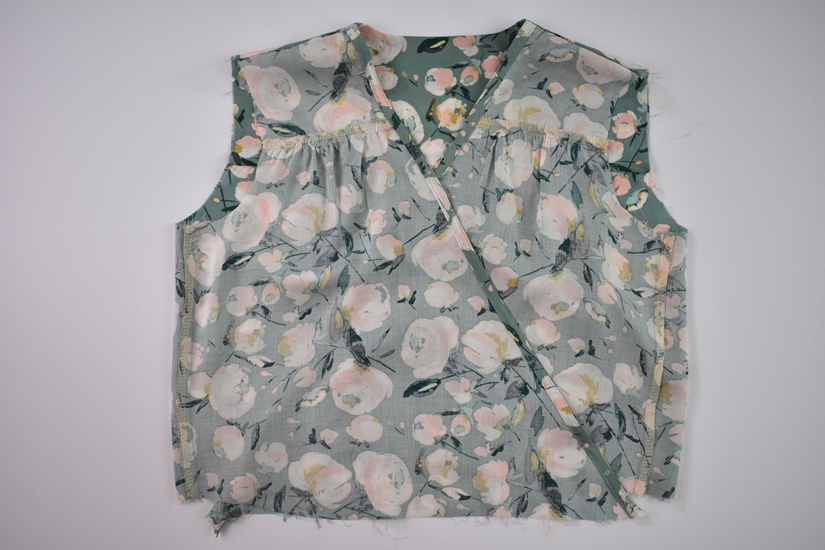
ATTACH THE SIDE SEAMS – VIEW B
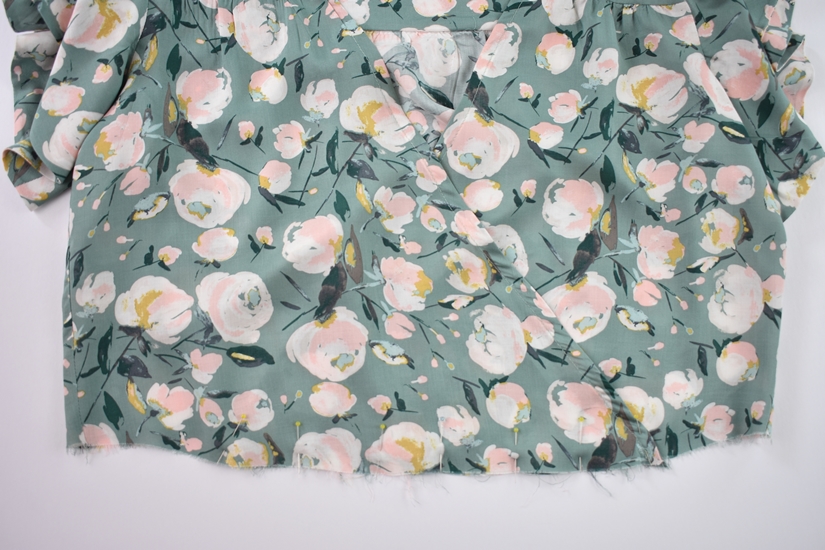
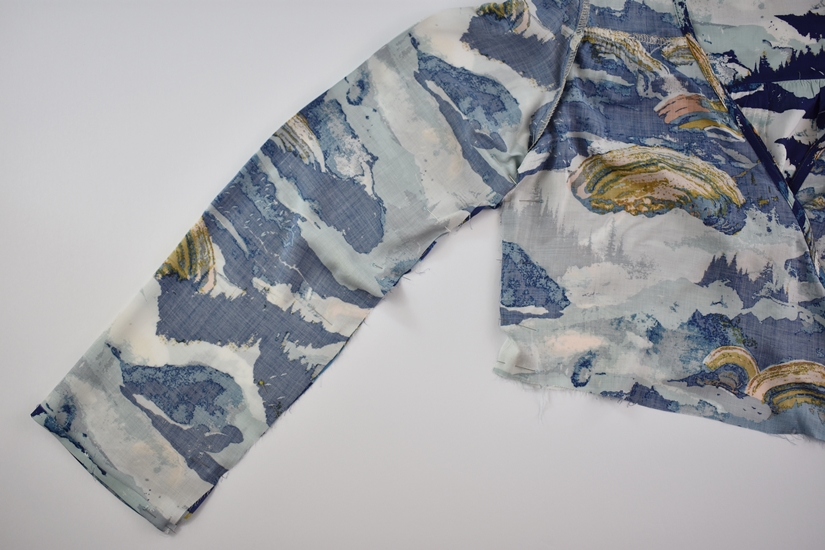
With the right sides together, sew the side seams. Starting from the sleeve hem, with the sleeve hem folded up, sew towards the bodice hem. Finish the seam and press towards the back.
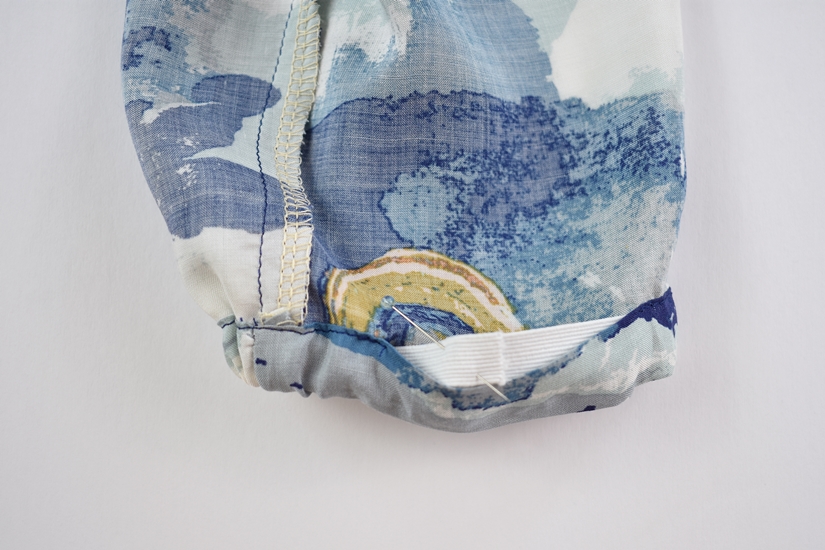
HEM THE SLEEVES – VIEW B
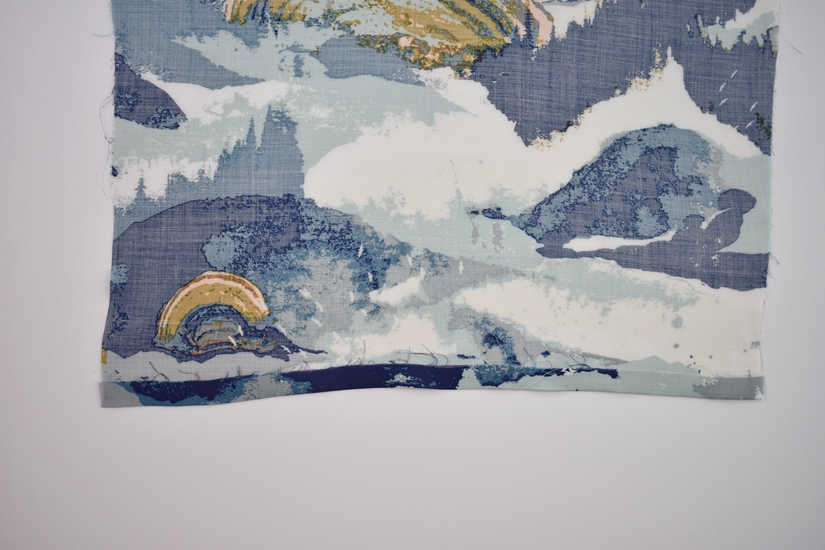
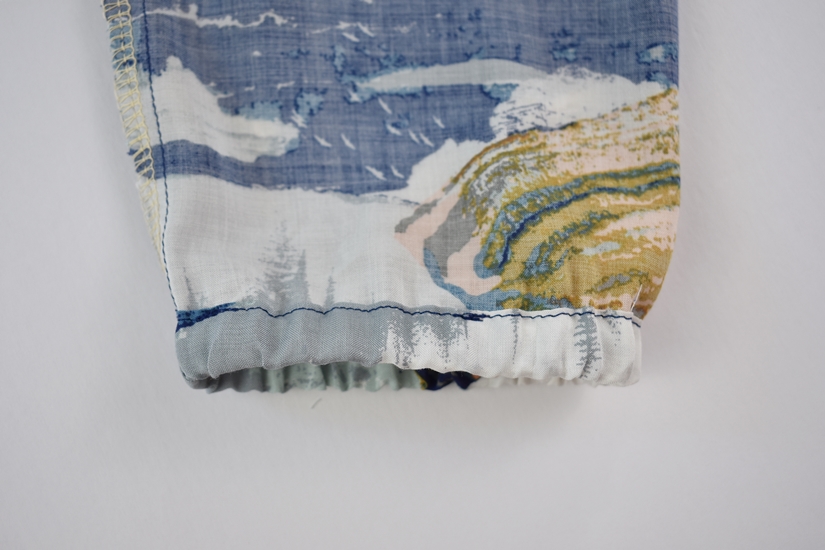
Fold the hem up at 5/8” (1.6 cm). Edgestitch the hem, creating a casing with a 2” (5 cm) opening.
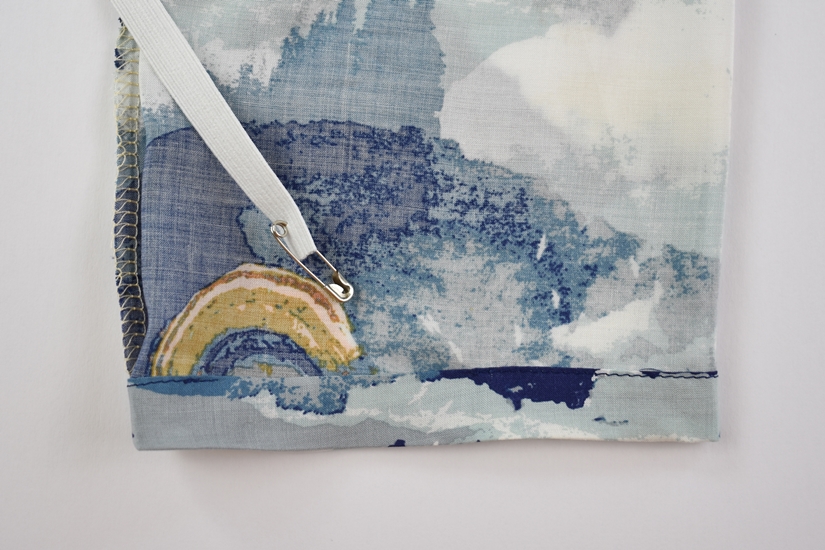
INSERT 3/8″ (1 CM) ELASTIC – VIEW B
Measure your wrist and cut the elastic so it’s 2” (5 cm) longer than your wrist measurement. Thread the elastic through the hem casing, being careful not to twist the elastic. Overlap the edge by 3/8 (1 cm) on either side and pin in place. Test to make sure the elastic is comfortable on your wrist and secure with a zig zag stitch. Close the opening of the casing to enclose the elastic. Repeat for the other sleeve and set the bodice aside.
BASTE STITCH THE CENTER FRONT – VIEW B
Place the wearer’s right side on top of the wearer’s left side, matching the center front notches. Stitch at 1/4” (0.6 cm) to secure the center front waistline.
We’ll begin to assemble the skirt next, beginning with the pockets and side seams.
Orchid Sew Along Posts: Getting Started | Prepare Bodice, Sew Darts and Ties | Sew Front and Back Bodices | Sew Side Seams and Sleeves | Sew Pockets and Side Seams | Sew Mitered Corners and Hem Skirt | Sew Waistband Casing and Attach Bodice to Skirt

