You will always be happy that you took the time to prepare before you begin sewing. Read over all of the instructions and make sure you are familiar with the seam allowances and markings. First, we will add the grommets. Find more detailed instructions for inserting grommets in this post: Sewing Tips | Grommet Installation. Then we will sew the cuff and hem bands. Let’s get started!
SEAM ALLOWENCE
Unless noted, the seam allowance included is 3/8″ (1 cm) for joined seams.
PATTERN MARKINGS
Clip the notches indicated by “T” marks and “triangles” at the center front and center back. Transfer the grommet/buttonhole placement on the right side of the fabric with chalk or fabric marker.

Grommets/buttonholes for the hood and hem drawstring are optional. If you’re omitting the grommets or buttonholes, skip to “Sew the Sleeve Cuffs”
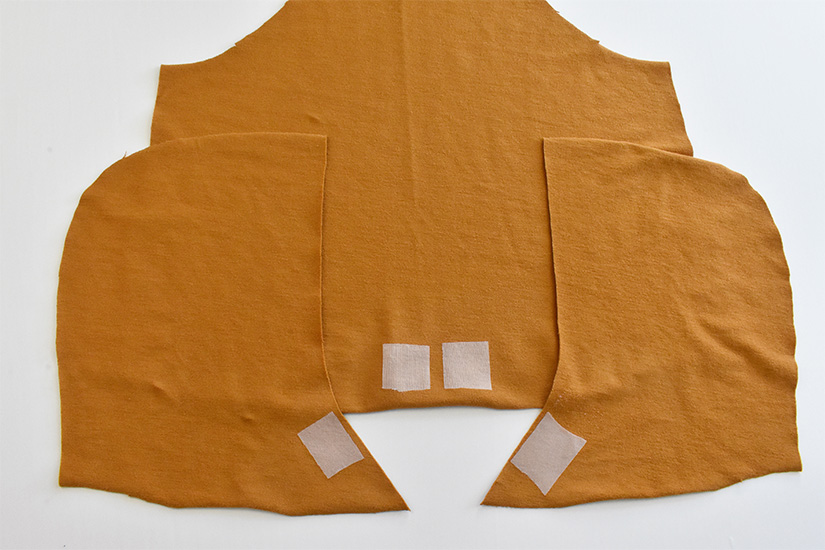
ADD FUSIBLE INTERFACING
If you’re adding grommets/buttonholes for the drawstring opening, add a small piece of fusible to the wrong side of the grommet/buttonhole placement. Tricot fusible interfacing is recommended, but you can use any light weight fusible interfacing.
OPTIONAL GROMMETS OR BUTTONHOLES
If adding a hood or hem drawstring, add the grommets/buttonholes at the indicated placement. Make sure you have enough seam allowance 3/8″ (1 cm) away from the cut edge of the hood and that the grommets/buttonholes are big enough for your drawstring or cording.
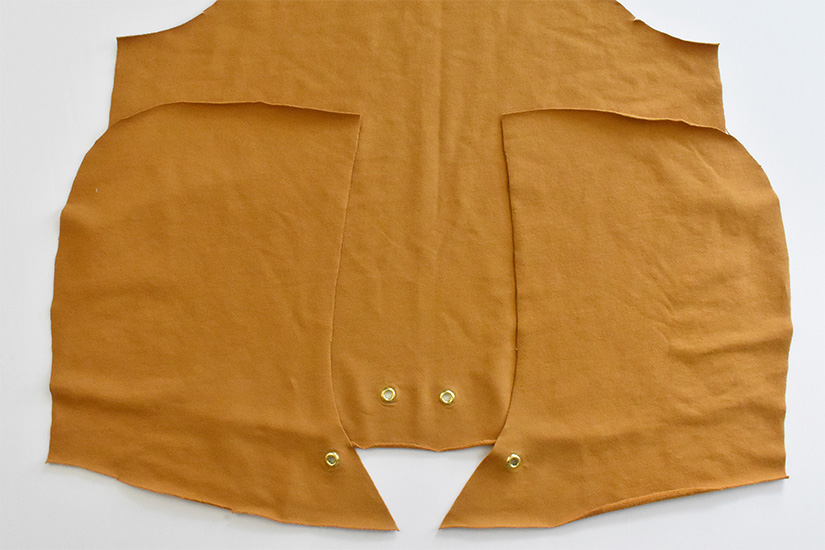
Find more detailed instructions for inserting grommets in this post: Sewing Tips | Grommet Installation.
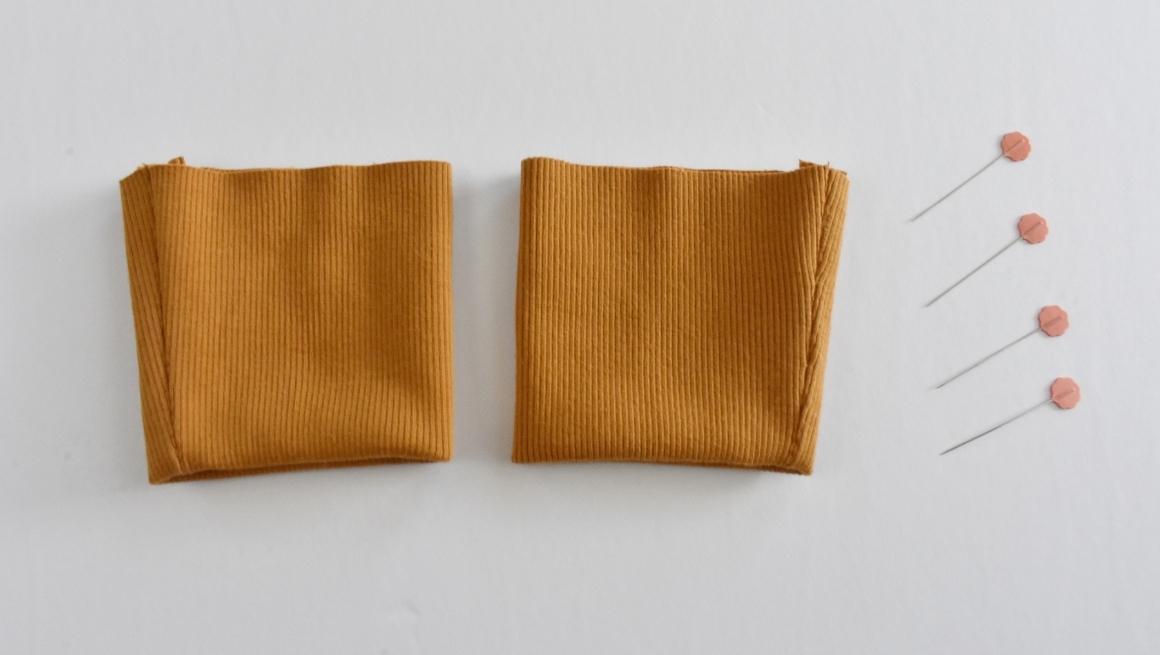
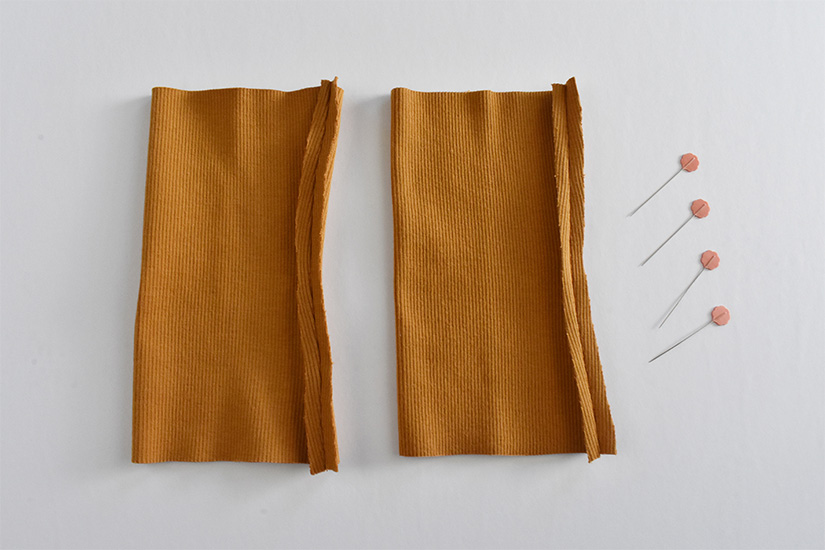
SEW THE CUFFS
If sewing the short sleeve view, skip this step. With right sides together, fold the cuffs to form a tube and sew (this is the edge without a notch).
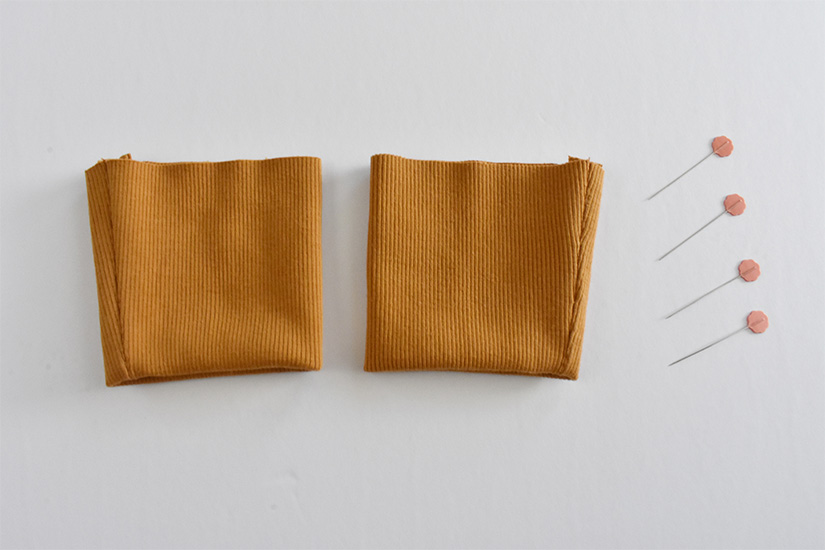
Press the seams open. If you sewed with a serger, press the seams to one side.
Fold the cuffs again wrong sides together so the cuff is doubled and the right side of the fabric is on both sides. Set aside. If sewing view B, skip to the next post.
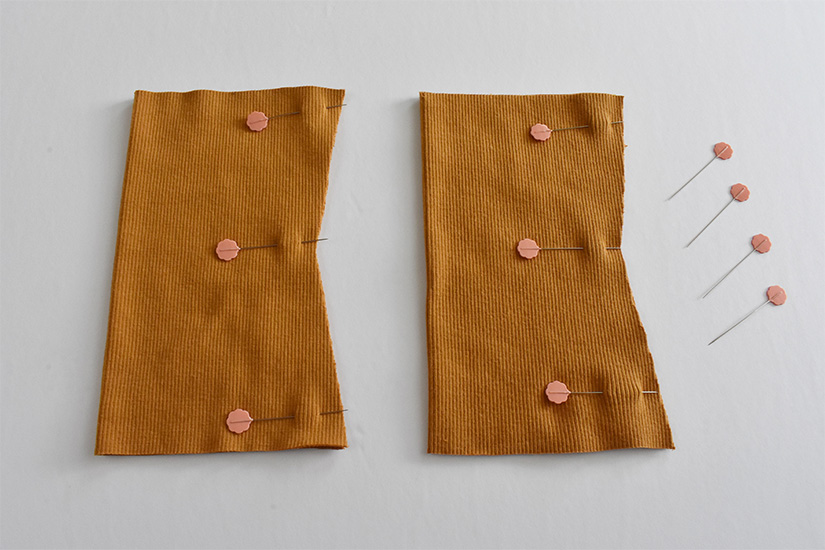
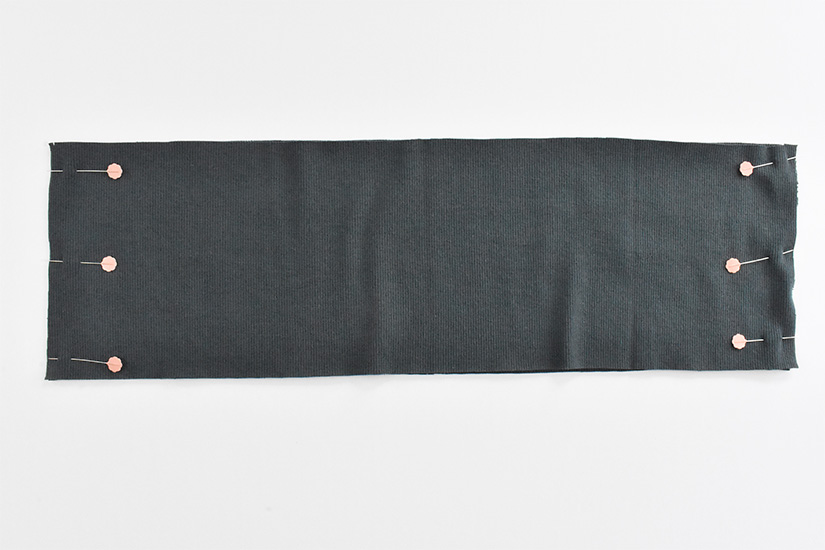
SEW THE HEM BANDS – VIEW A
If sewing view A, sew the hem band. With right sides together, sew the short sides of the hem bands to form a tube.
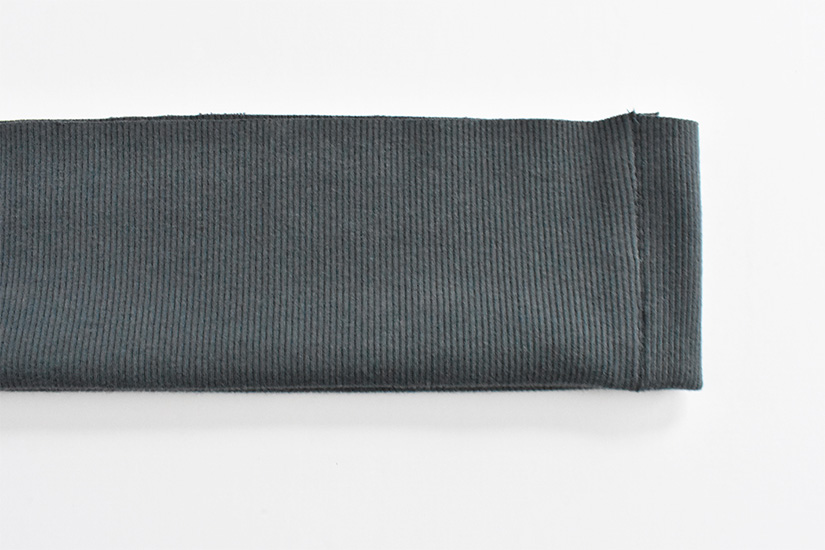
Press the seams open. If you sewed with a serger, press the seams to one side.

Fold the hem band wrong sides together. Set Aside.
Now we’re ready to Sew the Bodice & Sleeves.
Page Sew Along Posts: Getting Started | Prepare Markings, Cuffs, & Hem Bands | Sew Bodice & Sleeves | Sew Hem Band or Casing | Sew Hood & Finish

