Now you are ready to attach the sleeves to the bodice. In just a few seams you will have a bodice to try on!
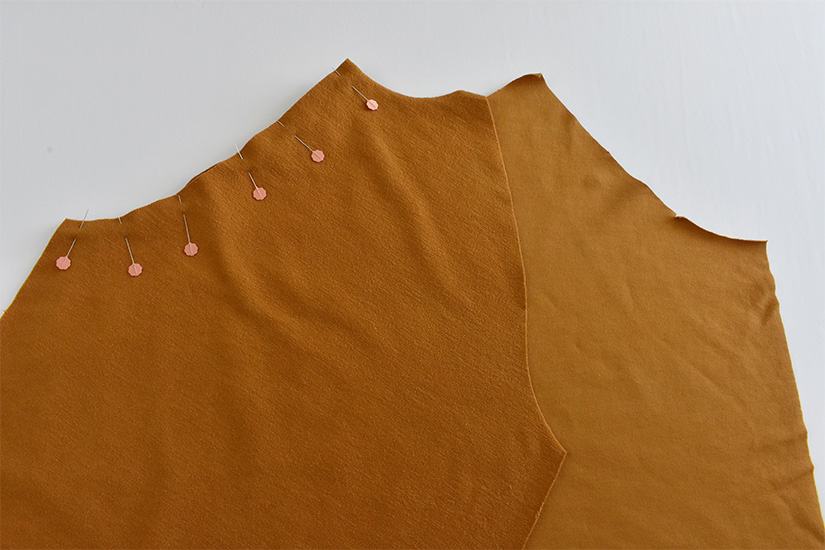
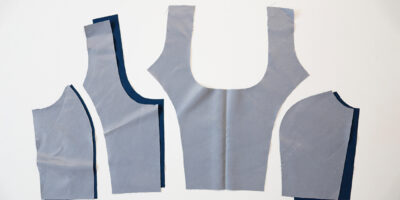
SEW SLEEVES TO FRONT BODICE
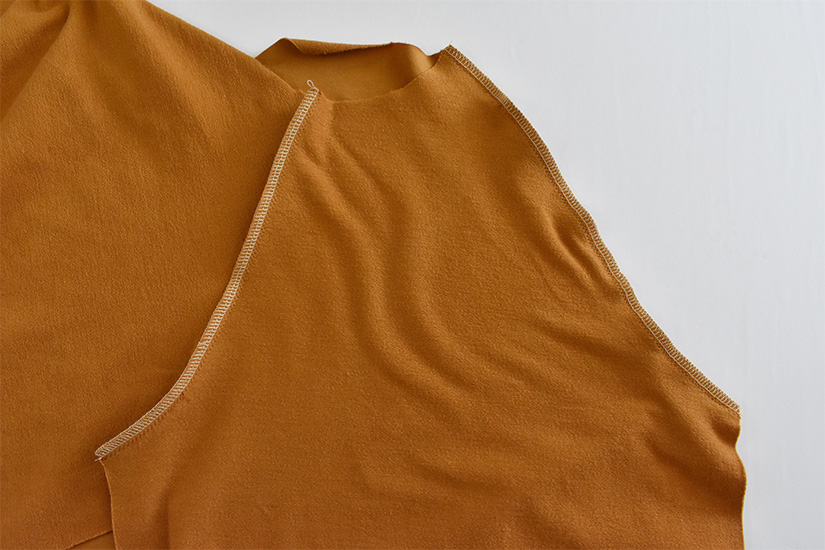
With right sides together, pin the sleeves to the front bodice, matching notches (1 notch for the front pieces).
Sew and press sleeve seam allowance towards the bodice.
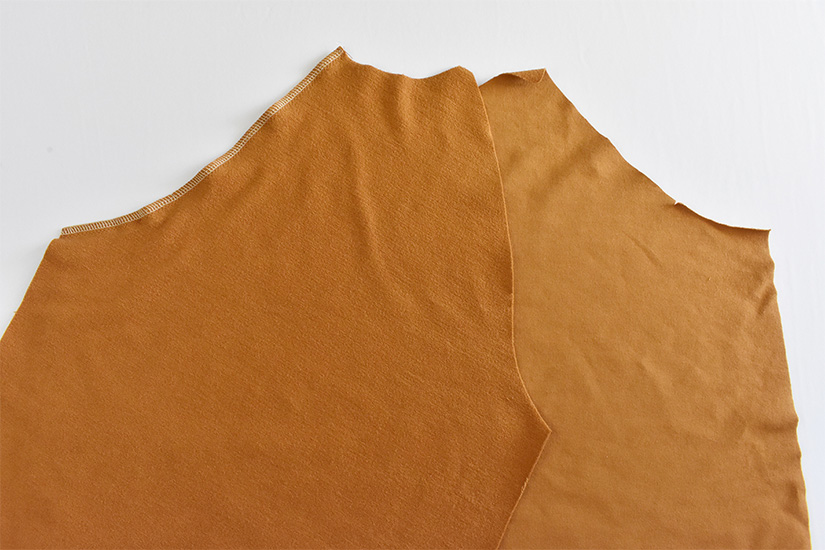
Repeat for the other side.
SEW SLEEVES TO BACK BODICE
With right sides together, pin the sleeves to the back bodice, matching notches (2 notches for the back pieces).
Sew and press sleeve seam allowance towards the bodice.
Repeat for the other side.
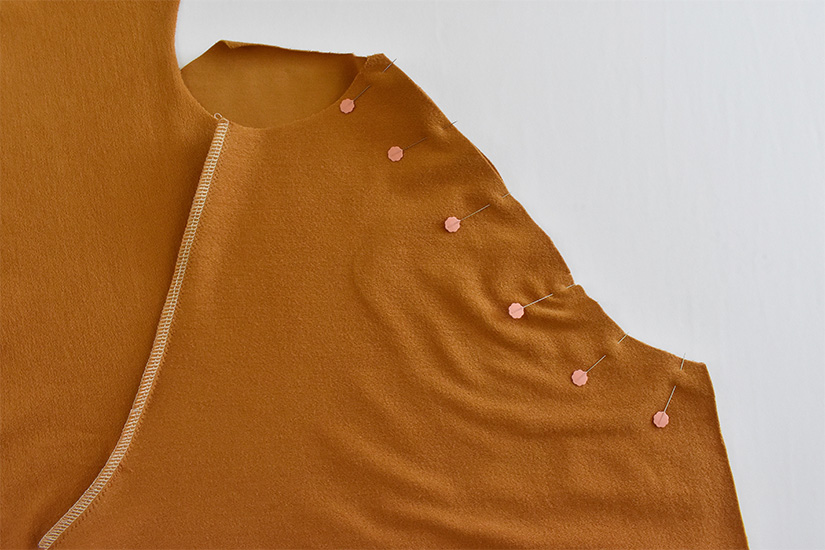
SEW THE SIDE SEAMS
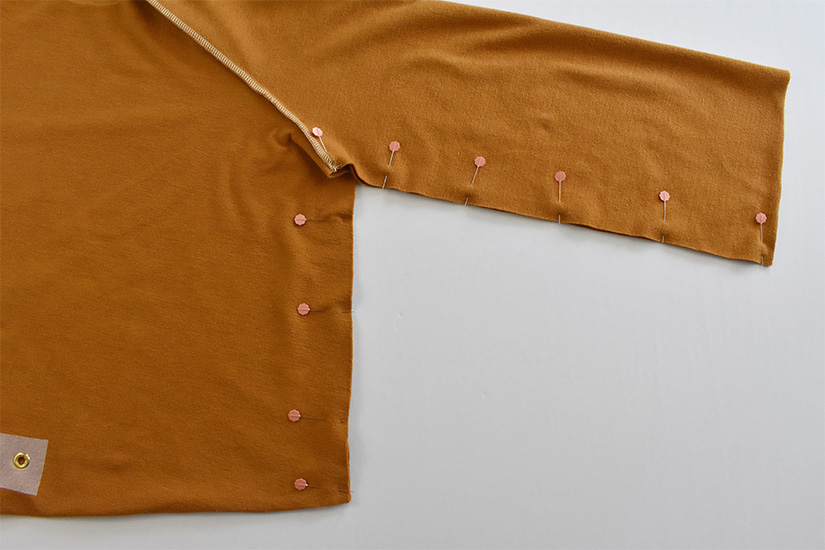
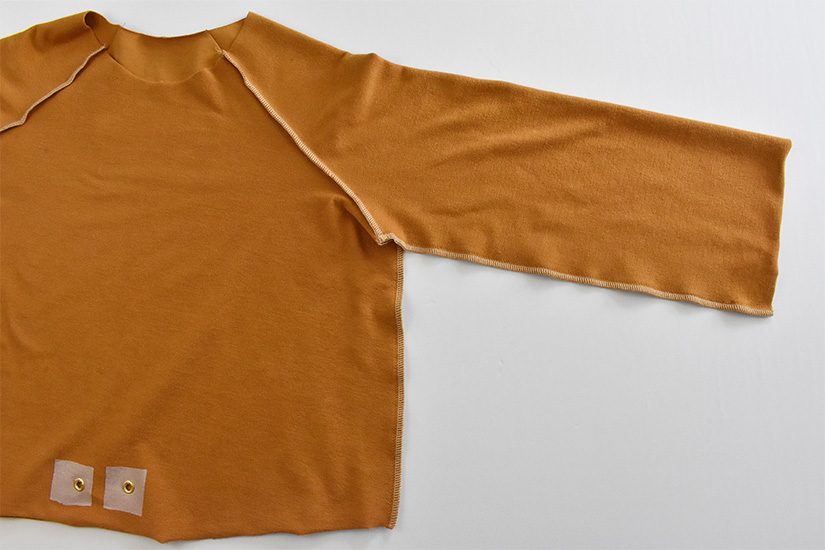
With right sides together, join the side seams from the sleeve to the hem.
Press seams to the back.
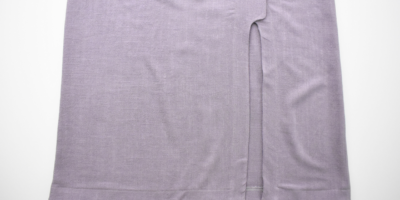
HEM THE SHORT SLEEVES
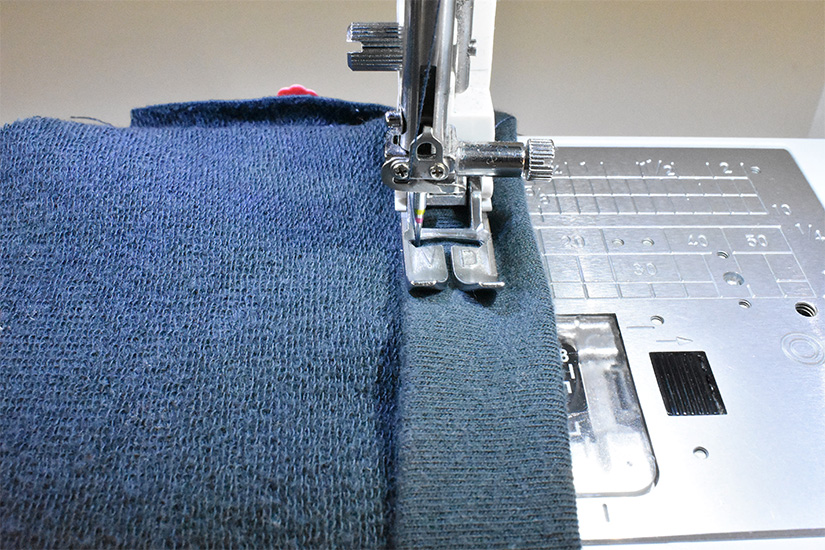
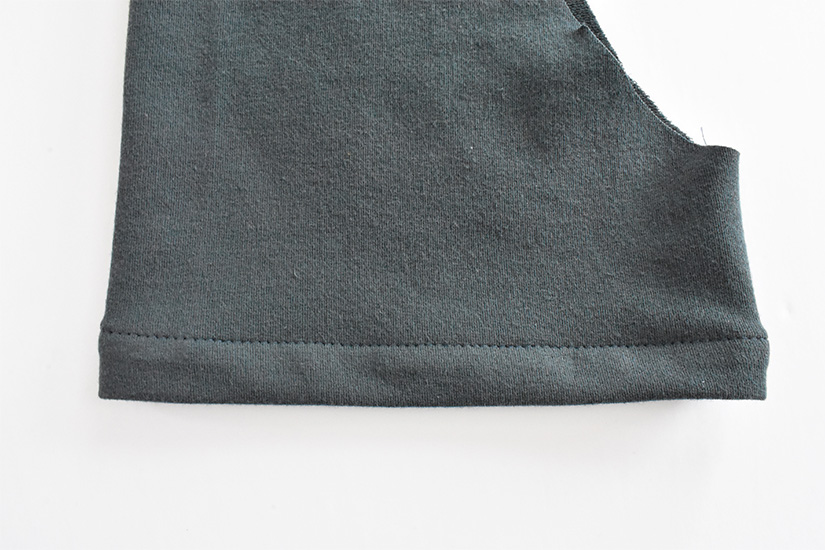
If sewing a long sleeve (slim or full), skip this step. If sewing the short sleeves, hem the short sleeve. With wrong sides together, fold and press the hem up 3/8″ (1 cm). Fold again at 3/4″ (2 cm), pin in place.
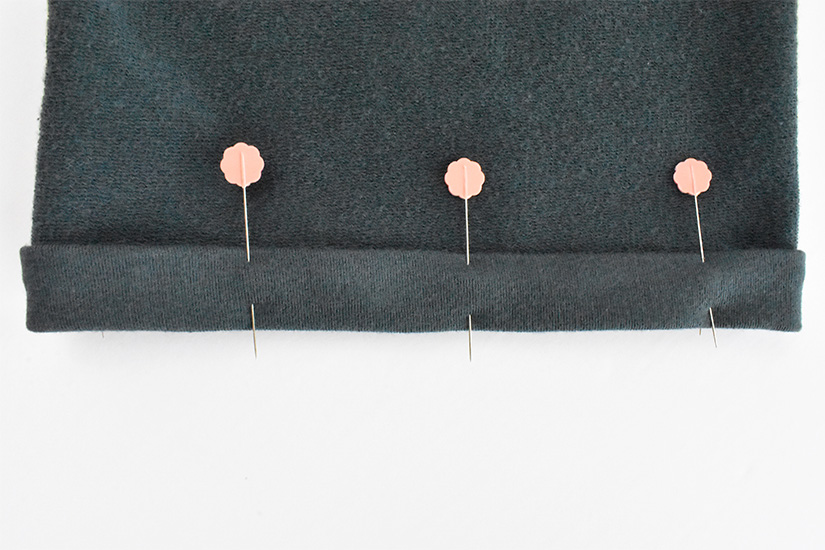
Edgestitch hem in place.
Alternatively, you can leave the hem raw. Skip to next post.
GATHER THE FULL SLEEVE
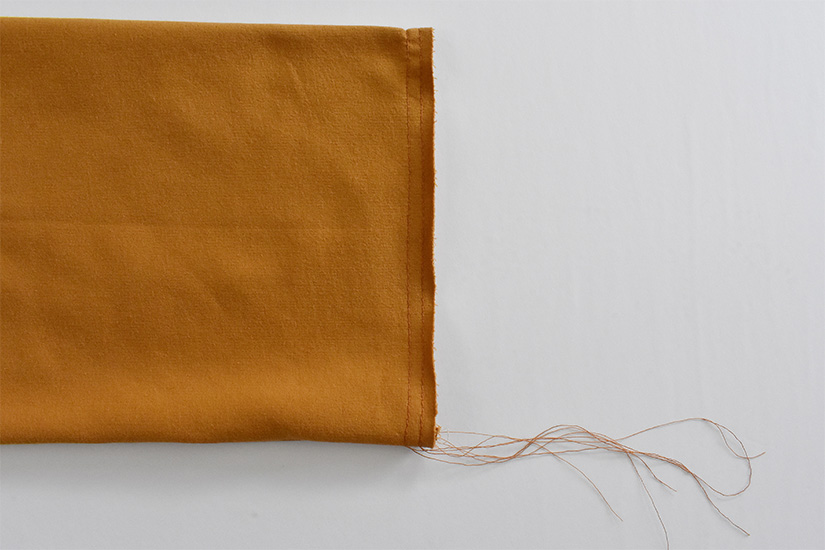
If sewing the slim sleeve, skip this step. If sewing the full sleeve, gather the sleeve opening. Change your stitch length to the longest possible length. Sew two parallel baste stitch lines at the hem. Make sure not to backstitch at the beginning or end of your stitch lines and leave long ends to your threads. The first line is 1/4″ (0.6 cm) away from the fabric edge.
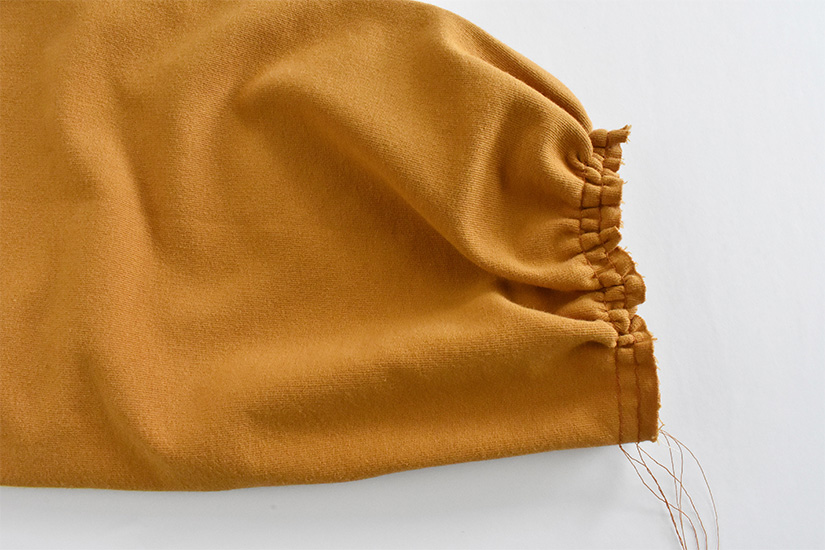
Gather by pulling the bobbin threads to about the finished width of the cuff.
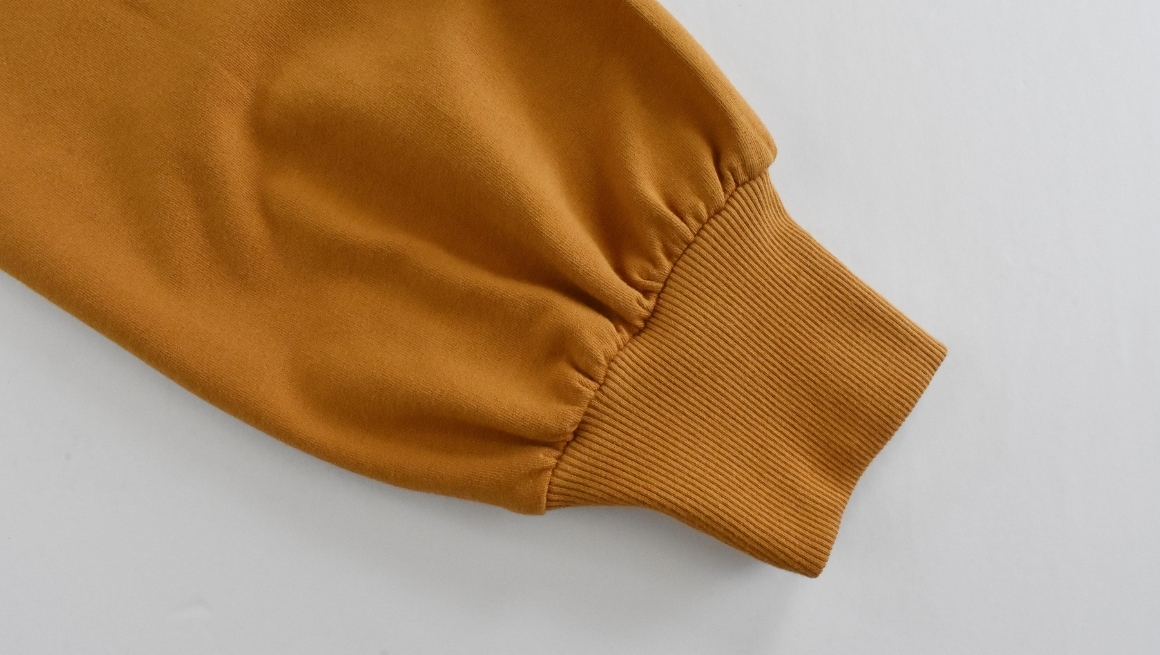
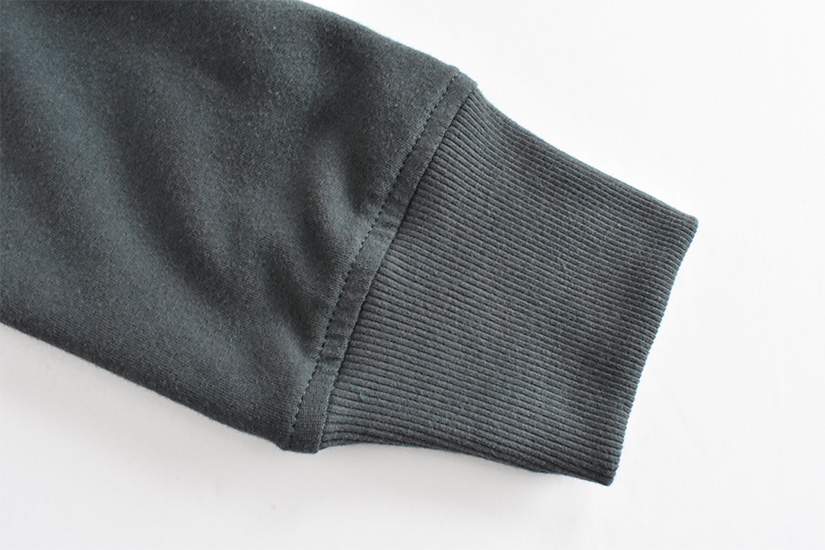
ADD THE CUFF TO THE SLEEVE (SLIM OR FULL)
To attach the cuffs, place the sleeve inside the cuff tube, aligning the raw edges. Pin the cuff to the sleeve in the round, matching under seams and the center notch.
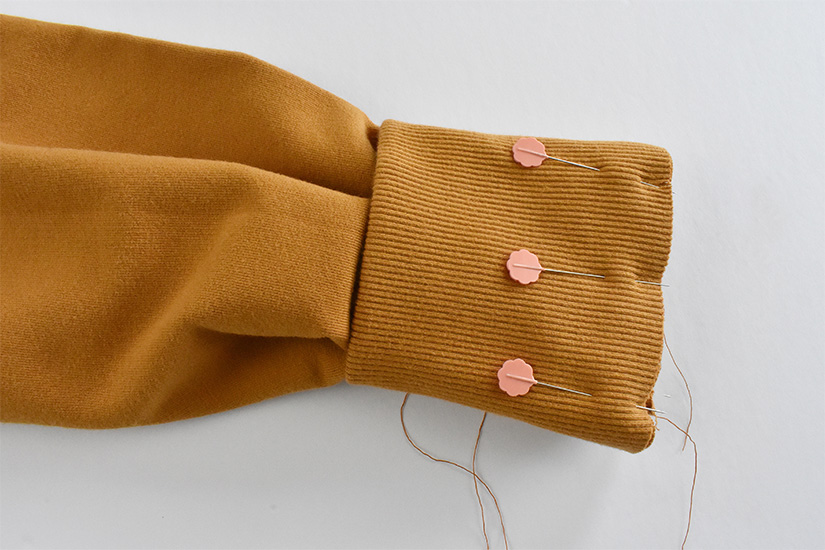
Sew the cuff band while evenly stretching the cuff to fit the sleeve. Do not stretch the sleeve while attaching the cuff. The sleeve will gather to fit the cuff.
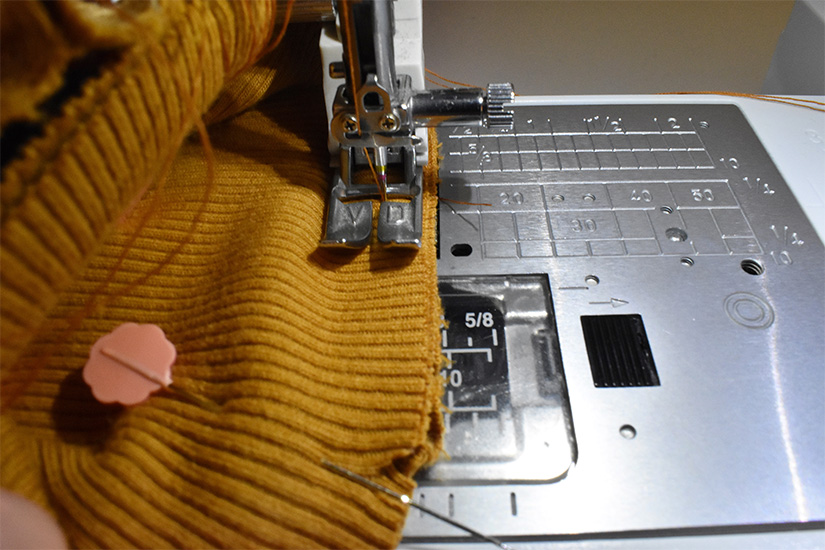
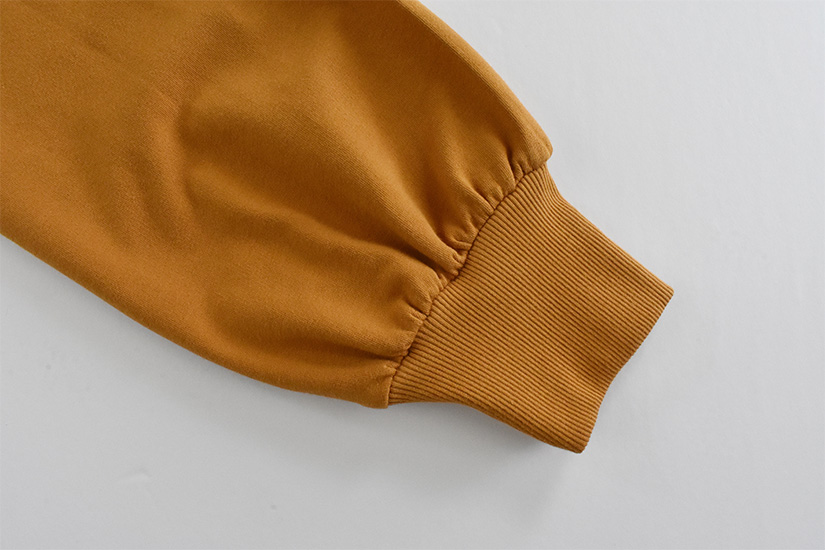
Press the seam allowance up and remove any basting stitches.
OPTIONAL TOPSTITCH ON CUFFS
If sewing the slim sleeves, topstitch the sleeve to hold the seam allowance in place and press.
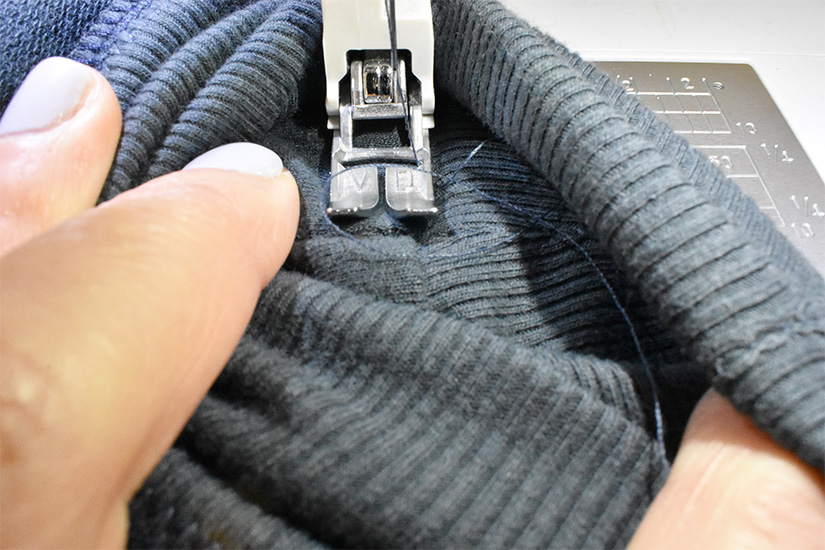
Make sure this is a stretch stitch or lengthen your stitch if using a regular stitch.
Next, we’ll sew the Hem Band or Casing.
Page Sew Along Posts: Getting Started | Prepare Markings, Cuffs, & Hem Bands | Sew Bodice & Sleeves | Sew Hem Band or Casing | Sew Hood & Finish