In this post we will be hemming the Page. View A has a hem band and View B includes a drawstring casing.
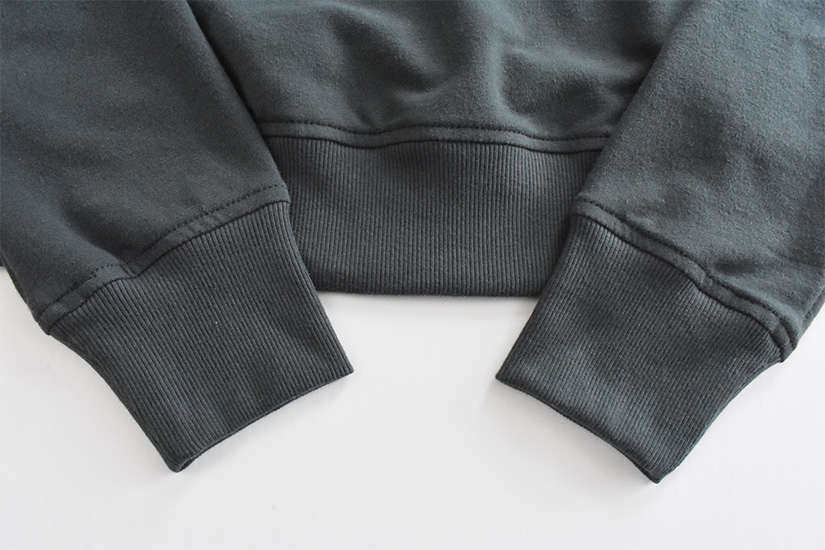
SEW THE HEM BAND TO THE BODICE – VIEW A
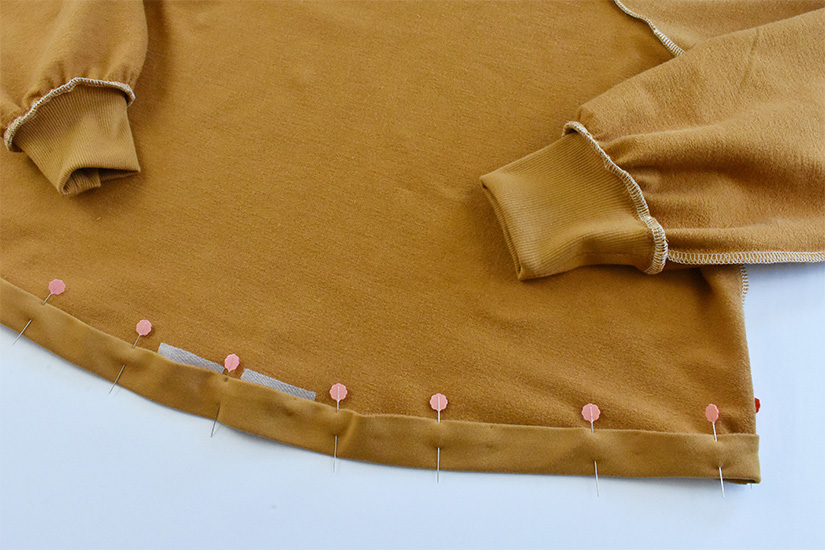
If sewing view A, place the bodice inside the hem tube, aligning the raw edges. Pin the cut edge of the hem band to the bodice hem, matching the side seams and center front and center back notches.
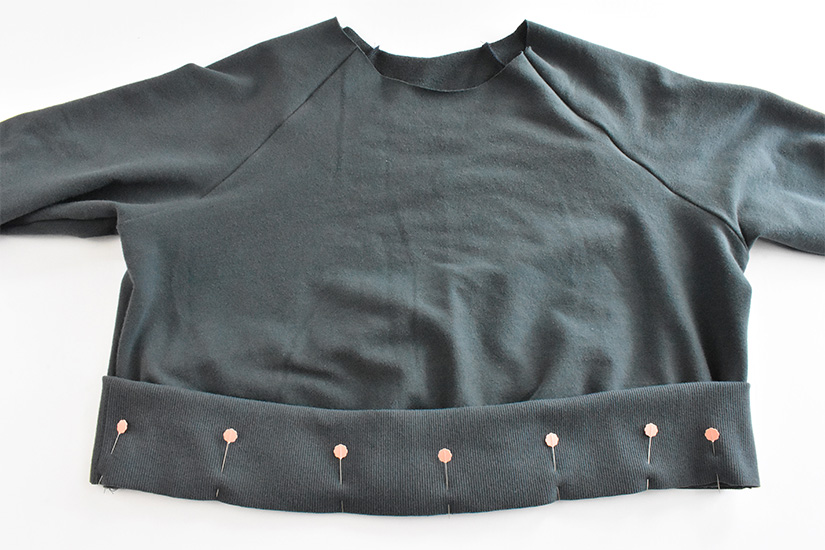
Sew the hem band while evenly stretching the band to fit the bodice. Do not stretch the bodice while attaching the hem band.
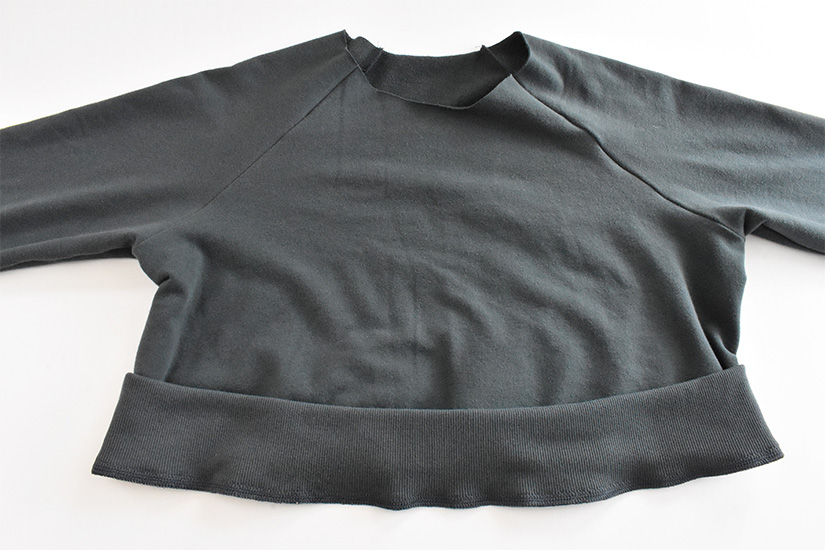
Press the seam allowance up.
OPTIONAL TOPSTITCH – VIEW A
Topstitch the bodice to hold the hem band seam allowance in place and press.
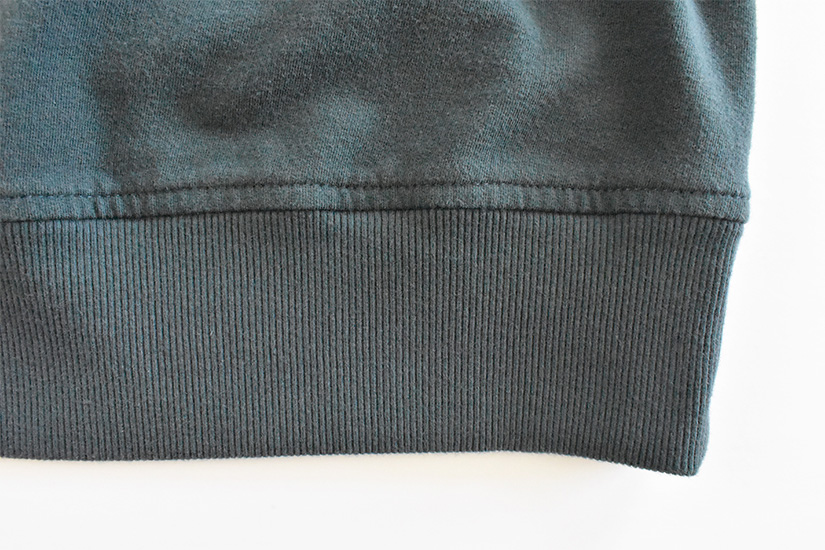
Make sure to use a stretch stitch or lengthen your stitch if using a regular stitch. Skip to next post.
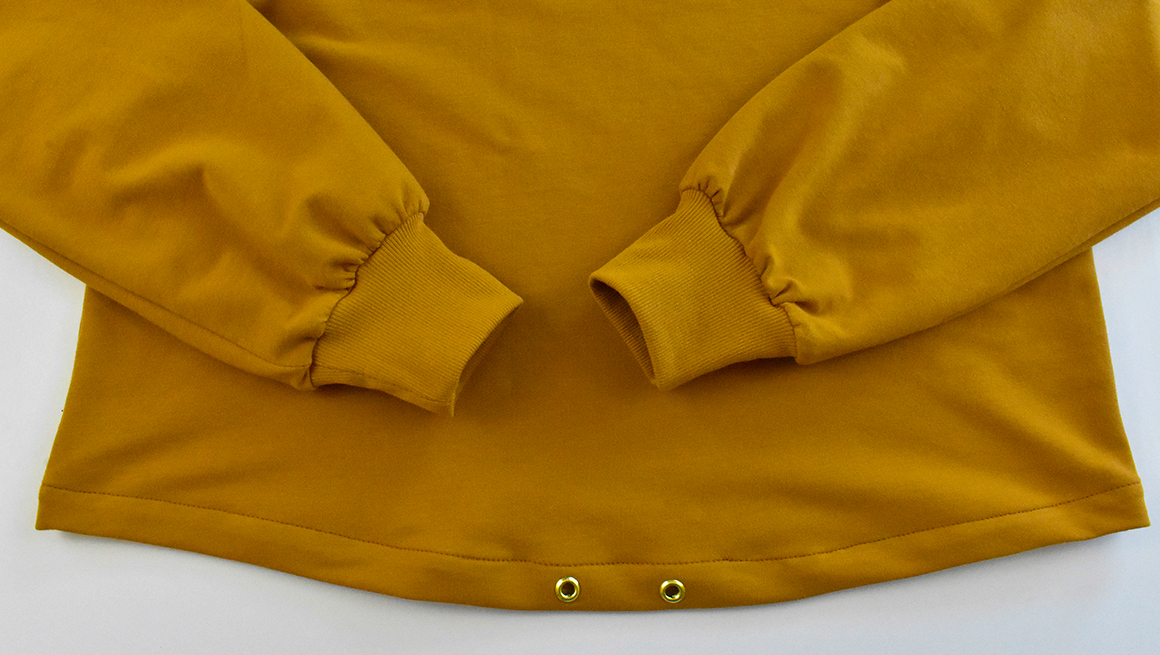
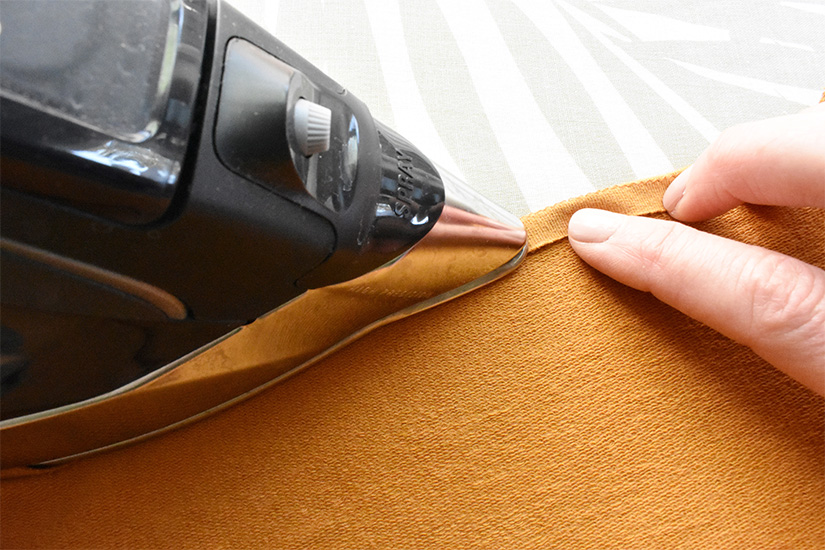
PREP THE HEM CASING – VIEW B
If sewing view B, prep the hem by stitching a fold guide at 3/8″ ( 1 cm).
Press the hem up 3/8″ ( 1 cm) wrong sides together.
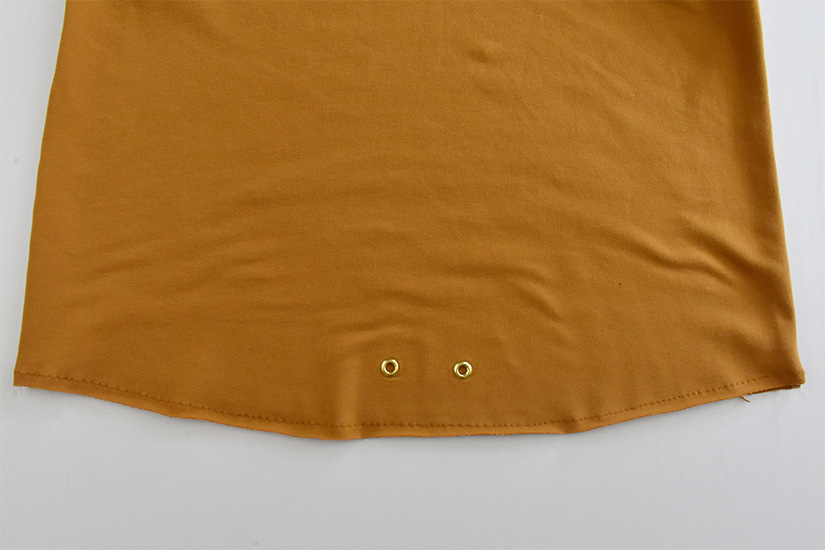
SEW THE HEM CASING – VIEW B
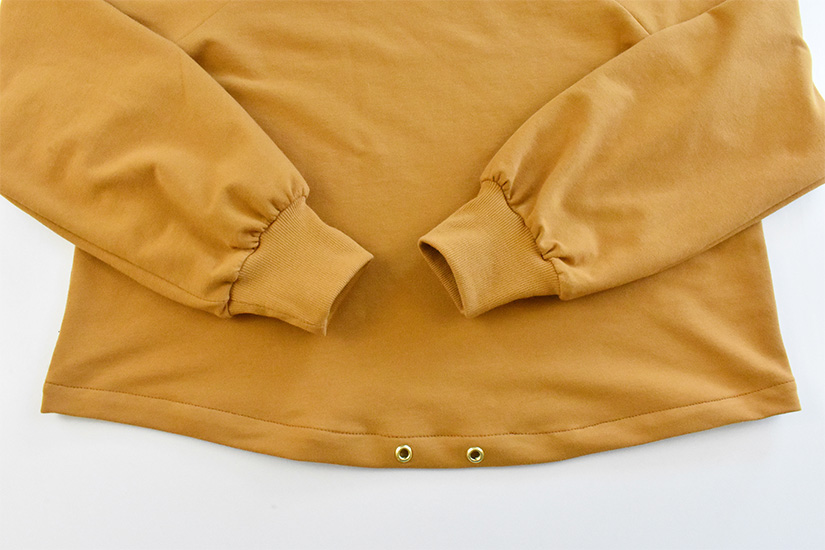
Fold the hem up again at 1″ (2.5 cm).
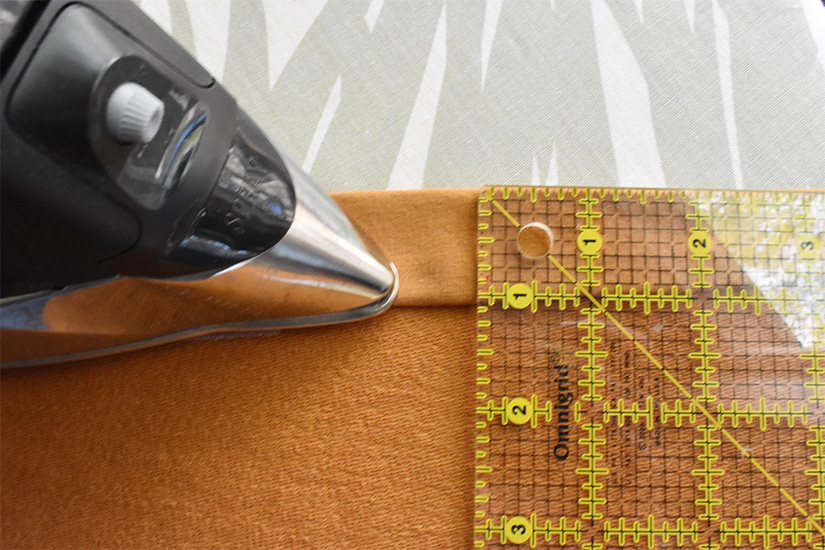
Pin in place, and adjust the casing width depending on your grommet/buttonhole size.
Sew from the wrong side, edgestitching in place. A zipper foot can be helpful to sew around the grommets. Make sure your bobbin thread matches the right side of your garment. Press the hem.
Next, we’ll sew and attach the hood.
Page Sew Along Posts: Getting Started | Prepare Markings, Cuffs, & Hem Bands | Sew Bodice & Sleeves | Sew Hem Band or Casing | Sew Hood & Finish
