Now it’s time to add the hood to your Page Hoodie! If you ever want to try a crew neckline for the Page, you can check out our tutorial on the blog and the free neckband pattern piece in the shop. Let’s finish up your hoodie below.
SEW THE MAIN HOOD AND LINING AT THE CENTER BACK SEAM
With right sides together, sew the hood main center back seam and press the seams open.
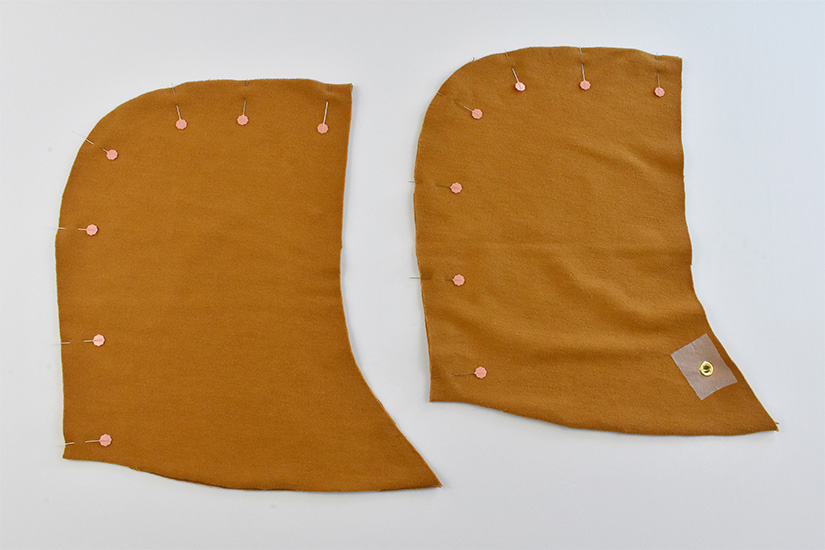
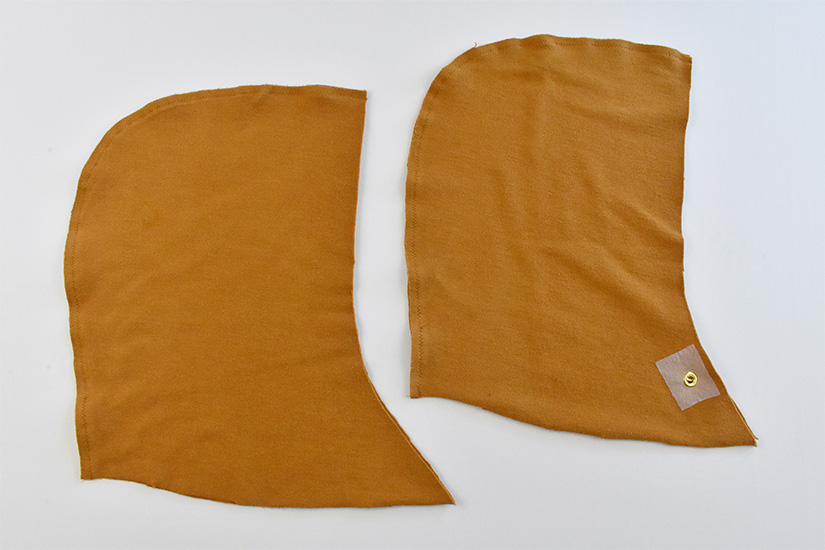
Repeat for the lining.
SEW THE MAIN HOOD AND LINING TOGETHER
With right sides together, place the main hood inside the lining hood. Pin the front edge of the main and lining hood together, matching the hood center seam.
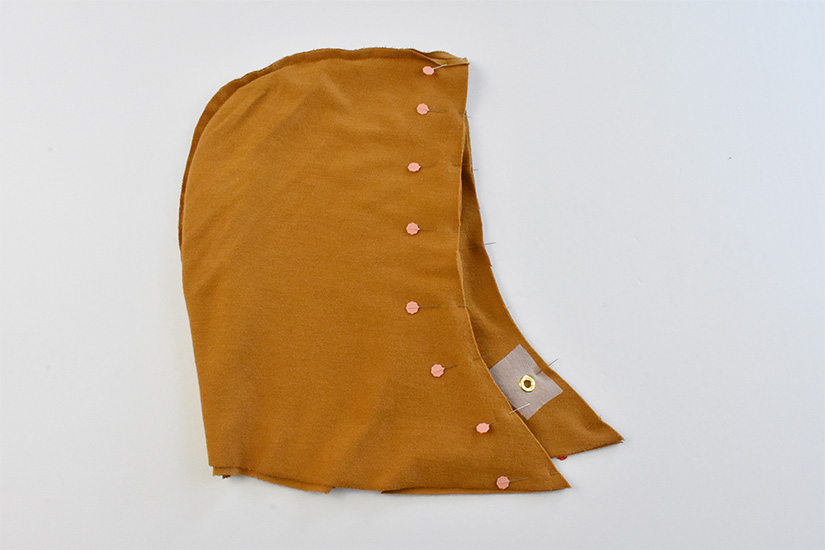
Sew and press the seam allowance towards the lining.
UNDERSTITCH THE HOOD LINING
Open the hood and lay flat with the right side up.
Understitch the hood front edge. Make sure to catch the seam allowance towards the lining.
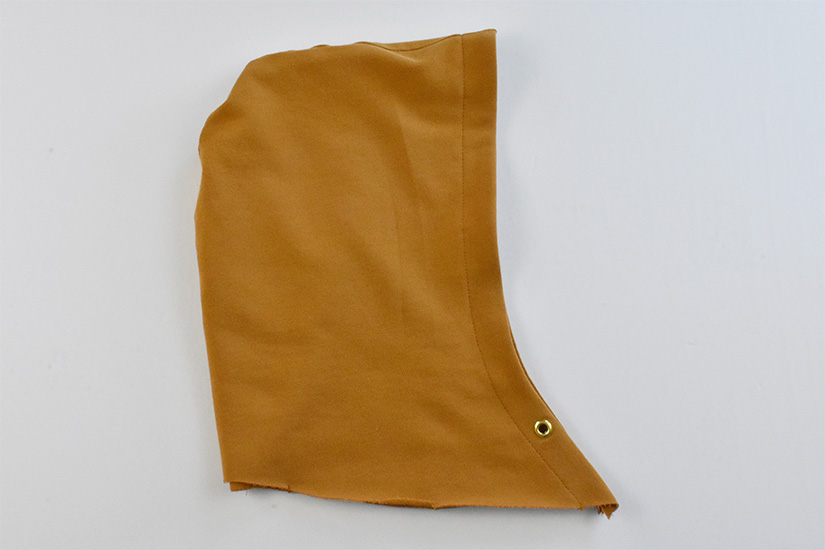
Turn right side out and press.
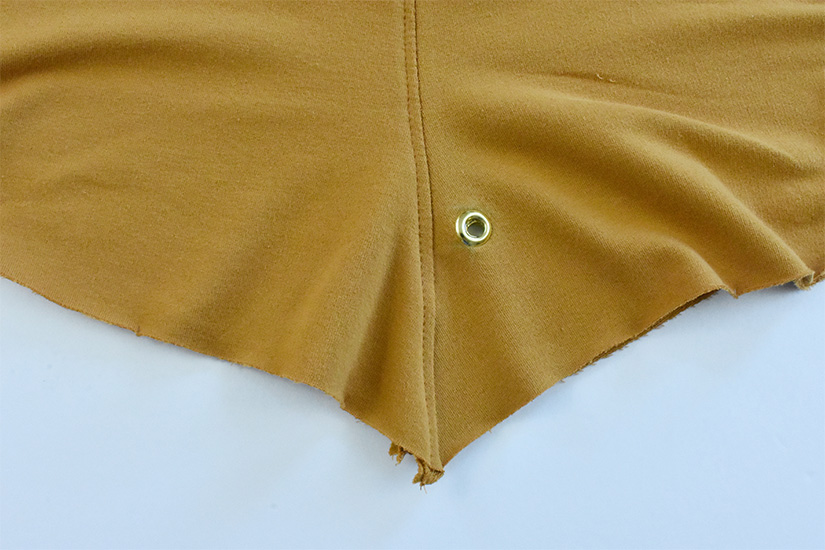
TOPSTITCH HOOD
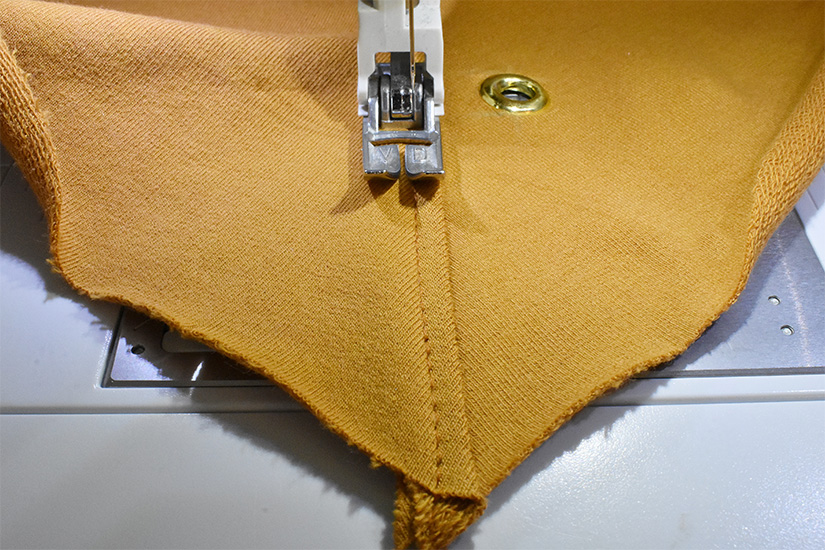
Sew a 1″ ( 2.5 cm) drawstring casing. Depending on your grommet/buttonhole size you can adjust the casing width. If you have omitted the grommet/buttonholes you can still topstitch the hood main and lining together.
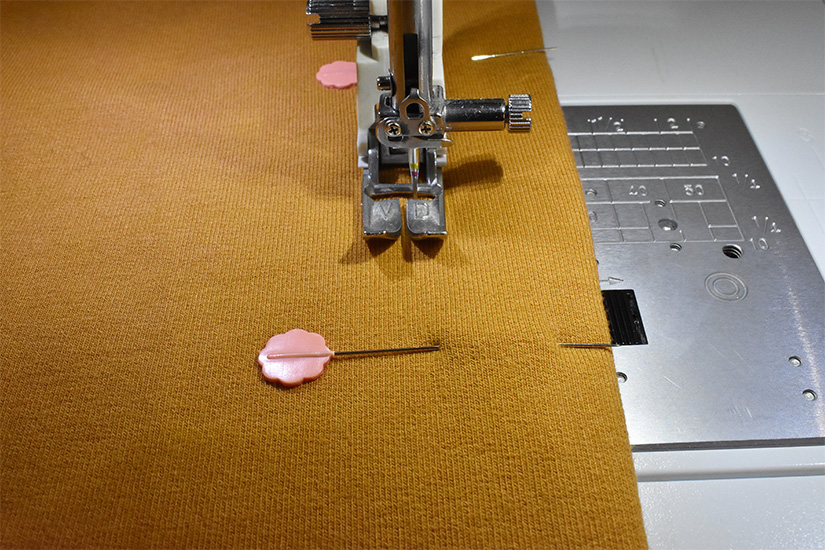
Use pins to make sure the channel lays flat while topstitching, and a zipper foot can be helpful to sew around the grommets.
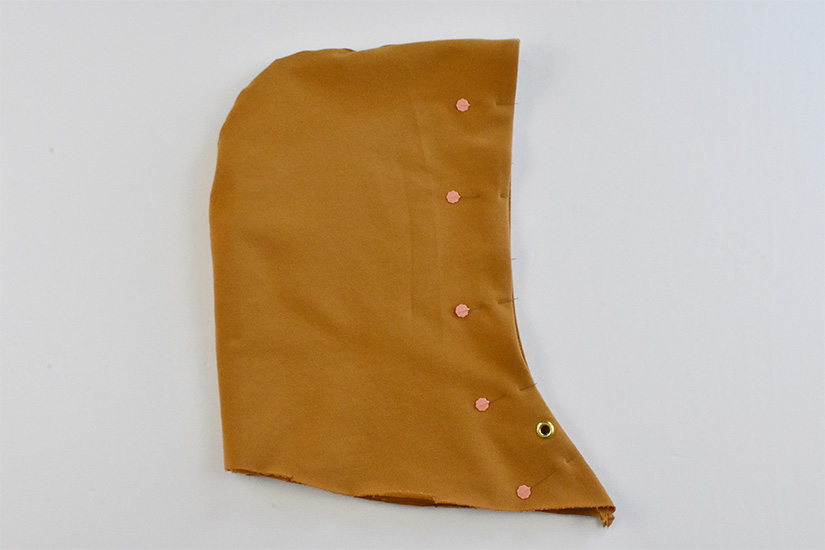
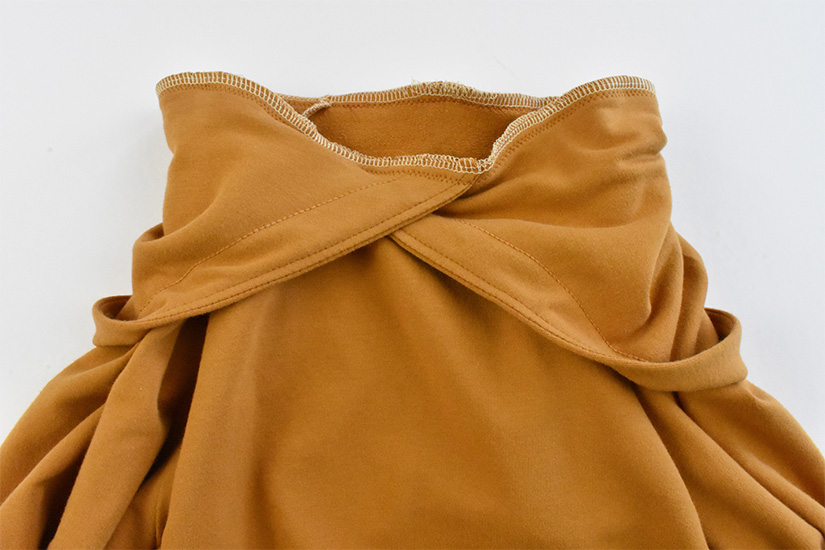
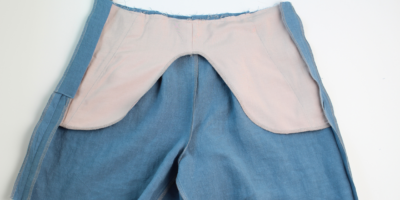
PIN THE HOOD TO THE NECKLINE
With right sides together, pin the hood starting with the wearer’s left side, matching the center front notch of the hood to the center front notch of the bodice. The edge will continue past center front.

SEW THE HOOD TO THE NECKLINE
Continue pinning the hood around the bodice neckline. The wearer’s right side will overlap on top. Sew and press the seam allowance towards the bodice.
OPTIONAL NECKLINE TOPSTITCH
Topstitch the bodice to hold the hood seam allowance in place and press.
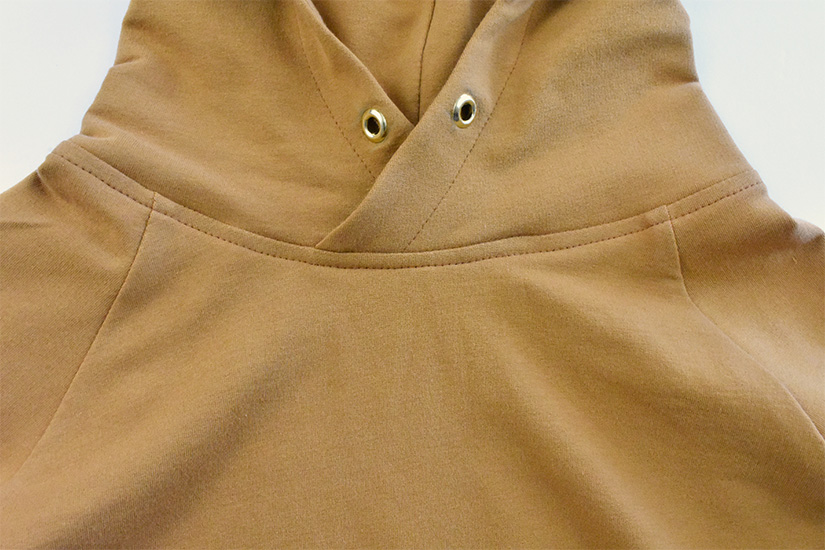
Make sure this is a stretch stitch or lengthen your stitch if using a regular stitch.
THREAD THE DRAWSTRING & FINAL PRESS
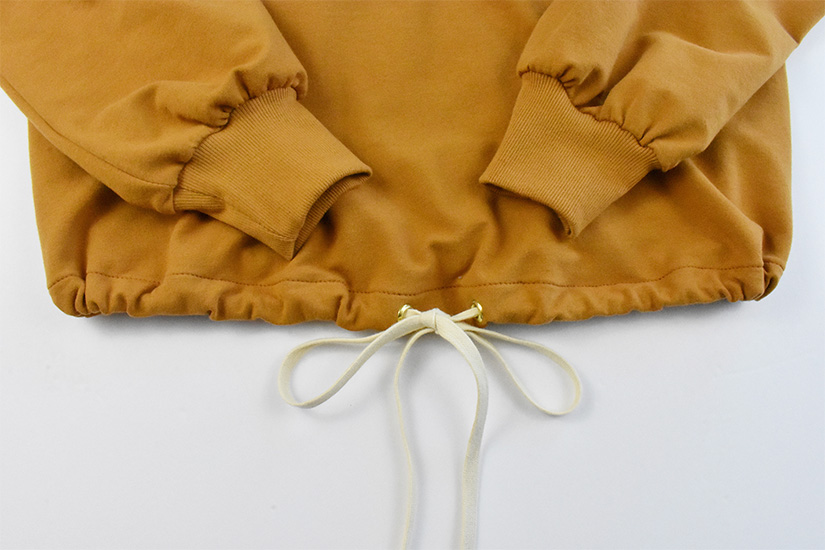
If adding a hood drawstring and/or hem drawstring, thread through the casing and trim to your desired length. Check out our Sewing Tip post for making your own drawstrings here.
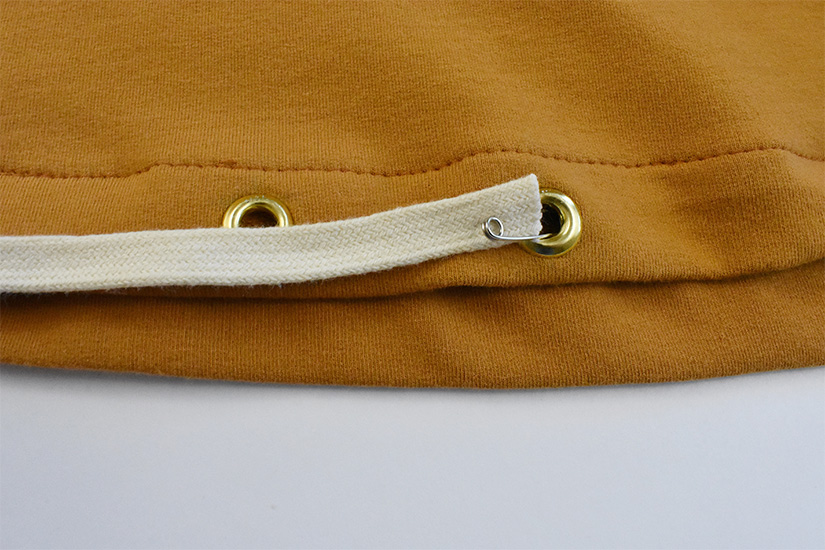
Tie knots at the ends or add aglets to prevent your drawstrings from pulling through.
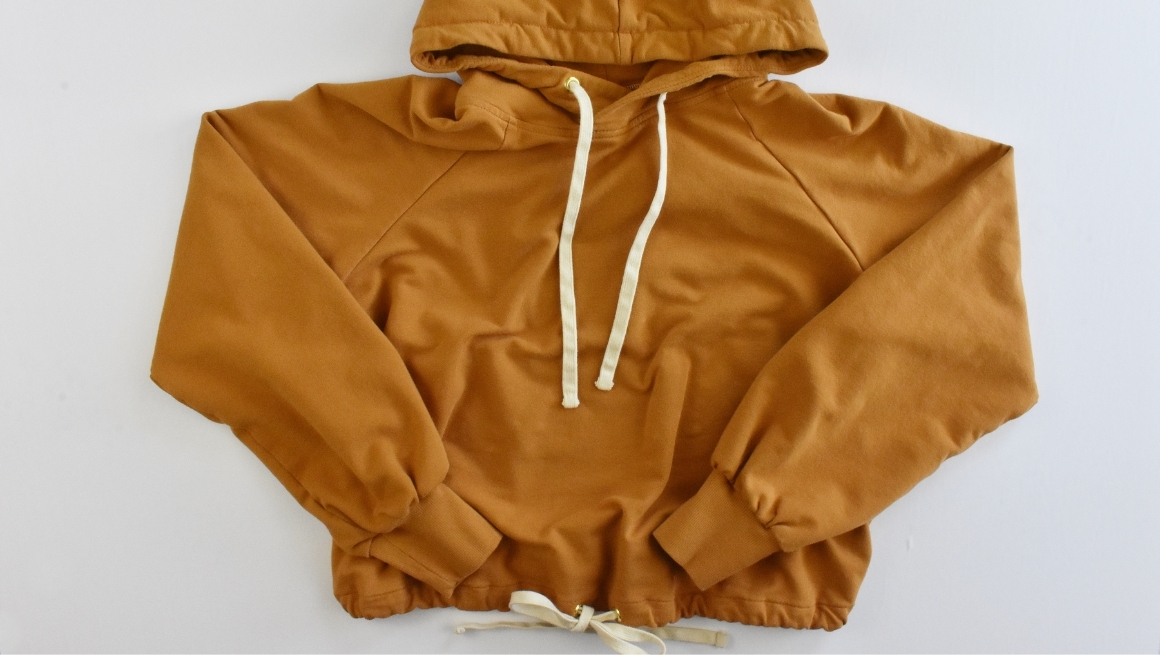
You are finished. Give your Page Hoodie a final press!
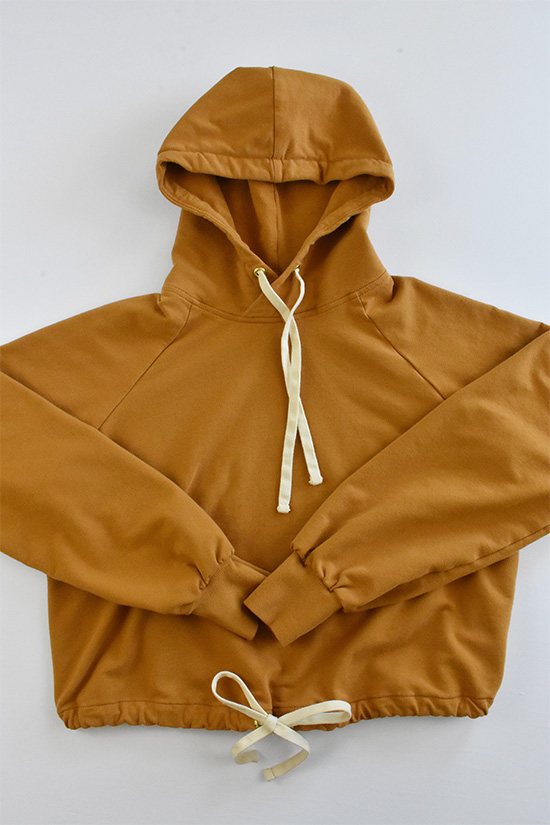
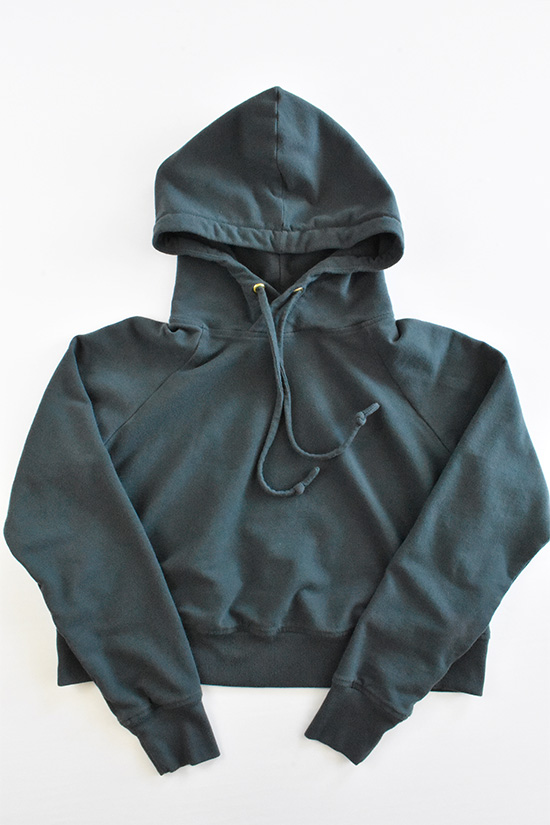
We hope you enjoy lounging in and wearing your Page Hoodie!
Page Sew Along Posts: Getting Started | Prepare Markings, Cuffs, & Hem Bands | Sew Bodice & Sleeves | Sew Hem Band or Casing | Sew Hood & Finish