
Tutorial | Pixie Tee Ruffle Hem
We have a special guest today who is an excellent seamstress and someone I can always count on for construction help. Thao of Little Cumquat is sharing her ruffle hem tutorial. I’ll let her give you all the details – we hope you enjoy!
THAO OF LITTLE CUMQUAT
I'm so honored to be a guest blogger on Chalk and Notch today and to share with you my Pixie Tee ruffle hem tutorial. The inspiration for this hack came from these gorgeous tops which I found to be very cute and feminine.
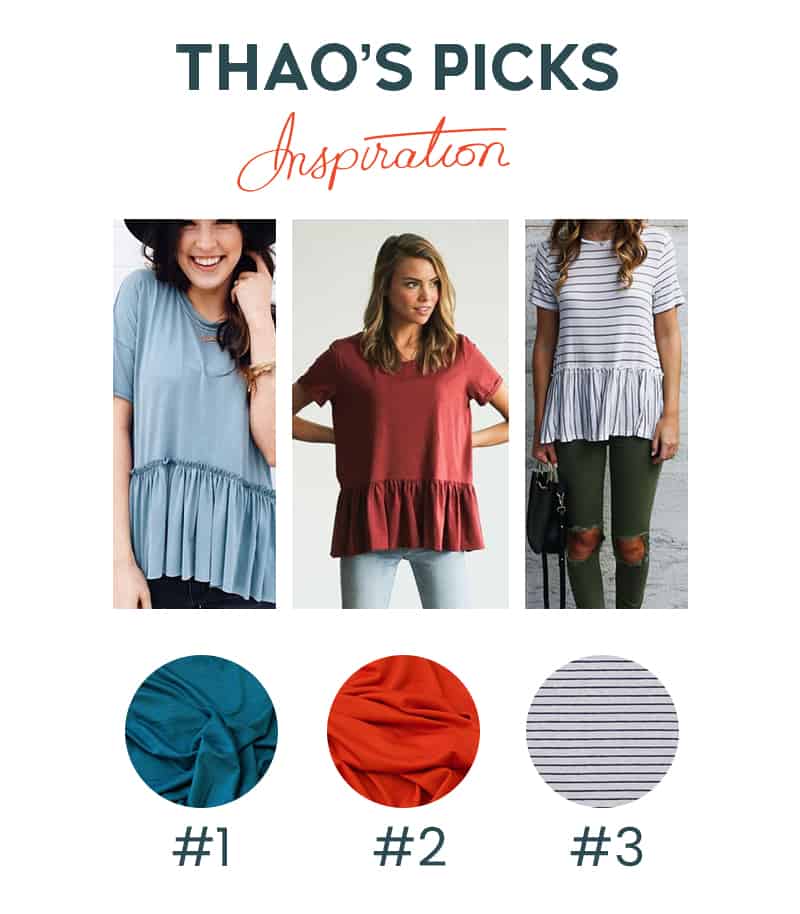
Inspiration | 1 | 2 | 3 Fabric | 1 | 2 | 3
FABRIC
I knew to create the same look, choice of fabric was going to be important. I searched around online and found this gorgeous wine bamboo jersey from Maaidesign. The quality of this knit is so dreamy, and gosh, if you haven't used bamboo jersey before, you need to. The feel and drape of this fabric is amazing and perfect for this ruffle hem flowy top.

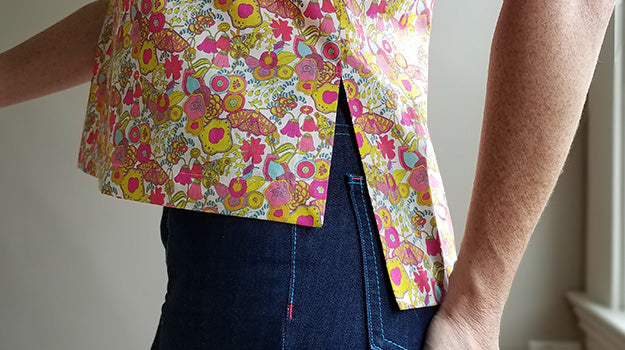
Thao of Little Cumquat
Fabric from Maaidesign
PATTERN ADJUSTMENTS
The Pixie Tee pattern already has the base required for this look, so all I needed to do was measure where I wanted the bodice hemline to end and ruffle to start. Conveniently, the pattern has a lengthen/shorten line on the bodice and that was where I cut my bodice hemline plus 3/8" (1 cm) seam allowance. No other modification was made to the pattern itself.
Next, I 'drafted' the ruffle pattern piece and by draft, I mean cut a rectangular piece using the following measurements:
Front ruffle - Cut on fold 22” (56 cm) x 8.5" (21.5 cm) length - total width = 44" (112 cm)
Back ruffle - Cut on fold 21.5" (55 cm) x 8.5" (21.5 cm) length - total width = 43" (109 cm)
Basically, I'm making the ruffle twice the length of the bodice. To give you context, I'm 5'1" wearing a straight size 6. Therefore, if you're taller (which is not hard to be), you may need to extend the bodice and length measurement of the ruffle. Plus, depending on whether you wanted a frilled hemline (like mine) or if you prefer a folded hemline, then you will need to include hem allowance.

Construction
Now to gather the hem with clear elastic. First, with a marker, I drew a line 1" (2.5 cm) in from the clear elastic end (this will make it easier to hold when sewing). Measure 44" (112 cm) which is the circumference of the bodice, and mark another line. Next, divide the elastic into quarters and mark these points. Mark the center front and center back of the fabric hem piece.
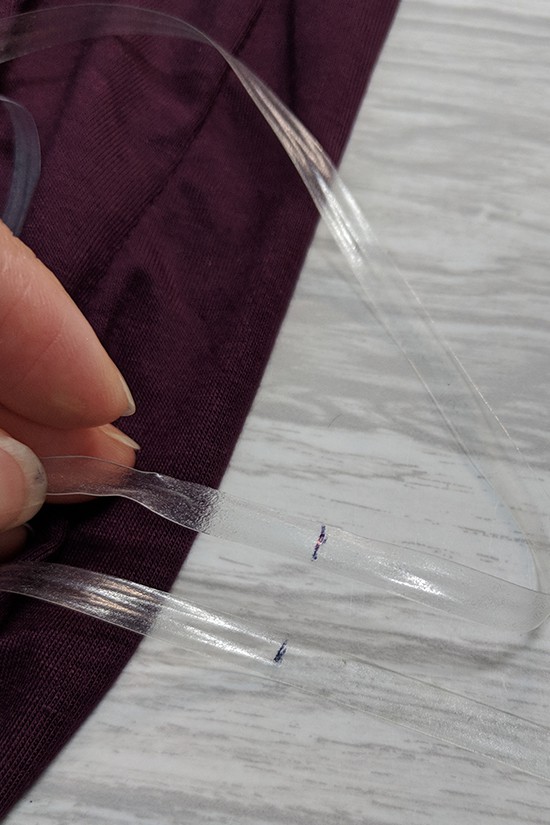
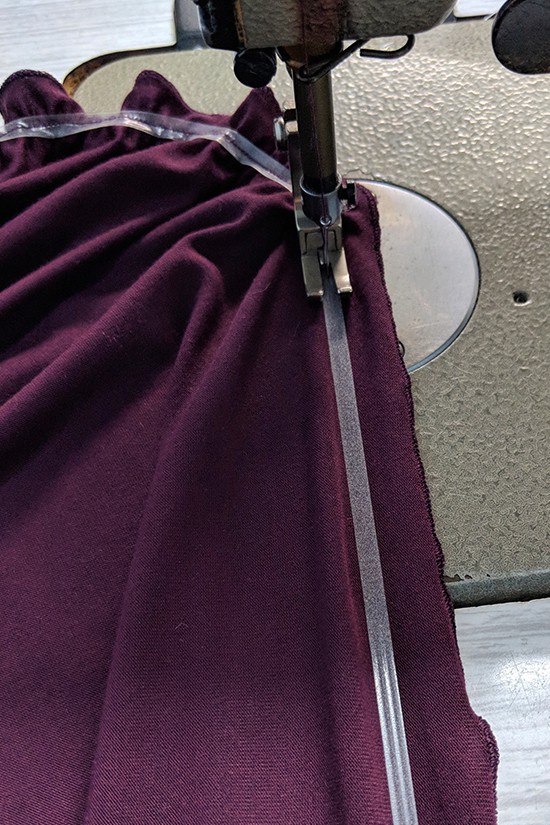

Before sewing, I stretched the elastic a couple of times to loosen it. To start, I placed the elastic onto the wrong side of the fabric at the first marking, about 3/8" (1 cm) away from the edge of the fabric and stretched the elastic (not the fabric) as I sewed along. Match the quarter marks on the elastic with the quarter marks of the bodice (center front, side seams and center back) so the ruffle is even.
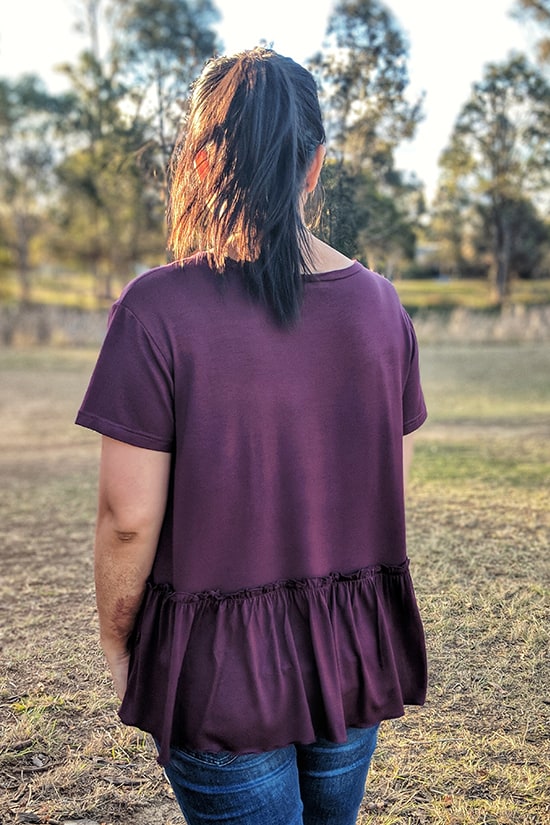
To finish the top, I placed the ruffled hem piece on top about 1/4" (0.7 cm) from the edge of the bodice and without stretching, stitched around, following the gathered stitching line and voilà we're done.

I hope you enjoyed reading this quick hack and thank you so much for stopping by!
Thao
