We are close to finishing our Pixies! In this post, we’ll finish the hems on all views of the pattern.
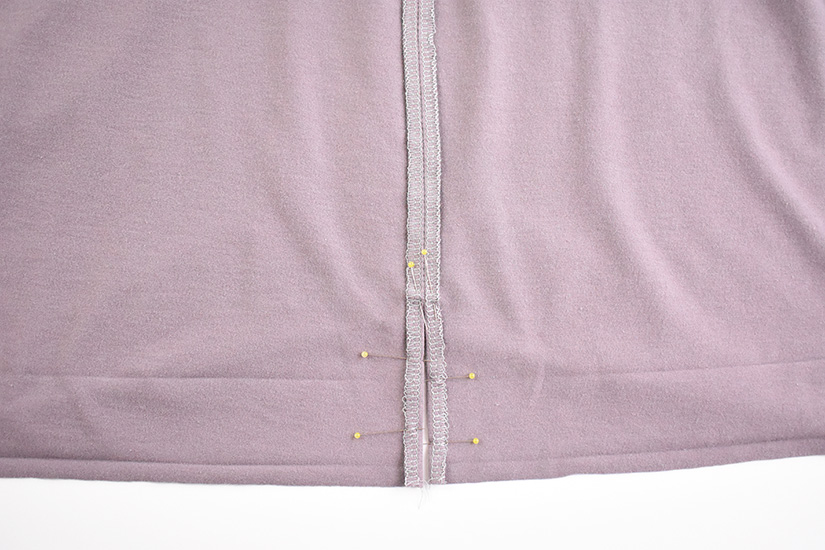
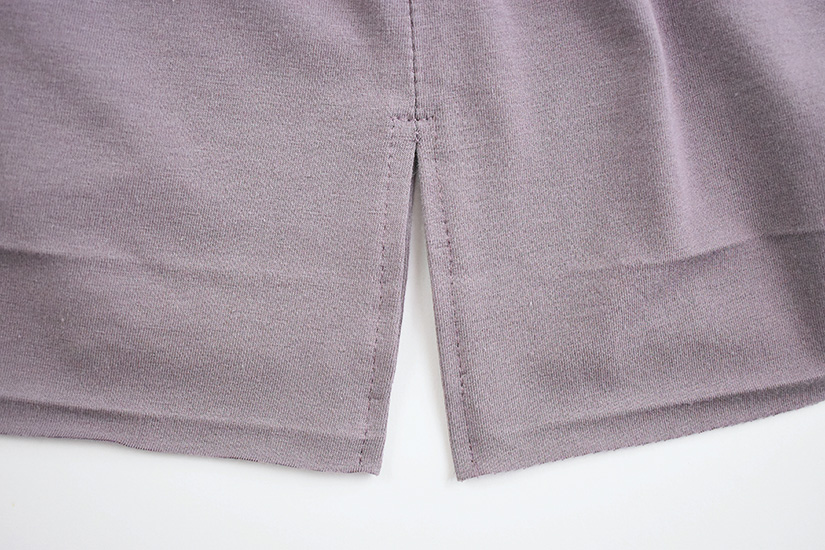
FOLD AND STITCH THE SLIT – VIEW A
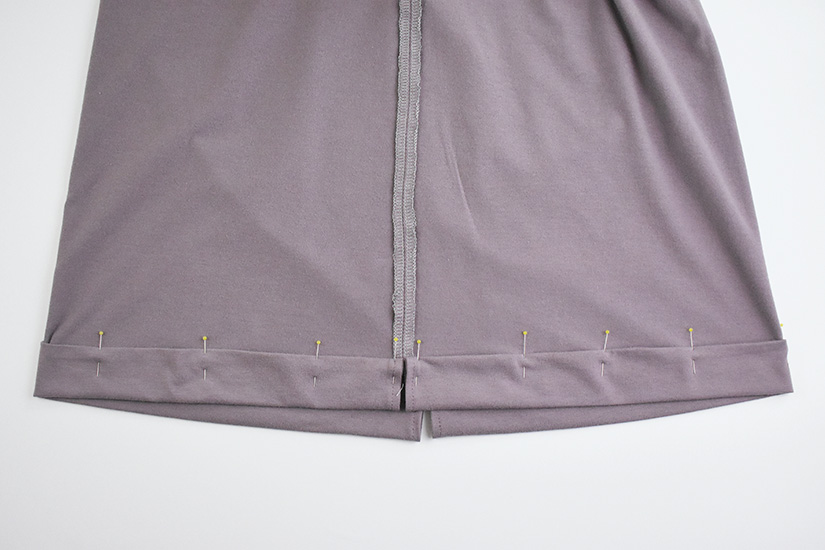
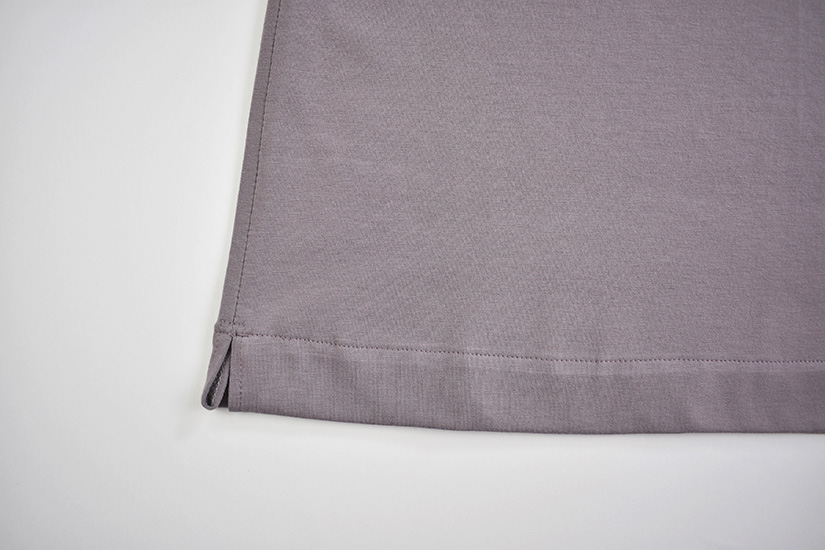
The slit is already folded from pressing the seam allowance open. Pin the 3/8” (1 cm) seam allowance in place. Use a straight stitch to stitch the slit. Using a 1/4” (0.6 cm) seam allowance, start at the hem, stitch upwards, pivoting at the top of the slit, then go across, and pivot again to stitch down towards the hem.
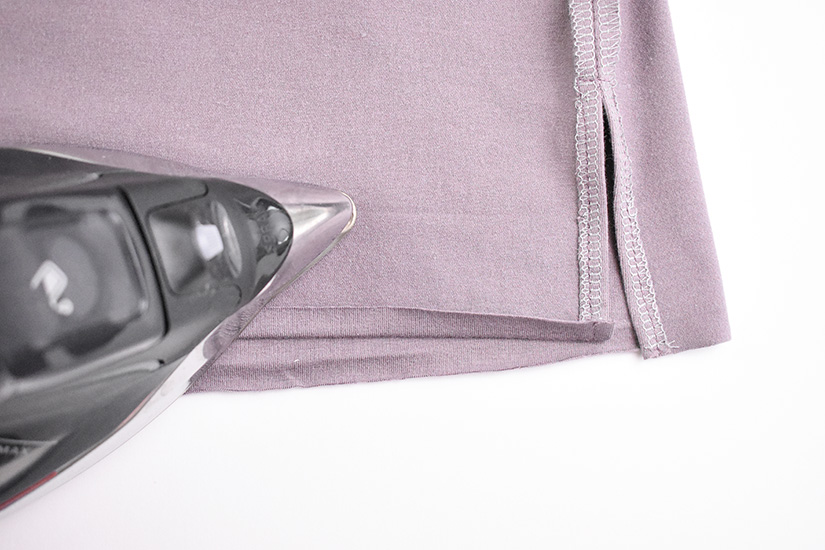
FOLD THE HEM – VIEW A
With the wrong sides together, fold and press the hem up 3/8” (1 cm) at the previously pressed line.
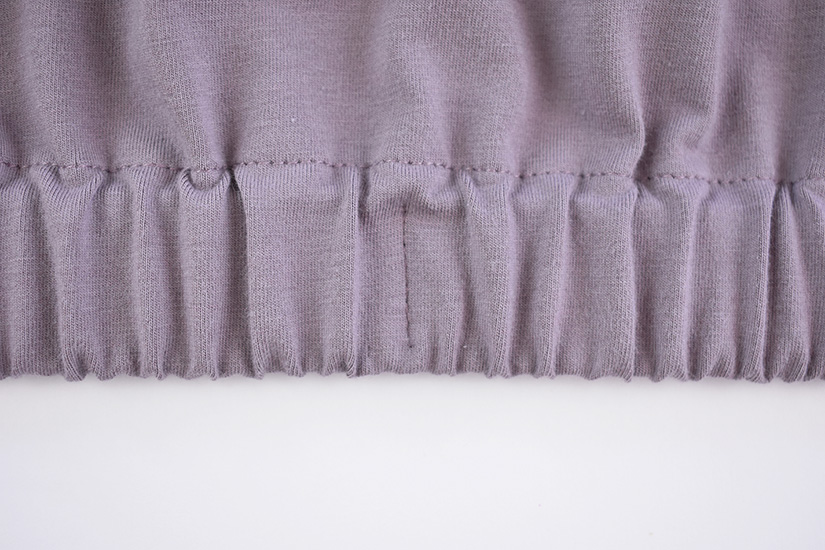
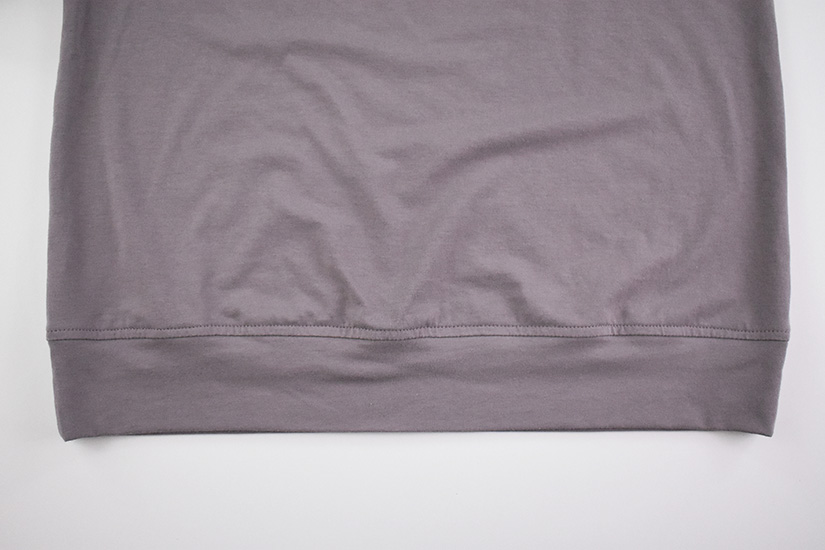
FOLD THE HEM CASING – VIEW A
Fold again at 1 5/8” (4 cm) at the previously pressed line, and pin in place. Using a straight stitch, hem at 1 1/2” (3.8 cm) to form a casing.
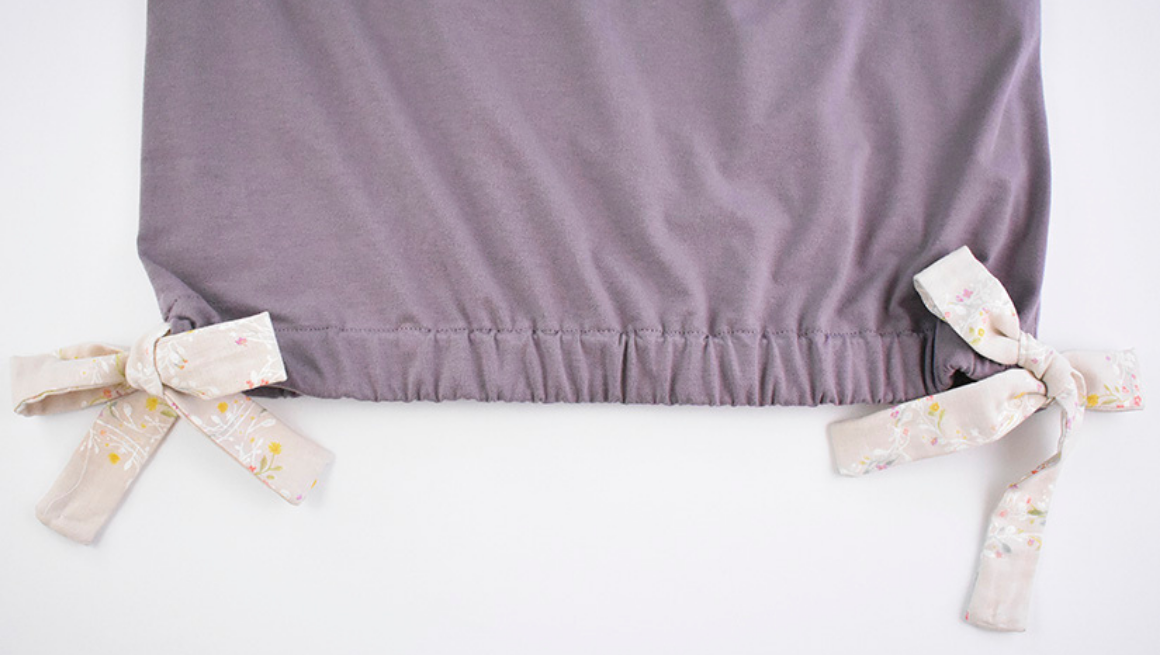
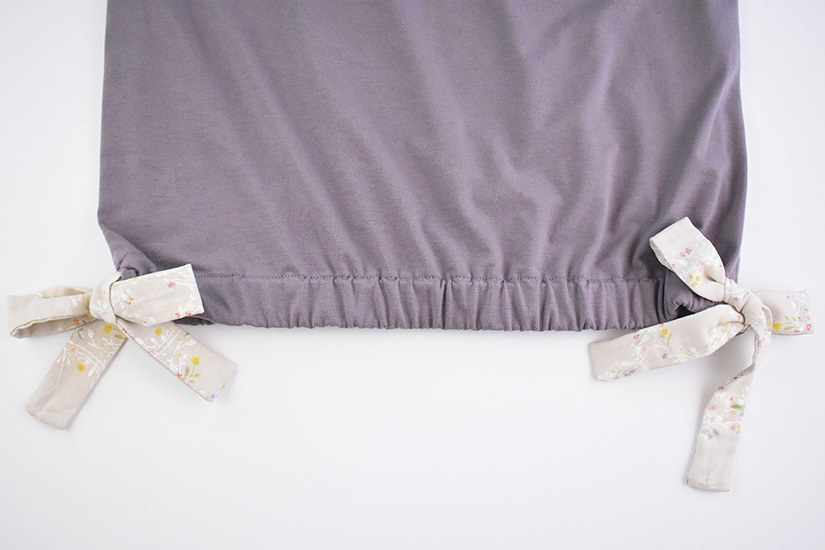
INSERT THE HEM TIES AND SECURE – VIEW A
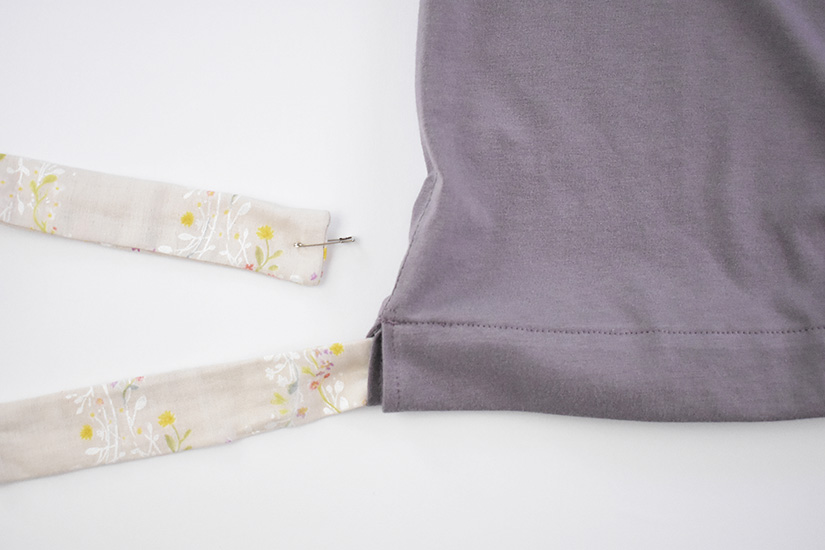
Use a safety pin to thread the hem ties. Once the drawstring is even, stitch at the center front and center back to prevent the drawstring from pulling through the casing.
TIE BOWS – VIEW A
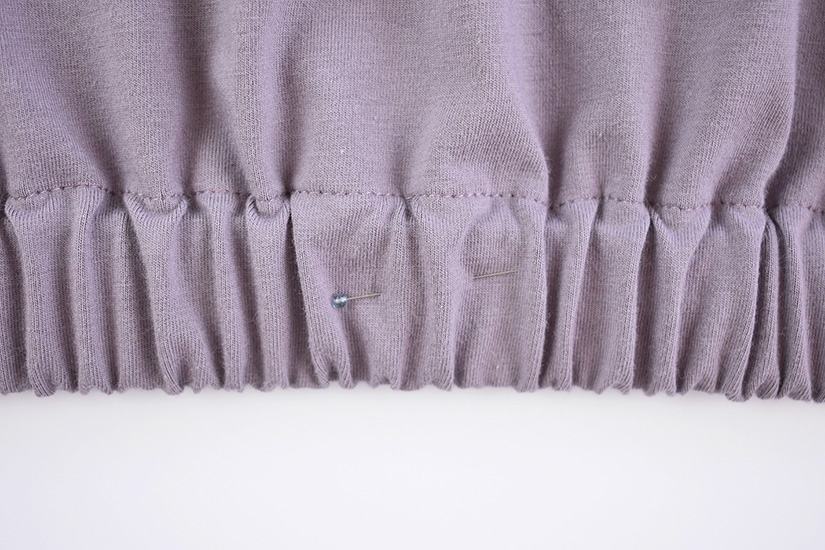
Tie into bows, gathering the hem the desired amount.
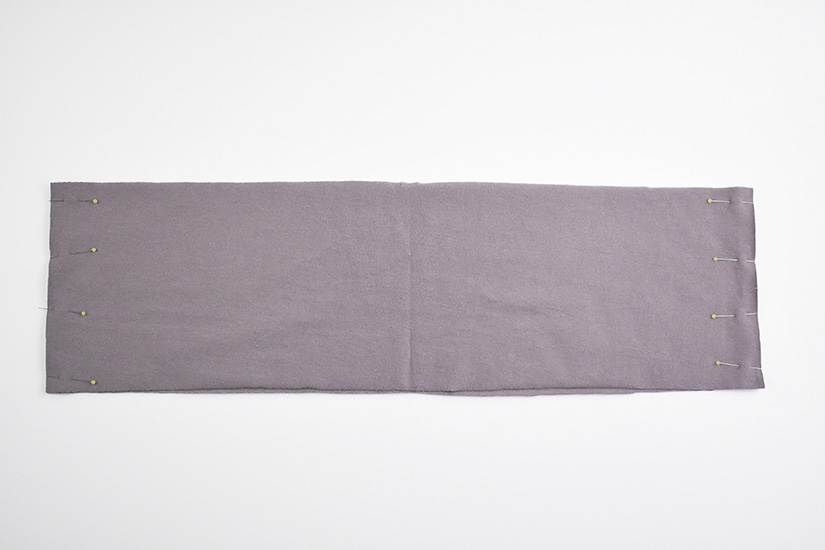
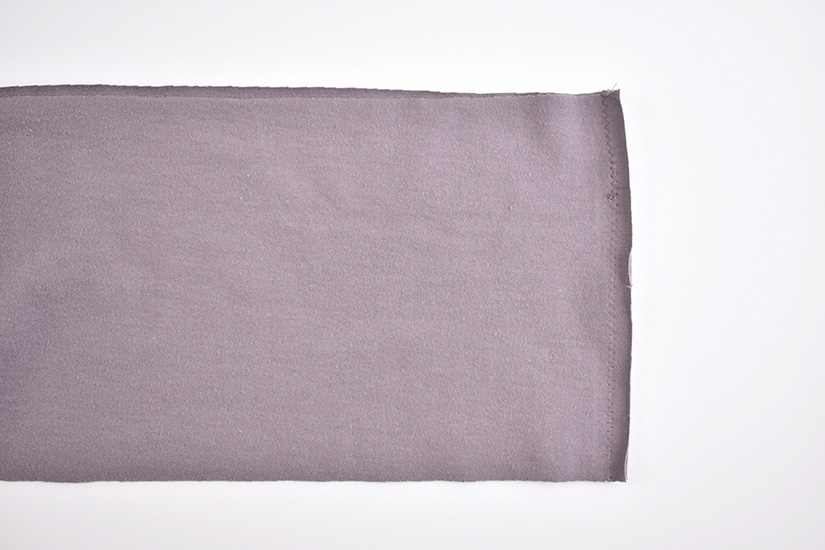
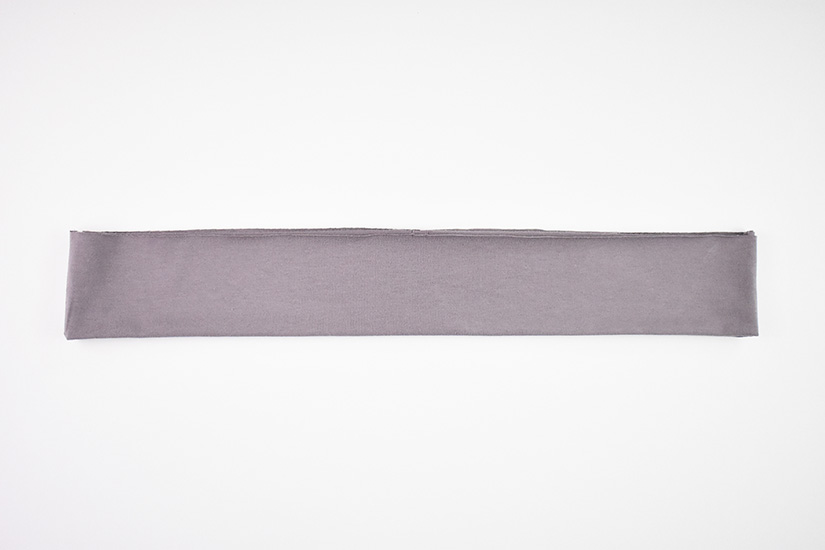
SEW THE HEM BANDS TOGETHER – VIEW B
Add a center front notch to your front hem band. The back band will have a double notch. With the right sides together, sew the short sides of the hem bands to form a tube. Fold the hem band lengthwise, wrong sides together.
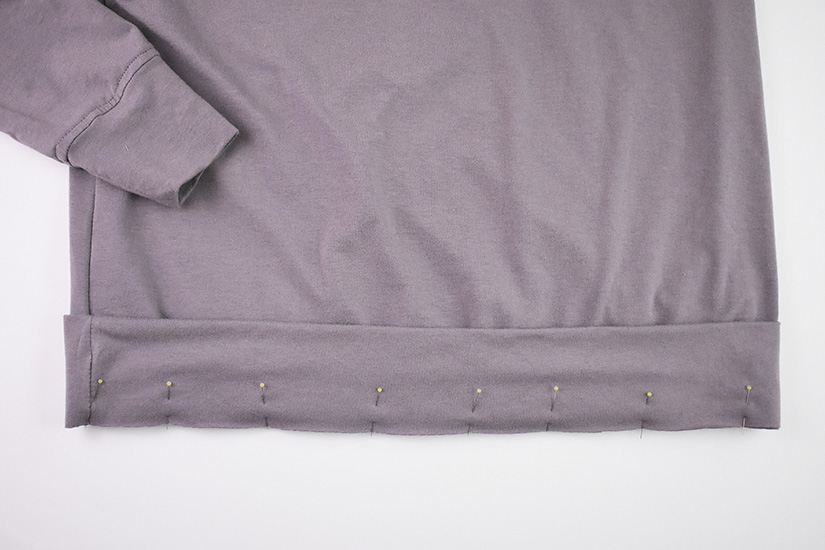
SEW HEM BAND TO BODICE – VIEW B
Place the bodice inside the hem tube, aligning the raw edges. Pin the cut edge of the hem band to the bodice hem, matching the side seams and center front and center back notches. Sew the hem band while evenly stretching to fit the bodice. Do not stretch the bodice while attaching the hem band. Finish and press the seam allowance up.
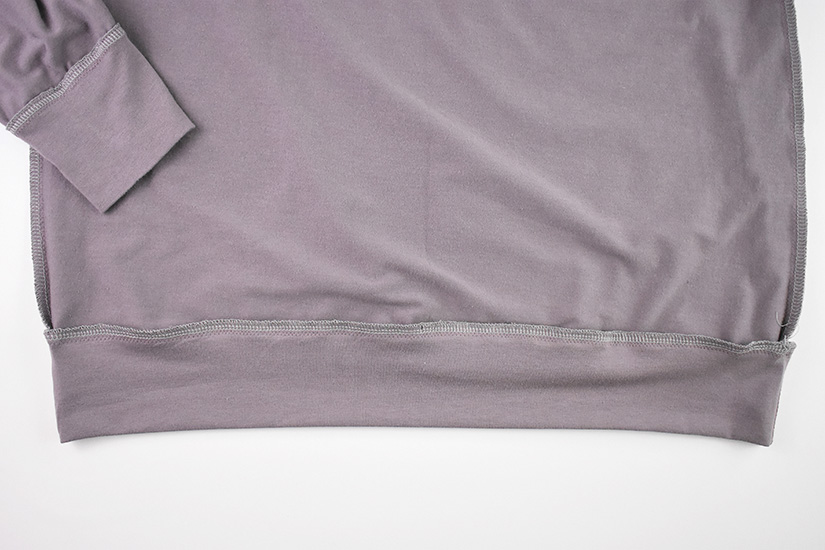
OPTIONAL HEM BAND TOPSTITCH – VIEW B
Topstitch the hem band at 1/4” (0.6 cm) or 1/8” (0.3 cm) based on your preference, to hold the seam allowance in place.
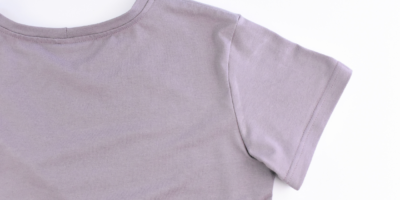
OPTIONAL BODICE HEM TAPE OR OVERLOCK – VIEW C
You may find it helpful to use 3/4” (2 cm) fusible knit stay tape to help stabilize your fabric while hemming. If so, apply to the bodice hem. You can also finish the bodice hem edge before hemming. This step is similar to hemming the short sleeves shown in this post. We also have a helpful sewing tip blog post all about hemming knits, which is here.
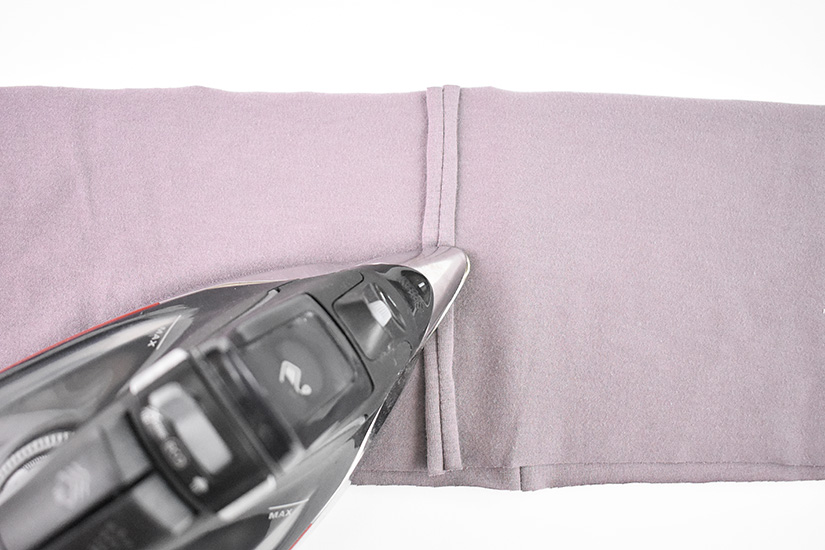
HEM BODICE – VIEW C
With the wrong sides together, fold and press the bodice hem up 3/4” (2 cm), and pin in place. Topstitch the bodice hem using a stretch stitch. For helpful hints on hemming knits, please see this post.
Give your Pixie Tee a final press and you are done!
Pixie Tee Sew Along Posts: Getting Started | Sewing Hem Ties, Shoulder Seams, and Attaching Neckband | Sew Short Sleeves & Side Seams View A | Sew Long Sleeves & Side Seams Views B & C | Hemming all Views