Sewing Tip | Attaching Buttons
One really important sewing skill is knowing how to attach a button to your garment! If you're making our Evelyn, Fringe, or Wren you'll need to sew on multiple buttons. There are 2 main ways to do this, by hand and by machine. In this sewing tip, we are going to demonstrate both methods.

GATHERING SUPPLIES
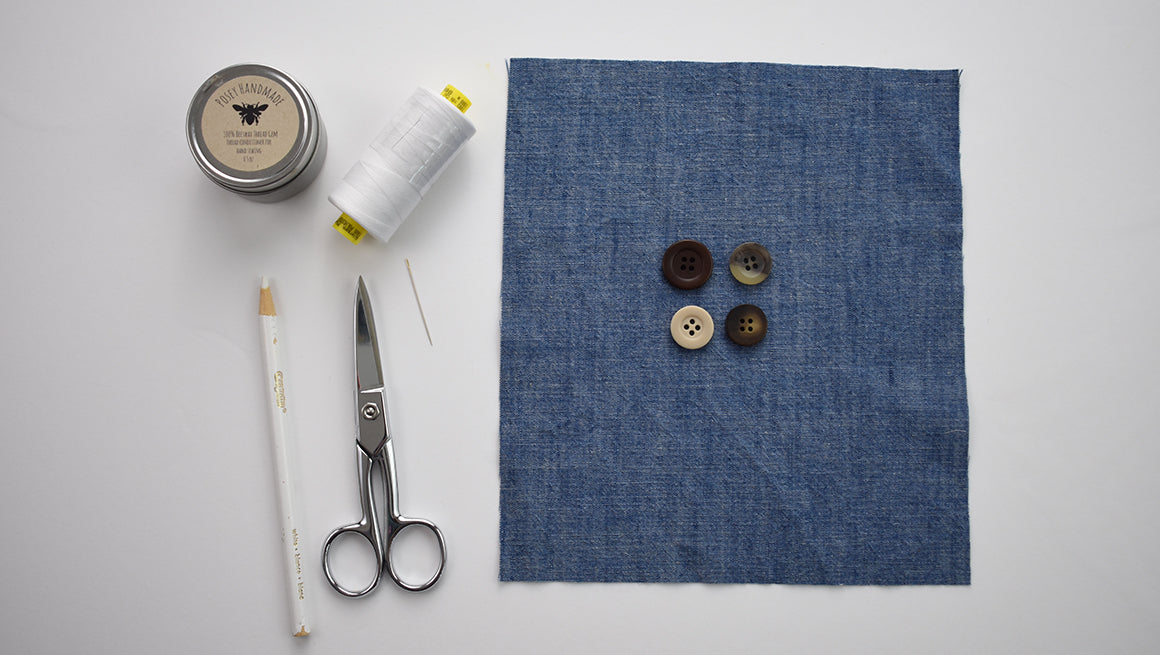
Before we begin, here's what you'll need:
- Fabric
- Needle
- Thread
- Thread Snips
- Buttons
- Marking Tool
- Tape or Glue Stick for matching sewing buttons
- Wax for conditioning thread is optional

ATTACHING A BUTTON BY HAND
To begin, you’ll cut approximately 24″ of thread and thread our needle.

- Tie a knot at the end of the thread, looping it through 2-3 times to secure.


- It is optional to pull the thread over wax to condition the thread and help to prevent knots.

- Mark your button placement.


- From the right side of the fabric, pull the thread to the back of the fabric and back up about 1/8" away from where you went into the back of the fabric in one motion.
- Pull the thread through to the right side of the fabric.


- Snip the ends of the thread tail close to the knot.

- About 1/8″ under the knotted thread, from the right side of the fabric, push the needle through to the wrong side of the fabric. Push the needle back up to the right side of the fabric about 1/8″ away and pull the thread to the right side of the fabric.
- This partial X will be a thread guide to show you where to put your needle into the fabric when you attach the button.


- Put the button onto the thread.
- Push the needle through the hole that is diagonal across from the hole you pushed the needle through.


- Push the needle through to the back of the fabric and come up to the front, using the partial thread X as a guide.
- Pull the needle to the right side of the fabric and tighten the thread as needed to pull the button toward the fabric.


- Bring the needle and thread up through the hole in the button.
- Repeat 3-4 times, pushing the needle and thread through the holes in the buttons and through the back of the fabric to secure the button.


- The reverse side should look neat since the thread is passing through the same spots and the knot to secure the thread is under the button on the right side of the fabric.


- On the next pass up to the right side of the fabric, bring the needle through one of the opposite holes that haven't yet been sewn.
- Repeat the steps to secure the other two holes, using the partial thread X as a guide.


- Create a small shank by winding the thread under the button a few times. If you are using a thicker fabric, wind the thread a few more times to make a larger shank. This will ensure that the fabric can fit under when the button is closed.

- To tie off the thread, wind it around the button but leave a loop of thread
- Pass the needle through the loop and pull it tightly to secure it.


- Repeat passing the needle through a thread loop at least one more time to secure the button.
- Trim the thread close to the button shank.


- The wrong side of your button should have a nice, clean finish.

ATTACHING A BUTTON BY MACHINE
Some machines have the option to attach buttons using a special button foot. To attach a button using your sewing machine, you'll need a glue stick or clear tape, your button, and the button attaching foot.

- Use a small swipe of glue to secure your button to the fabric. Alternatively, use a piece of clear tape over the button to keep it in place.

- Attach the button foot to the machine and lower the feed dogs. Your machine may have a lever on one side that raises and lowers the feed dogs.
- Lower the foot onto the button. The holes should be lined up just in front of the foot.


- Use the hand wheel to lower the needle into the first hole. Be sure that the needle enters the hole without scraping the edge of the button.
- Slowly turn the hand wheel again to move the needle to the other hole. You may need to adjust the width setting so that the needle enters the hole without touching the button.

- To create a bit of space between the button and the fabric, use a spare sewing machine needle to hold the thread up as the machine attaches the button.
- Gently push it between the button foot and the button and hold it up at an angle to keep the threads loose as the machine sews.


- Using your foot pedal, start sewing the button. The machine should stop automatically when it is finished.
- If your machine has a thread cutter do not use it. Pull the fabric away from the machine and cut the thread, leaving approximately 4" long tails.


- To sew the second set of holes, turn the fabric and lower the presser foot so that the remaining holes are lined up with the front of the foot.
- Repeat the process.

- There will be thread tails on the front and the back of the fabric.
- From the wrong side of the fabric, gently pull on the thread tails. Some of the front thread tails may begin to be pulled to the back and they will be looped around the back tails. Using a needle inside the loop, pull the tails to the back.


- If the front thread tails can't be pulled to the back, use a needle and thread to push them through to the wrong side of the fabric.
- Tie knots to secure the thread tails. Secure 2-3 times and trim thread tails.


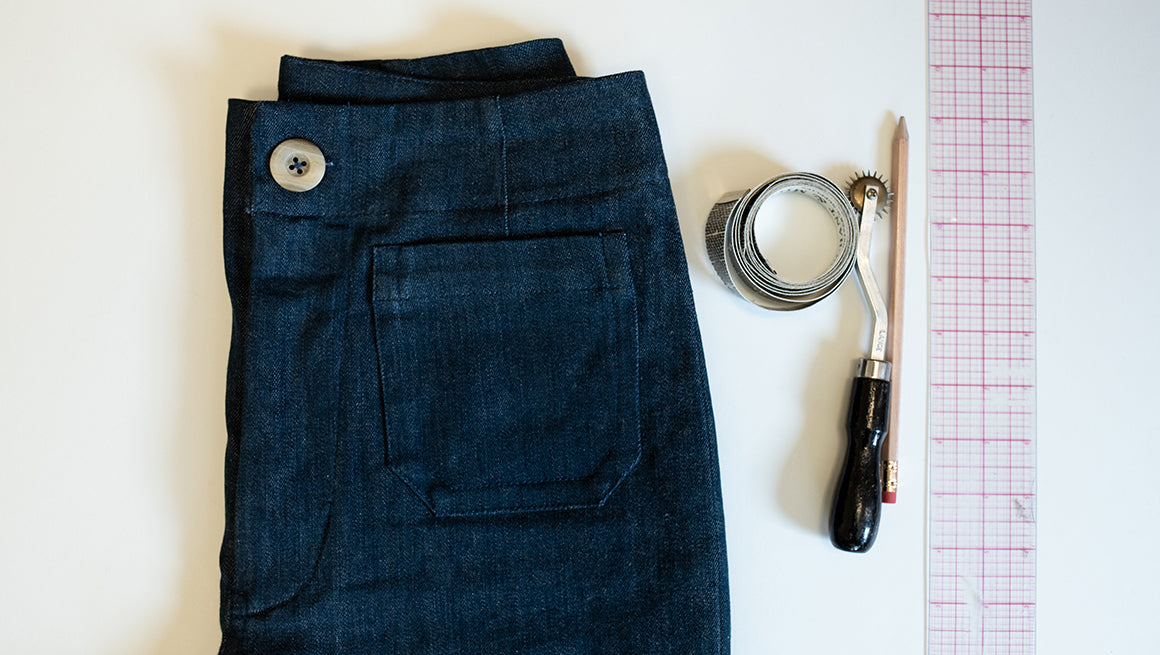
Here is the button after being sewn on by the machine.

We hope this tip was helpful!