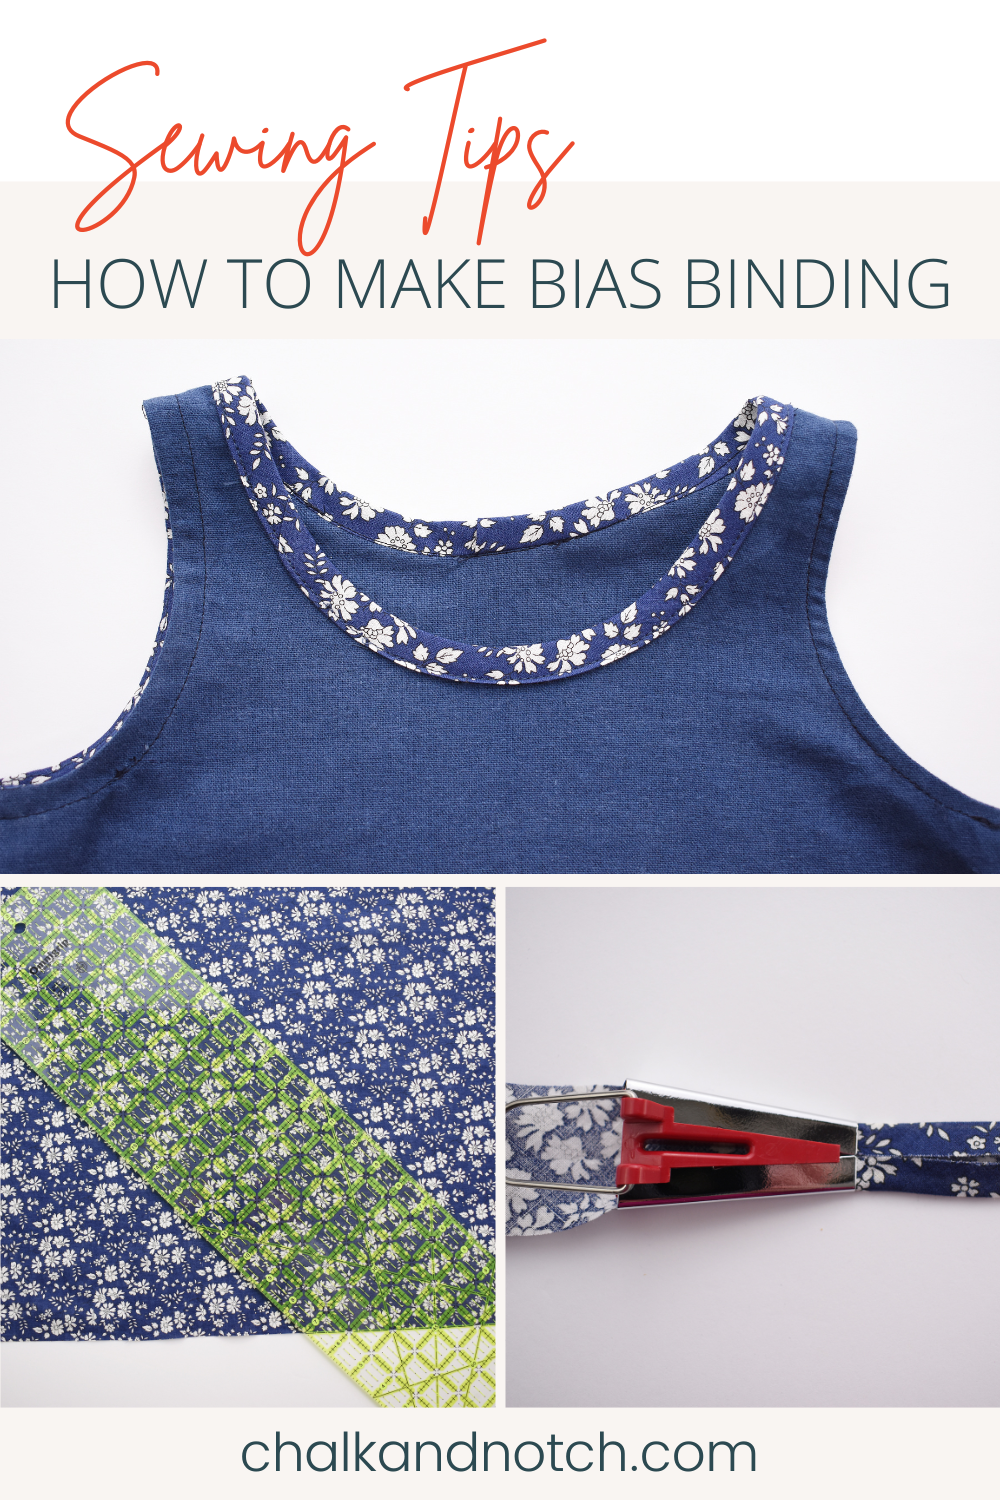
In today’s we are going to talk about finishing edges with bias tape or bias bindings. Bias is used to finish the front of the Orchid pattern and in the Farrah pattern but has so many other uses! This is a method that is used frequently in garment sewing to finish armholes, necklines, and other raw edges. We are going to begin by showing how to find the bias of your fabric. We’ll move on to cutting and joining bias strips to make your own bias tape. Then we’ll demonstrate three different ways to attach bias strips to your garment to give a clean finish to your edges.
GATHERING SUPPLIES
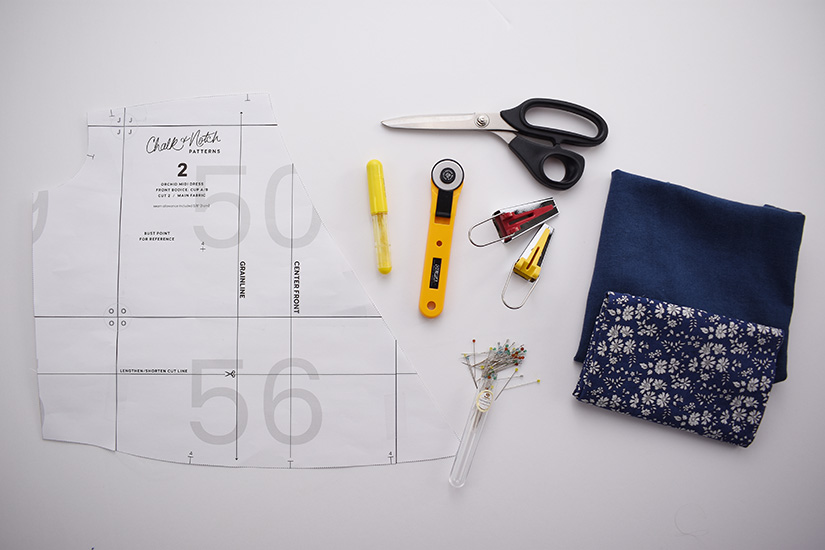
Before we begin, here’s what you’ll need:
- A sewing pattern that uses bias tape to finish an edge.
- Washed and pressed fabric.
- Tailor’s Chalk or a Washable Fabric Marker to mark your fabric. I love this chalk from Etsy.
- Pins
- Thread
- Scissors or Thread Snips
- Ruler
- Iron
- A Rotary Cutter and Mat are optional but very helpful!
- A Bias Tape maker is optional.
- Awl or Sewing Machine needle is optional if using a Bias Tape maker.
HOW TO FIND THE BIAS OF YOUR FABRIC
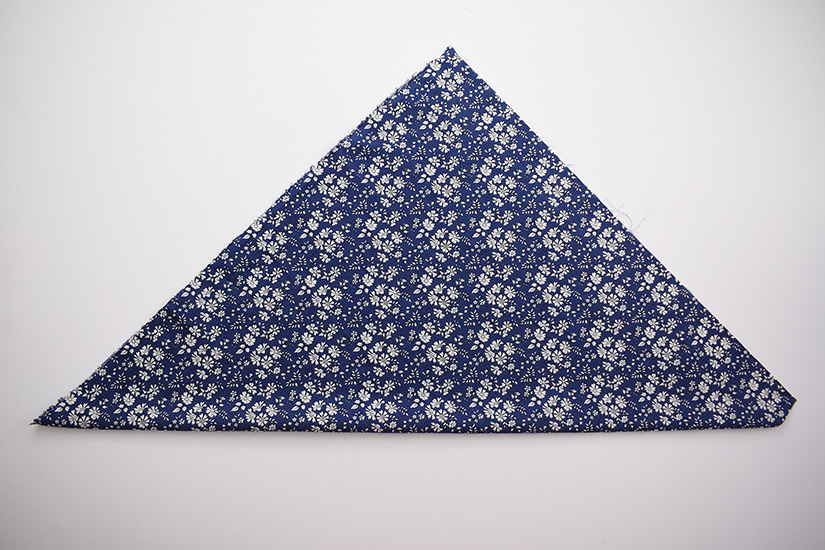
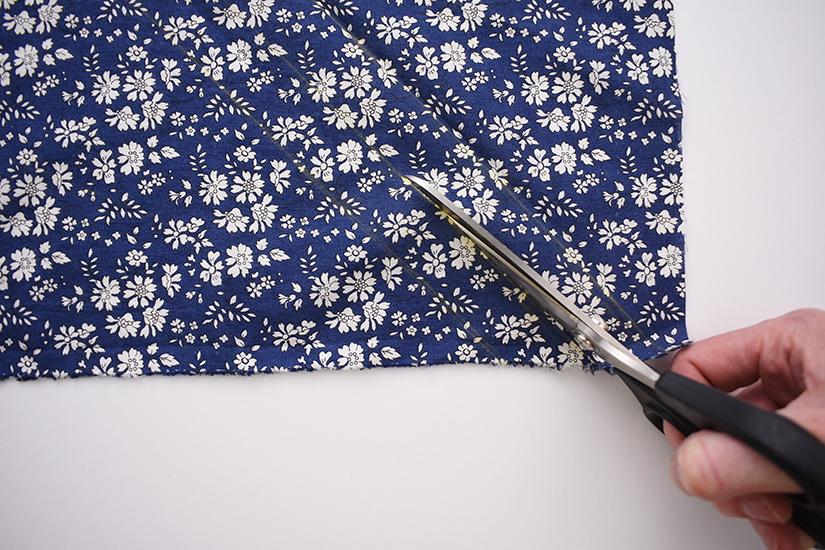
To begin, you’ll want to make sure you have a piece of fabric with two straight edges that are perpendicular to each other. There are a couple of ways to achieve this. First is to use a ruler to mark a line perpendicular to the selvage with tailor’s chalk and cut along that line. Another way to do this is to cut a snip into your fabric at the selvage and rip the fabric along the grain.
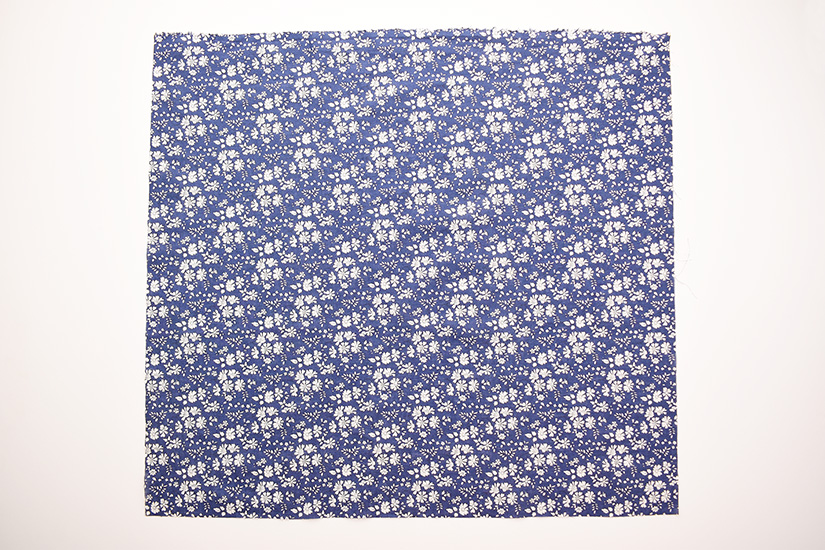
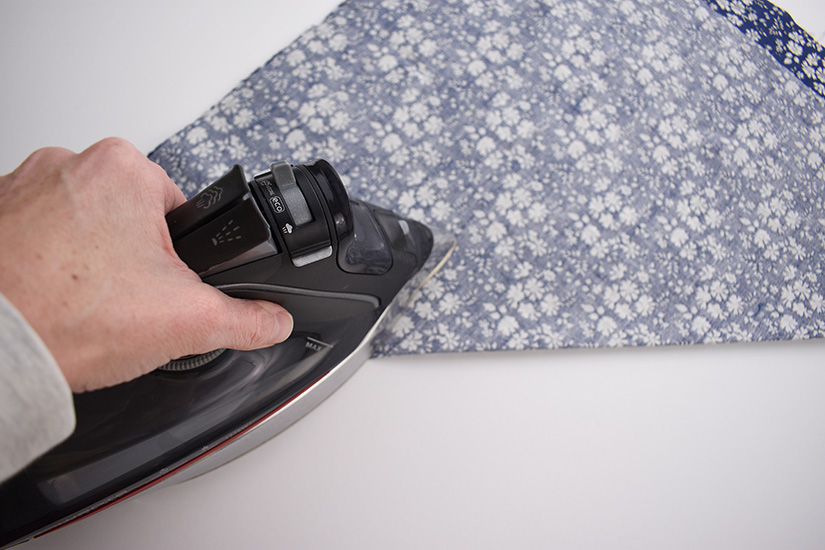
- When you have two straight, perpendicular edges fold the fabric diagonally, matching the edges, and press a crease in the fabric. That crease falls in bias of the fabric.
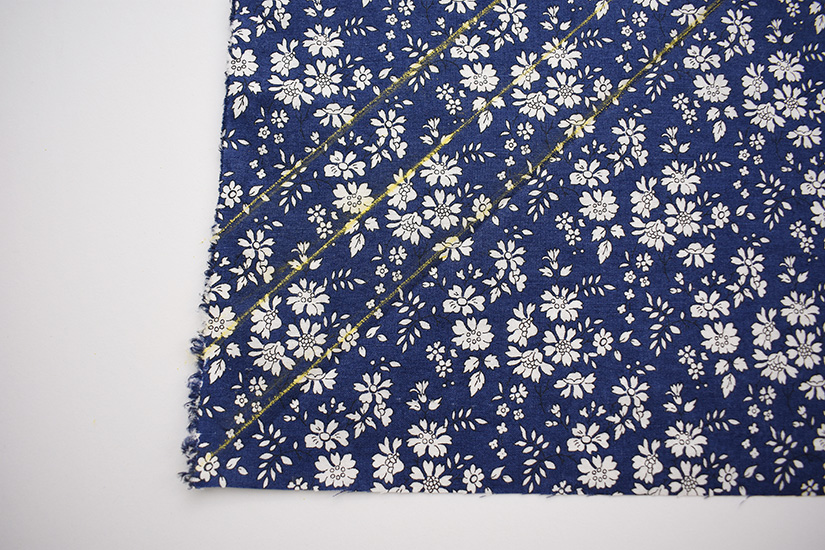
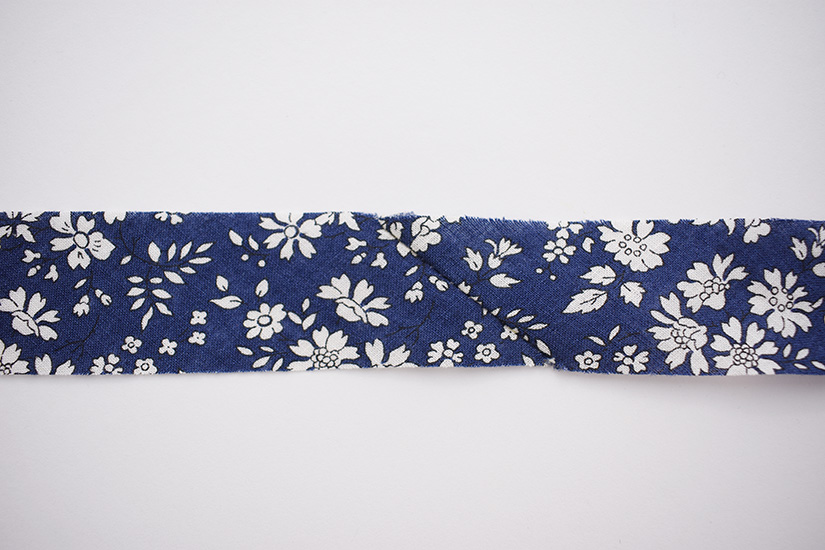
- Using a ruler and tailor’s chalk, mark a line in the crease and additional lines parallel to the crease that will become your bias strips. Common widths for bias strips are 1″, 1.25″, 1.5″, 1.75″, and 2″.
- Once the lines are marked, use scissors to cut your strips.
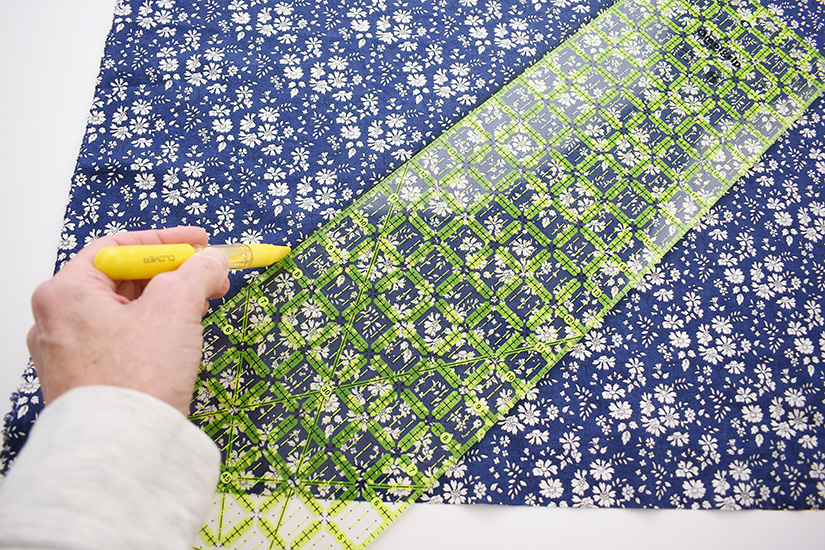
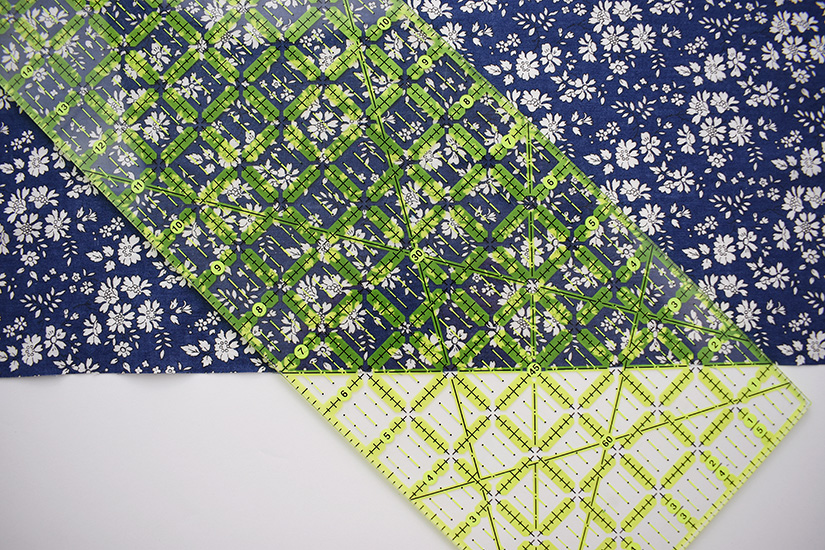
- Another method to find the bias is to use a quilter’s ruler, which has various angles marked on it.
- Line up the 45-degree line with one of the straight edges of your fabric and the ruler will be at the correct angle to cut strips.
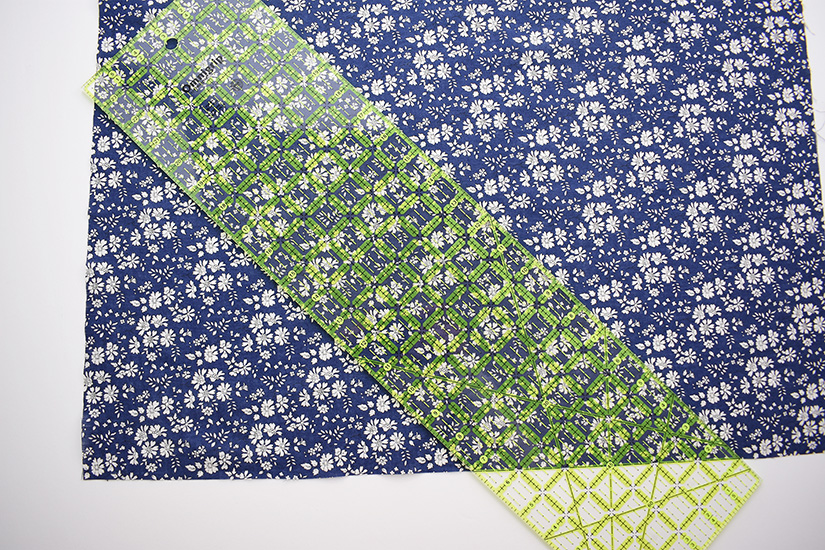
- Line up a rotary cutter with the edge of your ruler and use it to cut strips that are as wide as you need for your pattern.
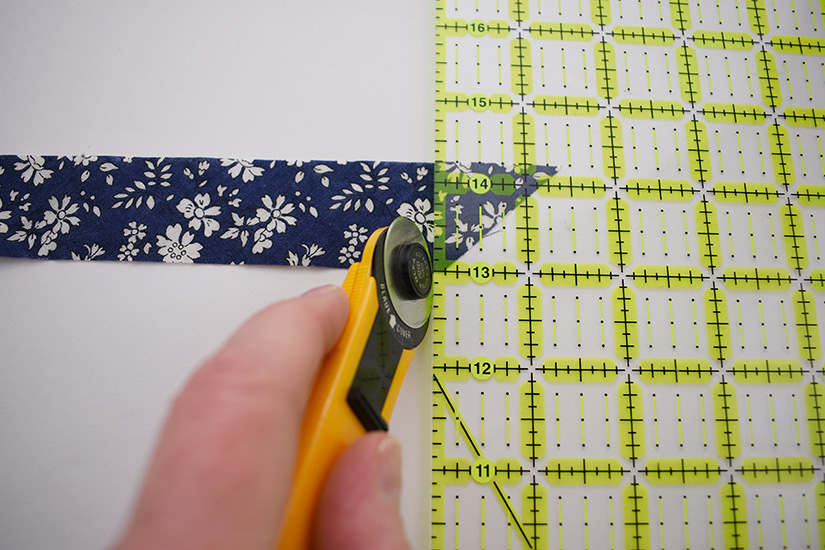
- The ends of the strips will have diagonal edges. Use a ruler and rotary cutter, or scissors to square off the ends of the strips.

JOINING BIAS STRIPS
Once you’ve cut your strips you can join them together to make bias tape that is as long as you need for your project.
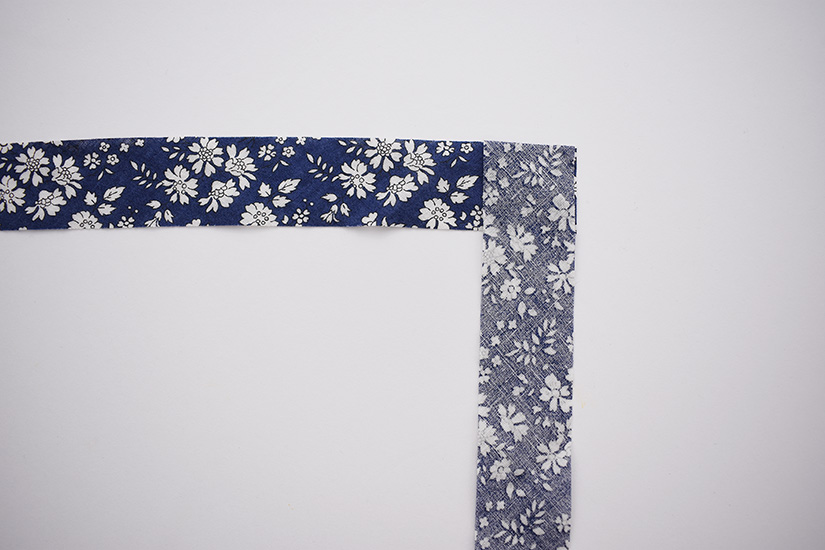
- Set the first strip down with the right side facing up.
- Place the second strip perpendicular to the first strip at one of the short, cut edges, with the right side of the fabric facing down.
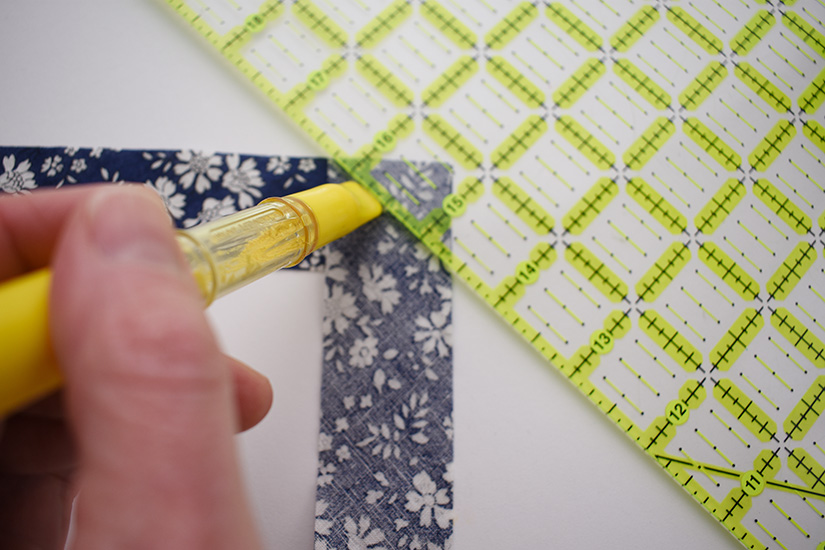
- Use a ruler and tailor’s chalk to draw a diagonal line through the intersection of the two bias strips.
- Pin the strips together.
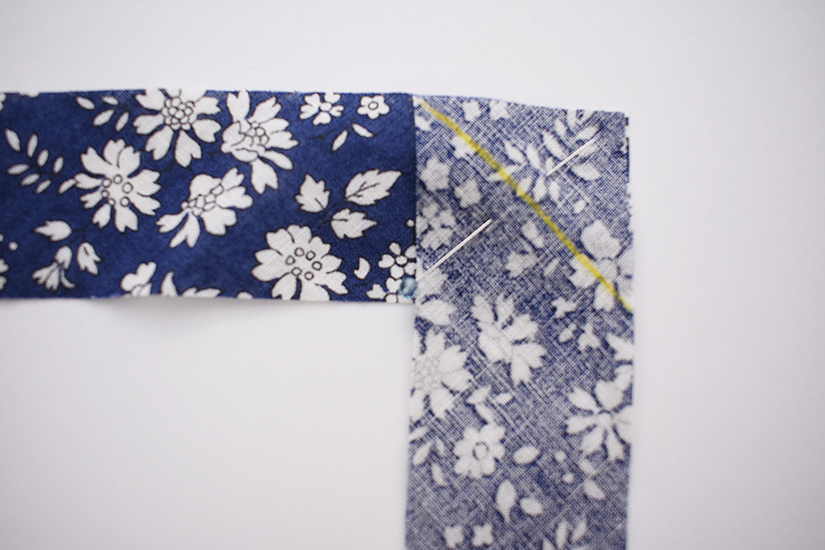
- Sew the strips. Trim the seam allowance and press it to one side.
- Repeat until your bias tape is the length you need.

PRESSING FOLDS INTO BIAS STRIPS
Here are two easy ways to press your bias strips into double-fold bias tape. One uses just an iron and the other uses a handy bias tape maker.
PRESSING FOLDS WITH AN IRON
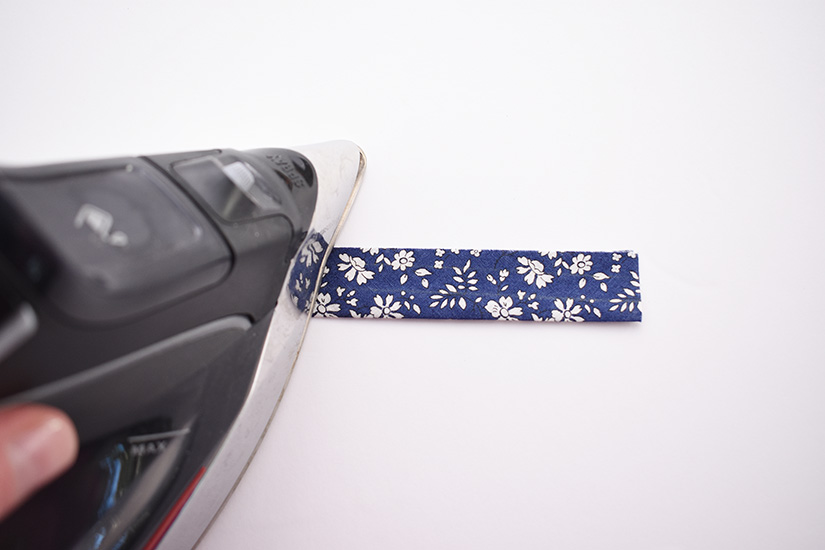
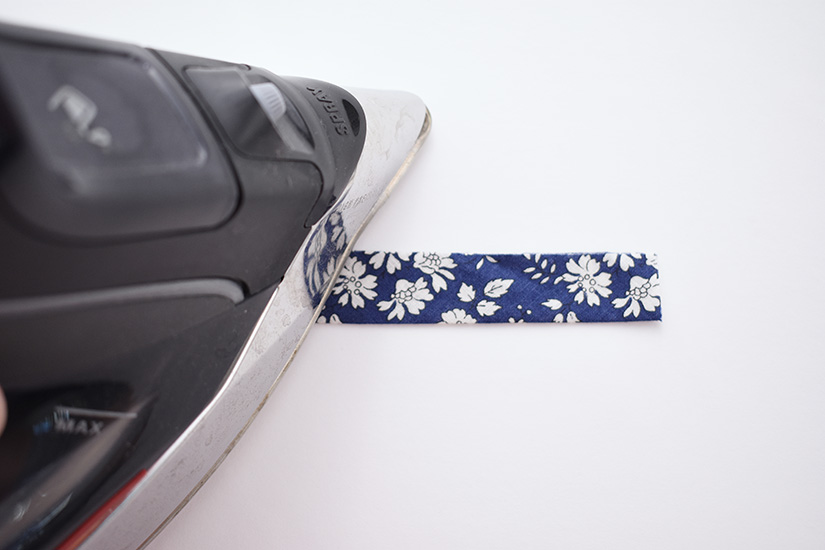
- Press your bias tape in half down the length of the strips, wrong sides together.
- Fold one edge in to meet the center crease and press.
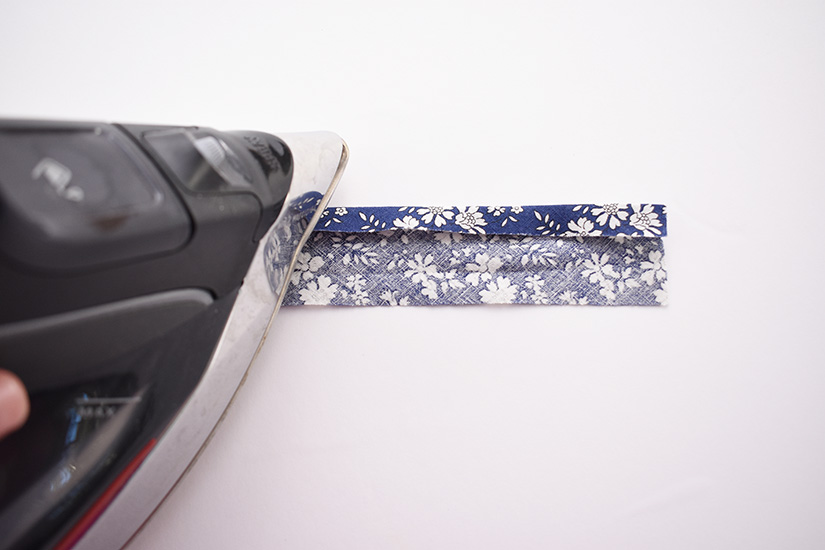
- Fold the other edge in to meet the center crease and press.
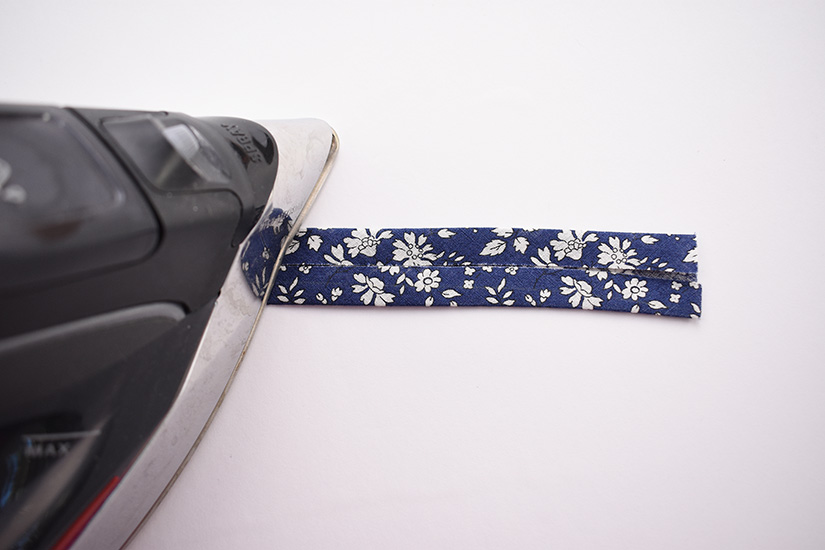
- Press again down the center crease.
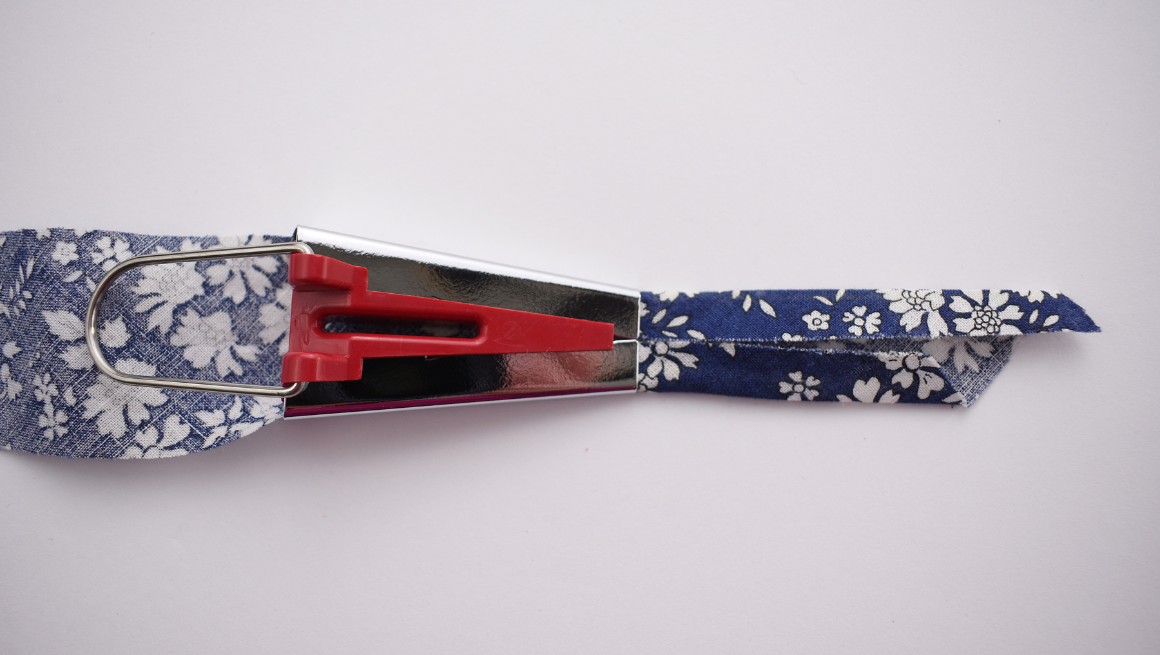
PRESSING FOLDS USING A BIAS TAPE MAKER
For this method, you will need a bias tape maker and a thin tool with a point on the end, like an awl or even a sewing machine needle.
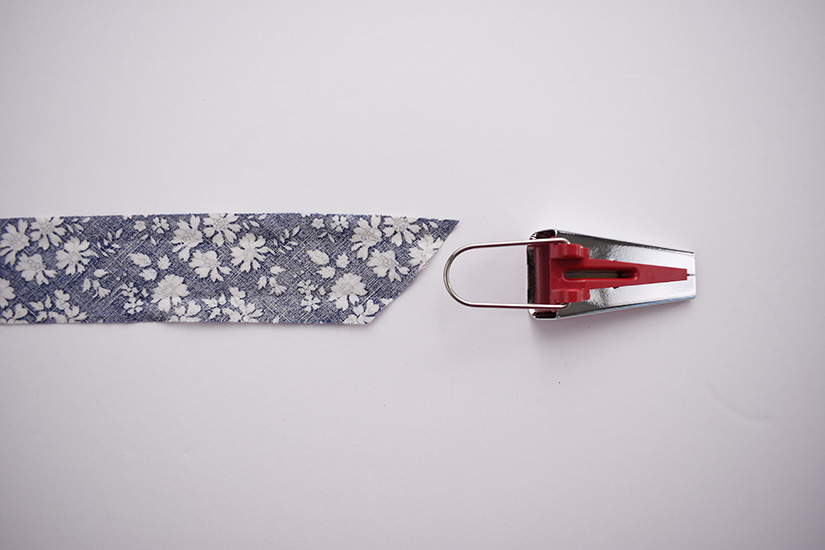
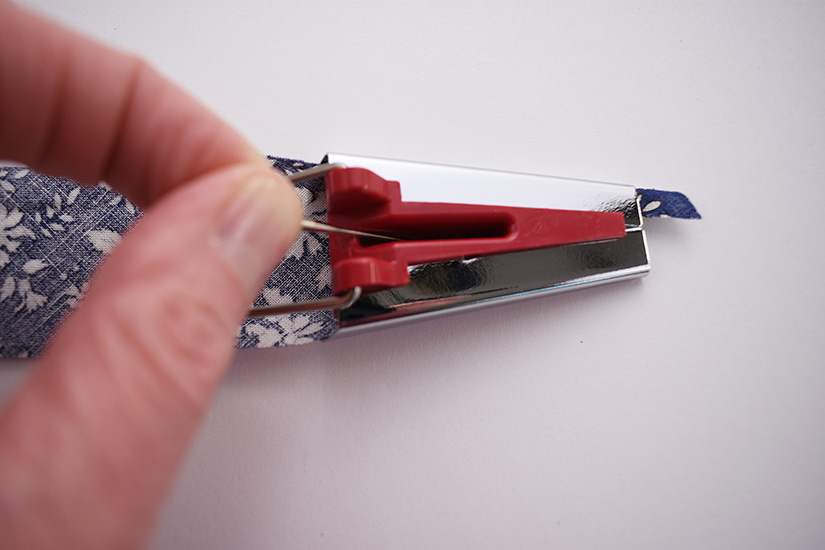
- Feed the bias tape into the bias tape maker. It can be tricky to feed the strip through with a squared-off edge. Cutting one end into a diagonal point makes this process much easier.
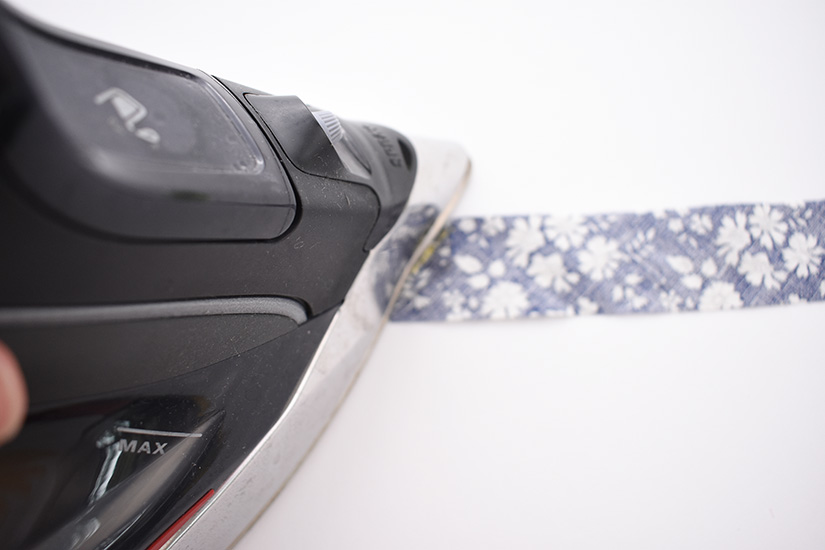
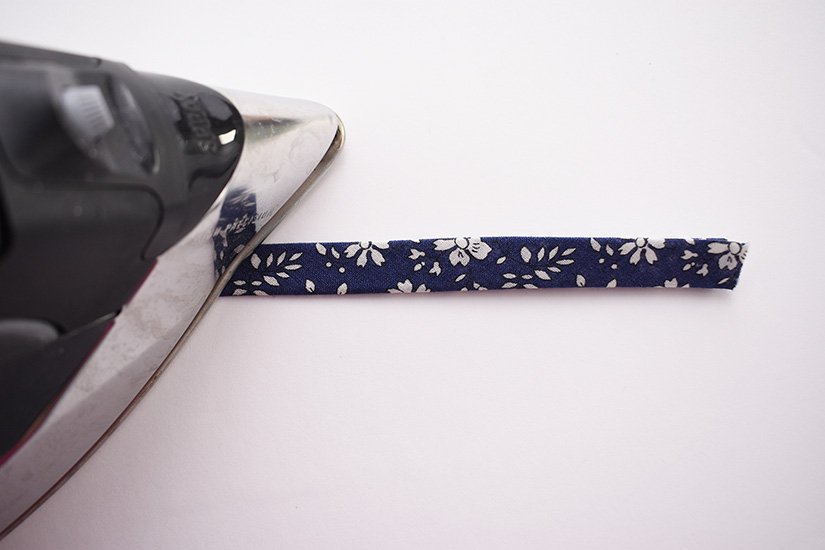
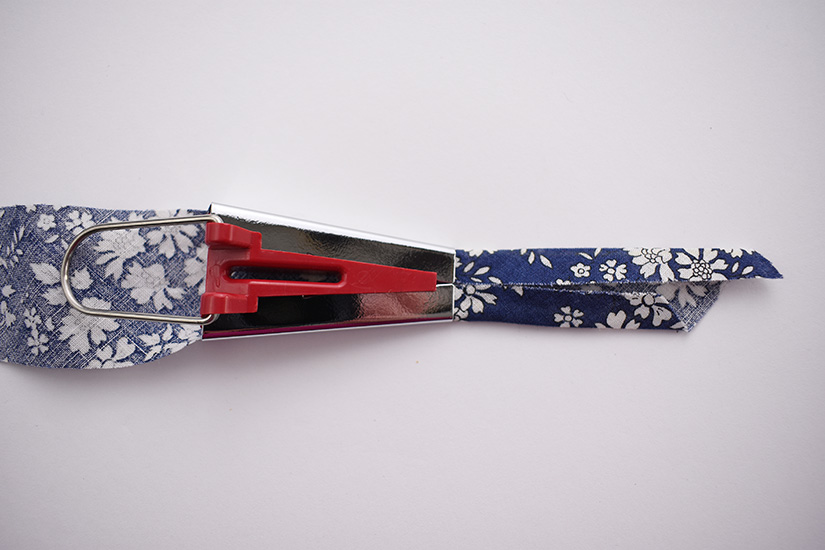
- Press as you pull the bias tape maker down the length of the bias tape.
- Fold in half, lengthwise, and press.
ATTACHING BIAS BINDING: THREE WAYS
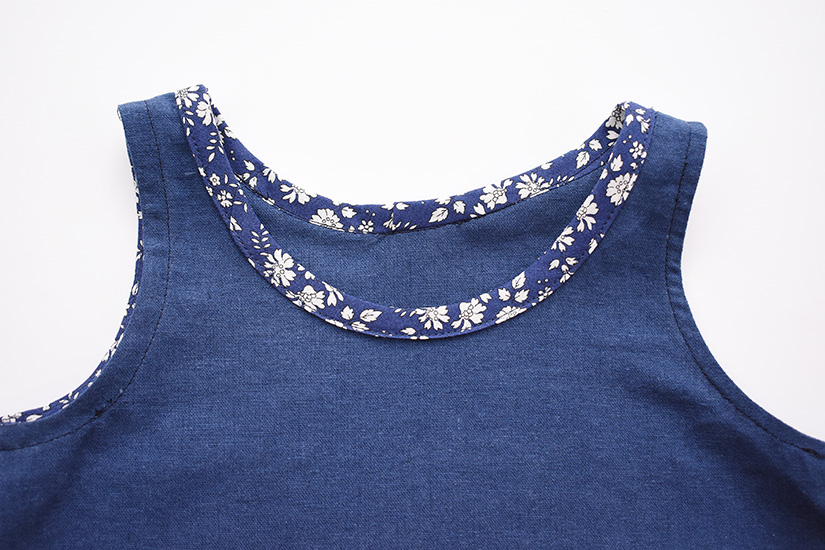
INVISIBLE BIAS BINDING
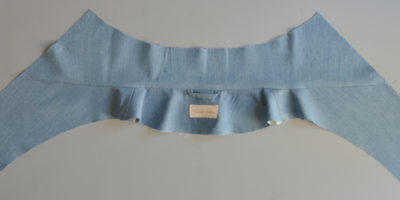
This method is the one that is used to finish the front bodice pieces of the Orchid Midi dress. It is very common and does not require that the bias tape be pressed into folds before it is sewn to the fabric. Bias strips are typically cut to 1.25″ wide for this method, and sewn to the garment with a 3/8″ seam allowance.
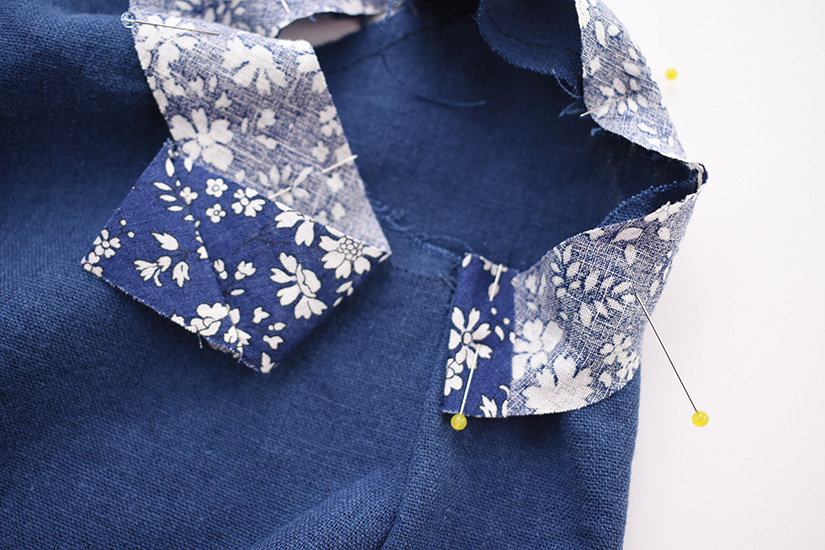
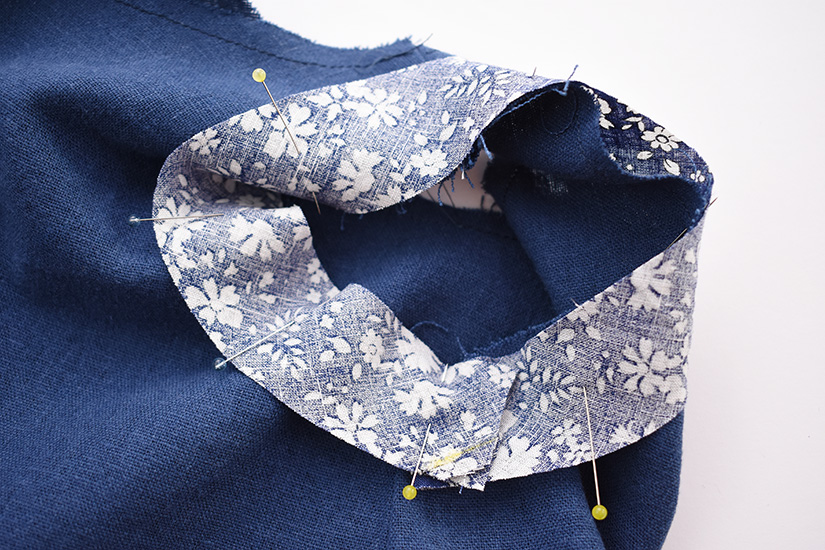
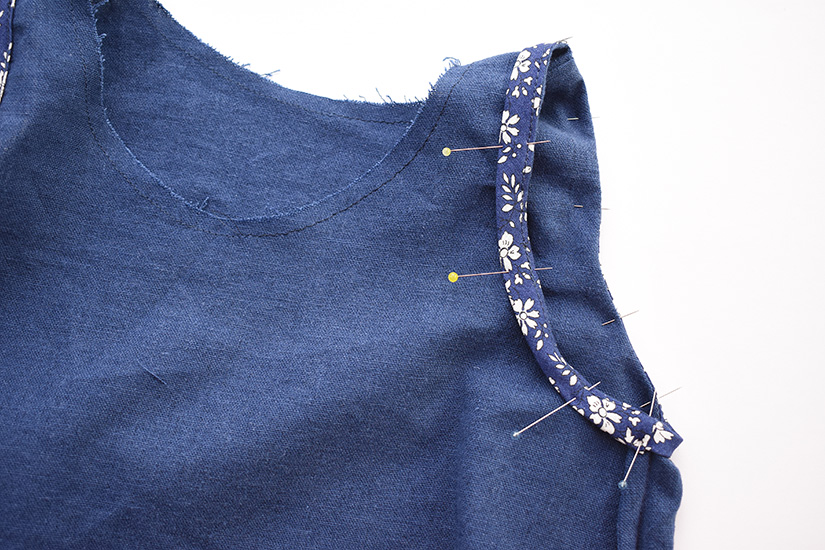
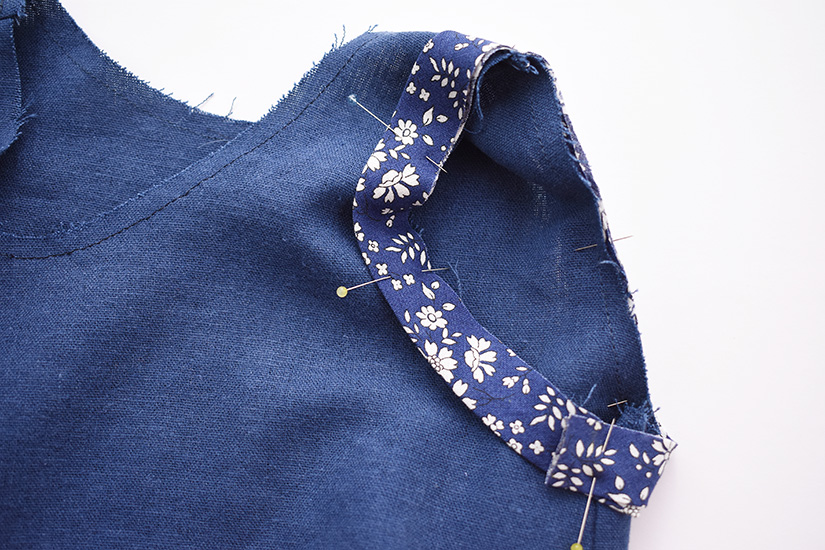
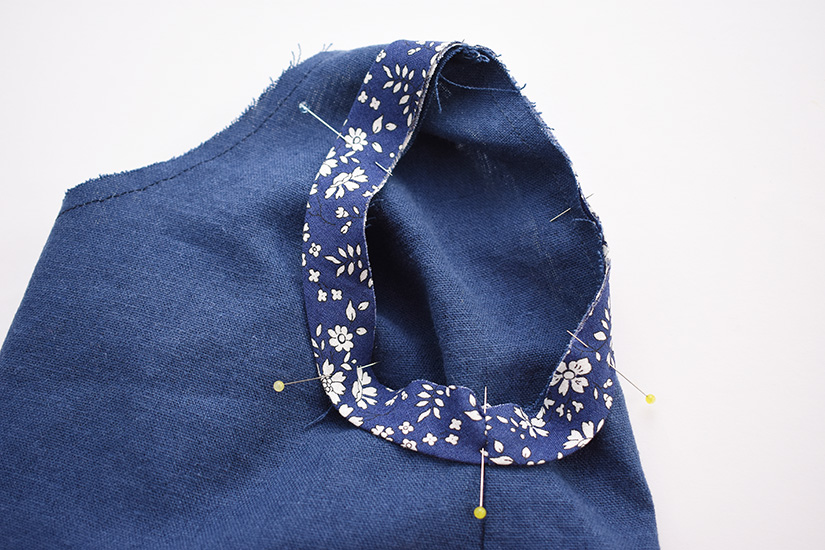
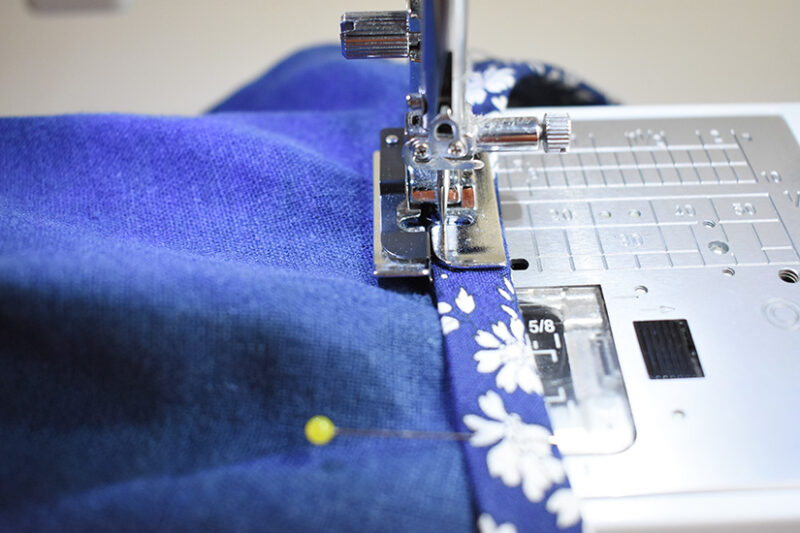
- Begin by pining the bias strip to the fabric with right sides together.
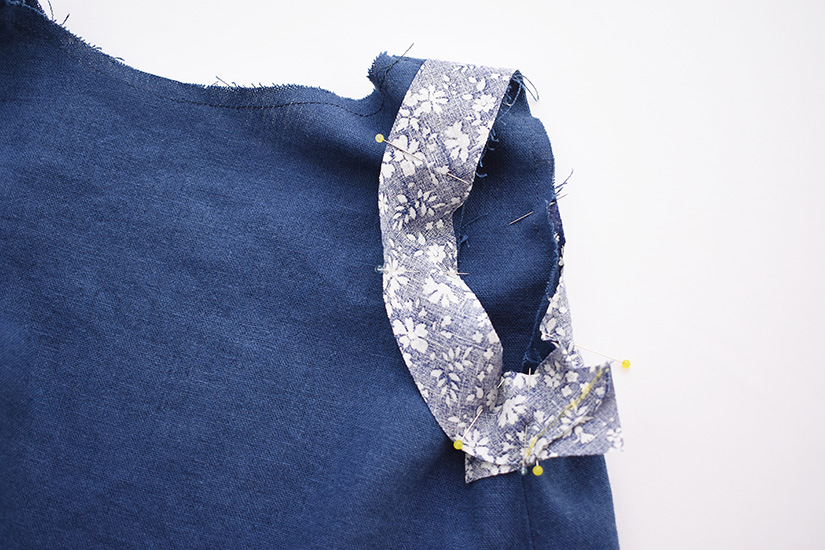
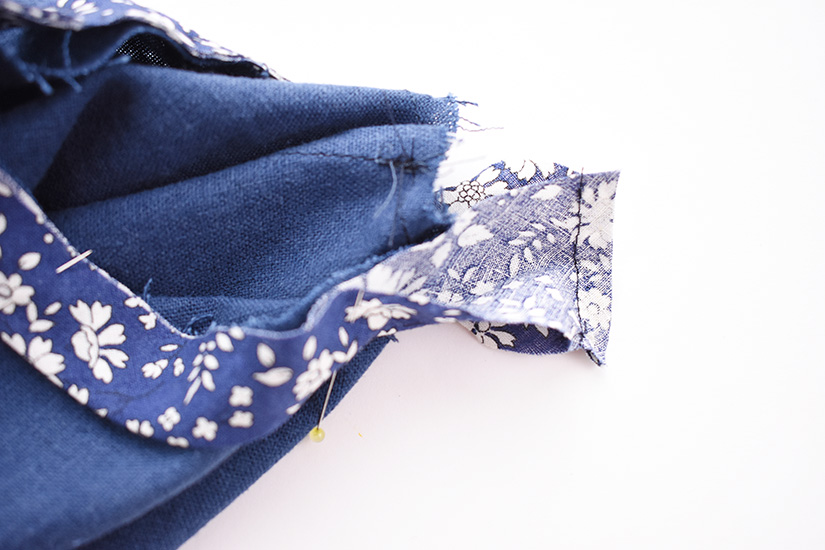
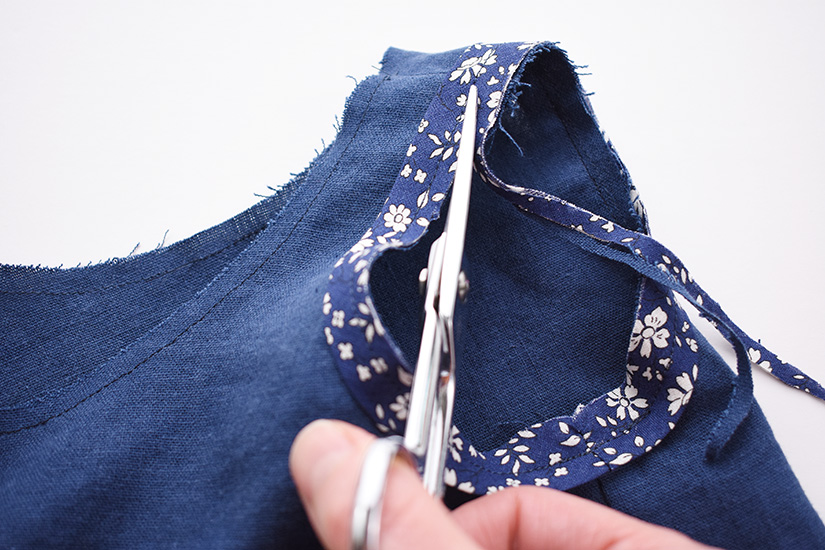
- If you are attaching your bias strips in the round, for a neckline or an armscye, fold one raw edge with the wrong side of the fabric together and pin it to the fabric. Pin the other end to overlap this fold by at least 1/2″ and trim any excess length.
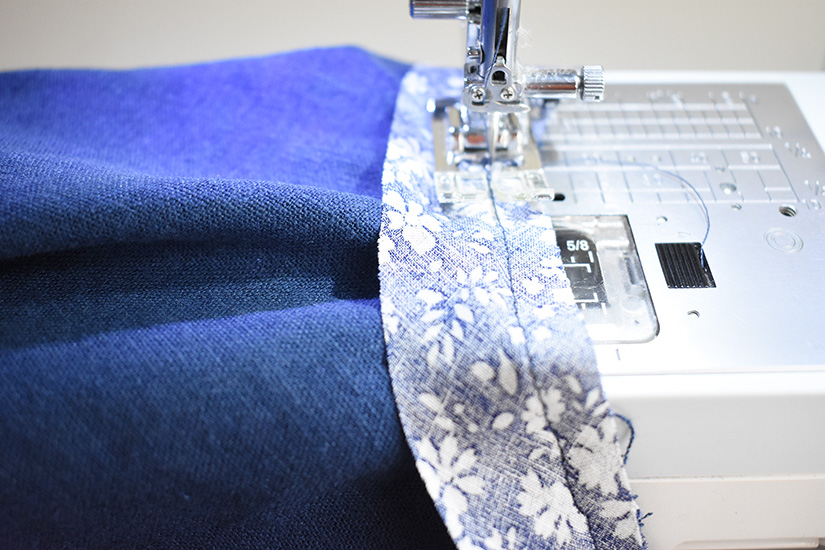
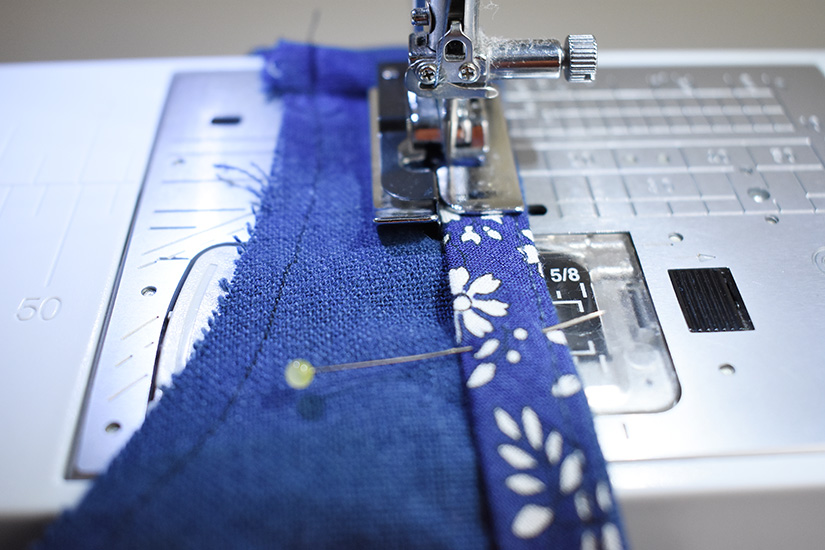
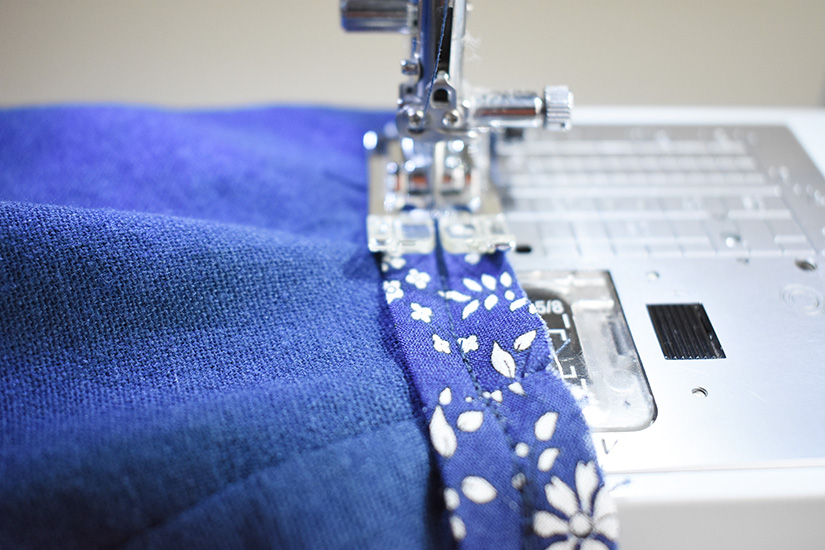
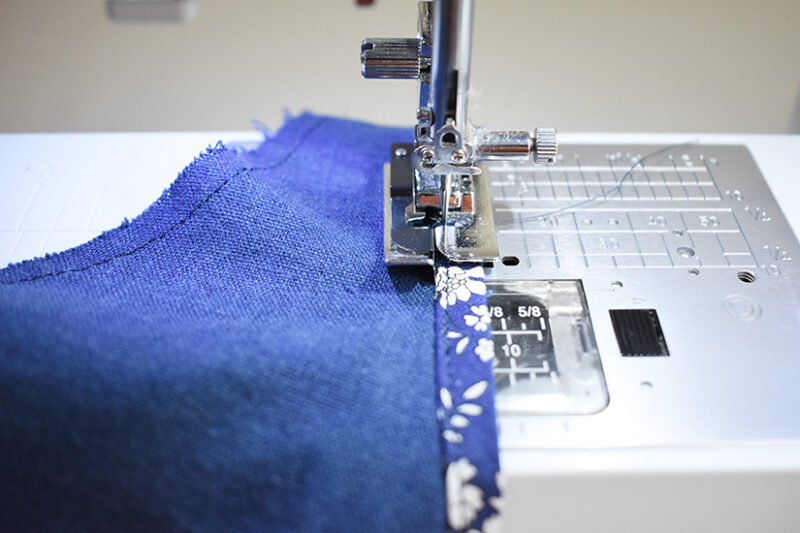
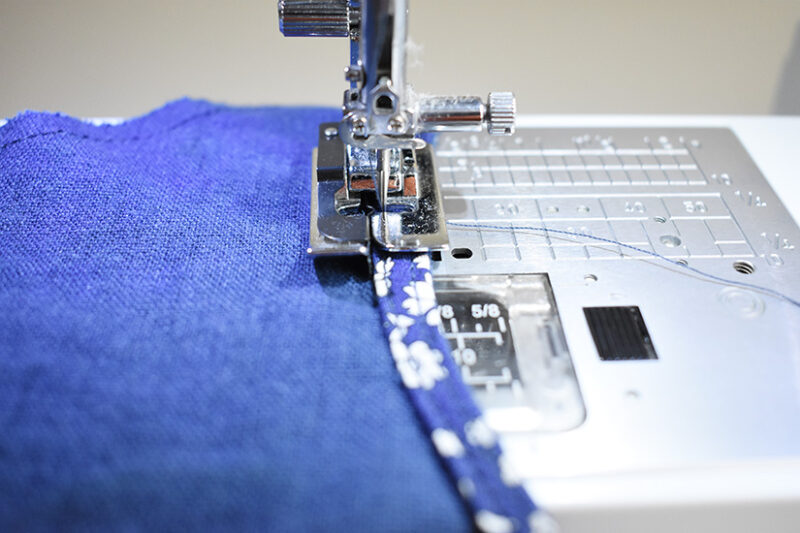
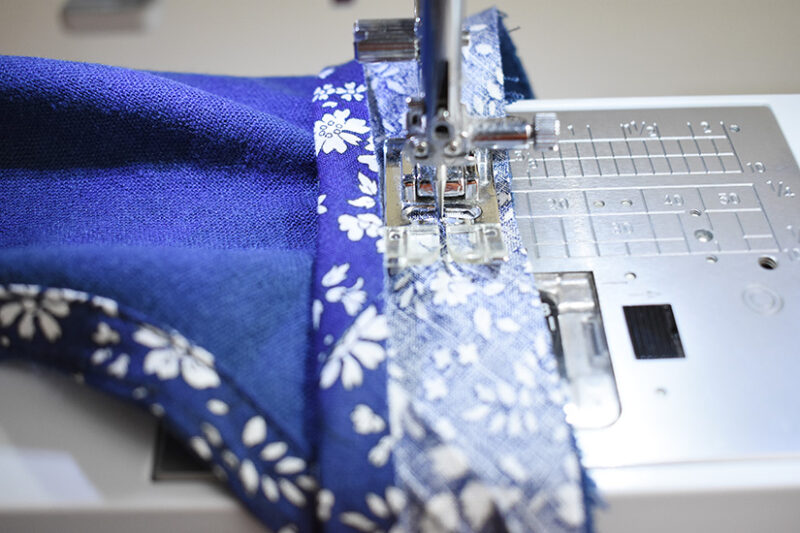
- Sew at 3/8″ seam allowance.
- Trim the seam allowance to half the width to reduce bulk.
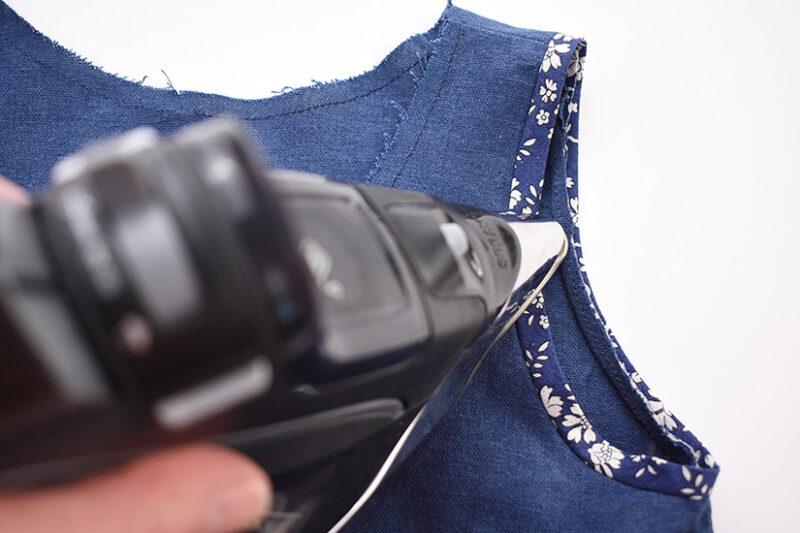
- Press the bias toward the seam allowance.
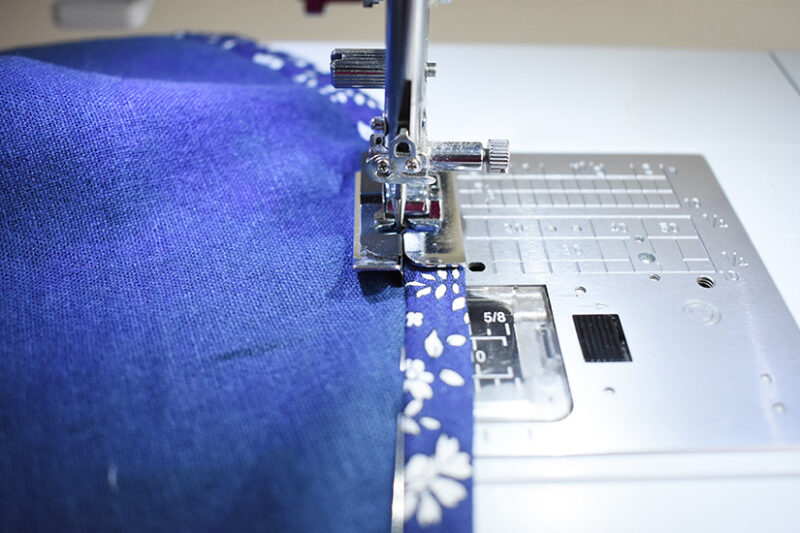
- Understitch the bias close to the seam line. Be sure to catch the seam allowance in your stitching.

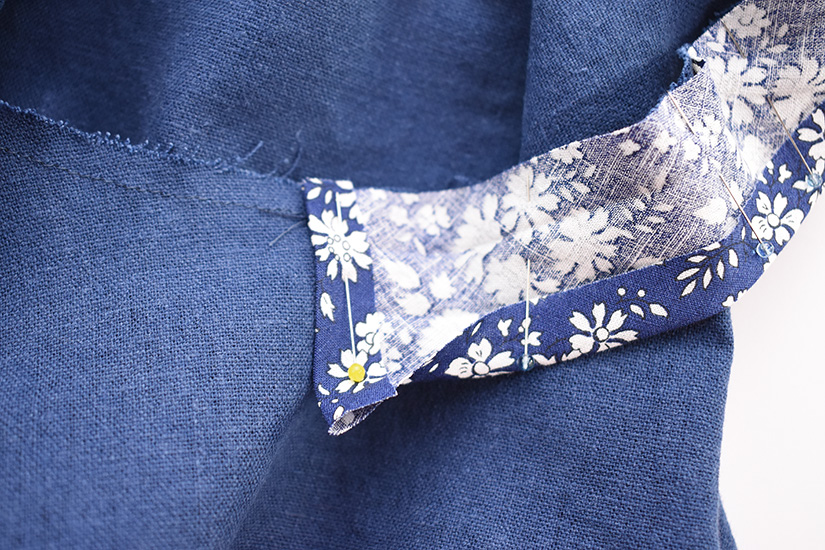
- Fold and press the other bias edge so that it meets the stitch line.
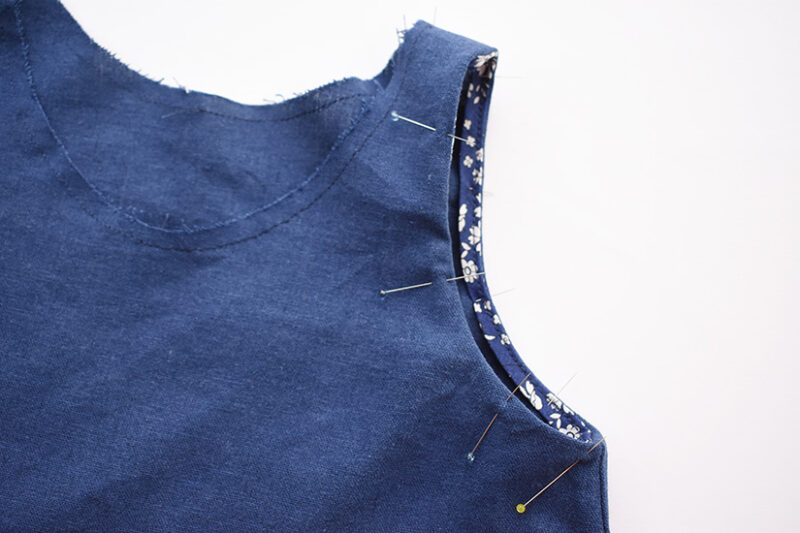
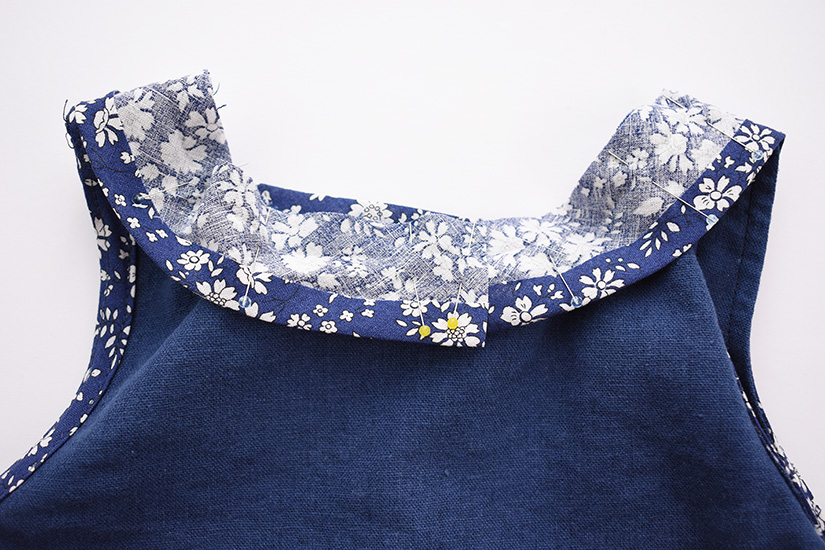
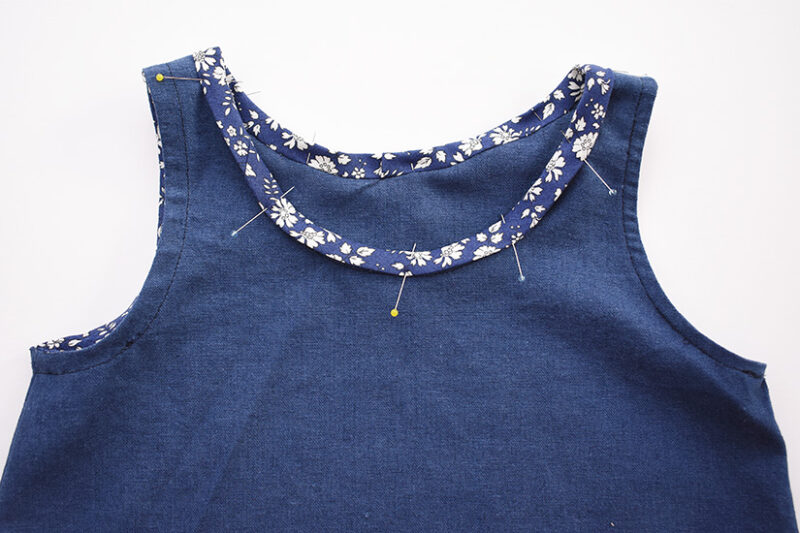
- Fold the bias again so that it’s now on the inside of the fabric. Pin in place.
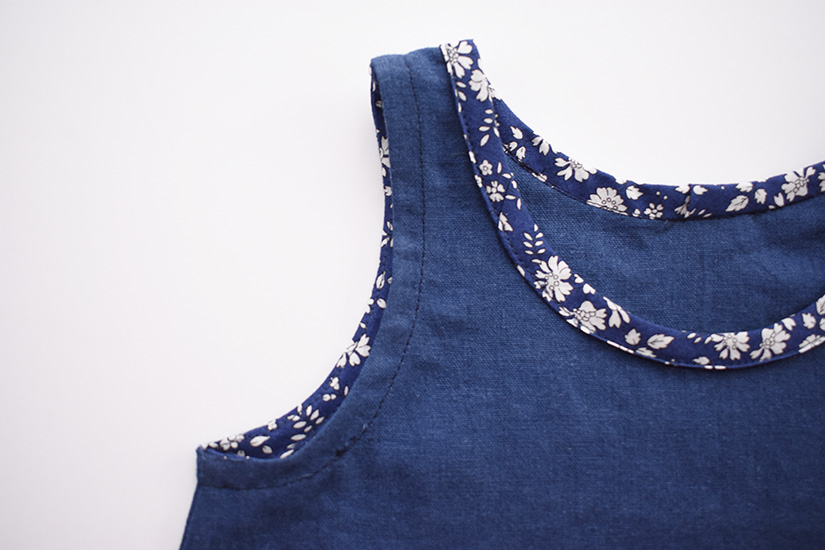
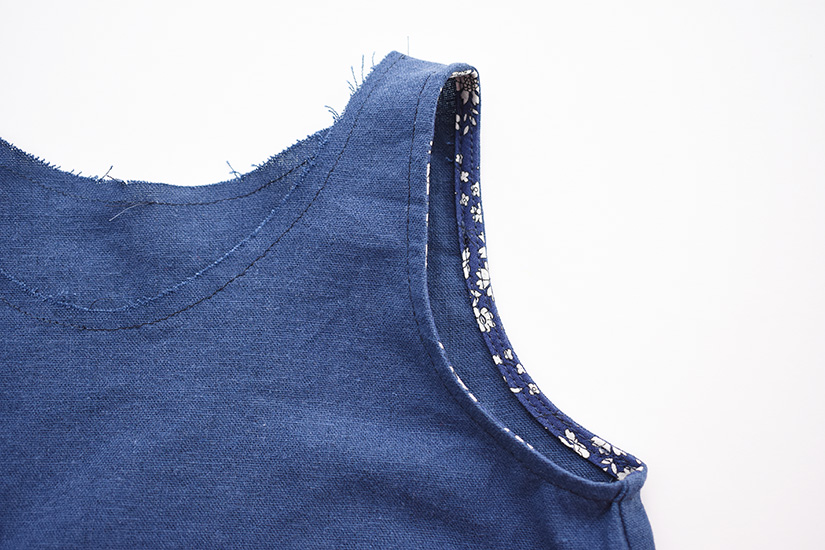
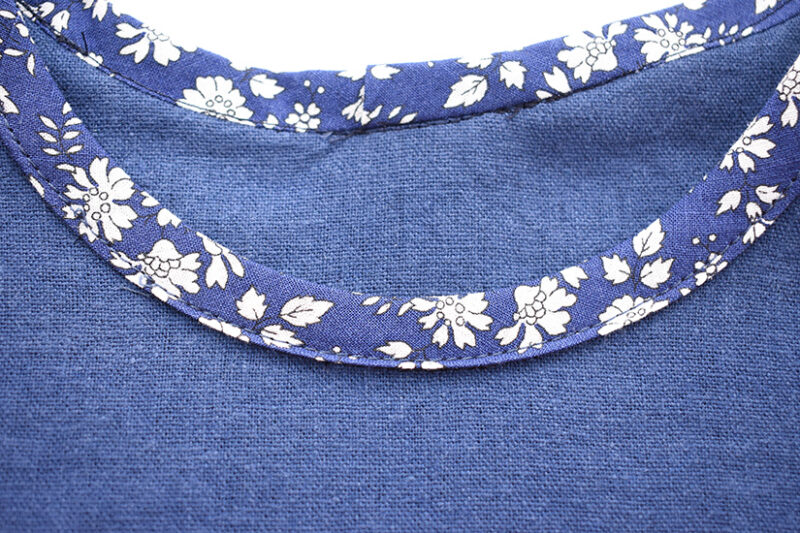
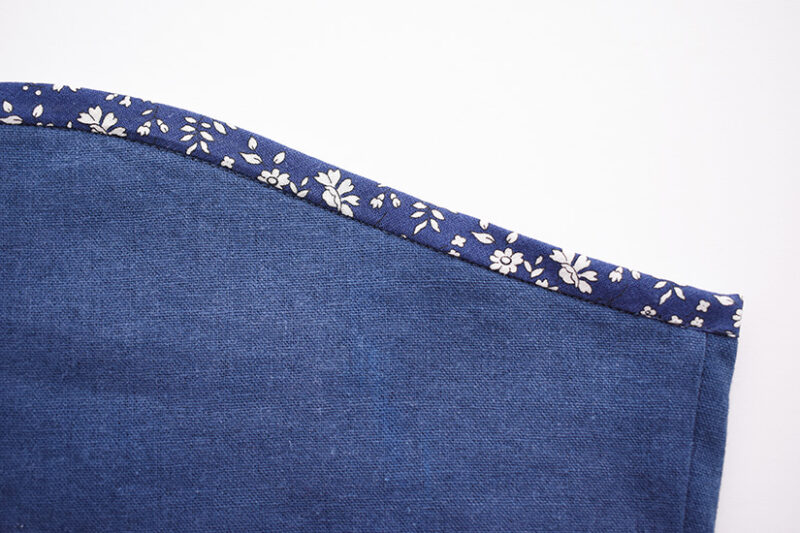
- Edgestitch the bias from the inside. Be sure your bobbin thread matches your fabric since it will be visible from the outside of the garment!
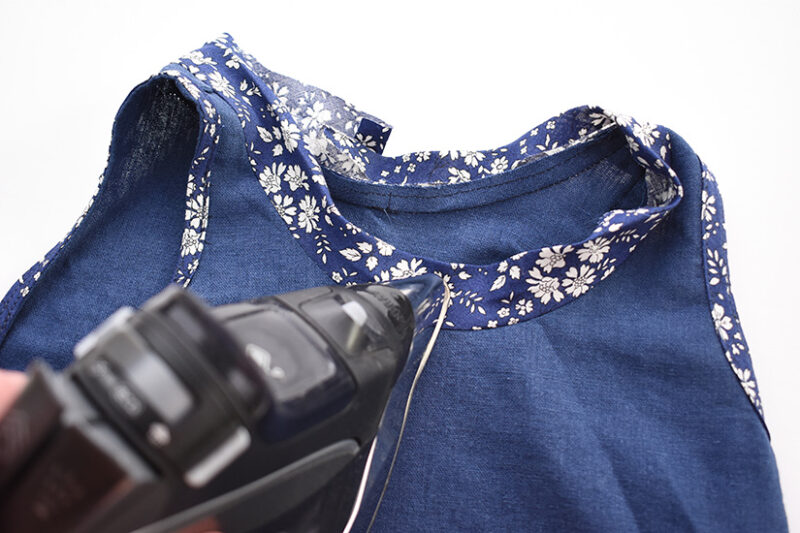
- Press the bias binding.
FRENCH BIAS BINDING
French bias binding is similar to the invisible method, but the bias tape is folded and pressed in half before being attached to the fabric. Strips are usually cut at 1.5″ or 1.75″ wide for this method.
- Fold the bias tape in half, lengthwise, with the wrong sides together, and press.
- Pin the raw edges of the bias tape to the raw edge of the fabric.
- If you are attaching the bias binding in the round, overlap the ends by about 1″ on each end.
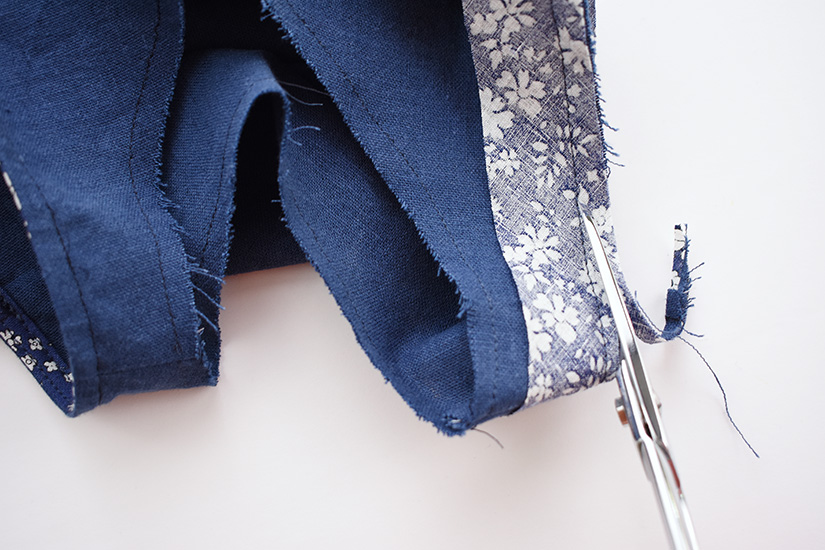
- Mark where the two pieces overlap and measure 1/2″ seam allowance. Mark with tailor’s chalk and trim the excess.
- Sew the seam and trim the seam allowance in half.

- Press the seam allowance to one side and fold the bias tape closed.
- Finish pinning the circle of bias to the opening.
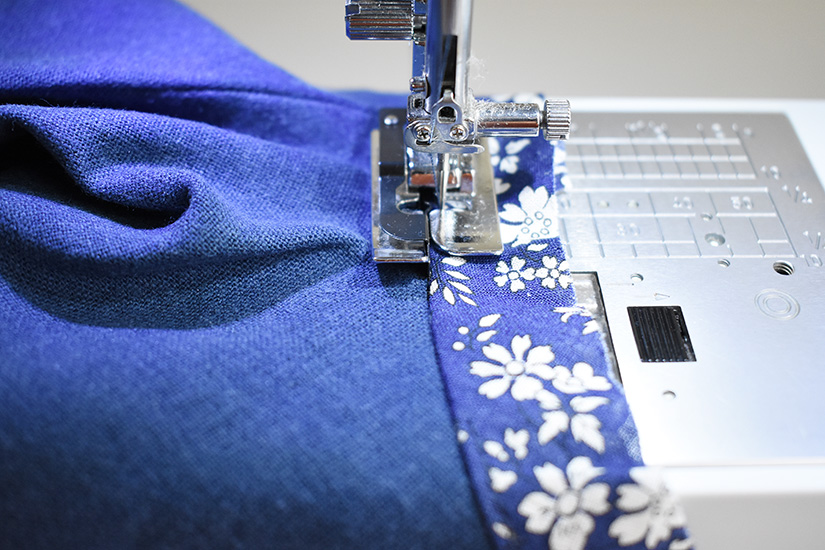
- Sew at 3/8″ seam allowance.
- Trim the seam allowance to half the width to reduce bulk.
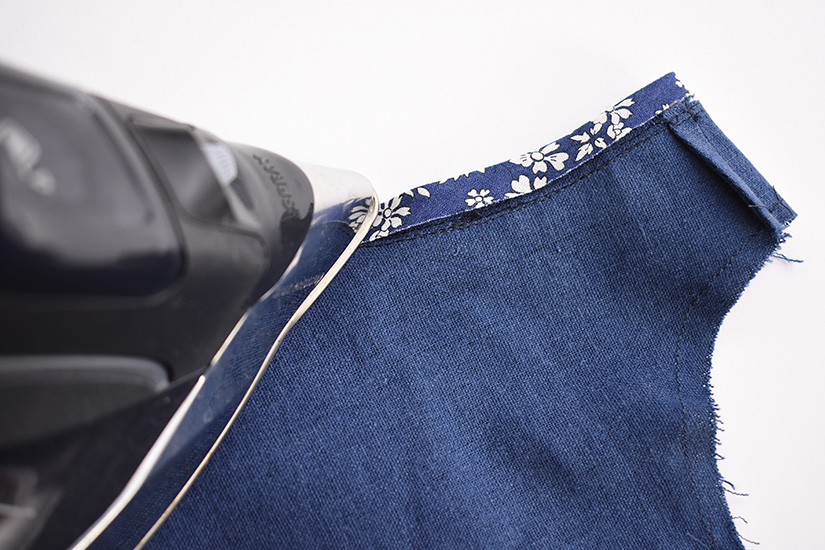
- Press the bias toward the seam allowance.
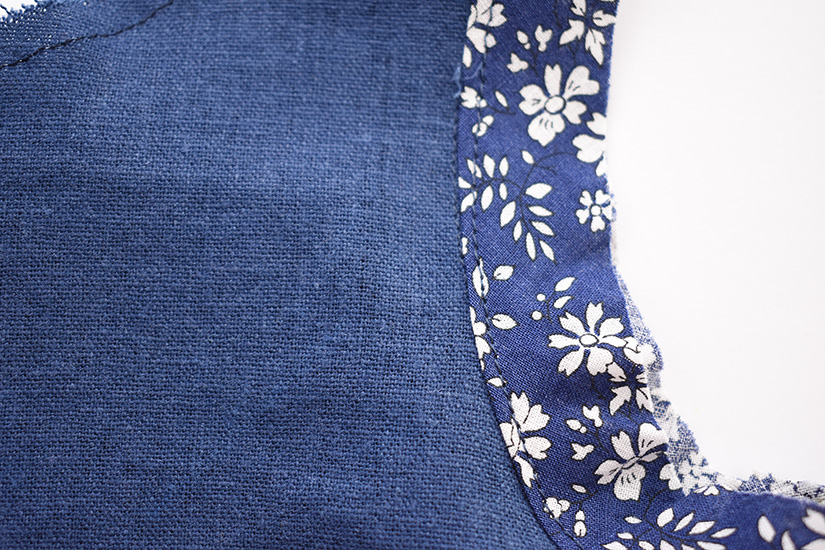
- Understitch the bias close to the seam line. Be sure to catch the seam allowance in your stitching.
- Fold the bias to the inside of your garment. Pin in place.
- Edgestitch the bias from the inside. Be sure your bobbin thread matches your fabric since it will be visible from the outside of the garment!
- Press your bias bound edge.
VISIBLE BIAS BINDING
This last method of applying bias tape results in a visible binding around the edge of your fabric. It uses double-fold bias tape and can be sewn two ways. One results in visible topstitching on the outside of the garment, and the other uses stitch in the ditch for an invisibly stitched finish.
- To begin, fold one of the short raw edges of the bias tape 3/8″ with the wrong sides together. (If you would like to sew the two raw edges together to form a ring of bias tape, see the method detailed in the French bias binding section of the post.)
- Pin the bias tape around the fabric, overlapping the other end by at least 1/2″ and trimming off any excess. For the method with visible topstitching, pin the bias to the wrong side of the fabric. To attach the bias without visible topstitching, pin the bias to the right side of the fabric.
- Sew in the first fold of the bias. In this example, the bias tape is 2″ wide, and the folds are 1/2″ apart.
- Press the bias over the seam allowance.
- Fold the bias tape over the top of the seam allowance and to the outside or inside of your fabric, depending on which method you are using. The bias will fold over the seam allowance and cover the stitching line. You may need to trim the seam allowance slightly if it doesn’t cover the seam allowance when folded over the top.
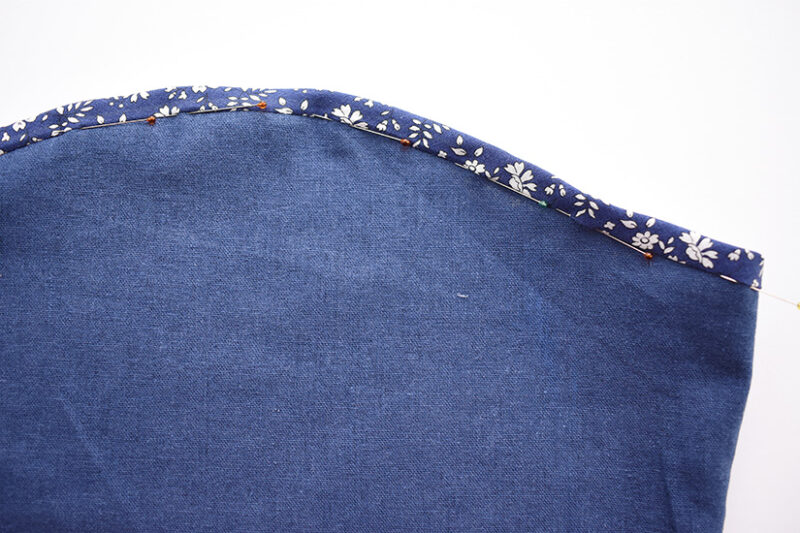
- Pin in place. If you are attaching the bias with invisible stitching, we recommend pinning with the stitch line, and not perpendicularly. This will help to ensure that the bias is caught in the stitch line when we sew from the right side of the fabric.
- For the method with visible topstitching, you’ll edgestitch the bias from the right side of the fabric.
- For the method with invisible stitching, you’ll stitch in the ditch or in the stitch line where the bias is attached to the main fabric, catching the edge of the bias on the inside of the fabric.
- Give your bound edge a final press.
We hope this sewing tip was helpful and that you feel ready to finish your edges like a pro!
