Adding grommets is an optional way to finish the openings for the drawstrings on the Page Hoodie and the Joy Jacket. Buttonholes are another option if you don’t have grommets. Be sure to follow the instructions included with your grommets, but here is a tutorial to help insert them. While this tutorial was created with the Page Hoodie in mind, you can use these steps to insert grommets into the Joy Jacket or to any of your handmade garments.
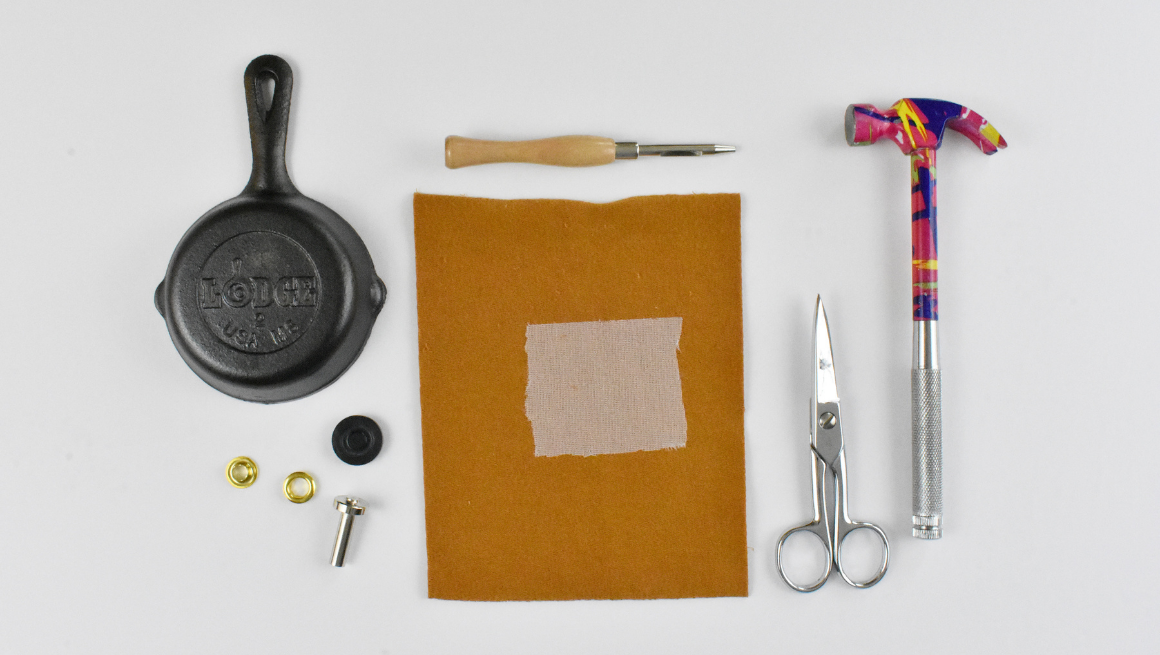
These are the supplies that will make installing grommets easier. You’ll need scissors, grommets/setting tools (we use this eyelet set from Wawak), a hammer, a small hole punch, and a sturdy surface such as a piece of wood, a book, a small metal block, or a cast-iron skillet.
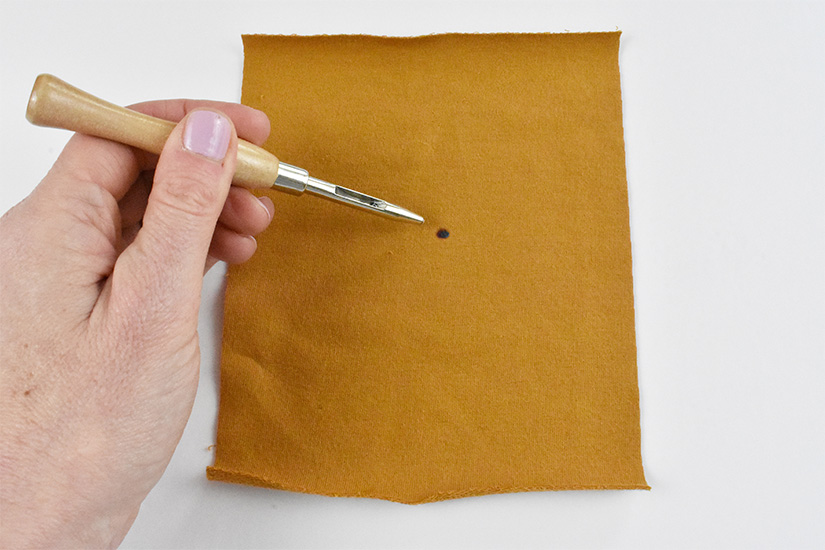
Begin by marking the location of the grommet.
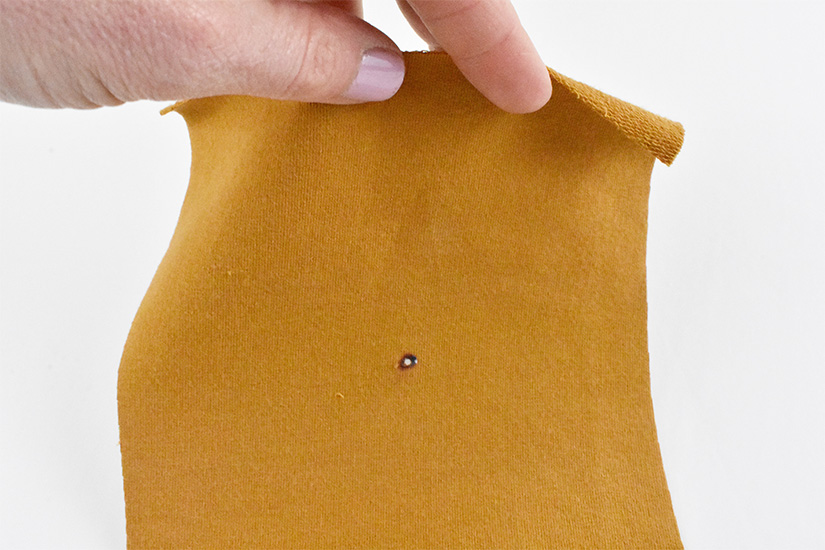
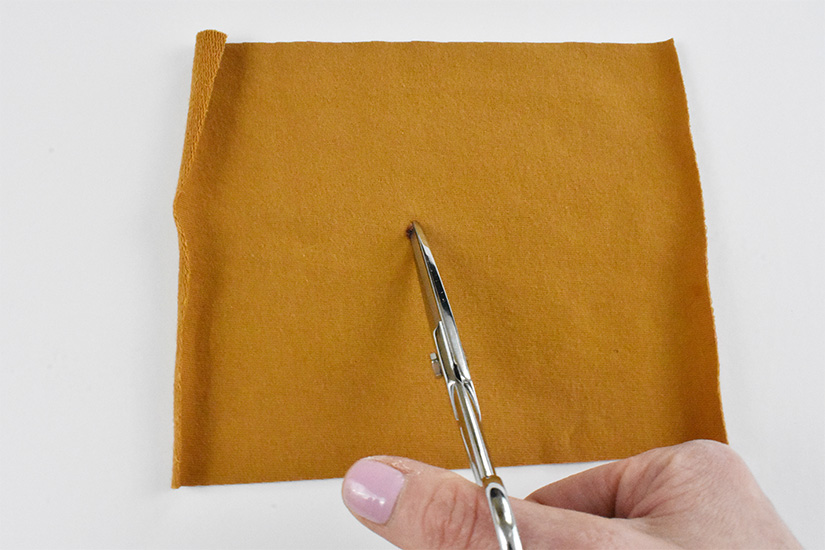
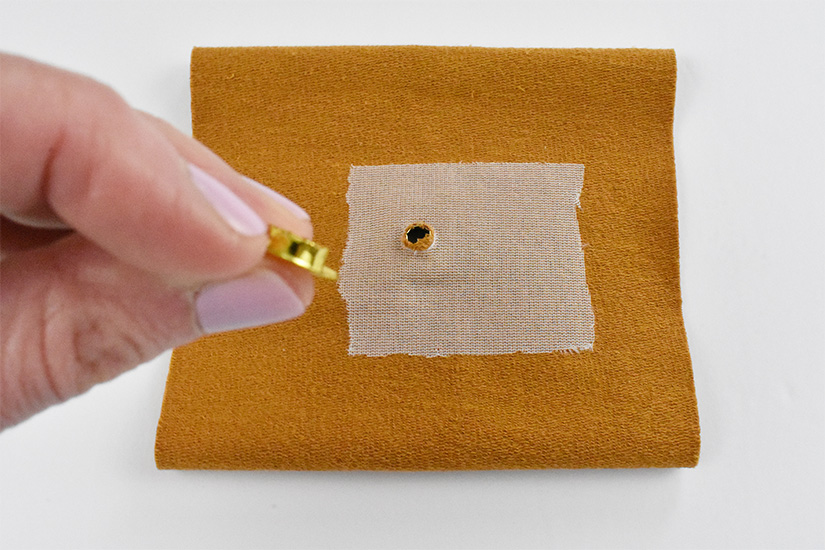
Using a hole punch or scissors, cut a small hole on your marking. It is better to start smaller and make small snips with scissors to widen it, if needed.
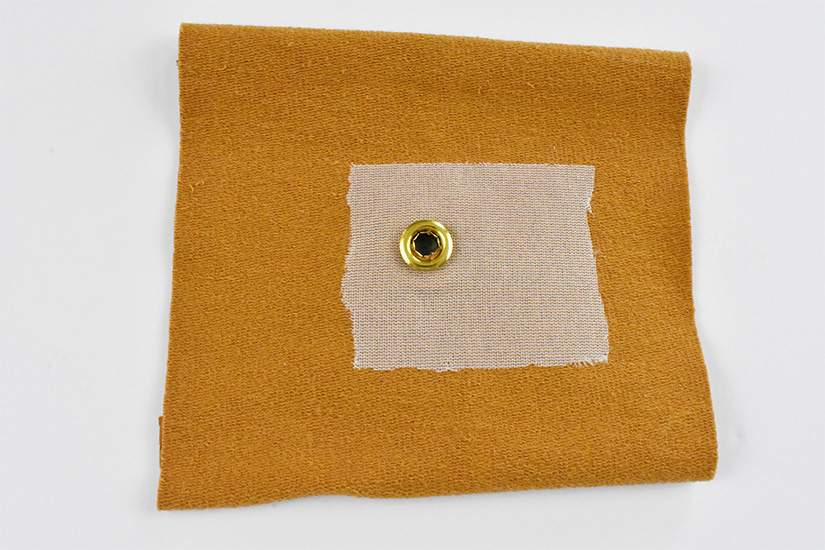
Pick up the top grommet piece, which has a taller opening, and push it through the right side of the fabric.
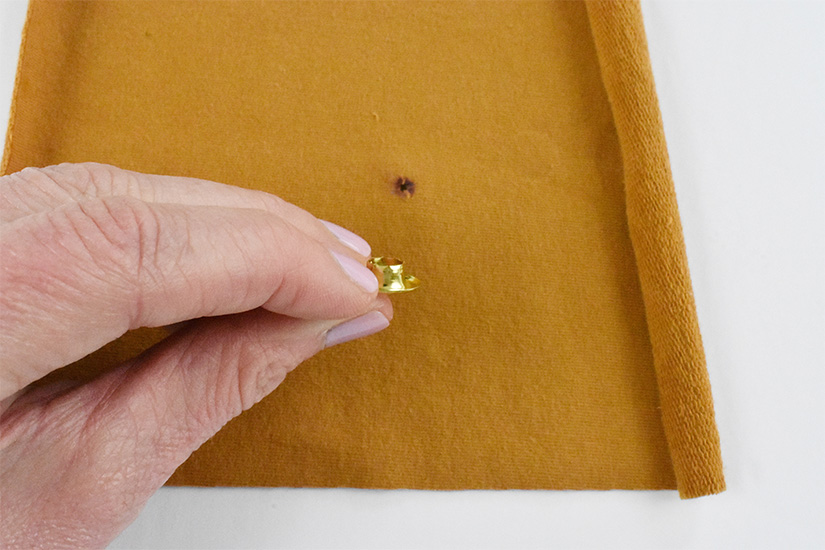
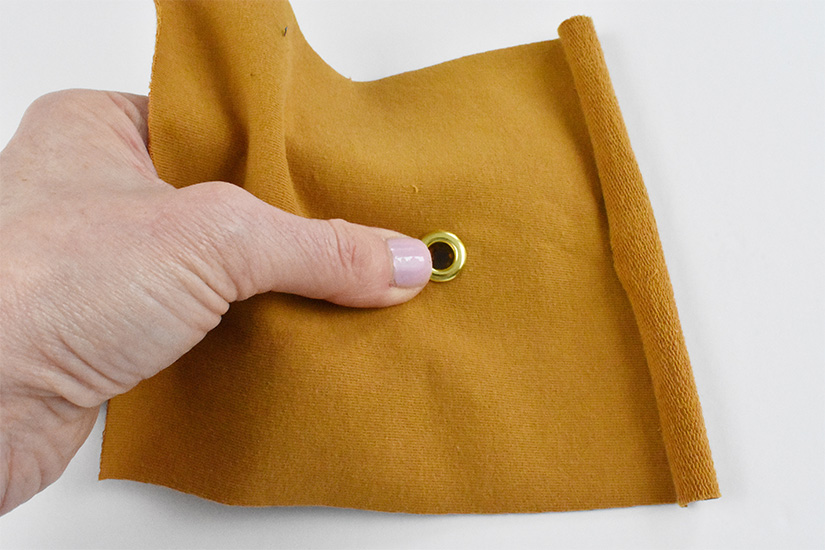
Turn the fabric over to the wrong side and push the fabric around the grommet opening. Set the grommet on the anvil, or the circular bottom of the setting tool.
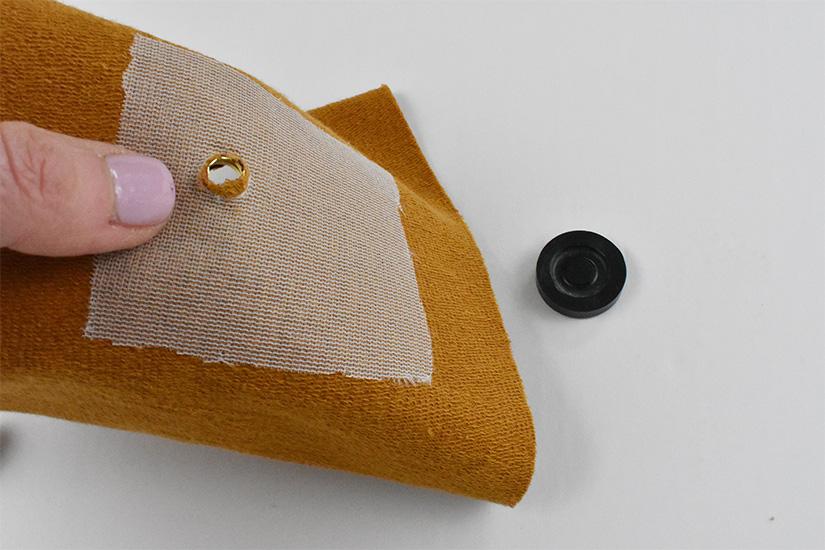
Position the bottom half of the grommet, the piece with the shallower opening, face up on top of the upper half of the grommet.
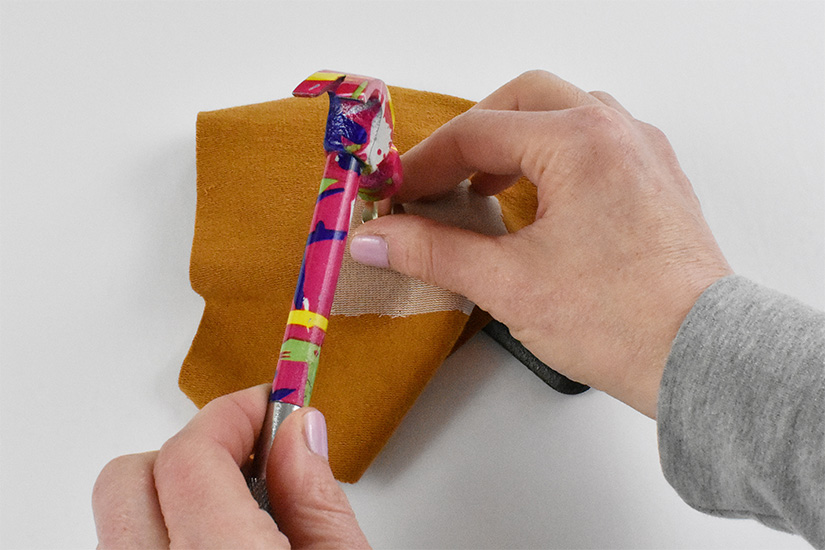
Place the wider circular bottom of the setting tool inside the assembled grommet.
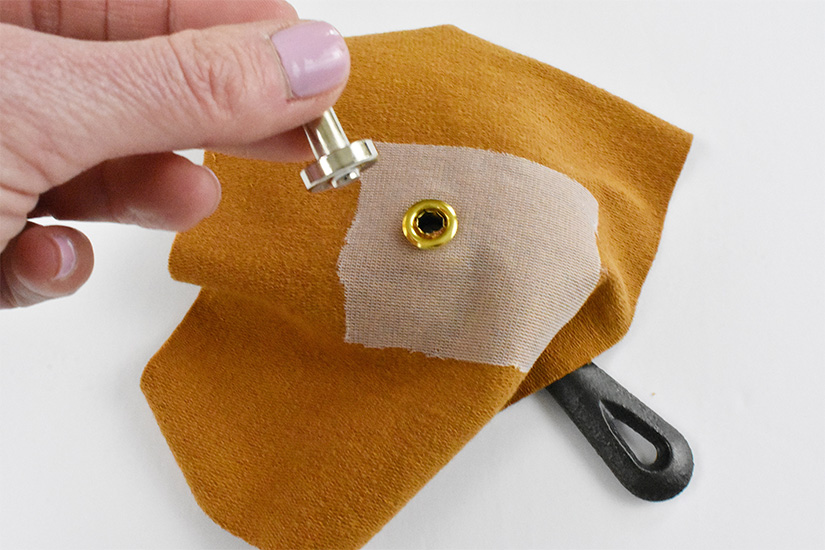
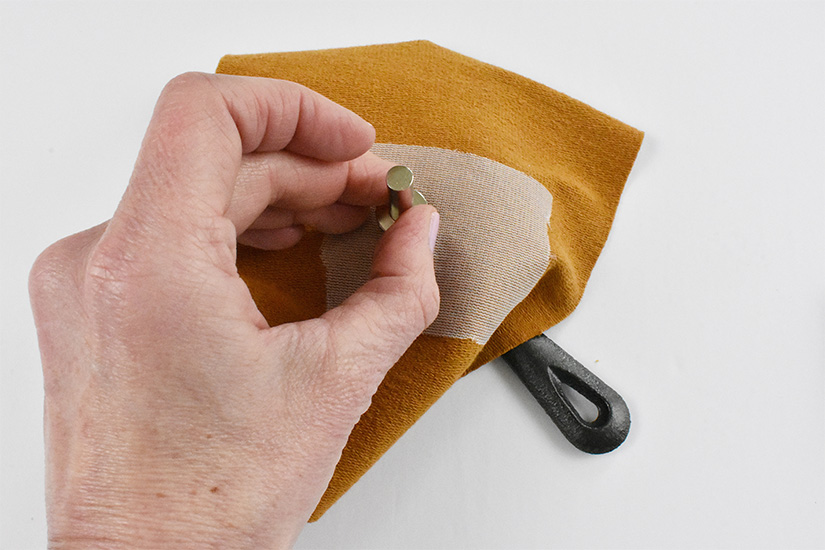
Tap the top of the setting tool a few times with your hammer. The upper half of the grommet will bend around the bottom half, securing it in place.
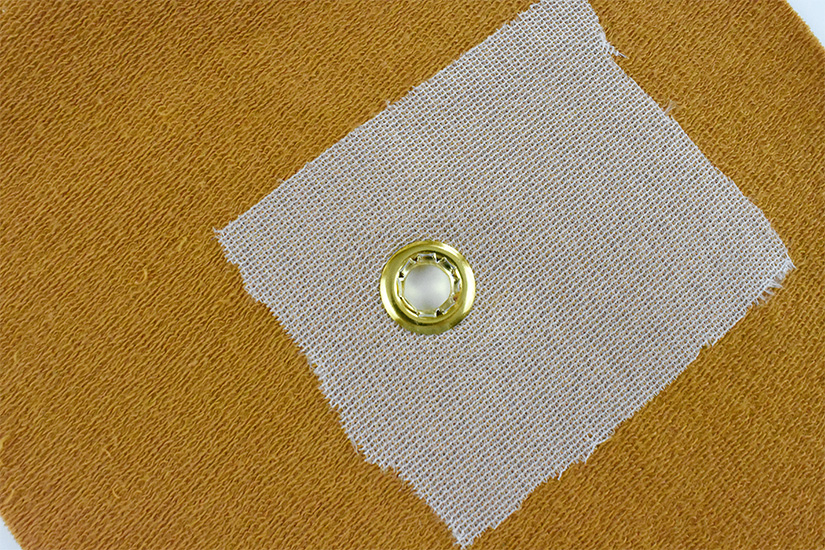
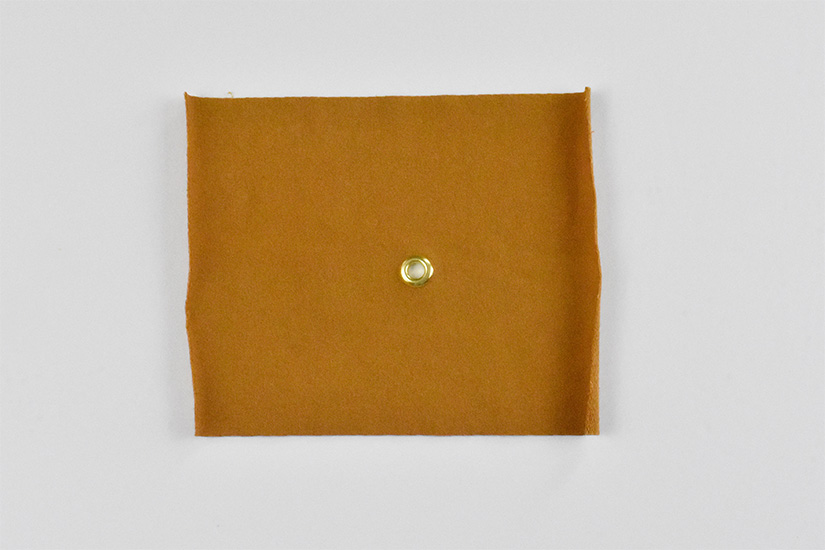
Your grommets are now installed!
We hope you found this tutorial helpful! If you have any questions, leave them in the comments below.

