
Sewing Tip | How to Sew Drawstrings
We include drawstrings on a few Chalk and Notch patterns. We thought it would be helpful to round up a few different ways to sew drawstrings using either woven or knit fabric.
Here are two ways to make a drawstring yourself from knit fabric. This is a great alternative option to using a pre-made drawstring in your Page Hoodie.
KNIT DRAWSTRING OPTION ONE – TUBE METHOD
For the first method, cut two strips of fabric 25” (63.5 cm) long by 1.25” (3.2 cm) wide.

Press the strips in half with the right sides together along the length of the fabric.

Sew one of the short ends of the drawstring together, pivot and sew along the length of the strip. Leave the bottom short end open for turning the tube right side out.

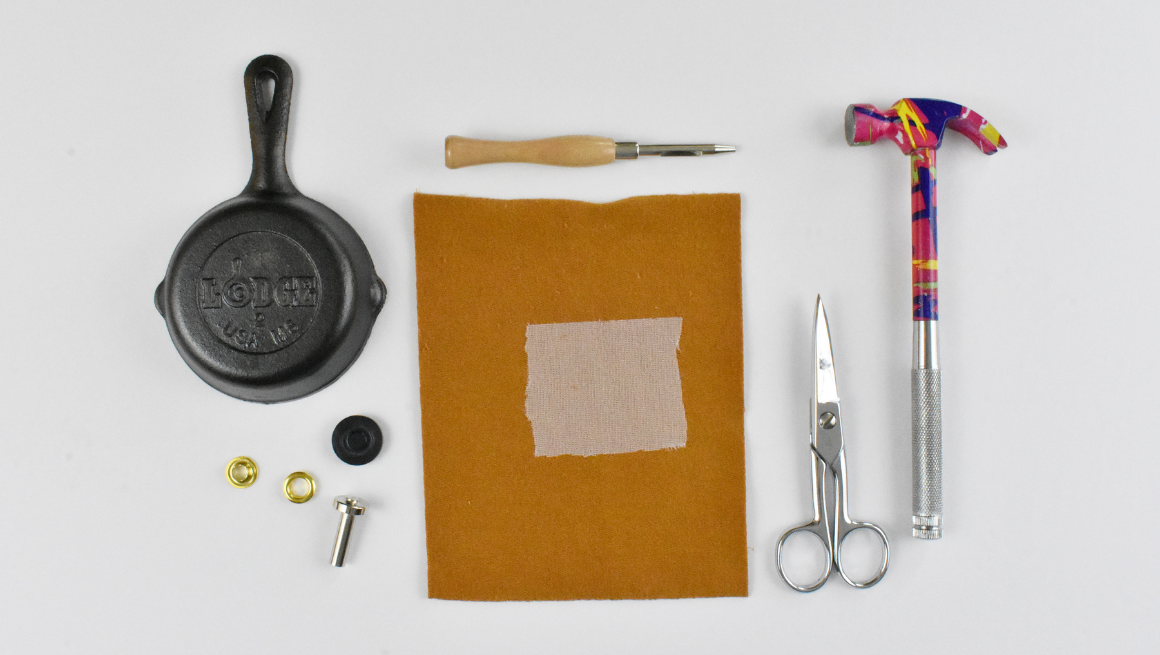
Using a straw and a wooden or metal skewer helps make turning the tube easier. A plastic or metal straw is the easiest, but a regular plastic straw works too.

Feed the open end of the tube over the top of the straw and pull the entire tube down onto the straw.


Using the skewer, push the closed end of the tube into the center of the straw.

The skewer may slide into the straw and the fabric will begin to feed through, turning right side out. If the straw slips away from the skewer pull it out and continue to use the skewer to push the fabric into the middle of the tube and pull the fabric over the end of the skewer.

Once the skewer reaches the open end of the tube, remove it and pull the rest of the tube right side out.

Repeat this process on the other tube.

Pin the two open ends of the drawstrings together, overlapping by 1” (2.5 cm.)

Sew the ends together to form one long drawstring that can be threaded into the hood or hem casing.

KNIT DRAWSTRING OPTION TWO – SAFETY PIN METHOD
Another option is to cut one long strip of fabric measuring 50” (127cm) by 1.25” (3.2 cm). Press the strip in half and sew down the length of the fabric. Leave both ends of the tube open.
Place a safety pin through one layer of the fabric tube. Turn the safety pin to the inside of the tube.

Begin pushing the safety pin toward the open end of the tube and push the fabric through the tube.


When the tube is turned right side out feed it through the hood or hem casing of your Page Hoodie. The ends can be folded and hemmed or simply tied in knots to keep them from pulling through the casing.

WOVEN DRAWSTRING OPTION ONE – TURN AND TOPSTITCH
If you are worried your fabric might fray, or you don't enjoy turning a drawstring, topstitching your drawstrings is a great method. I prefer this method when sewing the small back strap on the Victory Tank.
Start by cutting fabric strips 1.5″ (3.81 cm) wide by desired length.

Press raw edge on ends under 3/8″ (1 cm).

Press in half down length of strip, wrong sides together.

Open and press one long edge to the center crease, wrong sides together.

Press the other long edge to center crease.

Press along center crease to enclose raw edges.

Pin in place.

Topstitch about 1/8″ (0.31 cm) from edge.

Tie knots in end of drawstring, if desired.

That's it! Your drawstring is ready to insert into your favorite garment.


WOVEN DRAWSTRING OPTION 2 – SAFETY PIN METHOD
Turning a woven drawstring with a safety pin is my preferred method. I always have safety pins on hand on my magnetic pin dish so as long as my fabric is not too fiddly, I opt for this method.
Cut fabric. For this method, we suggest using strips that are 1.5″ (3.81 cm) or 1.75″ (4.44 cm) wide by the desired length.

Fold in half, right sides together, press and pin.

Shorten your stitch length and sew with a 3/8″ (1 cm) seam allowance. Trim seam allowance in half.

Insert safety pin in end of drawstring.

Turn pin to inside of tube.

Push safety pin through tube.

Turn out and press.

Double fold raw edges on end of drawstring and pin.


Stitch in place by hand or by machine.

Alternatively, you can knot the ends and let the raw edges fray.

ELASTIC BACK DRAWSTRING METHOD (USED IN THE ORCHID & PIXIE PATTERNS)
This method is used in the Orchid Dress and the Pixie Tee patterns. The center strip of elastic adds extra comfort when cinching your drawstrings. It's suitable for both woven or knit fabrics and drawstrings of various widths. A thin woven fabric drawstring is shown in the photos.
First, prepare two lengths of drawstrings using one of the above methods. One end should be enclosed or finished, and the other end can be left raw.


Pin raw ends of drawstrings to elastic, overlapping by about 1/2″ (1.27 cm).

Sew together using a zig zag stitch or desired method.


That's it! Insert drawstring into your garment.

We hope you found this roundup of drawstring construction helpful!