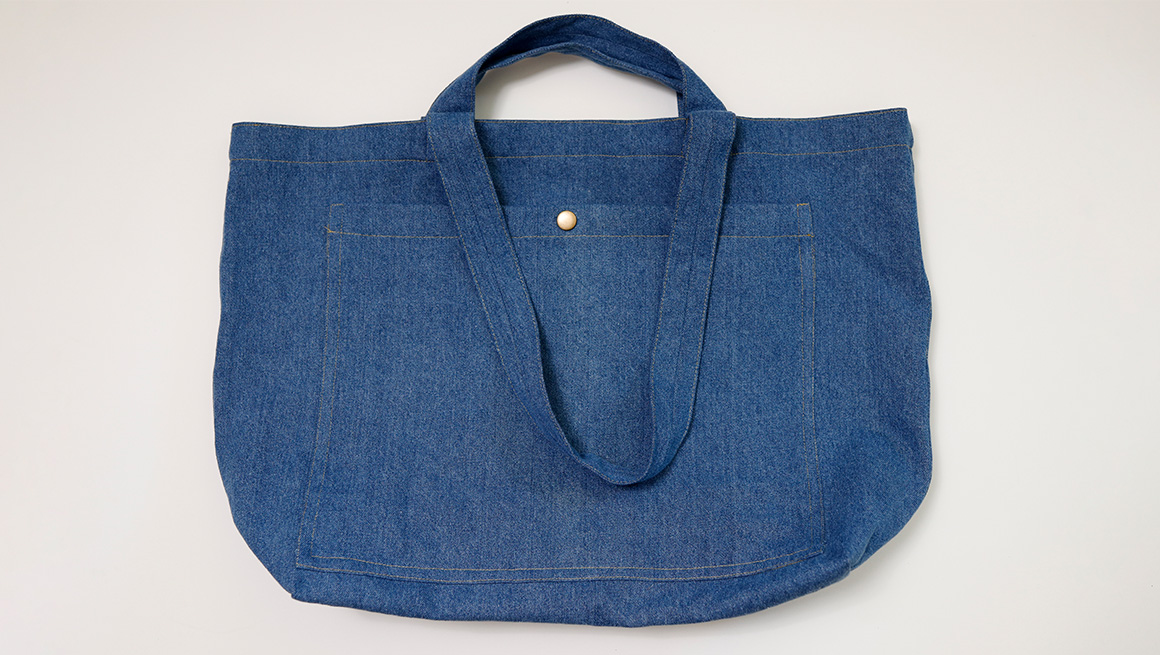
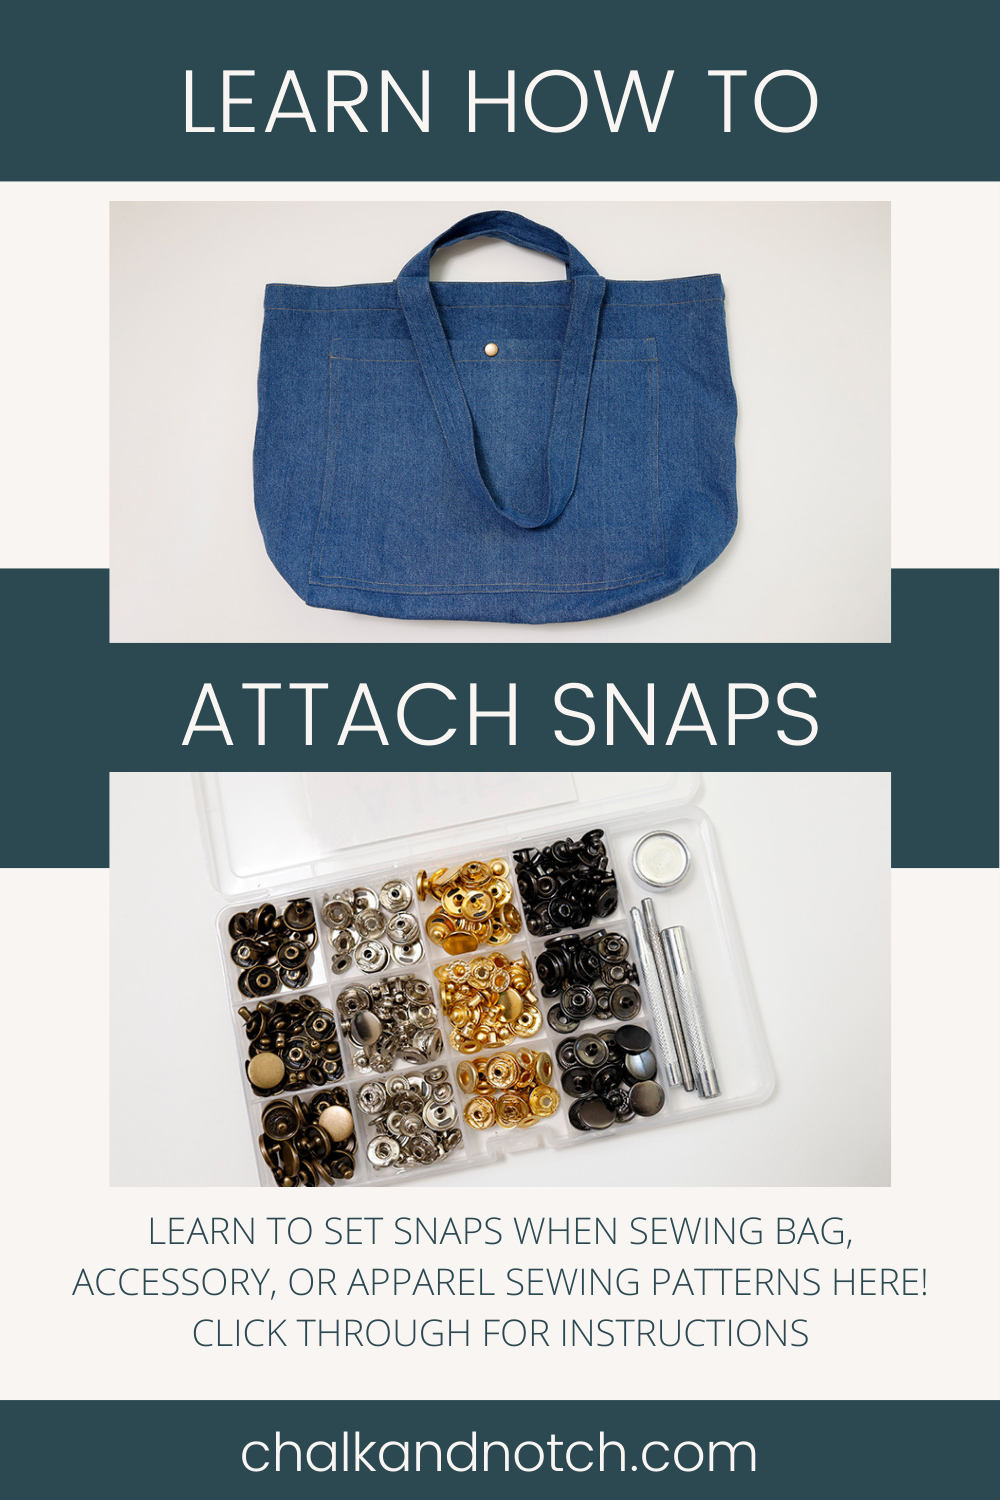
We are back today with another sewing tip that we hope you find helpful! Adding snaps is an optional closure for many garments, and we recommend it when sewing the Sun Tote. The type of snaps we are talking about today are metal setting snaps. Most metal setting snap kits include instructions, but we thought a visual tutorial could be helpful. While this tutorial was created using the Sun Tote as an example, you can use this tutorial to help set snaps on any garment or accessory.
GATHERING SUPPLIES
Before we begin, here’s what you’ll need:
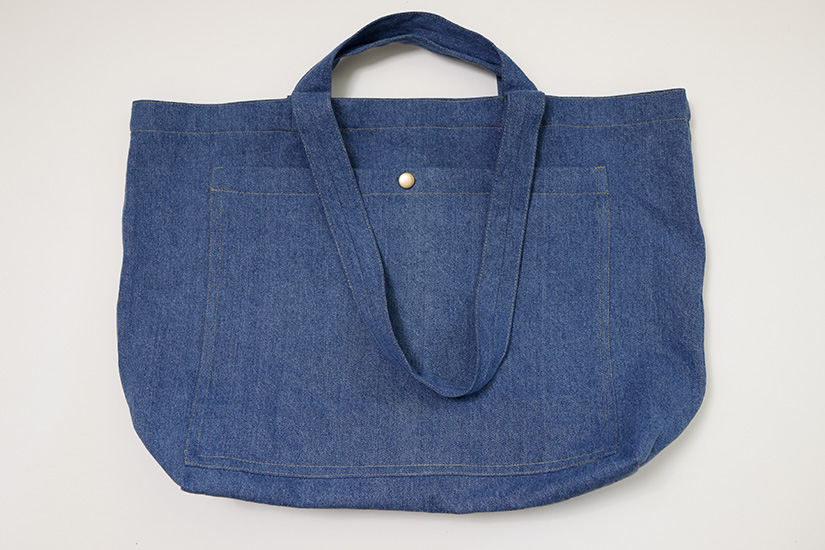
- The garment or bag that you are adding snaps to. In this case, a finished Sun Tote.
- Tailor’s Chalk or Washable Fabric Marker to mark your snap placement. I love this chalk from Etsy.
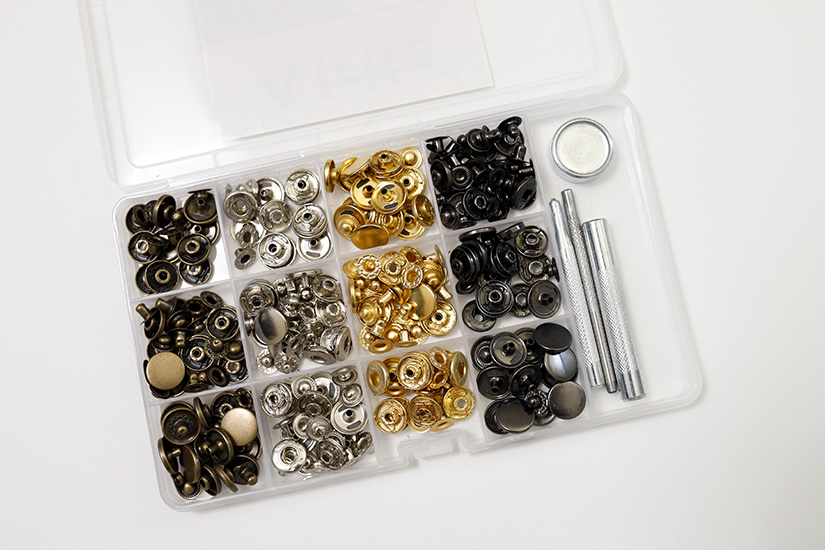
- A metal snap kit. I bought this kit on amazon in the 15mm size. Choose any kit that comes with setting tools.
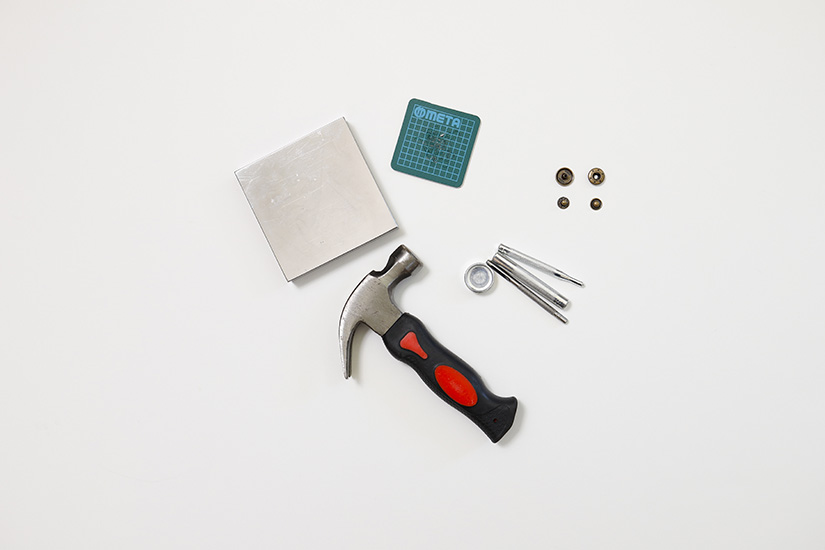
- A cutting mat or a wood block to make your holes. I like using a small healing mat on top of my anvil block.
- A hard surface. I use this flat anvil block, but any hard surface or a cast iron pan works.
- A hammer for setting your snaps. I have a small hammer that I keep with my sewing tools.
SETTING SNAP TOOLS & PARTS
Knowing a few terms for the different parts of the snap kit is helpful.
- Your kit should come with a base. The base has a flat side and a convex side.
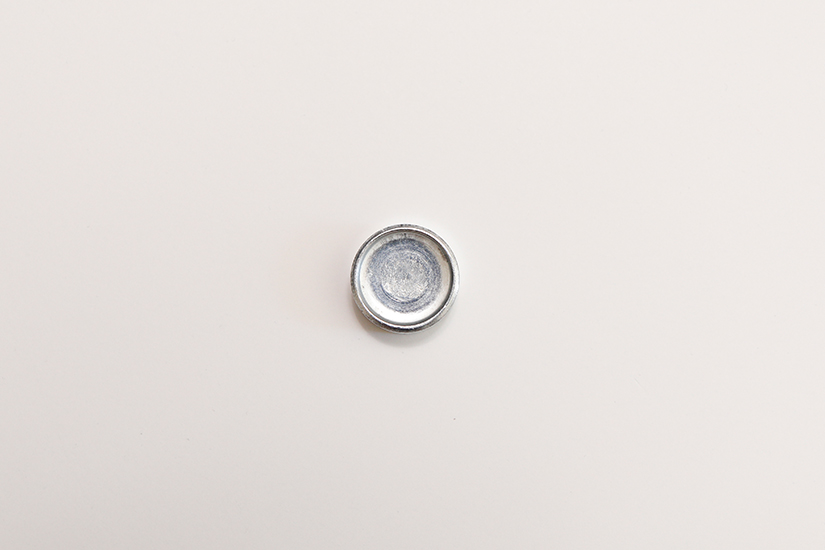
base – flat side 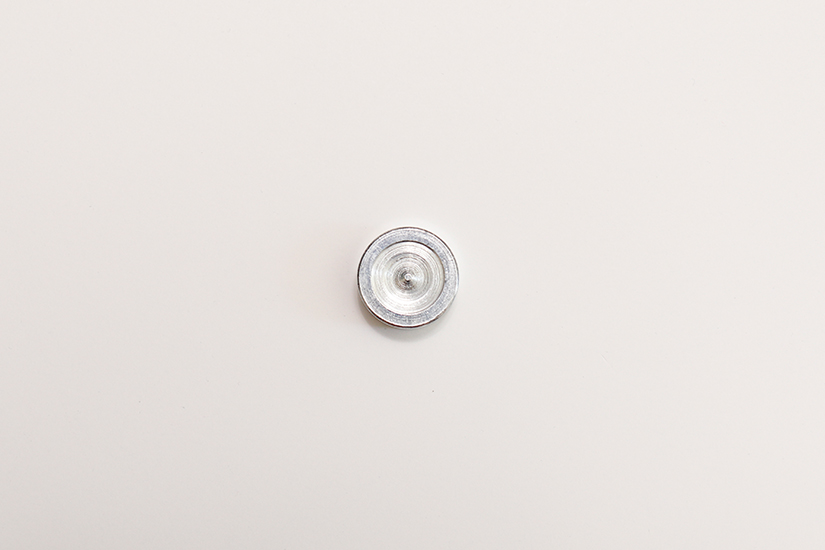
base – convex side
- There should be three metal tools. A hole punch and two setting tools, a pointed setting tool, and a concave setting tool. Some kits don’t come with a hole punch and you’ll have to cut your own holes.
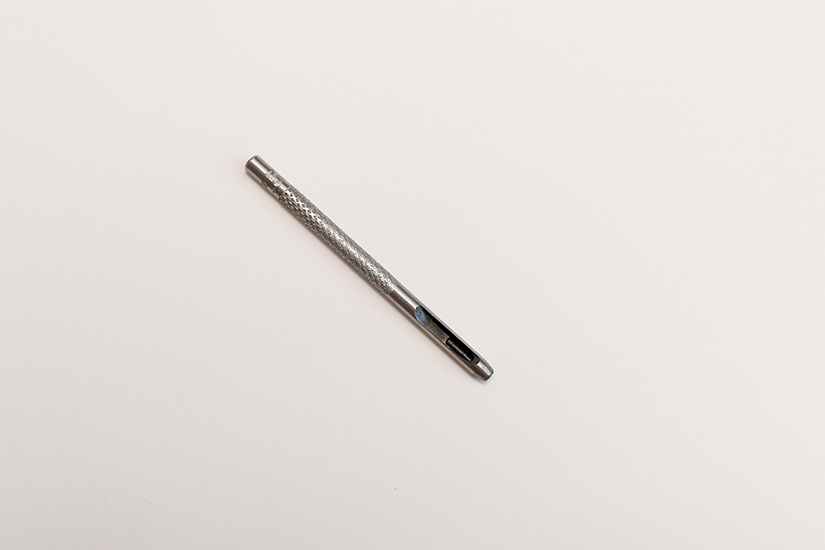
hole punch 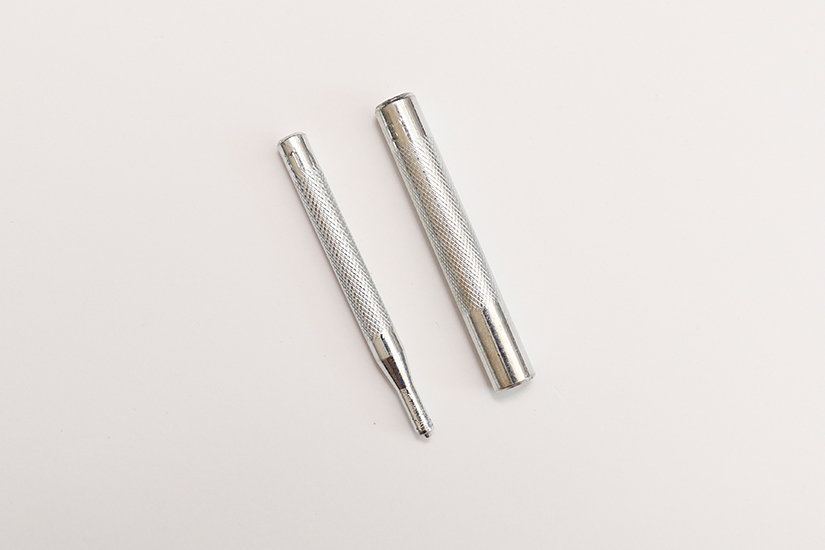
pointed setting tool & concave setting tool
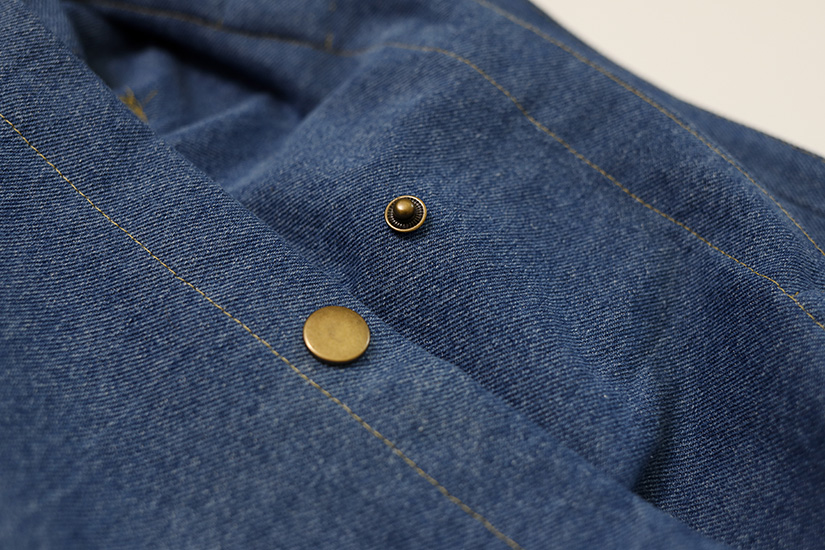
- There are four pieces to the snap. The cap & socket and the post & stud.
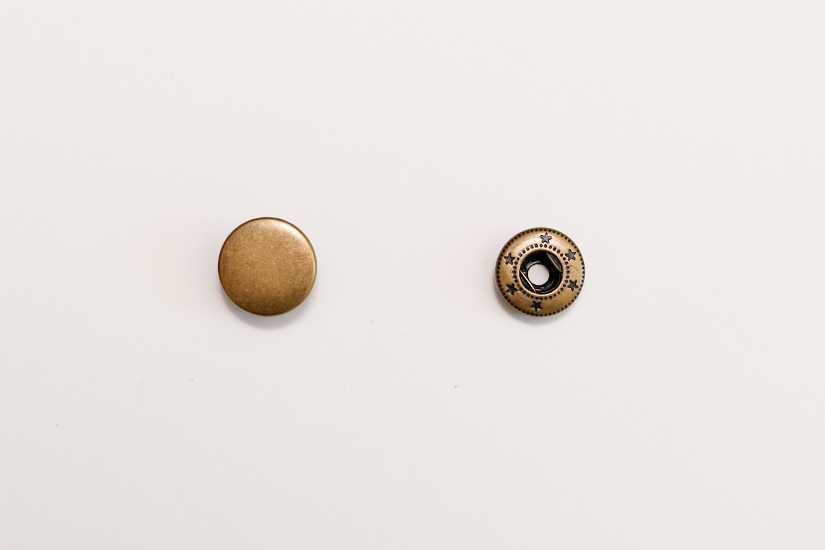
cap & socket 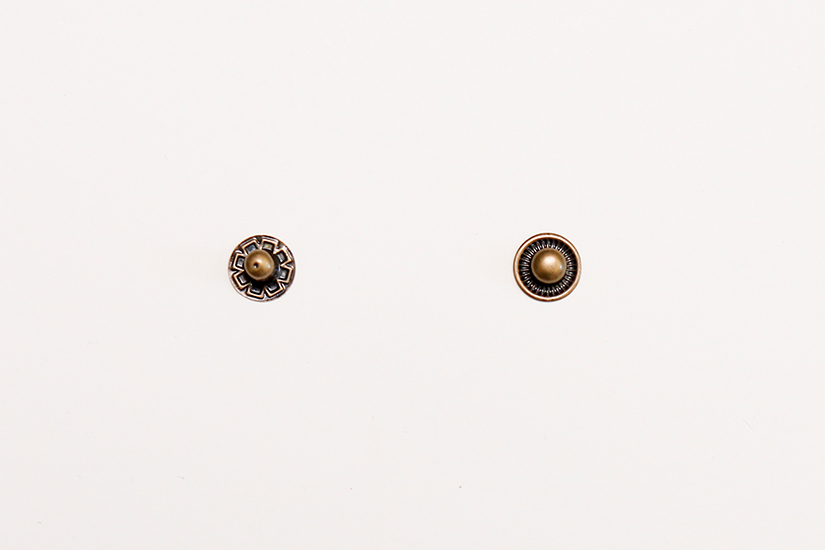
post & stud
MARKING THE PLACEMENT AND CUTTING THE HOLE
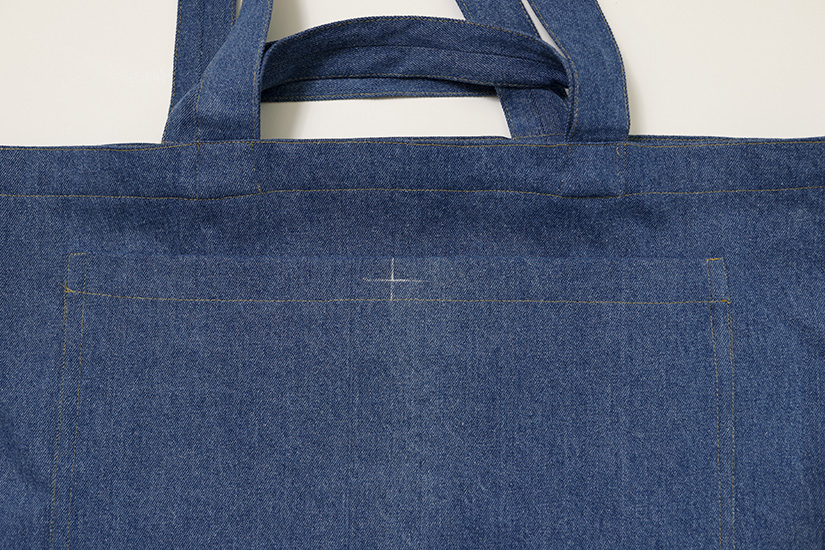
First, decide the placement of your snap. For the Sun Tote, the suggested placement is centered in the seam allowance on the exterior pocket.

Mark your snap placement with chalk.
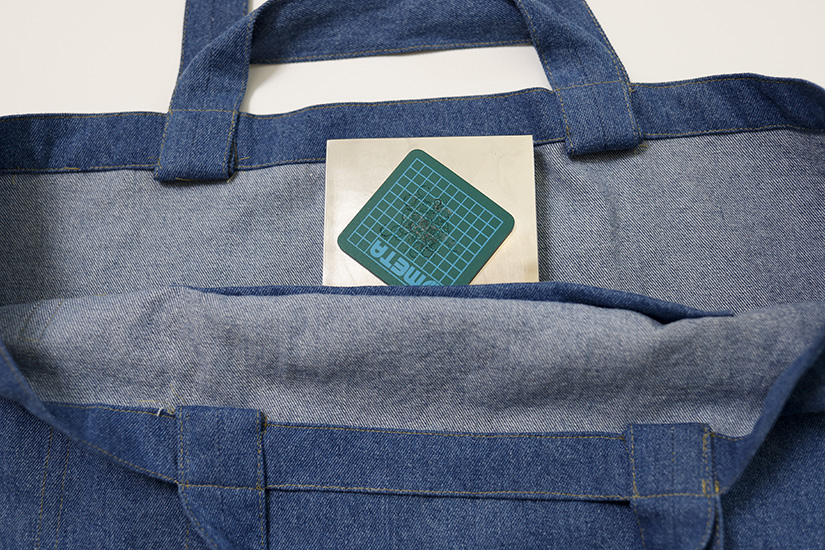
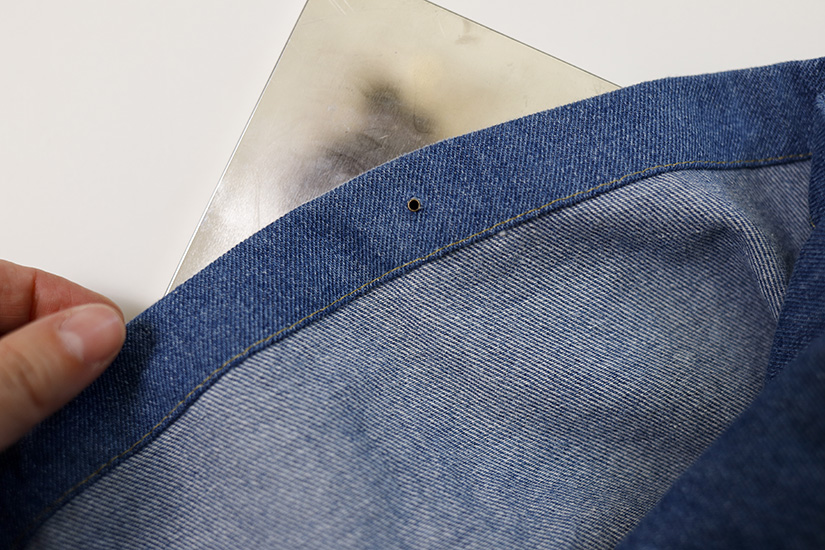
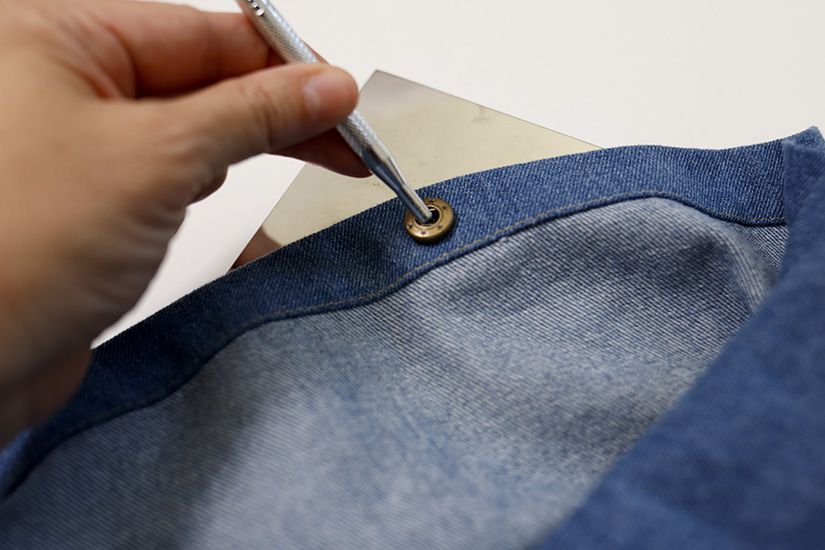
Now that you have marked the placement, it’s time to make a hole through all layers. Place your hard surface and cutting mat behind all layers that you will be cutting through. In this case, it’s the exterior pocket and the front bag.
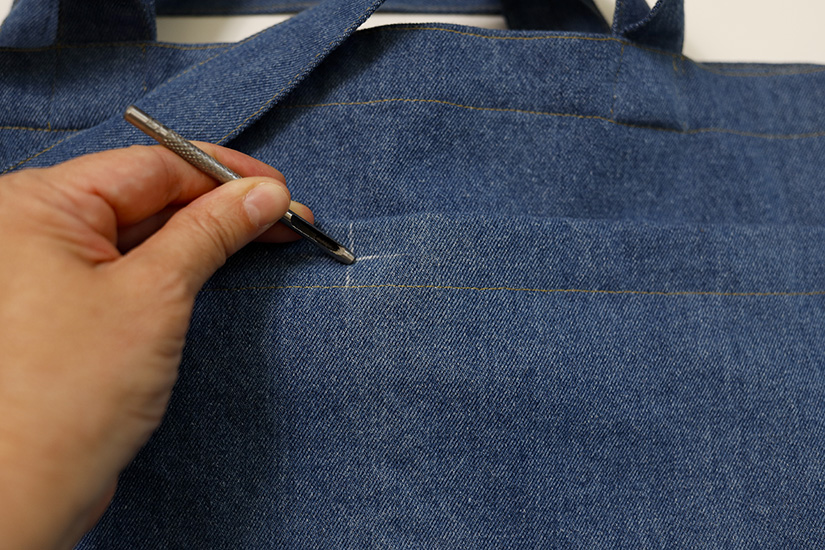
Use the provided hole punch tool to hammer a hole through all layers. Or use an awl tool or a very small snip to create a hole.
SETTING THE SNAPS
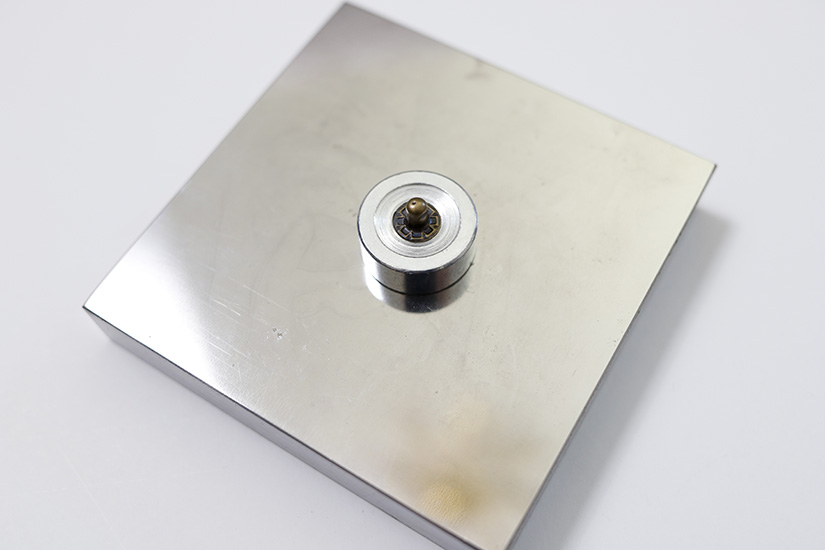
Now it’s time to set the snap, starting with the cap and socket. Place base flat side up on a hard surface. Place the cap side down on the base.
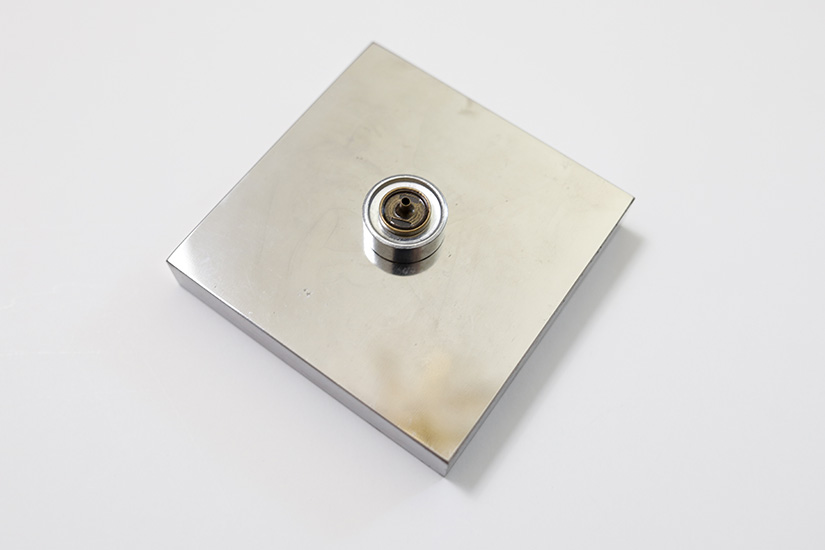
Place the exterior pocket right side down and the cap through the hole.
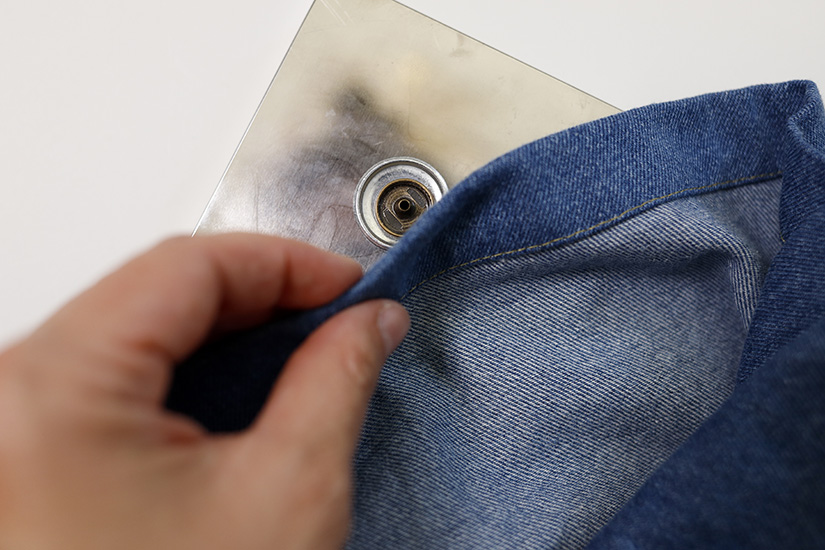
Place the socket on top, with the fabric sandwiched in between.
Use the pointed setting tool, place it in the center, and hammer it tightly.
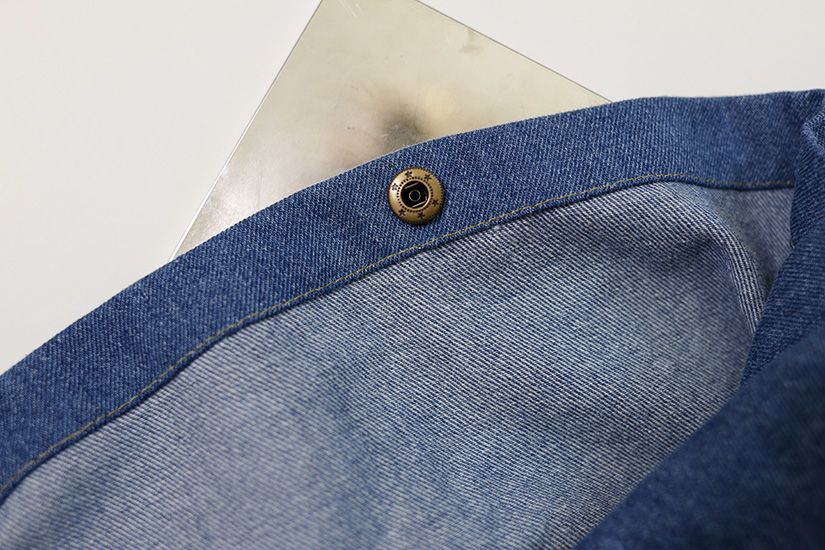
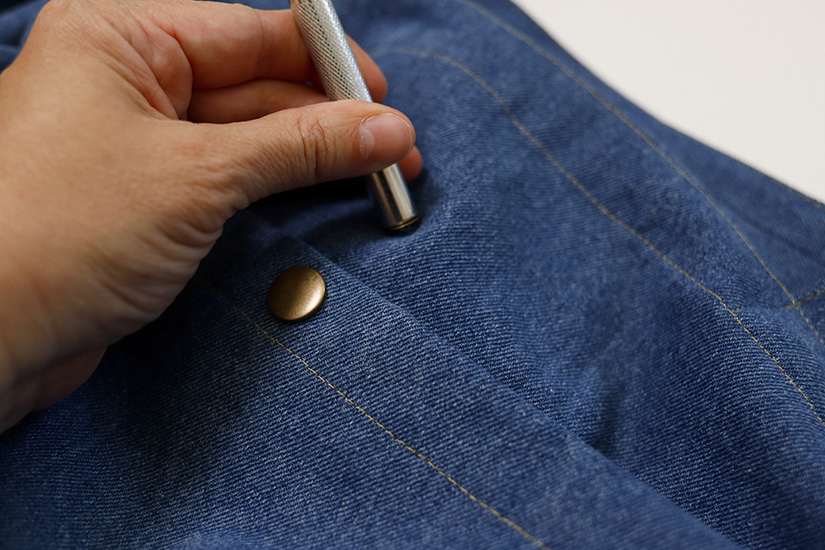
Now it’s time to set the post and stud. Place the post on the convex side of the base on a hard surface.
Place the tote front on top and have the post come through the hole.

Place the stud on top, with the fabric sandwiched in between.
Use the concave setting tool to hammer the stud in place.
There you have it, the stud is set, and the snap is complete.
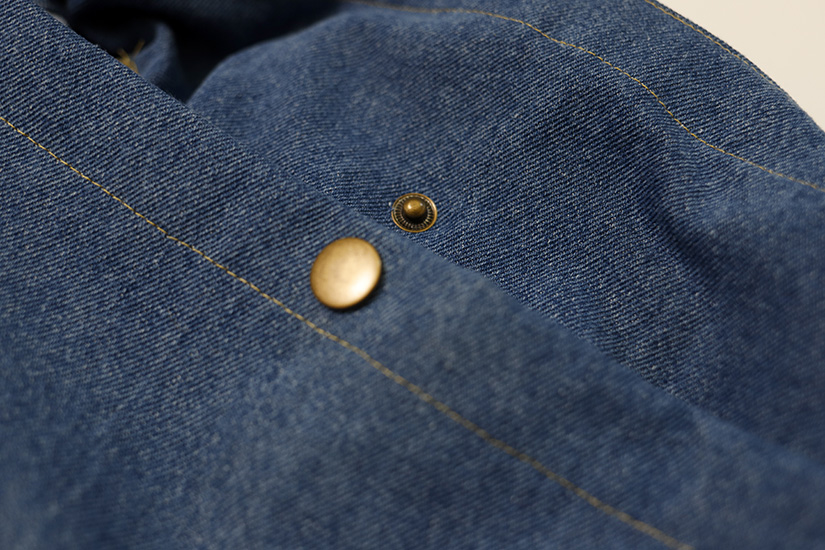
We hope you found this visual helpful for setting a metal snap!
