
Now that we’ve sewn our pockets, we’re ready to sew up the bottom and sides of the tote, my favorite part of making the Sun Tote! In this post, we’ll demonstrate how to sew the Sun Tote with flat felled seams and the corners with a french seam for a clean finish. If this is a new technique, don’t worry, it’s not hard!
PREP THE FLAT FELLED SEAM
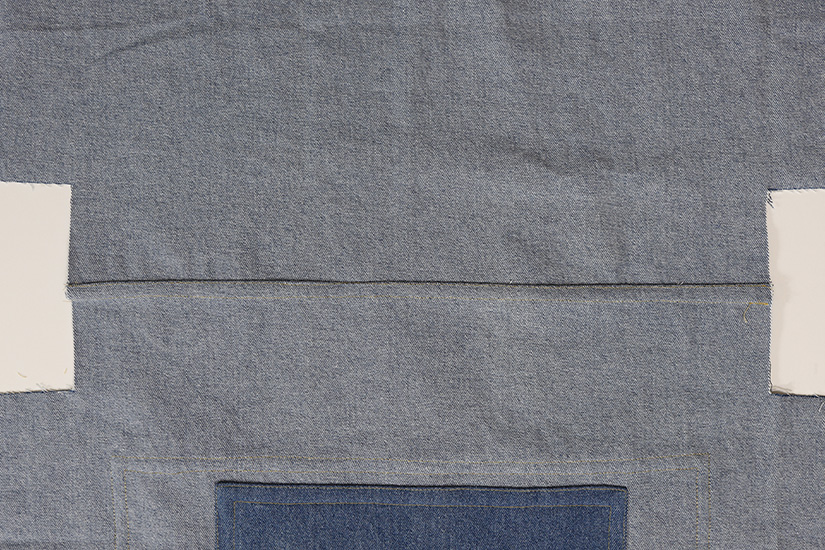
The side seams and hem seam will all be sewn with a flat felled seam. There are several ways to sew flat felled seams, none of them are wrong, but I prefer this method since it does not require any trimming. Alternatively, you can sew your side seams and bottom seam at 3/8” (1 cm) and finish each seam.
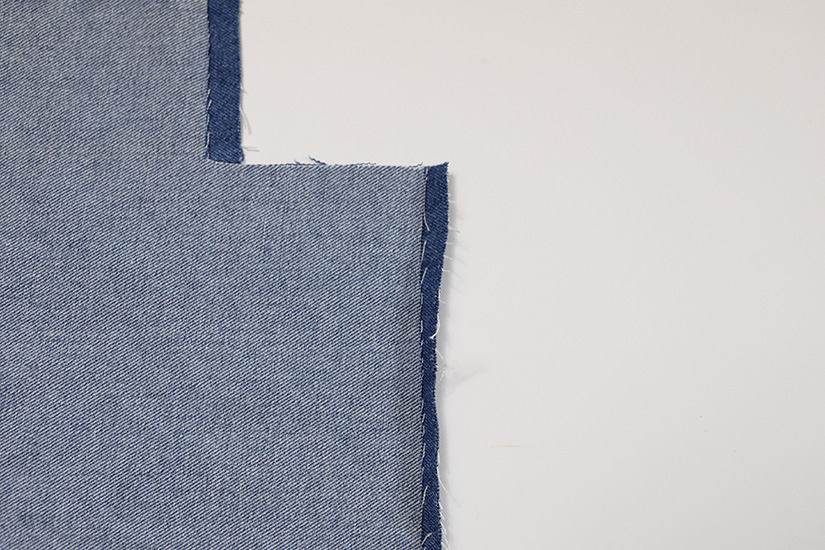
Let’s get started! Start with the bottom seam; the process will be the same for the side seams. Place the front and back right sides together. Shift the top piece over to the left. Take the bottom piece and press the seam allowance in, right sides together at 3/8” (1 cm).
EDGESTITCH THE FLAT FELLED SEAM
Shift the top pieces back to the right and place under the folded edge of the bottom piece. You can pin it in place to make sure the pieces do not shift.
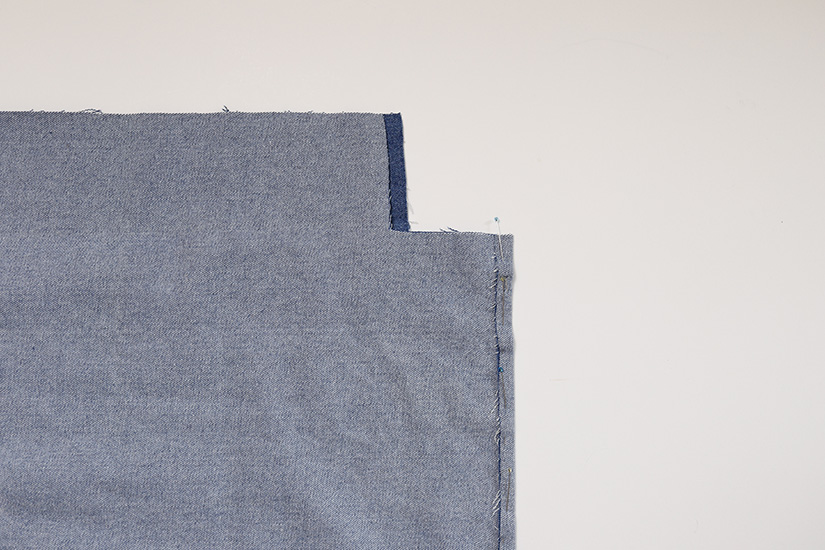
You can see in this photo, the bottom folded seam will be on top and you will be stitching through three layers.
Edgestitch the left cut edge of the folded seam, sewing all three layers together.
EDGESTITCH THE FLAT FELLED SEAM
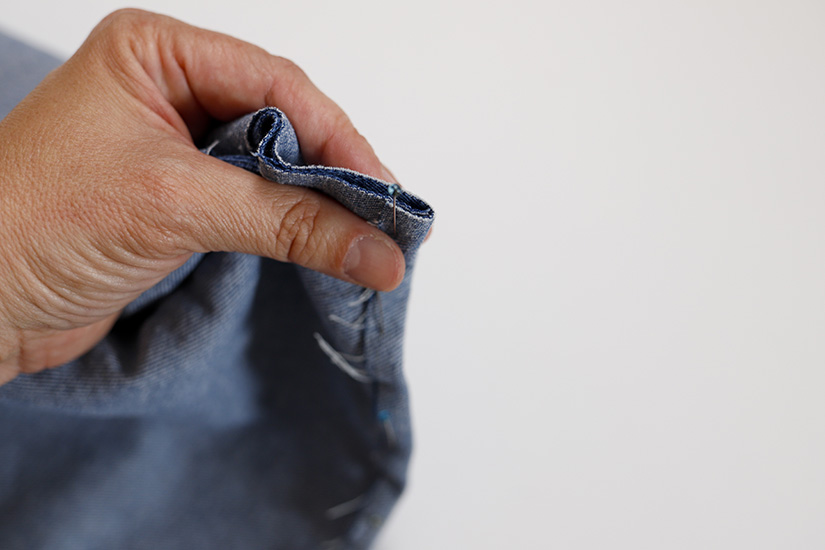
Press the seam allowance to the left to cover the first pass of stitching.


Edgestitch the seam in place.
Sew from the wrong side during this step and make sure your bobbin thread matches the right side of your tote.
OPTIONAL TOPSTITCH ON FLAT FELLED SEAMS
For a stronger seam, flip the seam right side out and sew a second row of topstitching (for a total of three stitching passes). Give your seam a press.


Repeat steps 7 through 10 for the side seams. The small tote will be harder to sew as you start to enclose each seam but starting with the bottom helps!
SEW THE HEM CORNERS
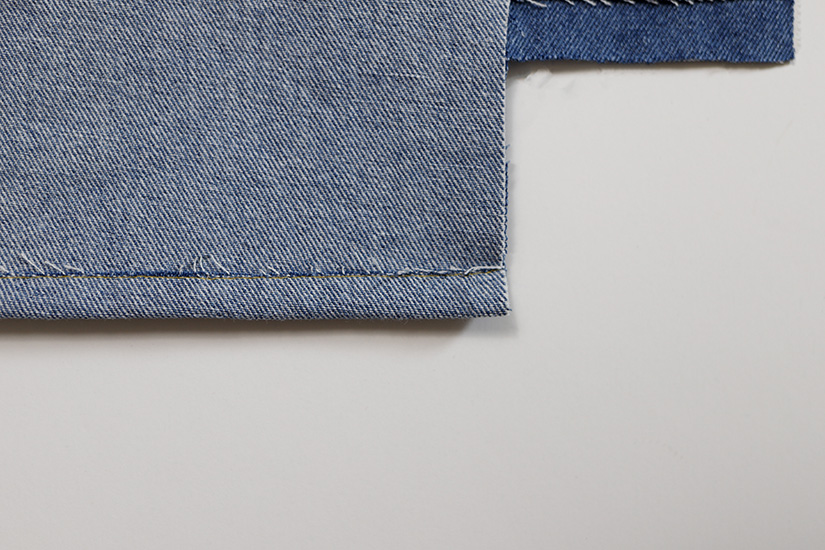
Start with your tote right side out.

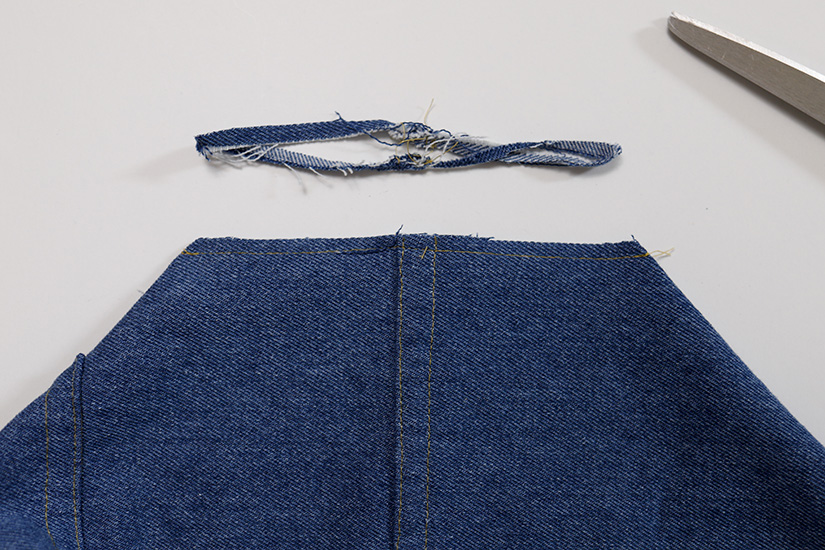
Pin the bottom hem corners at 3/8” (1 cm) wrong sides together.


Sew the seam and trim the seam allowance to half.
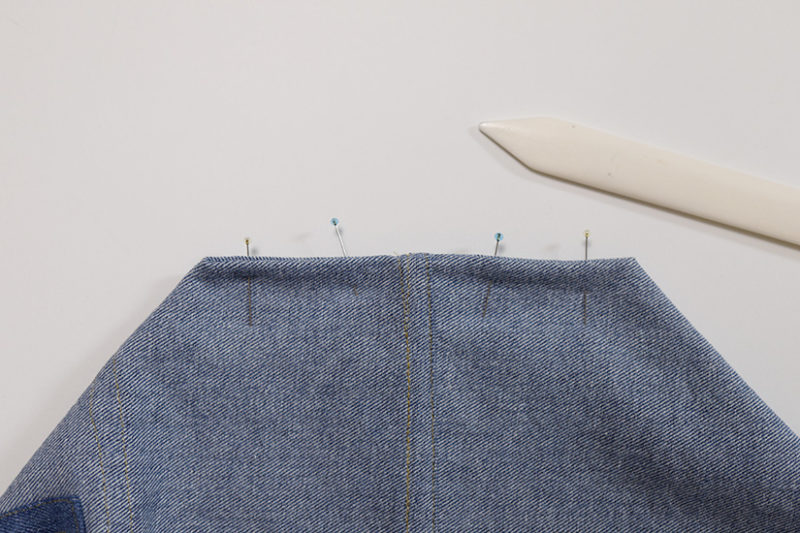
Turn the tote wrong side out and sew the corners right sides together at 3/8” (1 cm).
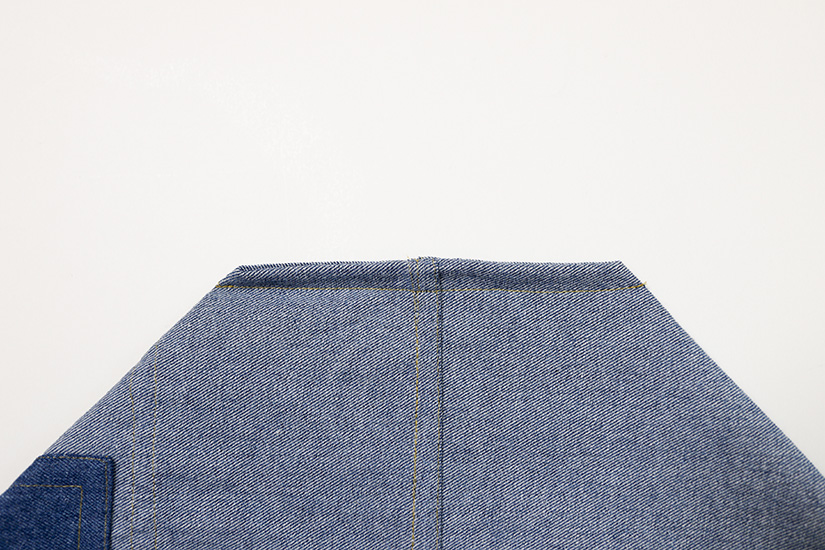
The inside of your tote will be clean finished with no exposed seams.
In our last post, we’ll be finishing our Sun Tote by attaching the straps and hemming the top.
Sun Tote Sew Along Posts: Getting Started | Sew the Straps & Pockets | Sew the Flat Felled Seams & French Seams | Attach the Straps & Hem the Top

