We are ready to get started sewing! In this post, we’ll demonstrate how to mark the pocket placements, sew the straps, and attach the patch pockets. These steps apply to all Sun Tote sizes.
SEAM ALLOWANCES & PATTERN MARKINGS
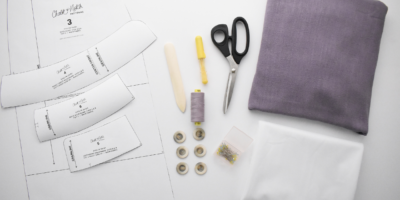
Select a sewing needle that matches your fabric weight. A Seam Jumper can be helpful when sewing bulky seams.
Unless noted, the seam allowance included is 3/8” (1 cm) for joined seams. The side seams and bottom seam are sewn as flat felled seams and the bottom corners are sewn with French seams. Don’t worry if these are new sewing techniques, we will help you every step of the way!
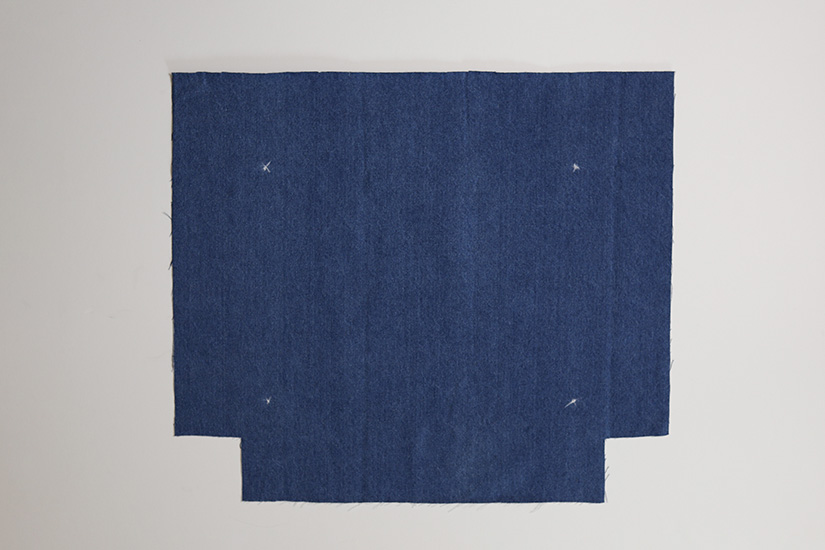
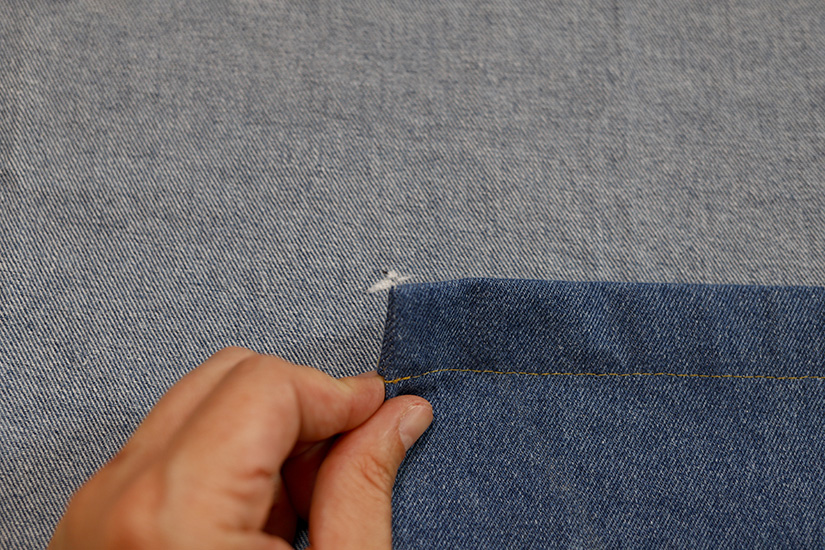
Clip or mark the notches indicated by “T” marks. If including pockets, mark the front piece (there are no pocket placement marks on the back piece). The larger pocket is marked on the right side of the front and the smaller pocket is marked on the wrong side of the front. The pocket placements are indicated by “+”. These marks are slightly smaller than your finished pocket size and will be completely covered when attaching the pockets.

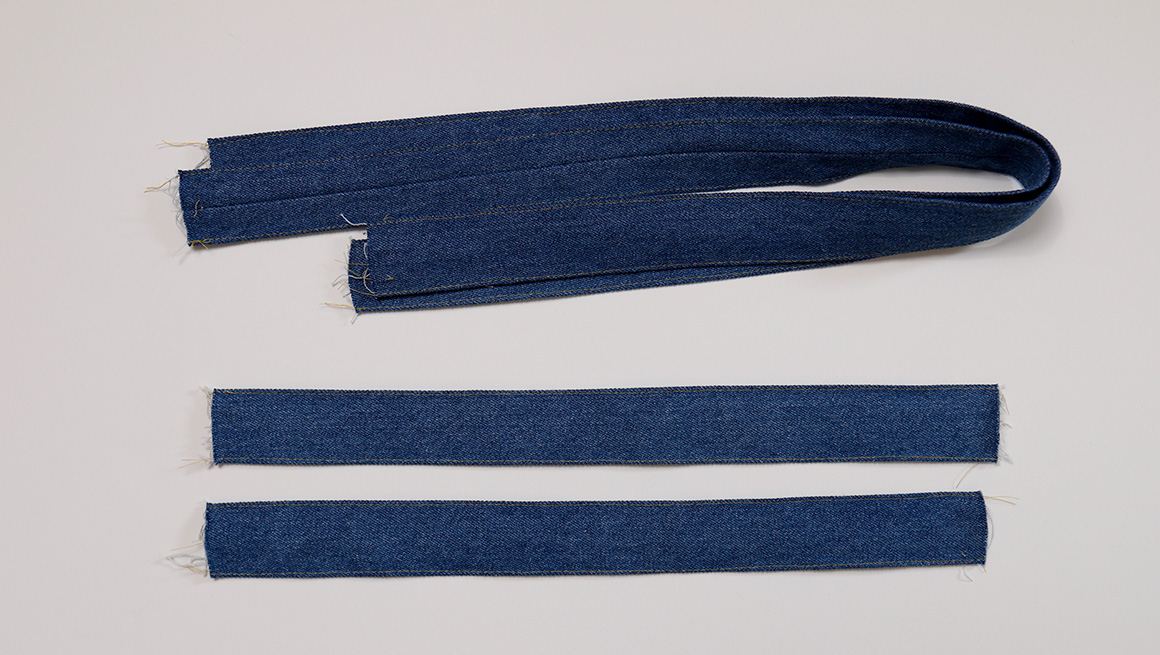
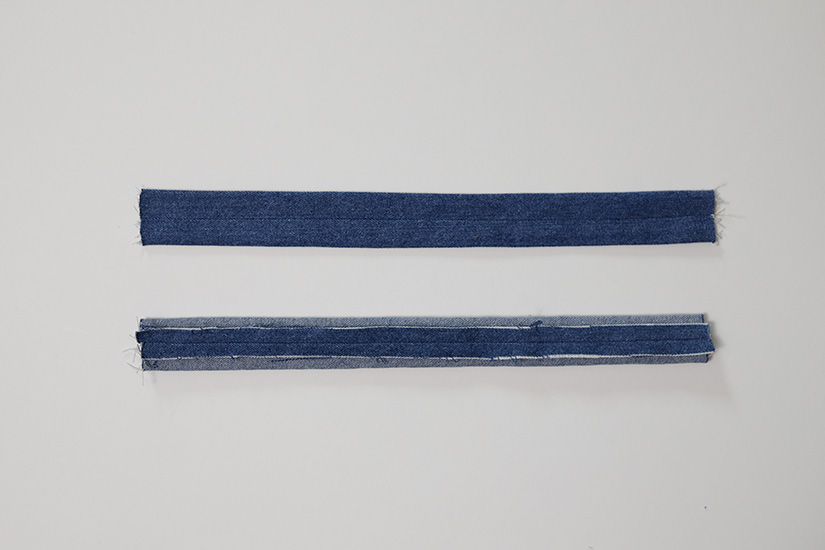
SEW THE STRAPS
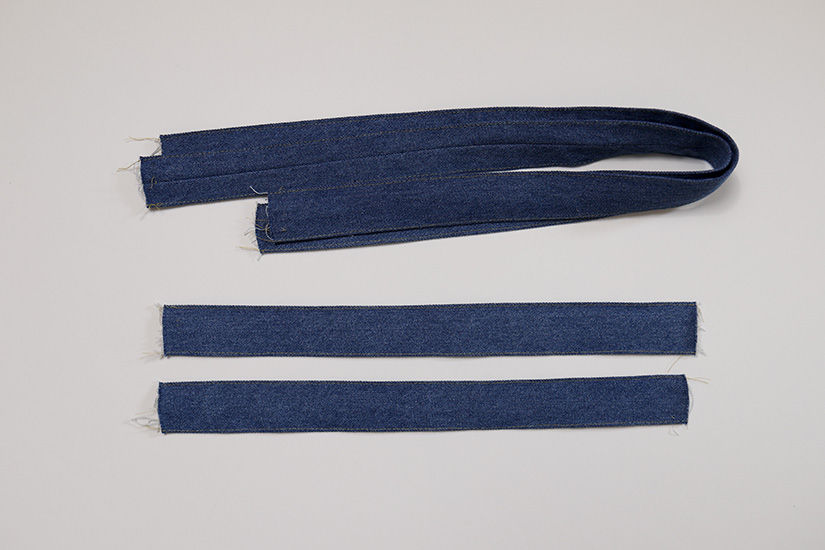
Decide if you are sewing one set or both the short and long straps to your tote. If your fabric is thick, only use one set of straps. With the right sides together, fold the straps in half lengthwise. Sew the long side of the strap.
Press the seam open with the seam centered. Turn right side out and press.
A turning tool or safety pin can be helpful for turning the straps.
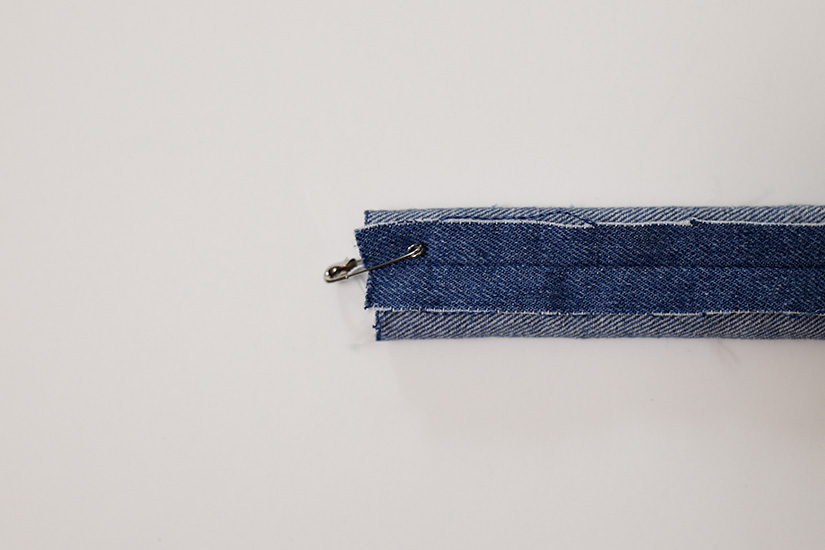
Edgestitch both sides of the straps. You can lengthen your stitch length during this step. Repeat for the second strap and/or the second set. Set the finished straps aside.
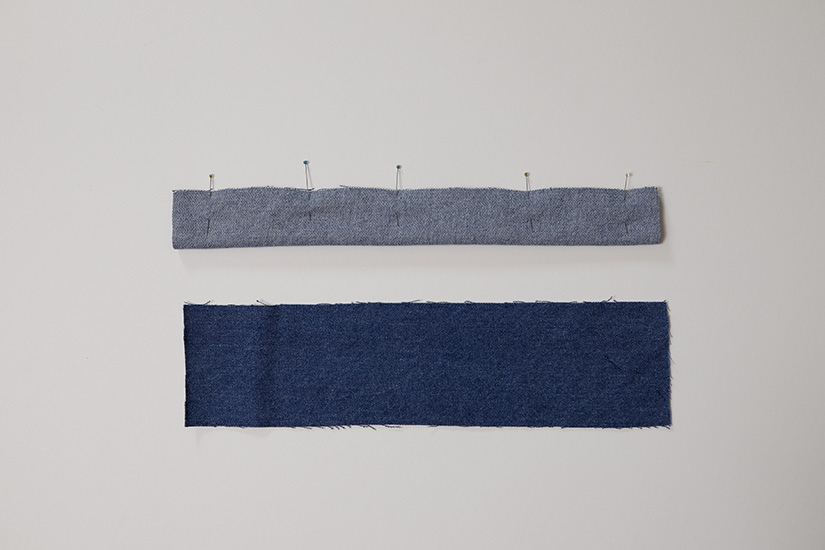
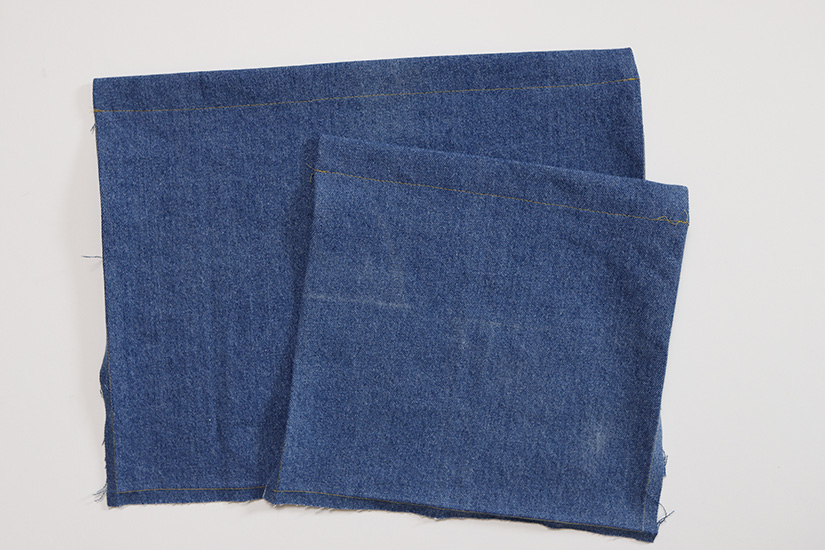
PREP THE POCKETS
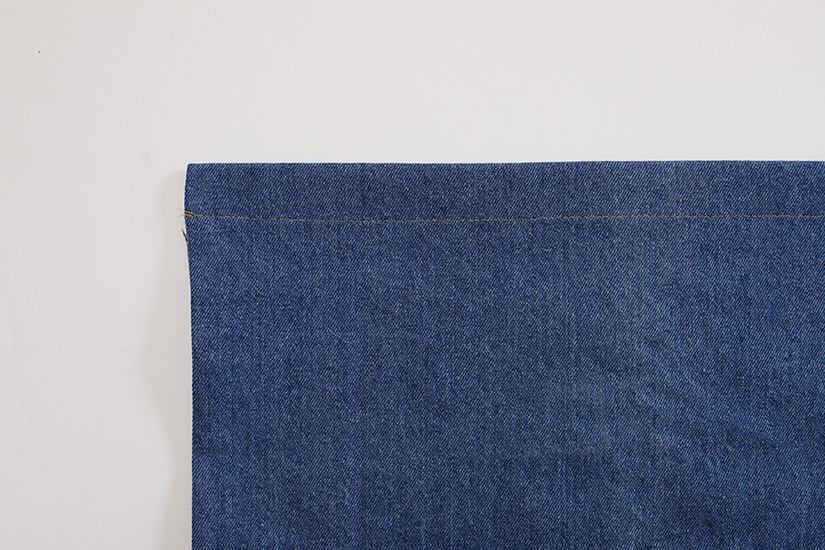
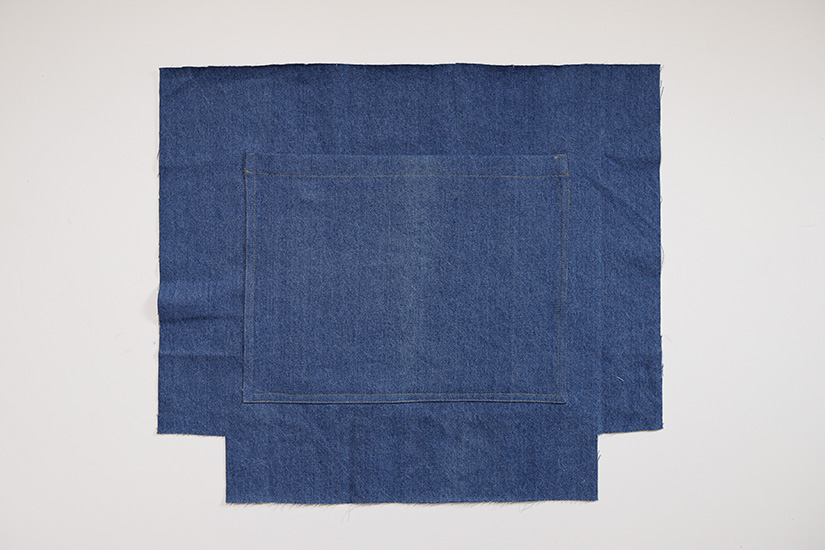
Press the top in 3/8” (1 cm) wrong sides together. Flip the pocket over so the fabric is right side up. Fold back 1” (2.5 cm) at the fold/notch line, right sides together, and press.
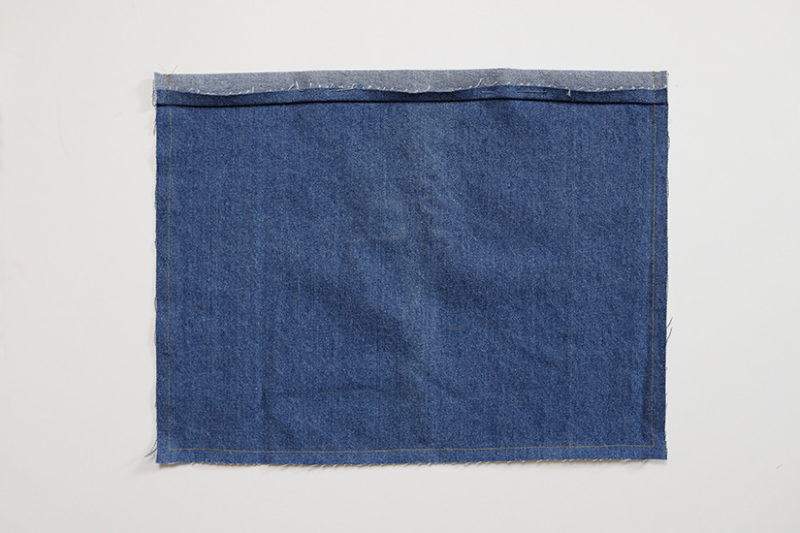
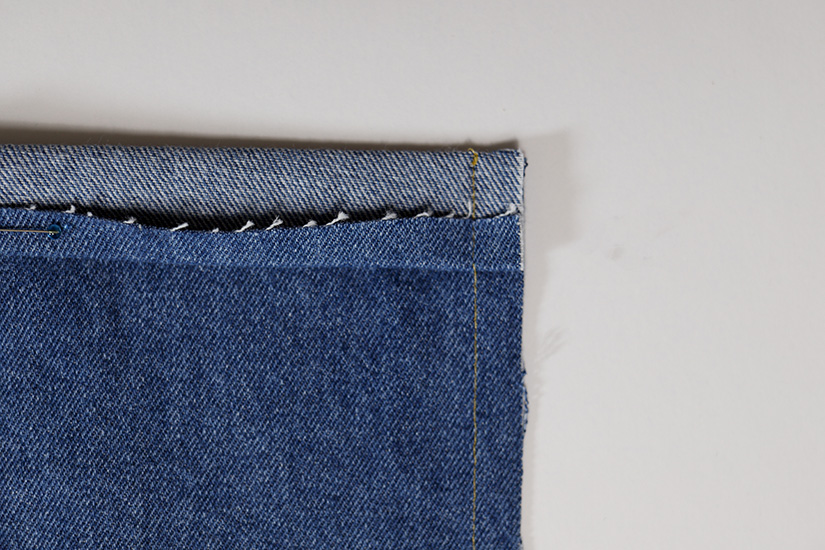
Stitch at 3/8” (1 cm) around the sides and bottom of the pocket. This will secure the top hem and act as a fold guide.
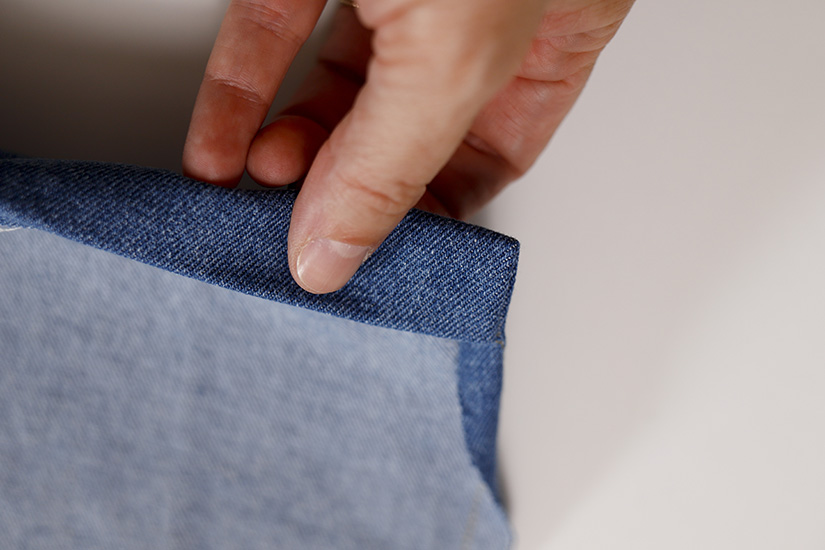
Flip the top hem right side out. Press the side seams and hem in 3/8” (1 cm).
Edgestitch the top hem. You can lengthen your stitch length during this step.
Repeat for the other pocket.
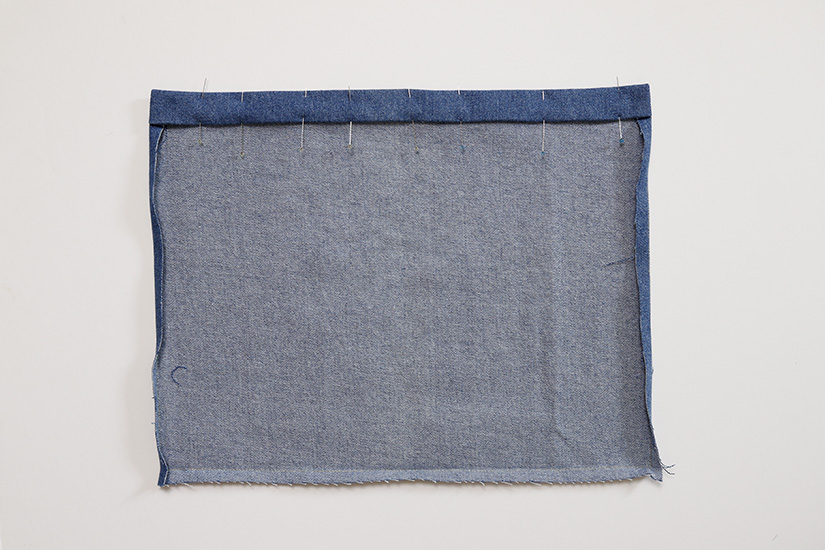
PIN THE INTERIOR PATCH POCKET
Pin the smaller interior pocket to the wrong side of the tote front, using the “+” markings for placement. Your pocket will cover the pocket placement markings.

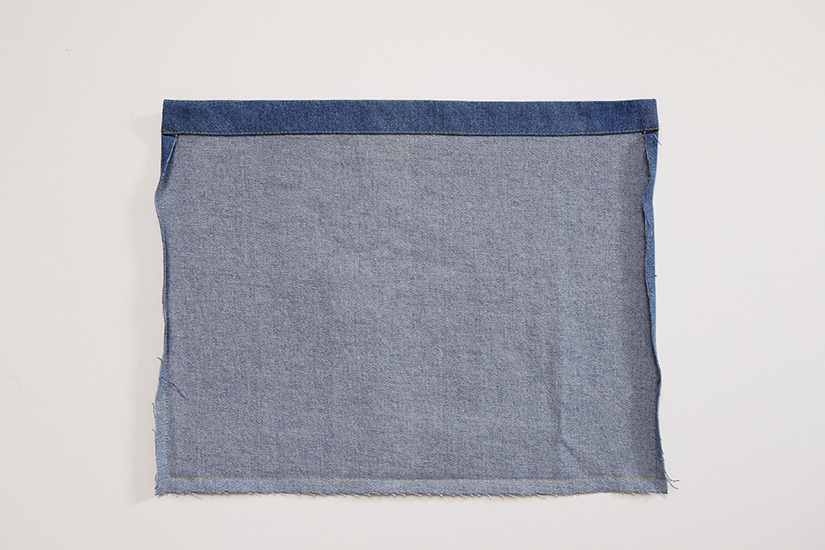
SEW THE INTERIOR PATCH POCKET
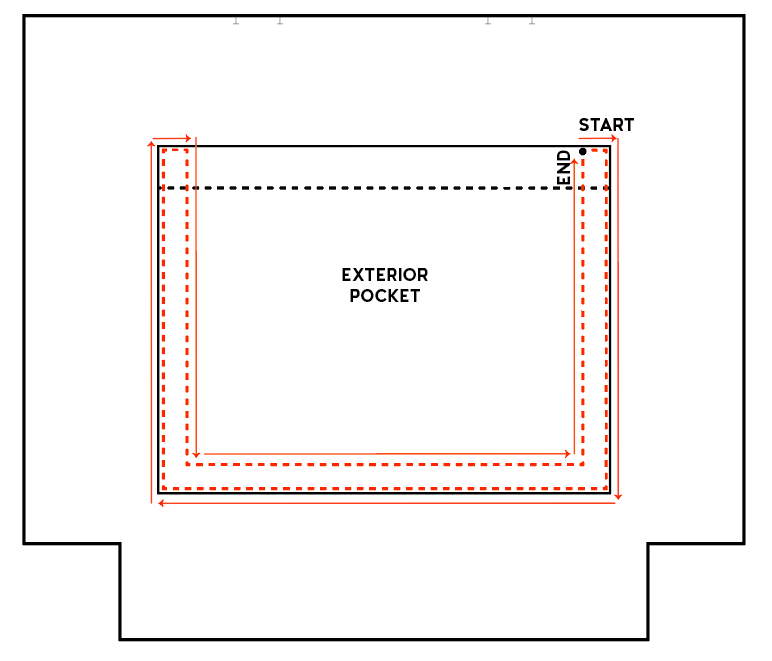
We start with the interior pocket first and the stitching will be covered after we sew the larger exterior pocket. Edgestitch the pocket in place and then topstitch the pocket at 1/2” (1.25 cm) to enclose the seam allowance. You can lengthen your stitch length during this step. Sew both rows of stitching in one step by following the illustration.
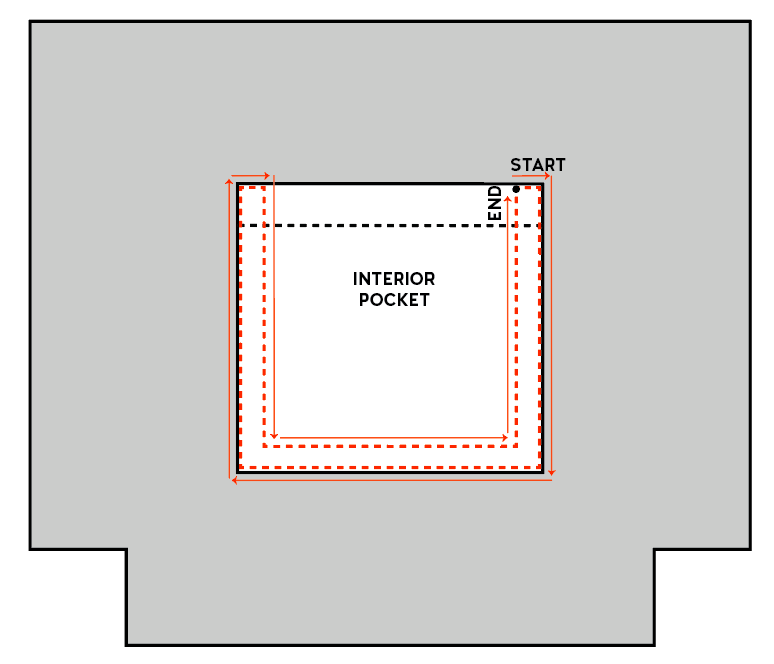
Starting at the top right, edgestitch around the pocket and then come back down for the interior topstitch line back to the start. Press the pocket.
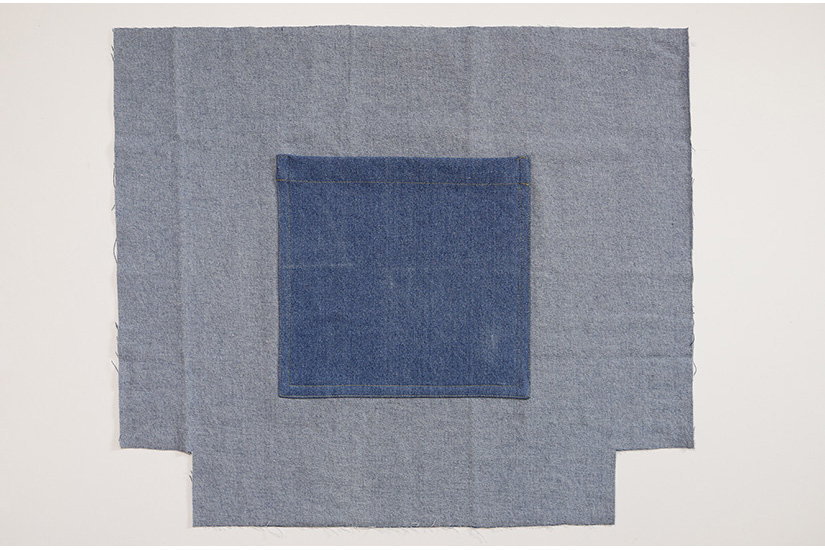
SEW THE EXTERIOR PATCH POCKET
Pin the larger exterior pocket to the right side of the tote front, using the “+” markings for placement. This will cover the interior pocket stitching.

Repeat the same edgestitching and topstitching. Following the illustration.
Press the pocket.
Next, we’ll be sewing the bottom and side seams with flat felled seams and finishing the corners with French seams.
Sun Tote Sew Along Posts: Getting Started | Sew the Straps & Pockets | Sew the Flat Felled Seams & French Seams | Attach the Straps & Hem the Top


