You can review the photos below or we also have a video clip of the clean fishing the armholes HERE.
Roll the Bodice to Finish the Armhole
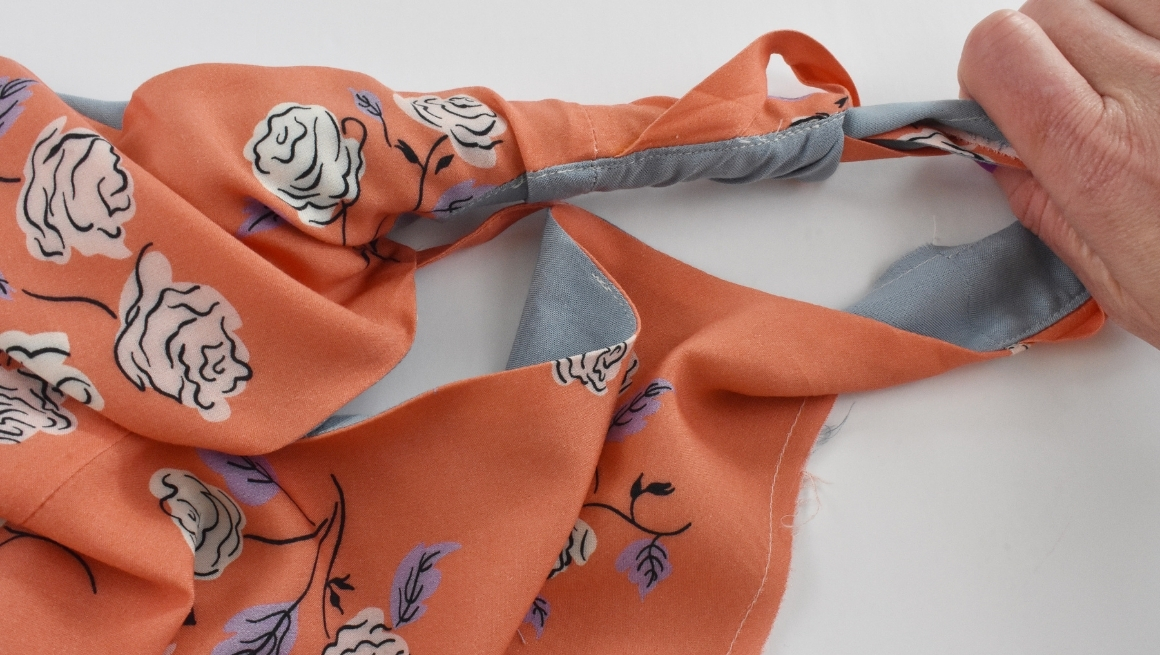
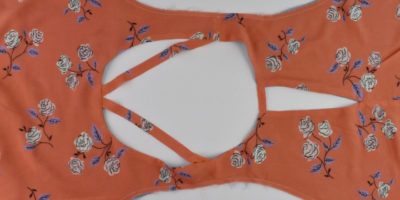
To clean finish the armhole, take the bodice and roll one long end towards the other end. Continue all the way up until all of the bodice is rolled up in the small width of the armhole strap.

Once you have done that, leave the fabric rolled in the middle but lay the main and lining flat with the right sides up.
Sew the Armhole
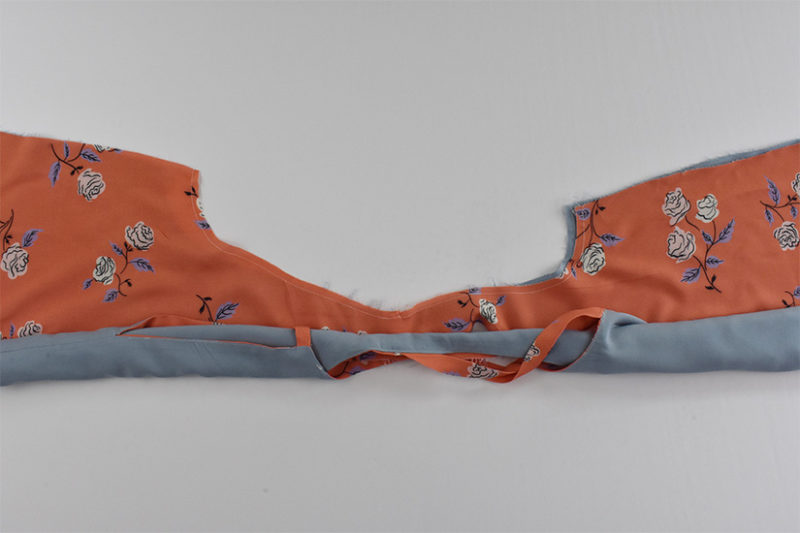
Take the right side of the lining armhole and flip it around so it’s touching the right side of the main armhole with the tank rolled inside. Pin the right sides together with the cut edges lined up.
Sew the armhole in one continuous seam from side seam to side seam. Clip the Curves
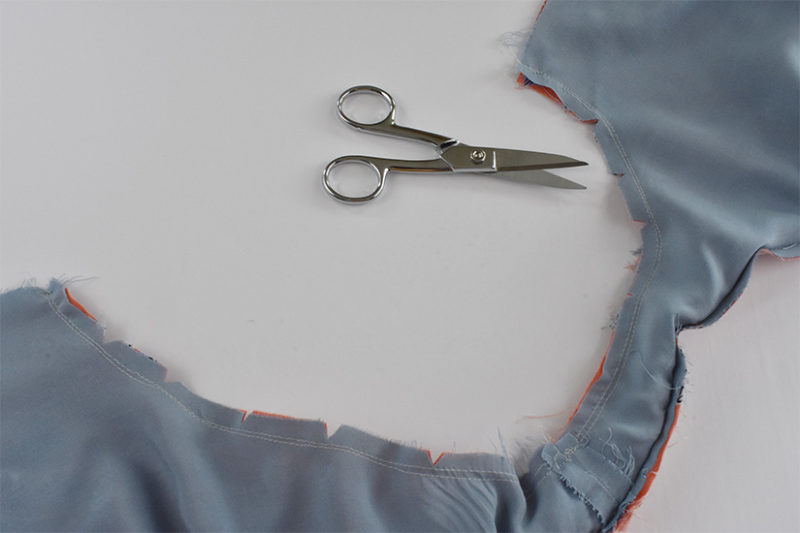
Turn the Tank Right Side Out
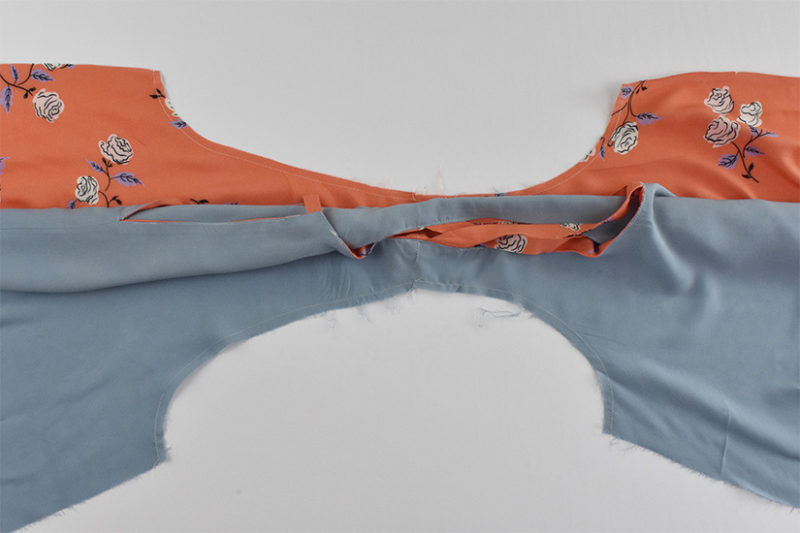
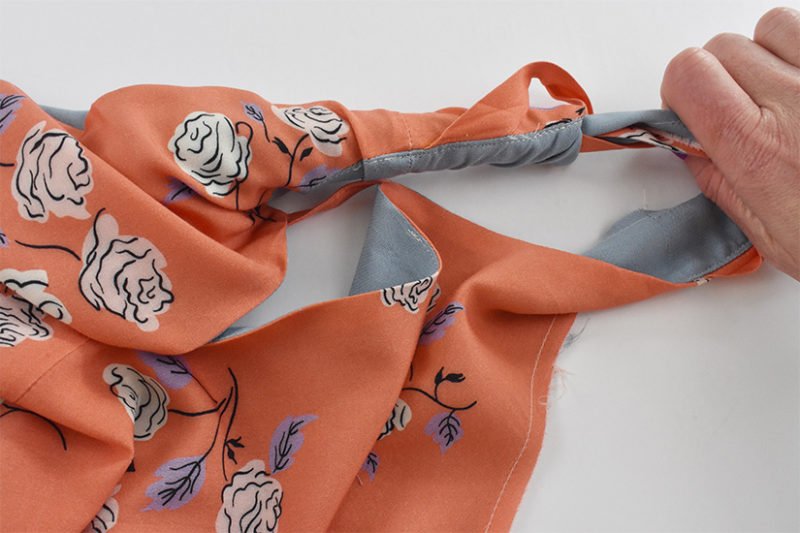
Pull the roll of fabric out from the hem so that the tank top is right side out. You will be pulling the entire tank through this strap so you will need to tug a bit. Go back to “Roll the Bodice to Finish the Armhole” (Step 7 for View A and Step 15 for View B) and repeat for the other armhole. Turn right side out.
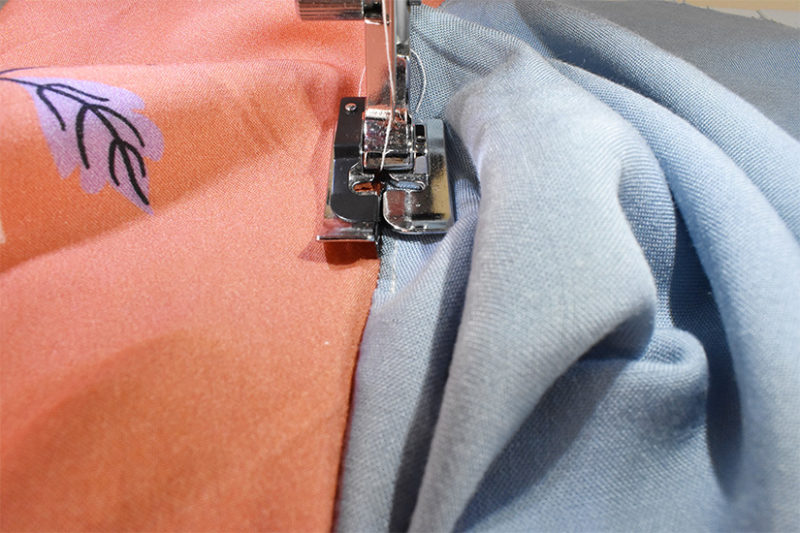
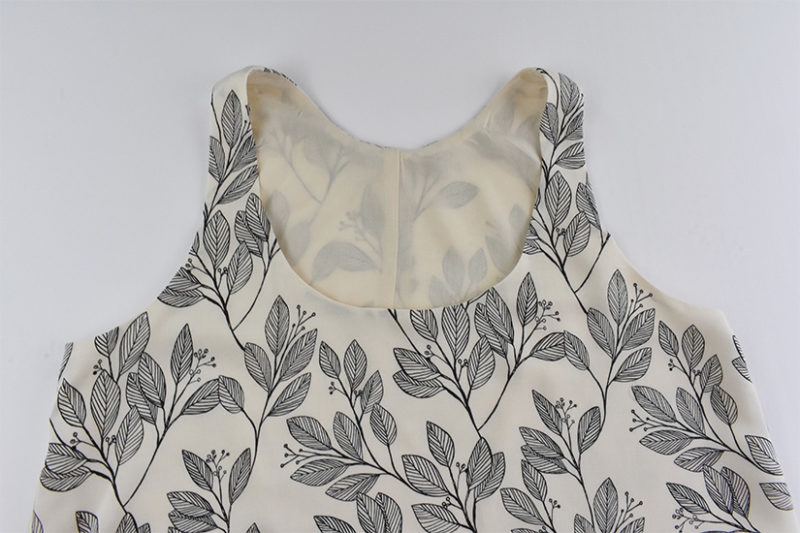
Understitch the Armhole
Open the tank and lay it flat with the lining right side up. The side seams will not be sewn yet. Understitch the armhole as far as you can go up the strap. Make sure to catch the seam allowance towards the lining.
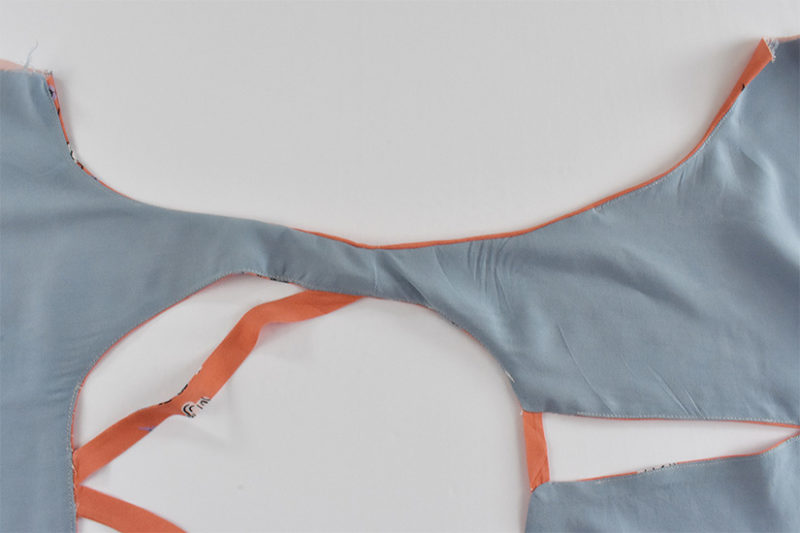
Turn right side out and press the armholes.
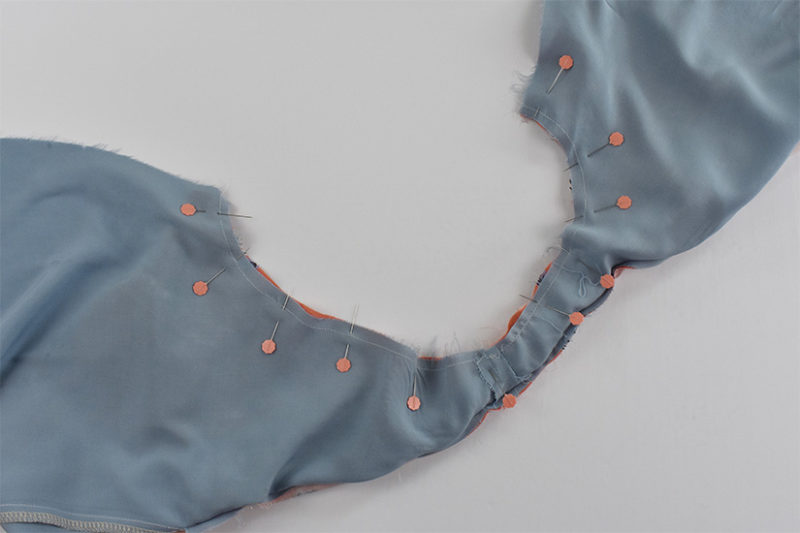
Sew the Side Seams
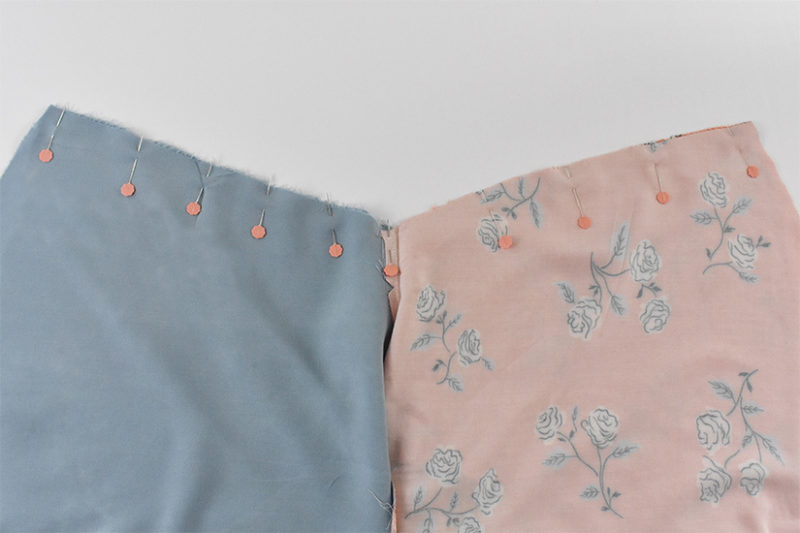
Flip the tank so that the right sides of the main and lining side seams are facing each other.
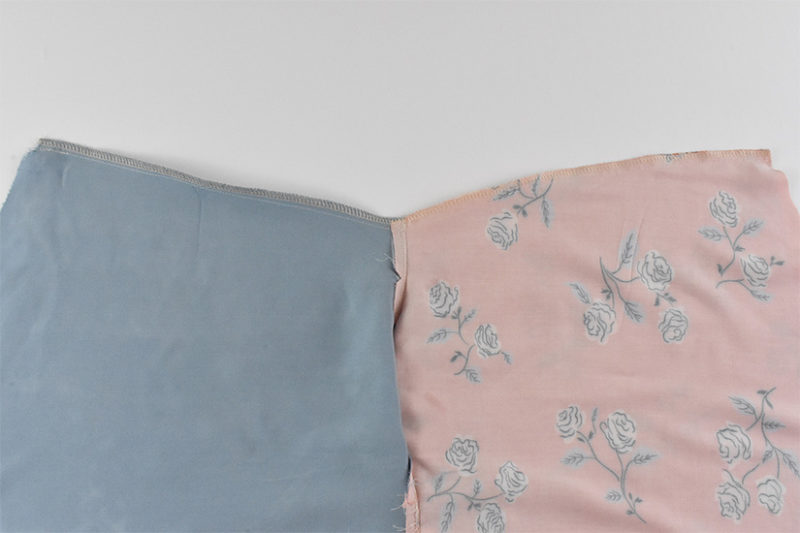
Sew a continuous seam from the main hem to the armhole and back down to the lining hem. Make sure the armhole seam allowances are pressed towards the lining. Finish the seam. Repeat for the other side.
Turn Right Side Out and Press
Turn the tank right side out and press the side seam and armholes.
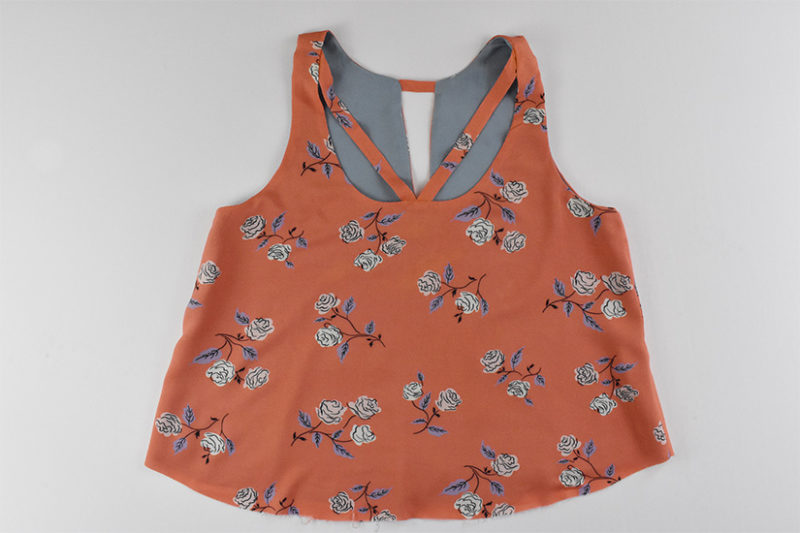
Almost finished! Next we’ll hem the main and lining of your tank.
Victory Sew Along Posts: Getting Started | Sew Darts and Center Back | Sew Neckline A | Sew Neckline B | Sew Armholes & Side Seams | Sew the Hem