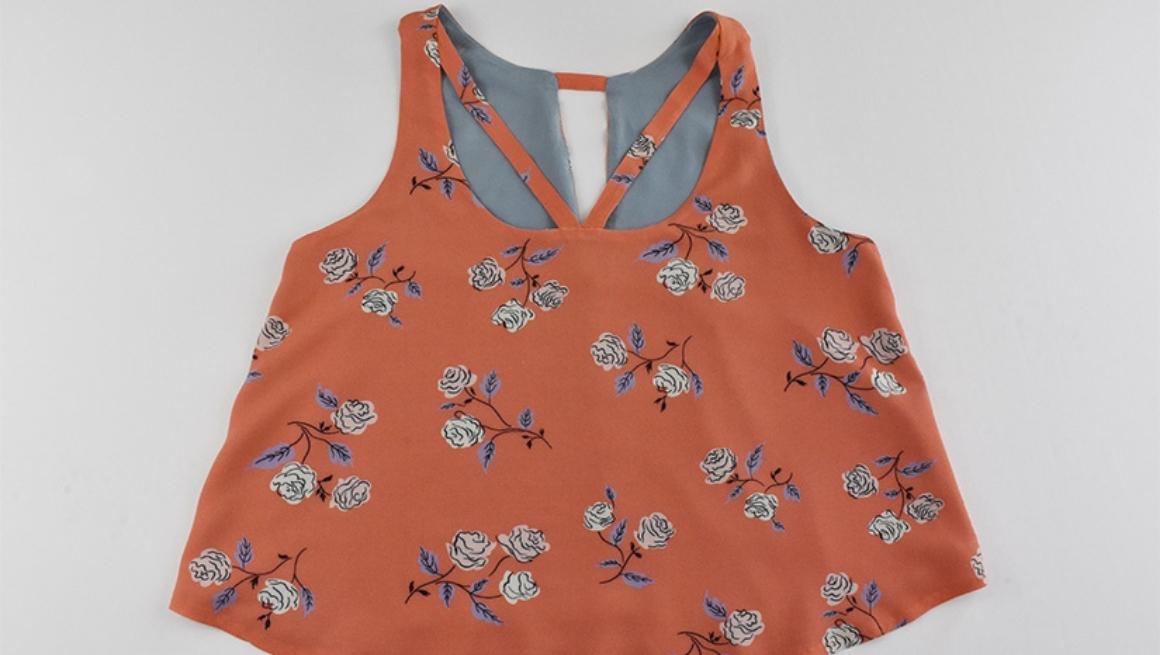
You have made it to the final steps of sewing your Victory Tank! Only your hem is left, and then you are ready to wear your Victory!
STITCH MAIN HEM GUIDE & FOLD UP EDGE
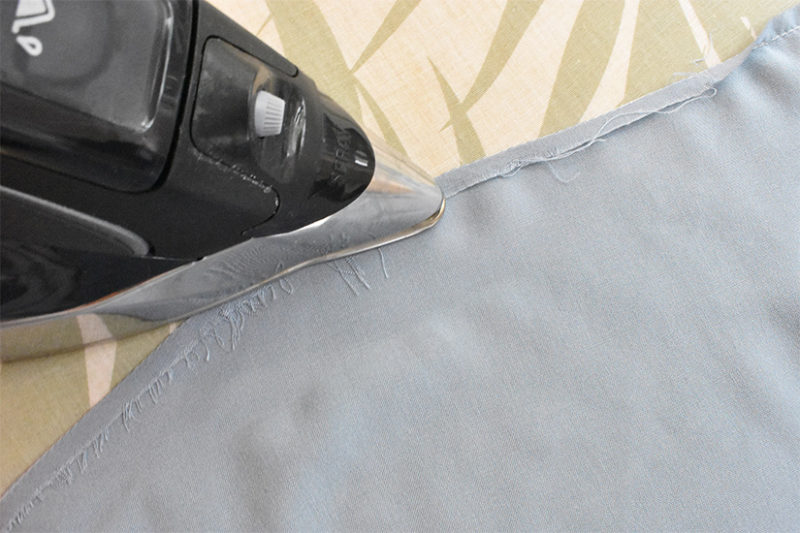
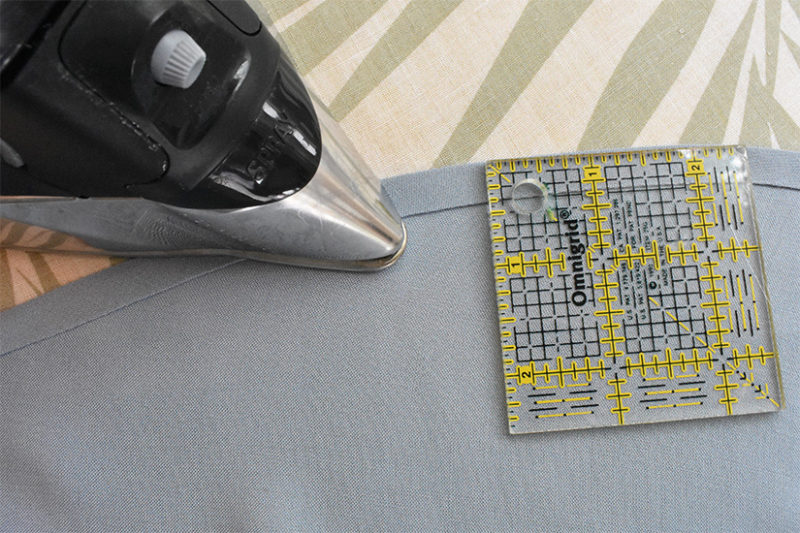
Prep the main tank hem by stitching a fold guide at 1/4″ (0.6 cm). I prefer sewing a hem guide when sewing a double-turn hem. You can always just press up your hem without a guide if you prefer
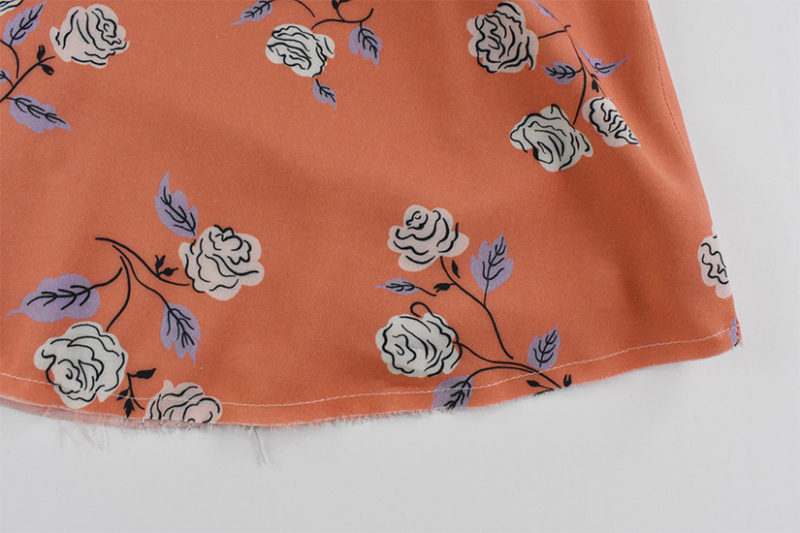
Press wrong sides together.
FOLD AGAIN & HEM MAIN
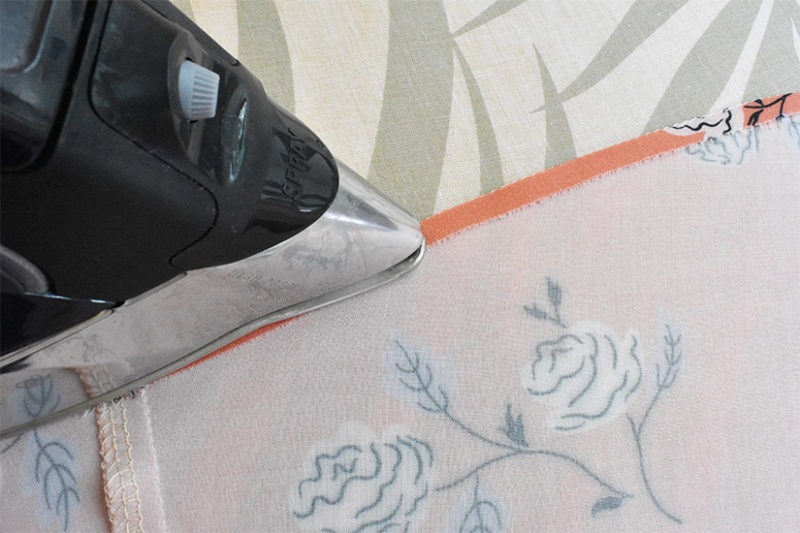
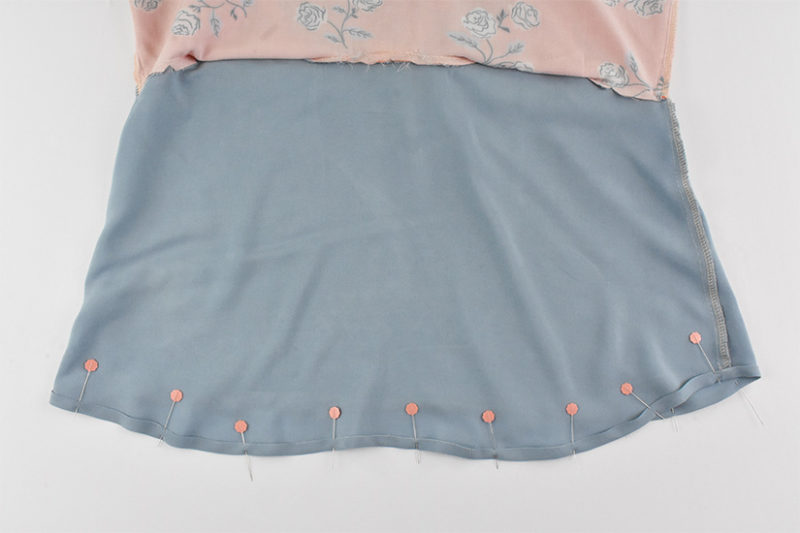
Fold the main hem up again at 3/8″ (1 cm).
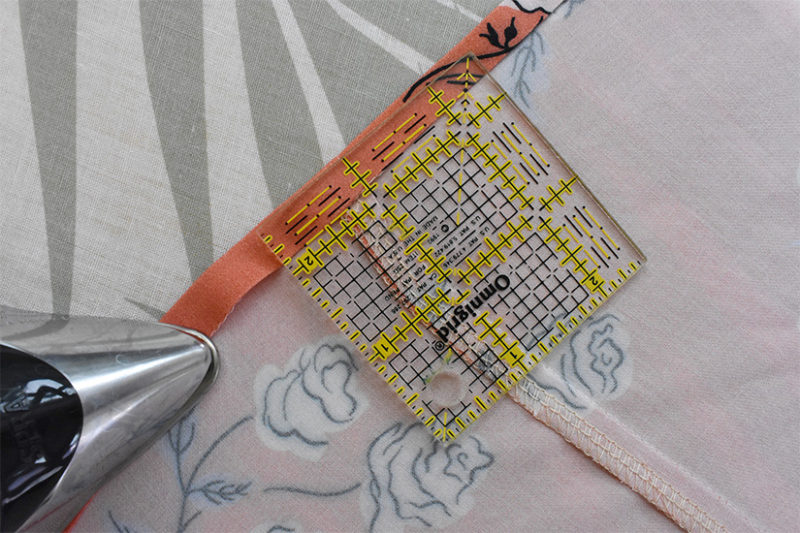
Pin in place.
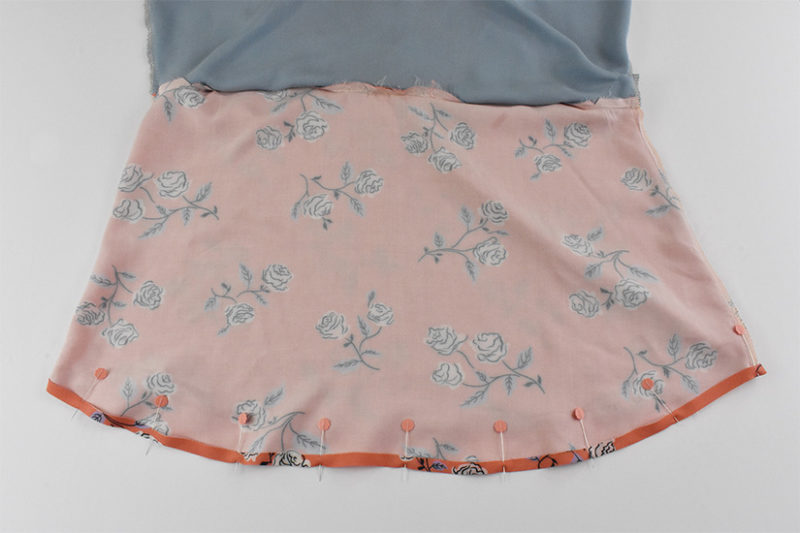
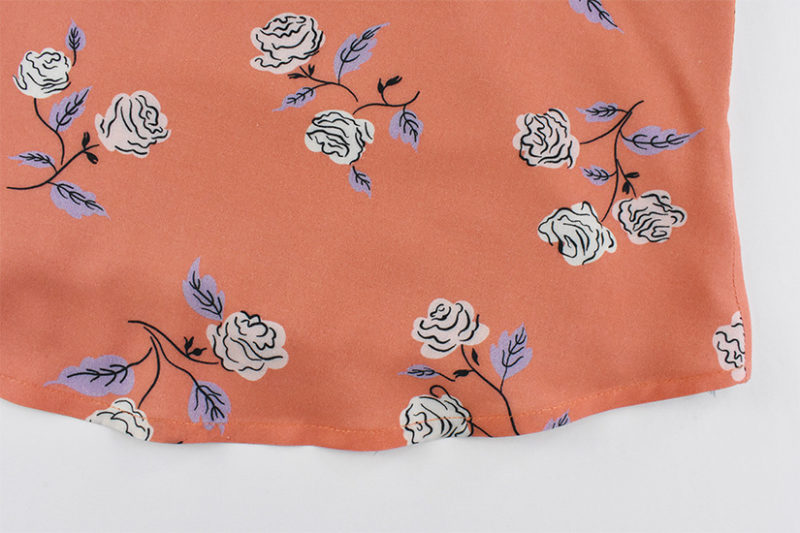
Sew from the wrong side, edgestitching the double-folded hem in place. Make sure your bobbin thread matches the right side of your garment. Press the hem. Next, you’ll repeat these steps for the lining.
SITCH LINING HEM GUIDE & FOLD EDGE UP
Prep the lining tank hem by stitching a fold guide at 1/4″ (0.6 cm). Press the hem up 1/4″ (0.6 cm), wrong sides together.
FOLD AGAIN & HEM LINING
Fold the lining hem up again at 3/8″ (1 cm).
Pin in place.
Sew from the wrong side, edgestitching the double-folded hem in place. Make sure your bobbin thread matches your lining fabric.

Give your garment a final press.
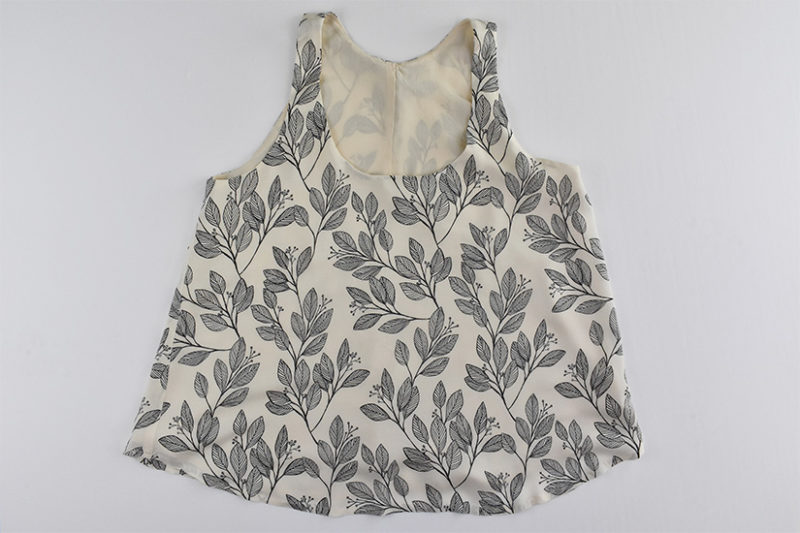
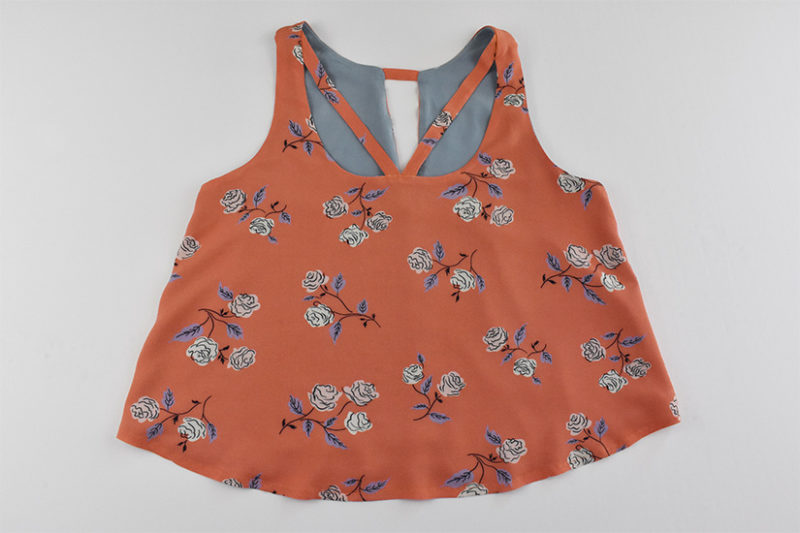
That’s it, you are all finished with your Victory Tank! We hope you found this Sew-Along helpful!
Victory Sew Along Posts: Getting Started | Sew Darts and Center Back | Sew Neckline A | Sew Neckline B | Sew Armholes & Side Seams | Sew the Hem

