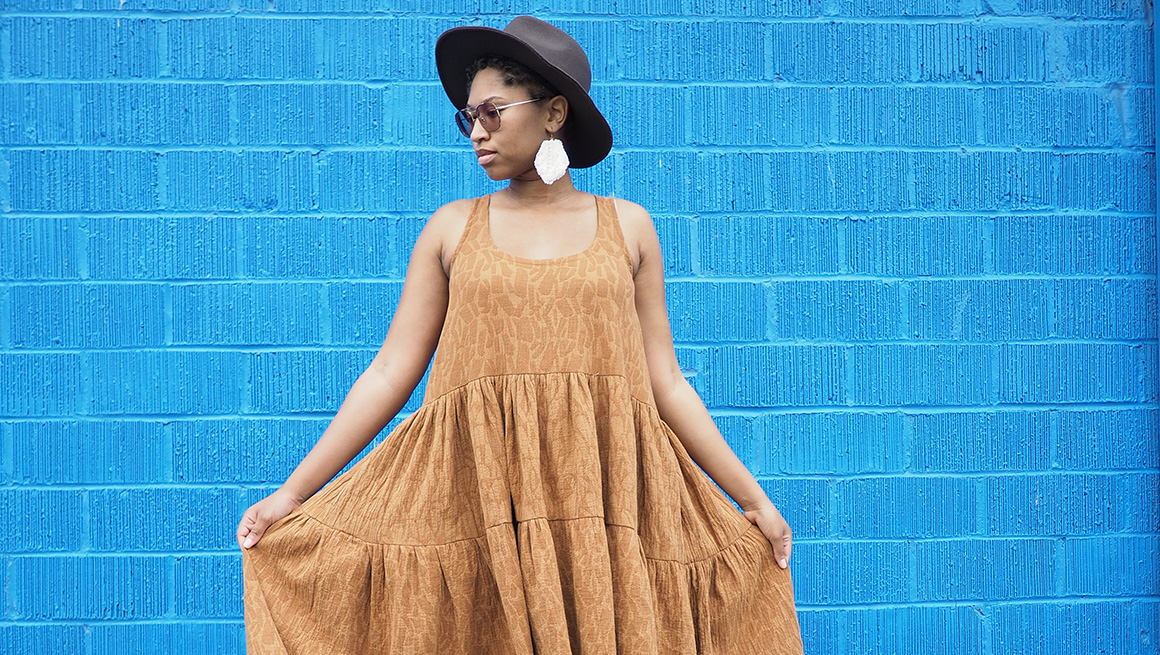
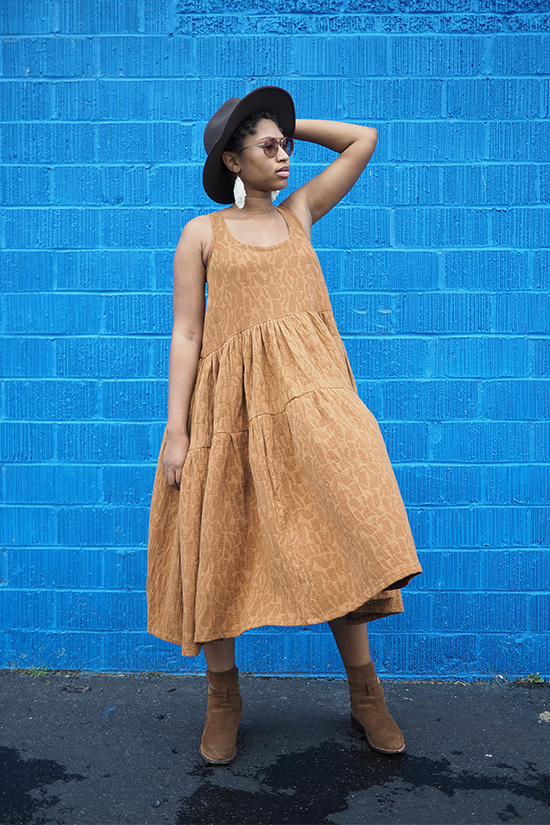
Hey there! I’m Alexis of therealalexisbailey.com and @therealalexisbailey on Instagram! Today I’m sharing an easy way to turn the Victory Tank into your favorite summer dress! The Victory Tank is one of my favorite patterns and I loved turning it into a fun dress that can be worn in pretty much any season! Read on for the detailed Victory tiered dress tutorial.
Inspiration
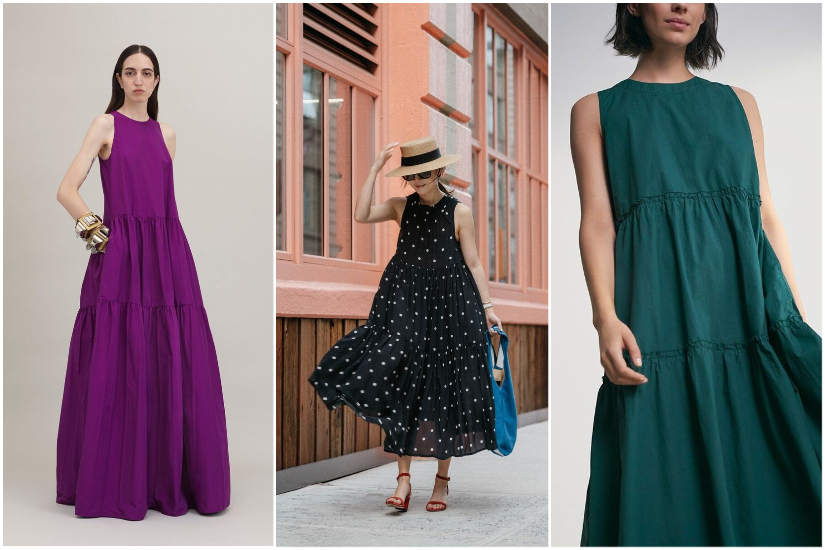
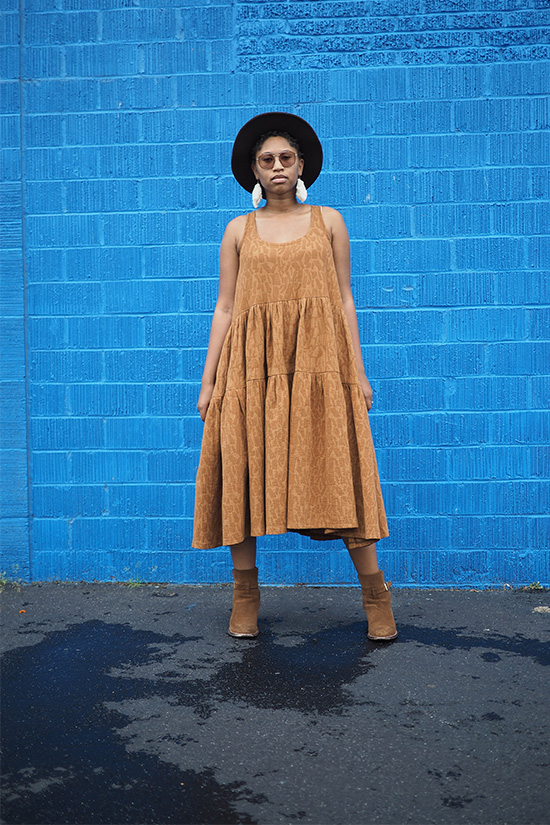
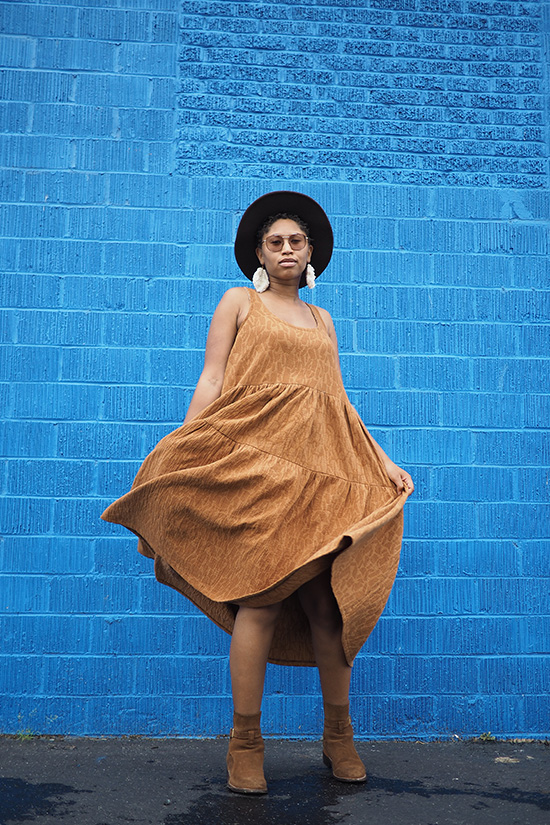
I gained inspiration from these beautiful tiered dresses. The full look of the tiers combined with the slightly fitted yet loose bodice really spoke to me as a person with a pear shaped figure and I love anything that twirls.
Fabric
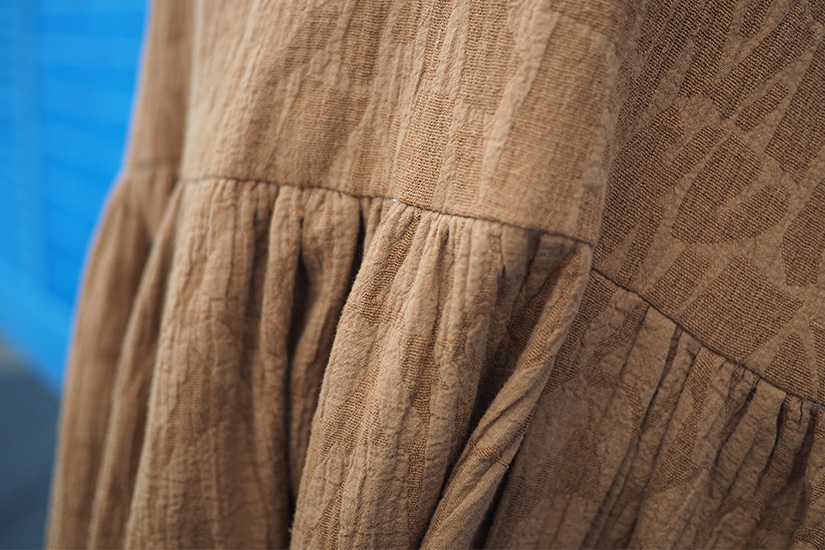
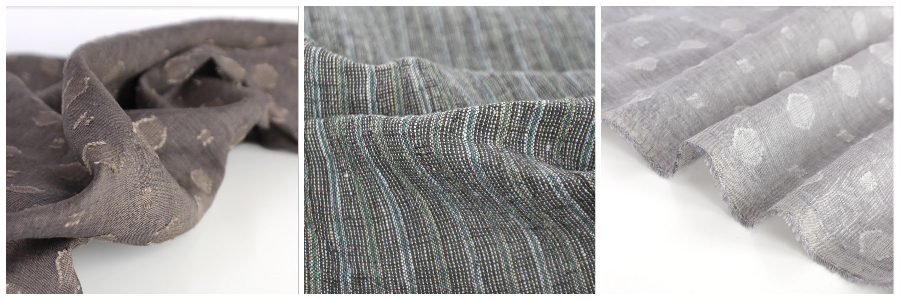
I made my dress from 4 yards of a textured cotton viscose jacquard from Blackbird Fabrics which is now sold out, but they have some awesome linen jacquard and washed linen options (shown below) that would be perfect for this dress! Be sure to check them out AND read to the bottom for something special for you from their shop so you can get started making a tiered dress of your own!
For this tutorial you’ll need:
- The Victory Tank Pattern
- 4 Yards (M) of Fabric
- Measuring Tape
- Tracing Paper and Pen/pencil
- Pattern weights
- Yardstick or ruler
For this tutorial you’ll need the following measurements:
- Shoulder to true waist
- True waist to hip + 1″
- Hip to desired length of dress +1″

From the Victory Tank Pattern you will need the following pattern pieces:
- #1 Victory Tank Top Front Bodice MAIN
- #2 Victory Tank Top Back Bodice MAIN
Pattern Adjustments
- Grab your Victory Tank Top pattern front bodice piece (already cut to size). Using your shoulder to waist measurement, measure from the top of the shoulder. Put a mark at the end point of the measurement and draw a horizontal line extending the full width of the pattern. Fold away or cut everything below the horizontal line. This is your new bodice piece.
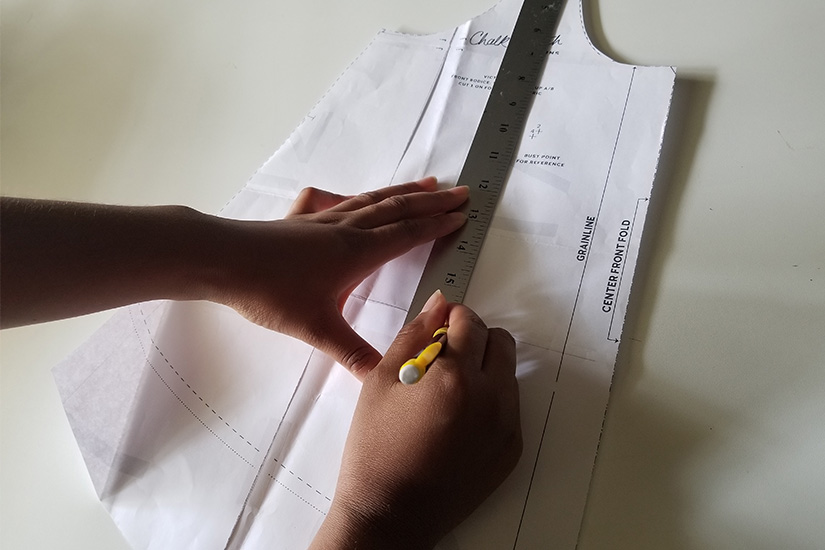
- Do the same thing for the BACK Bodice piece only add an extra inch in length so that it is even in length with the front bodice piece.
Drafting the Tiers
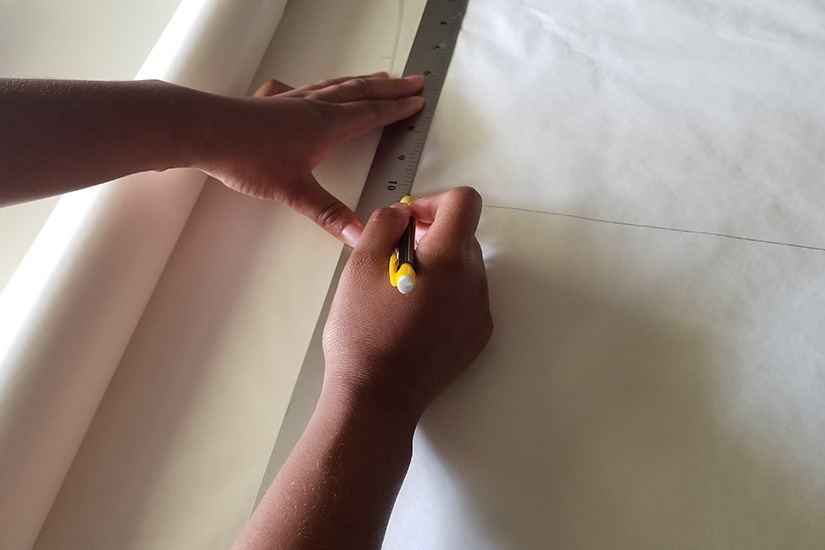
- Using your waist to hip measurement, measure from the top of your paper down to the measurement you took.
- Measure the width of the bottom of your bodice and extend the horizontal line of your tier this length.
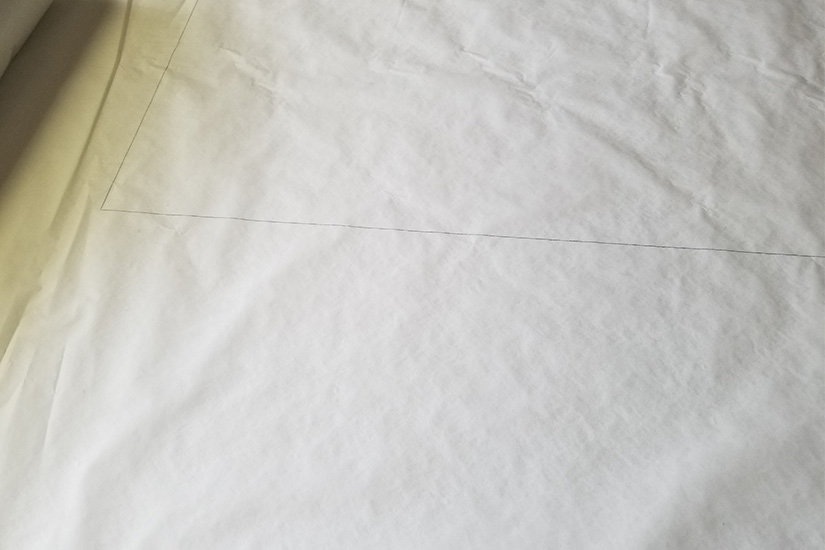
- Since your middle tier is the width of the bottom of the bodice multiplied by two this tier will be cut on the fold. For added volume you will be cutting 2 middle tier pieces. Mark your pattern accordingly and cut out. (NOTE: Depending on size and desired volume of the middle tier you may have two or three middle tier pieces.)
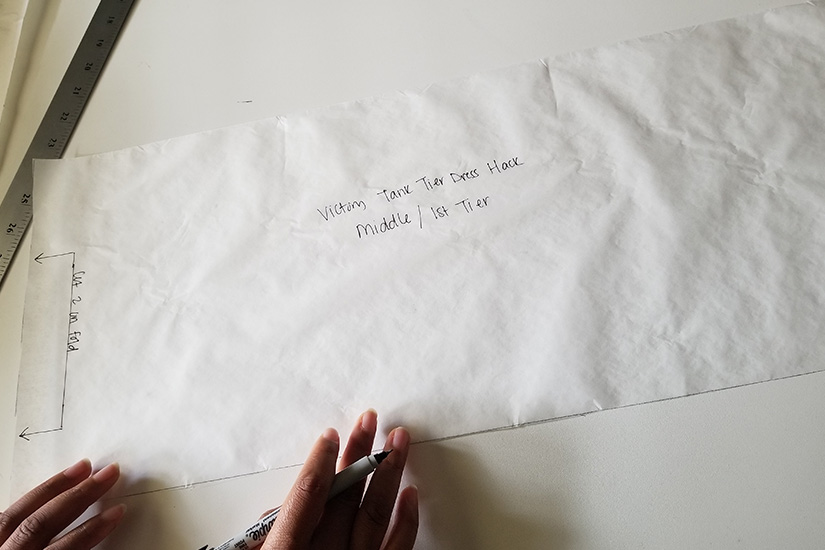
- Repeat the same steps for the bottom tier instead using your hip to desired length measurement but cutting the same length as the middle tier (. For this piece you will cut 3 to 4 pieces depending on size. Mark your pattern accordingly including the fold markings and pieces needed to be cut.

Constructing Your Dress
- Assuming you have cut out all of your pieces, sew your bodice pieces together at the shoulder and side seams right sides together. Finish the bodice neck and armhole openings using the bias binding method found HERE.
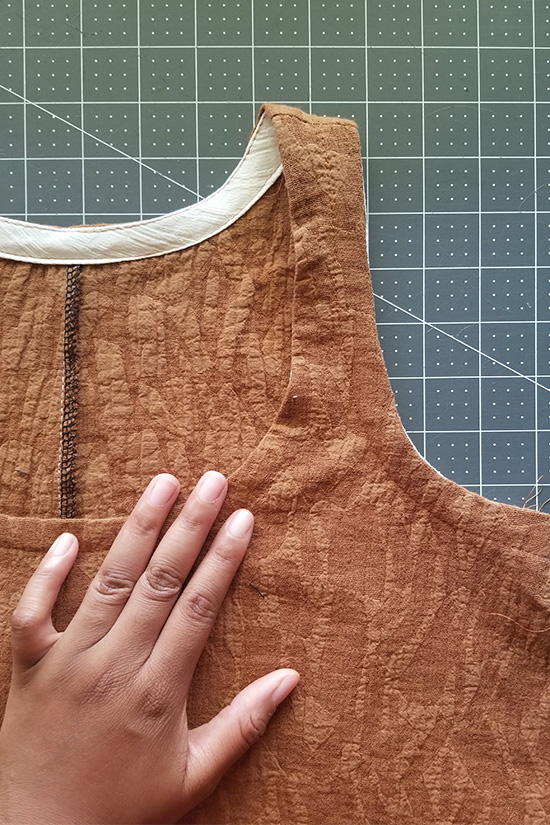
- Finish the bottom edge of the bodice and all raw edges of the tiers with a serger or a zig zag stitch. Sew the short edges of the tiers right sides together using a 1/2″ seam allowance. TIP: save time by hemming the bottom of your bottom tier now instead of later using a 1/2″ hem allowance.
- Gather the top of each tier using your preferred gathering method. I like to sew two parallel lines of stitching along the length of the top of each tier and gather. The middle tier should be gathered to the width of the bottom of the bodice, while the bottom tier should be gathered to the width of the bottom of the fully gathered middle tier.
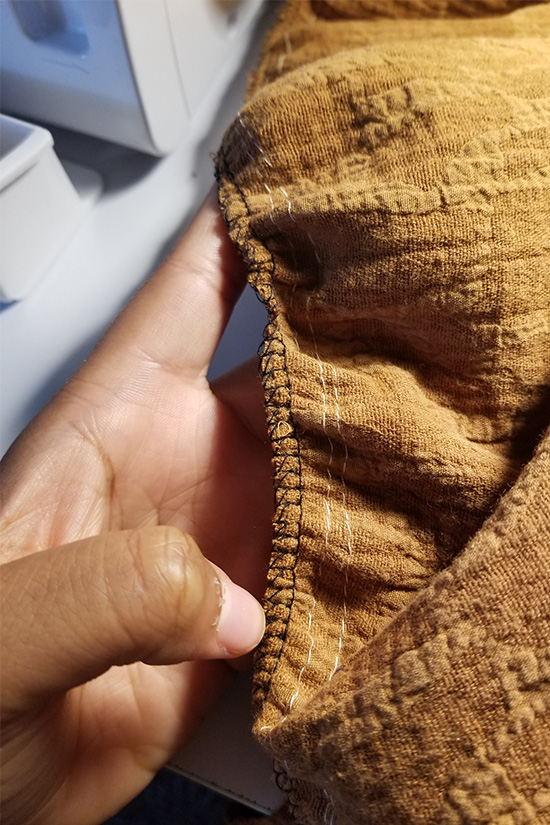
- Place the bodice (right side out) inside the middle tier, meeting the bottom edges.
- Flip the middle tier up keeping the bottom edges together. Line up the side seams how you want them and pin the bodice to the tier, adjusting the gathers if necessary. Sew using a 1/2″ seam allowance.
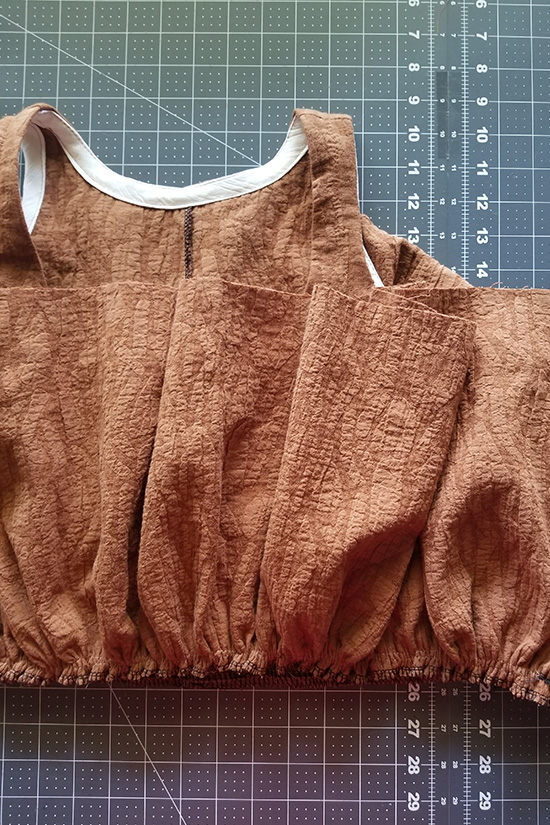
- Repeat these steps for the bottom tier to attach to the middle tier. If you didn’t hem your bottom tier earlier then hem the bottom of your dress using a 1/2″ hem allowance and remove your gathering stitches. Press all of your tier seams upward and you’re done!
Final Look
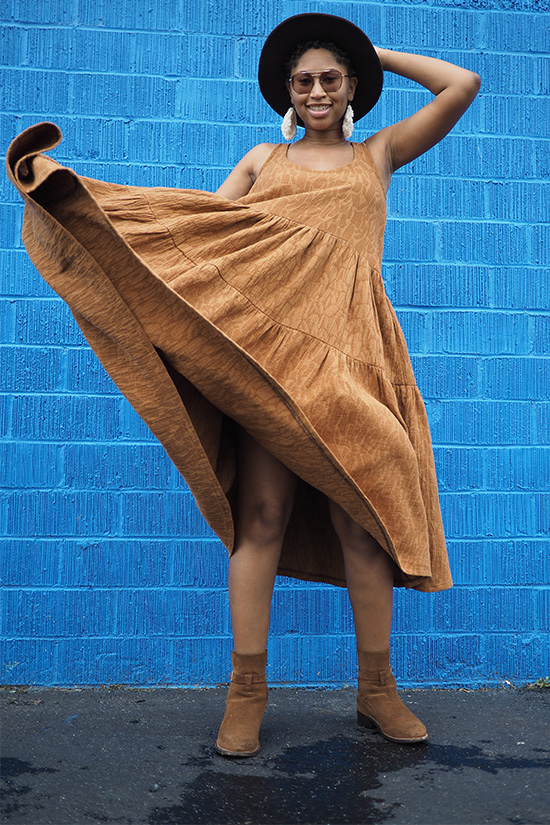
Thank you Alexis for writing this Victory Tank tiered dress tutorial!

Thank you to our sponsor Blackbird Fabrics for collaborating on this post. Use code: “C&NVICTORY10” for a 10% discount valid towards the purchase of fabric. Patterns, notions, and gift cards are excluded. Code expires July 24th.

