Before you begin to sew, we recommend that you read over all of the instructions and make sure you are familiar with the seam allowances and markings. Our first step is to assemble the fronts and backs of the raglan by attaching the ruffles. This does not apply to View A, so if you are sewing the cropped view, skip ahead to the next post. Let’s get started!
SEAM ALLOWANCE
Unless noted, the seam allowance included is 3/8″ (1 cm) for joined seams. All joined seams should be sewn with a stretch stitch.
MARK QUARTER NOTCHES ON THE RUFFLES
Clip or mark the notches indicated by “T” marks and “triangles”. Add quarter notches on the ruffle pieces. One notch in the center and quarter notches in between the center notch and side seams.
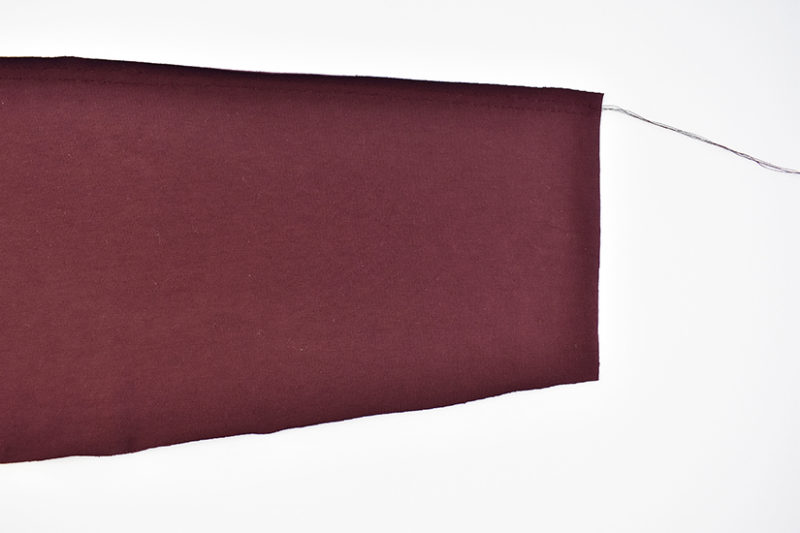
SEW BASTE STITCH LINES – VIEWS B & C
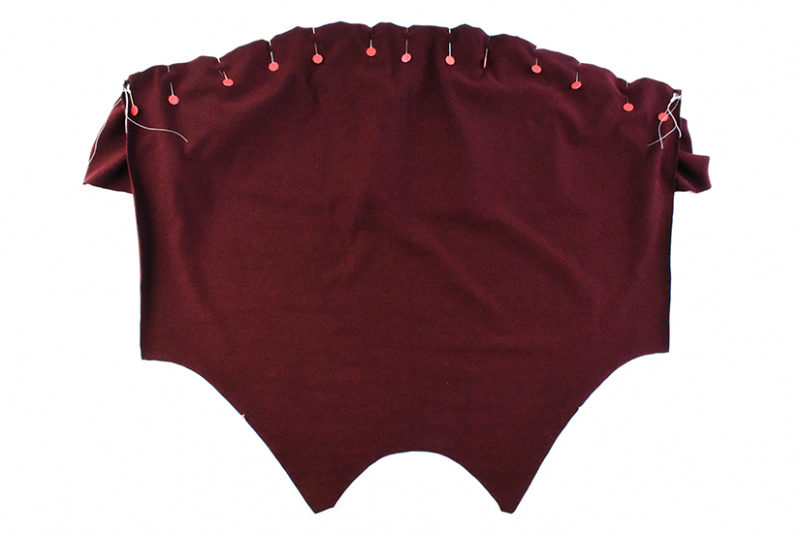
Before gathering, make sure you have added quarter notches to your ruffle pattern pieces. Change your stitch length to the longest possible length. Sew two parallel baste stitch lines at the top of the ruffles. Make sure not to backstitch at the beginning or end of your stitch lines and leave long ends to your threads.
- The first line is 1/4” (0.6 cm) away from the fabric edge.
- The second line is 1/2” (1.25 cm) away from the fabric edge.
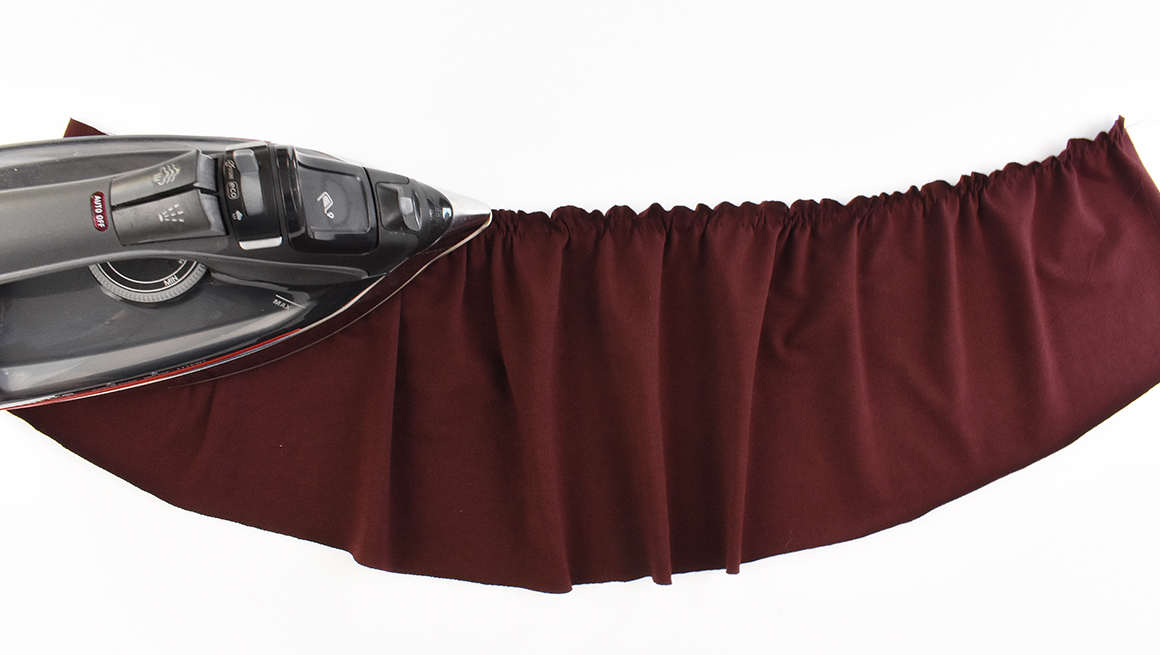
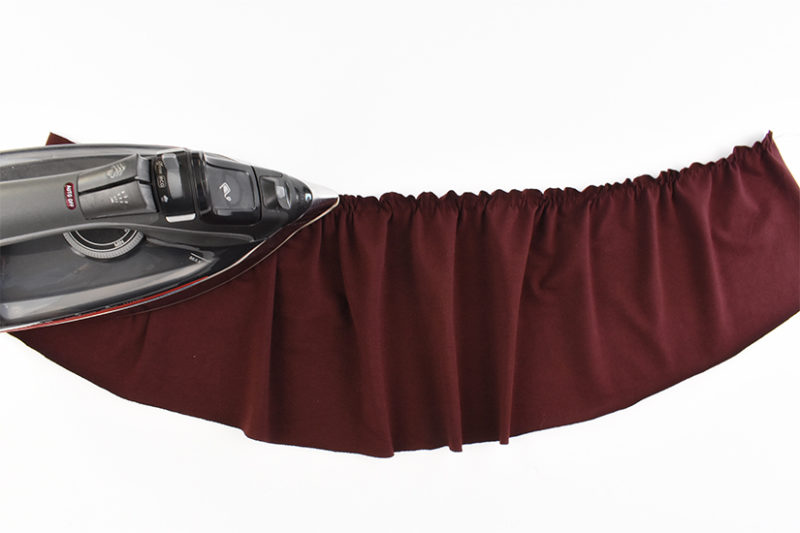
GATHER THE RUFFLES
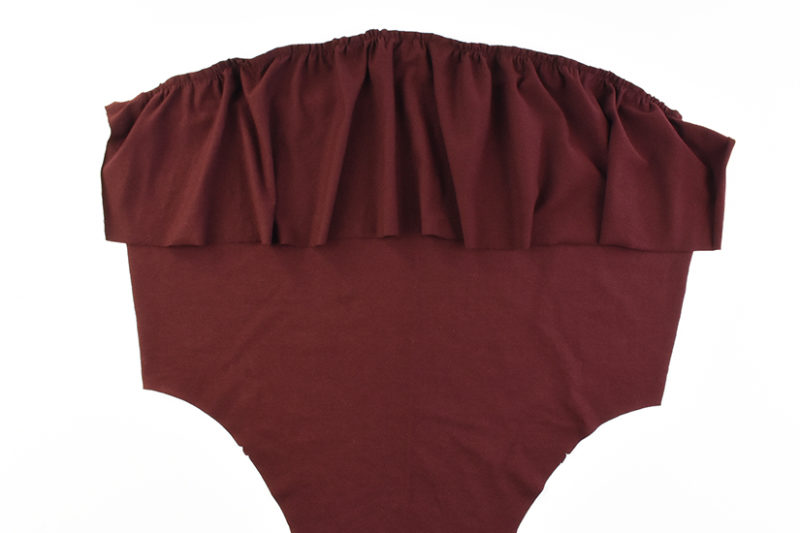
Pull the bobbin threads to gather the ruffles. Press the gathers in place to help when distributing the gathers.
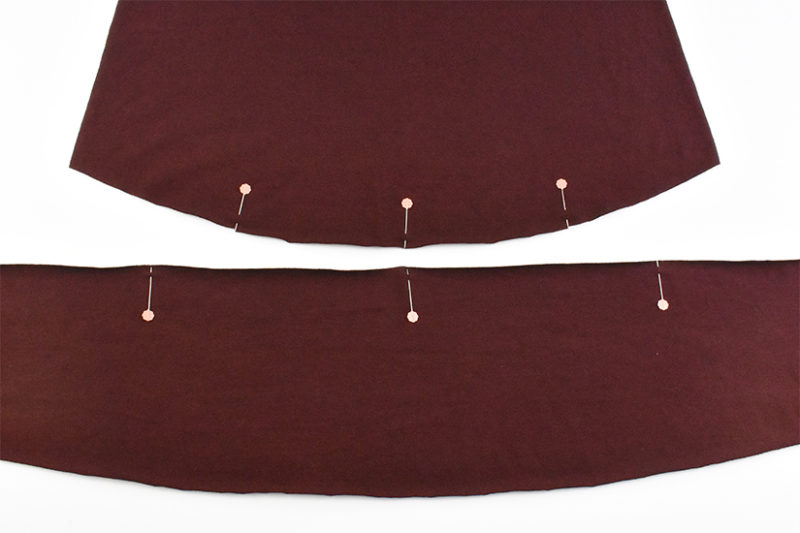
SEW THE BODICE TO THE RUFFLE
With the right sides together, pin the ruffle to the front bodice, matching the center notch and quarter notches to keep the gathers even. Sew and repeat for the back bodice and ruffle. Alternatively, you can straight stitch the ruffle to the bodice and then overlock the seam.
Now we’re ready to sew the sleeves and side seams.
Waterfall Raglan Sew Along Posts: Getting Started | Gathering & Attaching Ruffle | Sew Sleeves & Side Seams | Attach Neckband & Hem Ruffle
