
We are excited to add the Waterfall Raglan Sew Along to our library. In this sew along we will be sewing View B, the women’s ruffle top. The steps are the same for View C and for both of the mini Waterfall views. We hope that this sew along will provide all of the information you need to sew this pattern. We also have community lead sewing support in our Facebook group, or you can email directly for additional support.
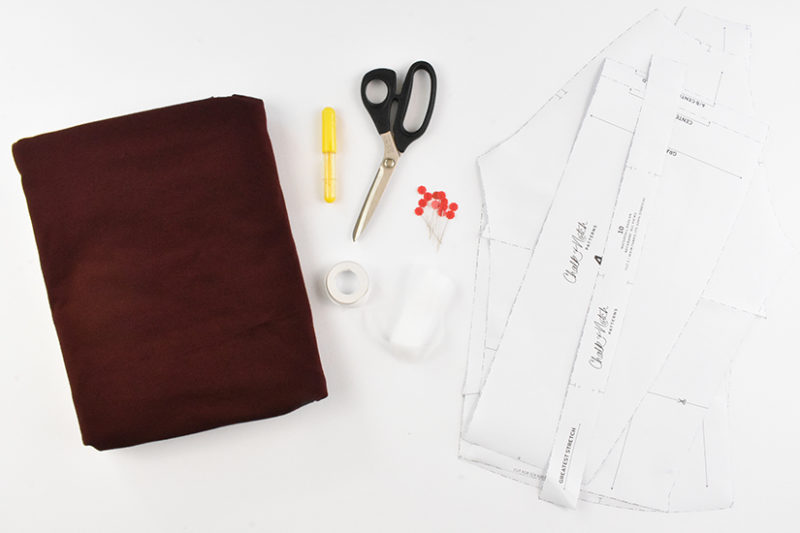
GATHERING SUPPLIES
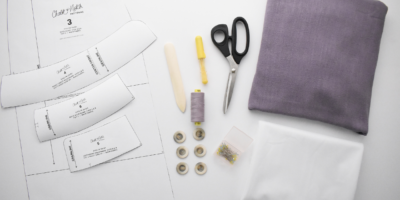
Before we begin sewing, here’s what you’ll need for your Waterfall Raglan:
- The Waterfall or Mini Waterfall pdf pattern in your correct size.
- Washed and pressed knit fabric. If you’d like more inspiration and links to fabric and notions, check out our Waterfall fabric post here.
- Small piece of tricot or other lightweight fusible interfacing.
- 3/4″ (2 cm) fusible hem tape
- Tailor’s Chalk or washable fabric marker
TIPS FOR CUTTING
When cutting your fabric and pattern, here are a few important notes to remember:
- Your fabric should be pre-washed the same way you plan to launder your garment.
- Read the information on each pattern piece.
- Grainlines are indicated on the pattern pieces. Place pattern pieces on the grainline, parallel to the selvage or fold.
- If the pattern says “Cut 2,” the pieces are mirror images of each other.
- If the pattern says “Cut on FOLD,” place the pattern edge exactly along the fold of the fabric.
- Clip all notches at 1/4” (0.6 cm) or less.
- Transfer all pattern markings to your fabric with a washable marker or chalk.
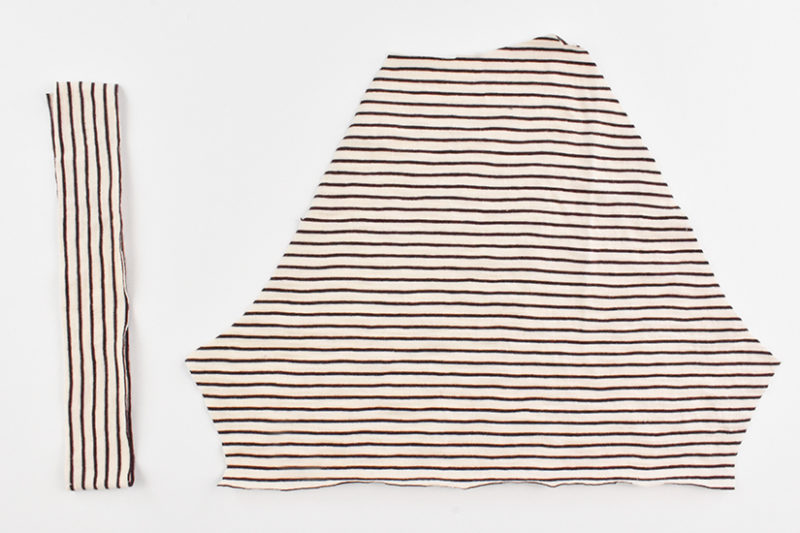
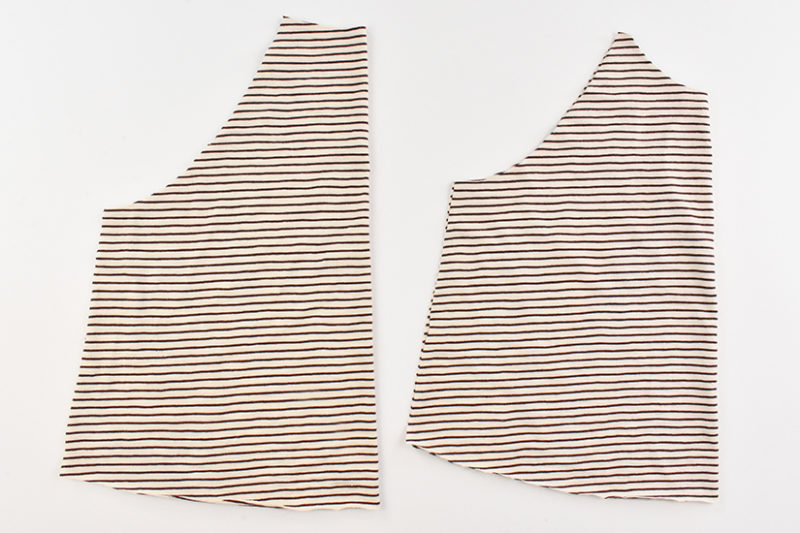
CUT LISTS
VIEW A
- #5 OR #6 CROPPED FRONT – CUT 1 ON FOLD
- #7 CROPPED BACK – CUT 1 ON FOLD
- #9 SLEEVE – CUT 2
- #10 NECKBAND – CUT 1
VIEW B
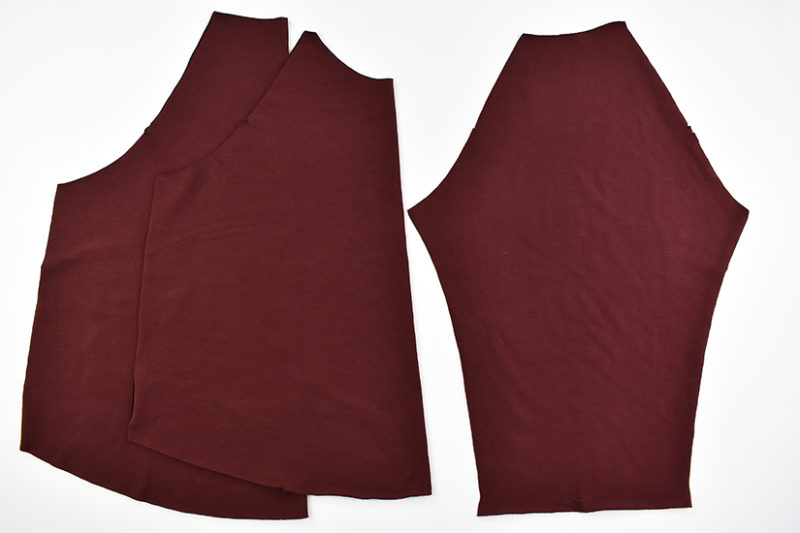
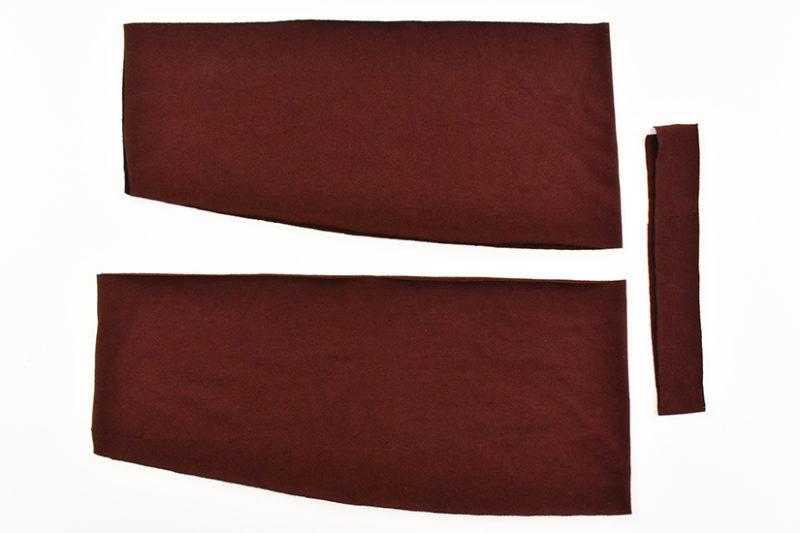
- #1 OR #2 TOP FRONT – CUT 1 ON FOLD
- #3 TOP BACK – CUT 1 ON FOLD
- #4 TOP RUFFLE – CUT 1 ON FOLD (FRONT FOLD LINE, REFERENCE BUST CUP SIZE) & CUT 1 ON FOLD (BACK FOLD LINE)
- #9 SLEEVE – CUT 2
- #10 NECKBAND – CUT 1
RIBBING CUT LIST
- If your fabric as less than 75% stretch or less than 90% recovery, use rib fabric for the neckband (#10).
Pattern layout will vary based on your garment size and fabric width, but take your time and make sure the grainlines are parallel to the fabric selvage. Once you have all your pattern pieces cut, you’re ready to begin sewing.
TIPS FOR SEWING KNITS
- You do not need an overlock machine to sew knits; you can use your regular sewing machine. For sewing joined seams, set your machine to a narrow zig zag or a stretch stitch.
- For seams where you will not be utilizing the fabric stretch, you can also use a regular straight stitch.
- If you use an overlock machine, remember the joining seams have a 3/8” (1 cm) seam allowance and trim the correct amount.
- When hemming you can use a twin needle, a narrow zig zag stitch, a stretch stitch or coverstitch.
- If you find that your fabric stretches while sewing, try a walking foot.
- If you are having trouble keeping your hems flat, you can try fusible hem tape.
Waterfall Raglan Sew Along Posts: Getting Started | Gathering & Attaching Ruffle | Sew Sleeves & Side Seams | Attach Neckband & Hem Ruffle