Tutorial | Woven Waterfall Raglan
Hello, sewing friends!! I'm Heidi of Handmade Frenzy and @heidi_handmadefrenzy on Instagram!
I am so thrilled to be back here on the blog, sharing another hack tutorial with you! Today I am going to show you how I took the Waterfall Raglan Pattern, designed for knits, and used a woven fabric to recreate a fun and popular style of shirt!

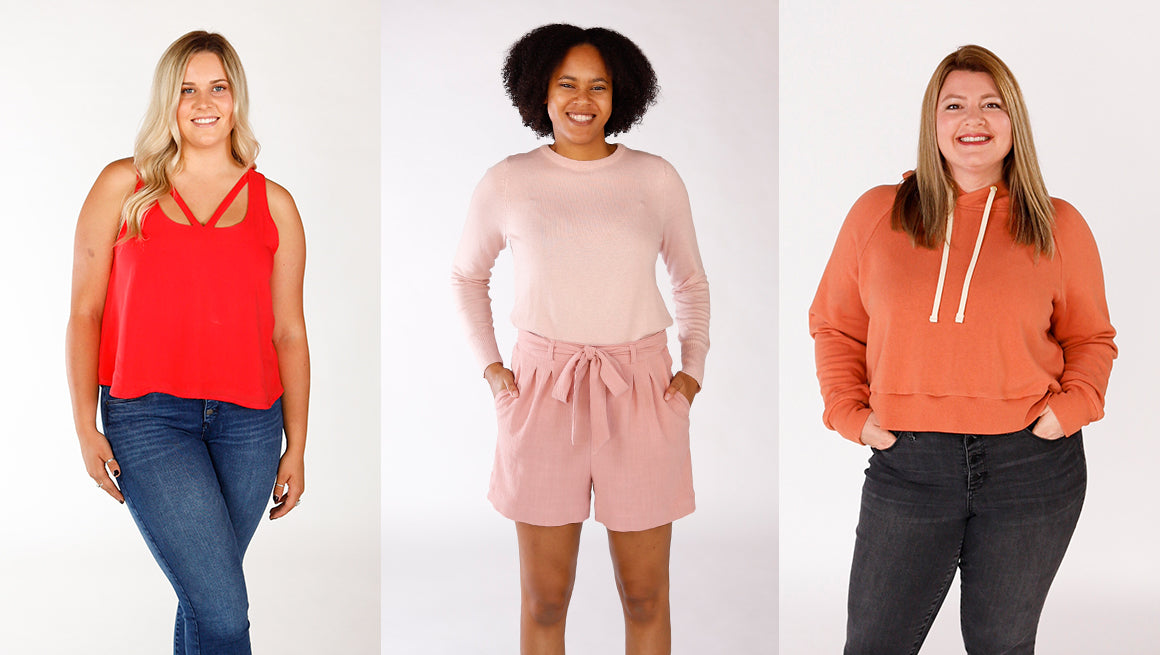
INSPIRATION
I found my inspiration from these tops. I love the current style of a boxy top with a ruffle at the waist and really love how this style can work for all seasons! Just add a long sleeve for colder weather, or keep it short for warm weather.

FABRIC
I made my Woven Waterfall Raglan Top with this stunning Atelier Brunette rayon crepe from Style Maker Fabrics. For this top you will need 1 1/2 to 2 yards of 54" wide fabric.

*PS. Be sure to read all the way to the end for a special treat from Style Maker Fabrics for all of you!
WHAT YOU WILL NEED:
- All pattern pieces from the Women's Waterfall Raglan Top.
- Clear Ruler
- Pencil
- Pattern Weights
- Paper cutting scissors
- Extra Paper
- Tape
LET'S ADJUST OUR PATTERN!
The Waterfall Raglan is drafted with plenty of excess ease in the bust and waist, so the main thing we need to make sure will fit is the sleeves.
You will want to slash and spread your sleeve pattern piece to add wearing ease, since the pattern has been drafted for a knit with negative ease.

I chose to add ease to three separate areas. First, by adding 1/2″ (1.25 cm) through the center of the sleeve, then add another 1.75″ (4.5 cm) by slashing and spreading the hem on the sides by 7/8″ (2.25 cm) each.

To slash and spread, cut the outer lines, leaving just a tiny bit of paper at the top to act as a hinge. Spread the bottom of the pattern 7/8″ (2.25 cm)” each. The hem will have a total of 2.25″ (6 cm) extra ease.
Now fill in all of the spaces you added with extra paper. Tape everything in place well. True up the bottom of the hem, making sure the side seams of the sleeve match up. Smooth out the neckline. The last change you need to make to the sleeve is to shave 1/8″ (0.3 cm) off of each seam line at the top only (shown in red above) – read on to see why.
At this point, you may wish to trace your altered pattern piece onto a new piece of paper.

Next up, I made some slight changes to the bodice and ruffle.

For a slightly more boxy/cropped top, I shortened the center front of the front bodice 5 1/2″ (14 cm). Then, cut it straight across and eliminate any hem curve.

I straightened out the side seam slightly, by shaving 1″ (2.5 cm) off at the bottom, tapering to nothing at the top of the side seam. Do this to both the front and back bodice
To determine how much to shorten the back bodice; match up the side seams, mark the point where they meet at the bottom, and draw a line straight across the back bodice from that point.
The last thing you will need to do to the bodice and sleeve pieces (sleeve alteration mentioned above), is to shave off 1/8″ (0.3 cm) at the top of the neckline seams on both the sleeve and front and back bodice pieces, to reduce this seam at the top by 1/4″ (0.6 cm). This is done so that it will lay smoothly against your neck when sewn in a woven fabric.
To draft the ruffle pattern piece. Measure a rectangle, 7″ x 38.5″ (18 cm x 98 cm). Cut two of these.
Now you will want to cut out all of the pieces using your adjusted pattern pieces!
You will also need to cut a piece of bias to bind the neckline. You can use the included pattern piece, adding about 6″ (15 cm) of length. I like to cut my bias binding 1 1/2″ (4 cm) wide, the pattern piece is just slightly wider than that, so you can choose what you prefer!
CONSTRUCTION
Construction is very straight forward. Assemble all of the pieces on your sewing machine as directed in the pattern. Sewing on the machine, then finishing the seams in your desired method. I used my serger to finish the seams.
Before attaching the ruffle to the bodice, I hemmed it, using a 1/2″ (1.25 cm) hem allowance. Folding up 1/4″ (0.6 cm), then 1/4″ (0.6 cm) again.

To hem the sleeves, I folded up 3/8″ (1 cm) , then 3/8″ (1 cm) again.
To finish off the neckline, I used a single fold bias binding method, attaching to the neckline with a 1/4″ (0.6 cm) seam allowance.
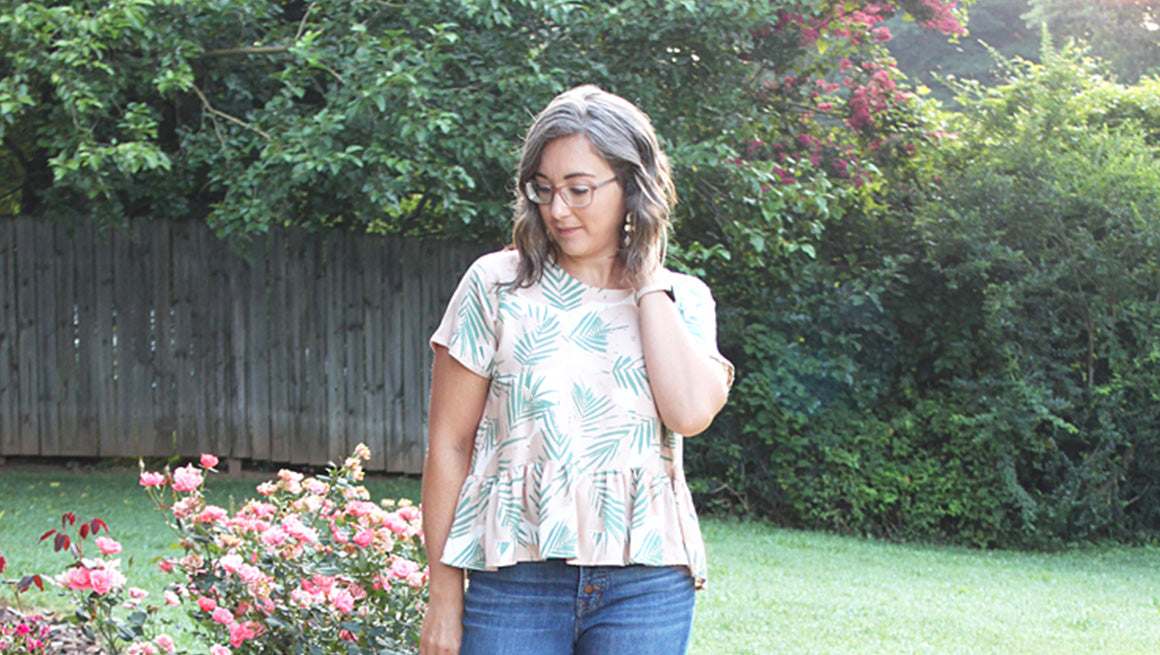
THE FINAL LOOK
Thanks so much for reading the tutorial! I hope you are inspired to make your own flowy and swishy top using the Waterfall Raglan!


Thank you to our sponsor Stylemaker Fabrics for collaborating on this post. Use code: NOTCH-0720 for a 10% discount on regular priced items valid through August 15th.