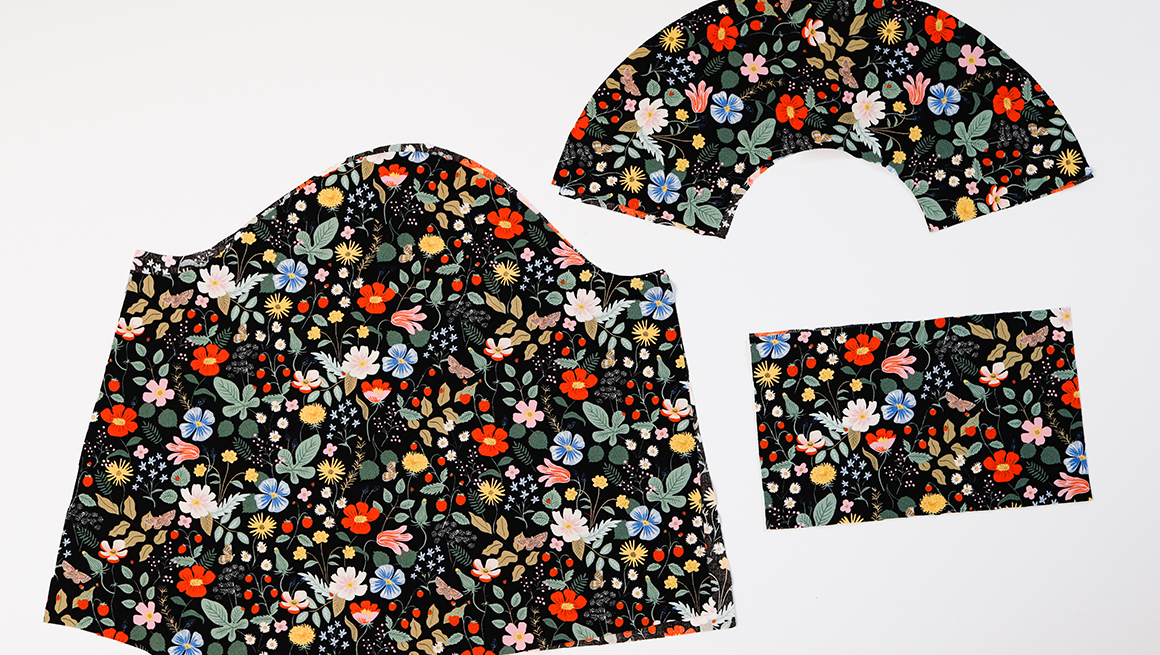
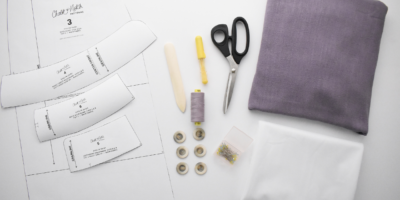
This post is for the longs sleeves and cuffs. If you are looking for the short sleeve instructions you can find the post here. The Mini Wren includes an elastic hem for the long sleeves so the short sleeve instructions are the best reference.
Prep the Upper Long Sleeve Cap Ease
We have a video for easing in the sleeve cap ease with gathers here.
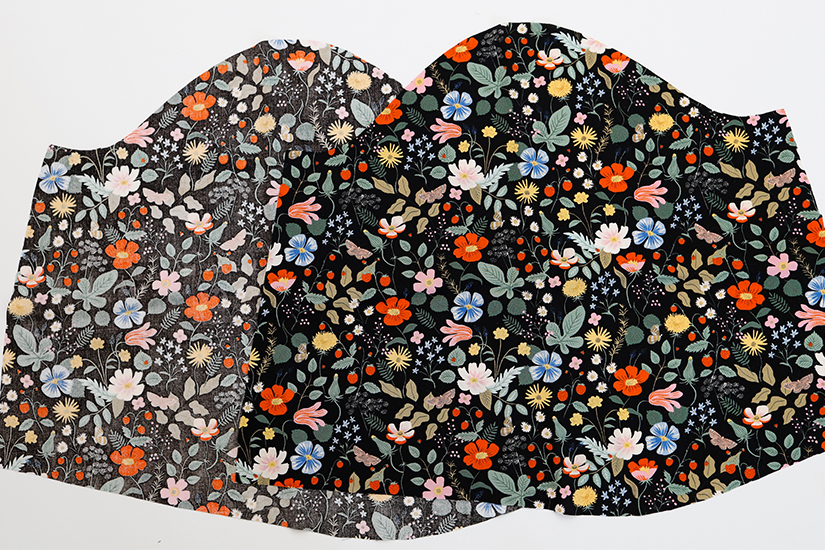
To prep the easing in the sleeve cap, we have two methods for you. The first is the standard method of adding gather stitches to your cap. First, change your stitch length to the longest possible length. Sew two parallel baste stitch lines. Make sure not to backstitch at the beginning or end of your stitch lines and leave long ends to your threads.
- The first line is 1/4″ (0.6 cm) away from the fabric edge
- The second line is 1/2″ (1.25 cm) away from the fabric edge
- Pull the bobbin threads to gather the sleeve cap ease. There are no gathers in the long sleeve cap. You are just pulling slightly to make the sleeve cap easier to sew.
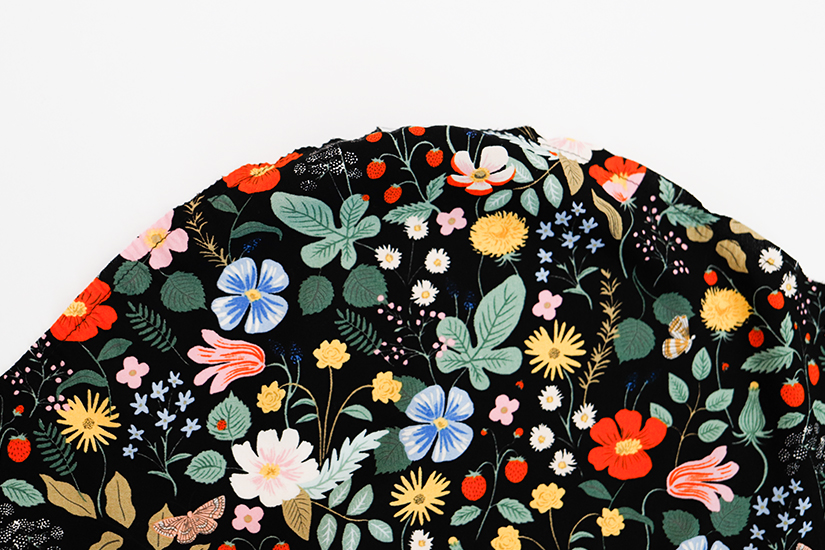
Alternative Method for Easing in Cap Ease
My preferred method for easing in cap ease comes from my friend Thao. It’s hard to illustrate, watch our video here to get a visual of this technique.
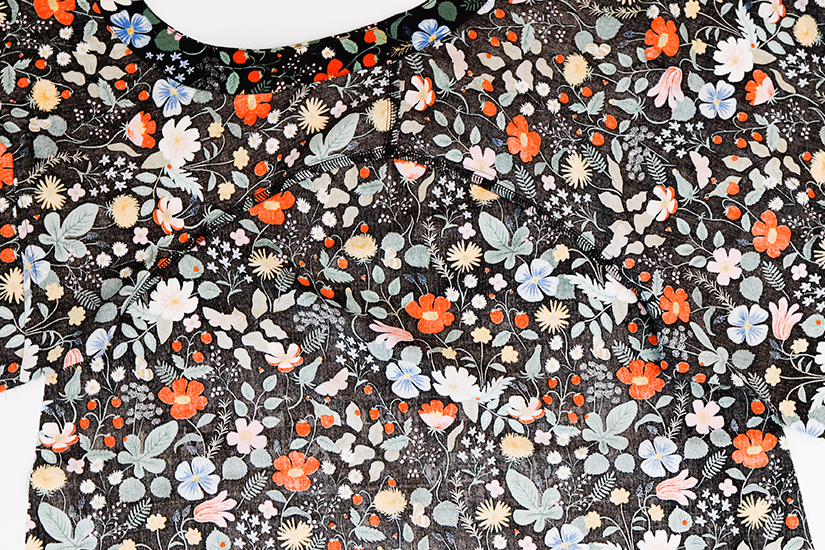
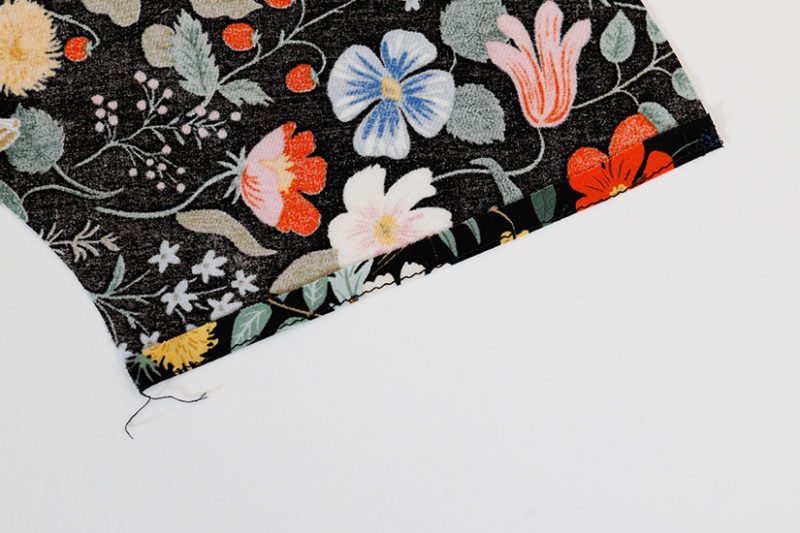
Leave your stitch length the same (no need to lengthen it), place your finger behind the presser foot while you are sewing a line of stitching 1/4″ (0.6 cm) from the cut edge. Apply pressure as you sew from the front notch to the back notches. The fabric will bunch up and give you nice mini pleats that are perfect for easing in the cap ease. You can watch the video here. This is what your sleeve cap will look like.
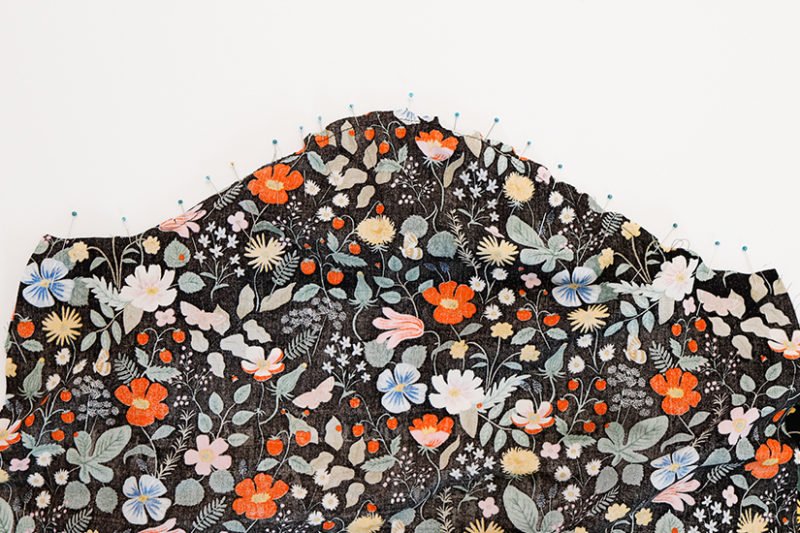
Attach the Upper Long Sleeves
Watch our video for attaching the sleeves to the armhole here.
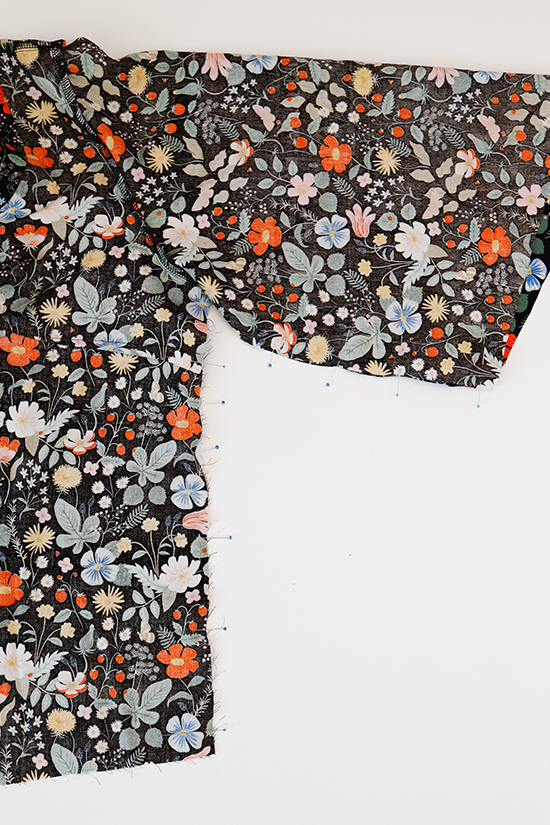
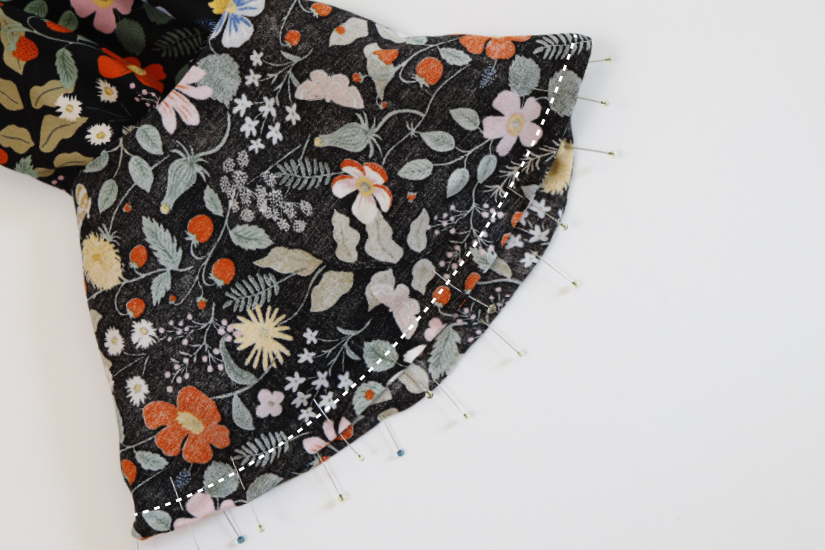
With the right sides together, pin the sleeve to the armhole. Sew the sleeve to the armhole, trying not to sew in any puckers into the seam. There are no gathers in the long sleeve cap.

Finish the seam, remove any visible basting stitches and press the seam towards the sleeve. The seam allowance at the cap will give the cap a bit of height.
Sew the Side Seams
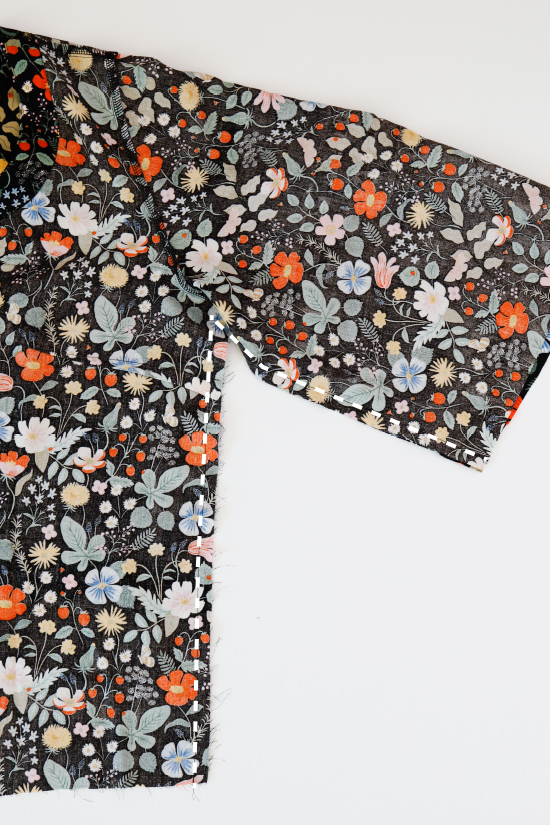
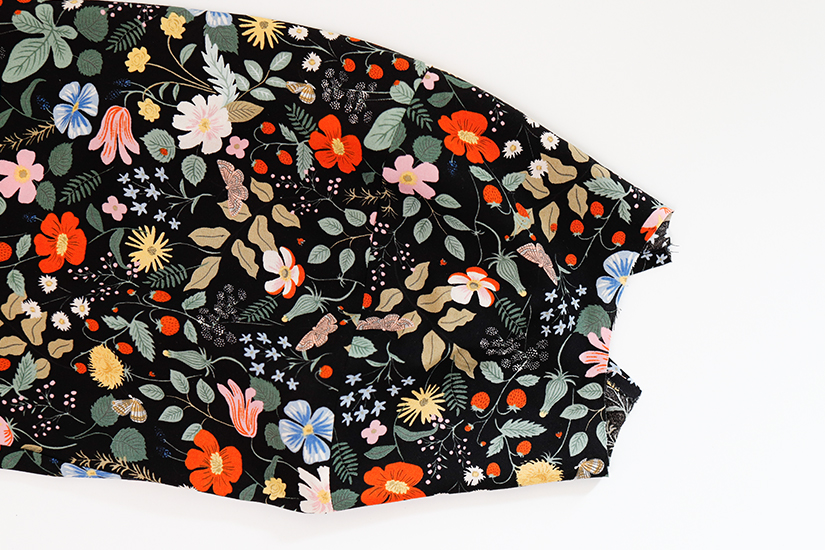
With the right sides together, sew the side seams. Start from the sleeve hem and sew towards the bodice hem. The white stitching below looks wonky but the sample is just folded at the underarm. Finish the seam and press towards the back. You can find the video for this step here.
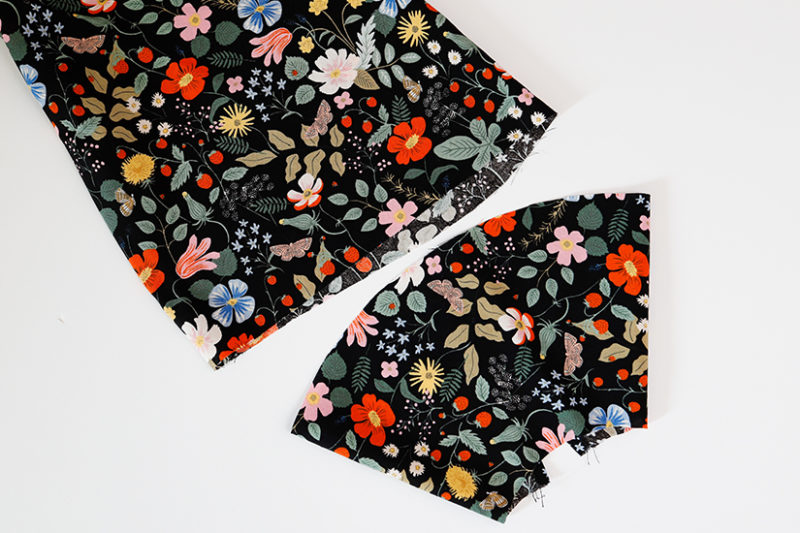
Sew a Fold Guide on the Lower Long Sleeve
You can find a video for sewing the long sleeves and cuffs here. Stitch a fold guide on the short sides of the lower sleeves at 1/4″ (0.6 cm) from the cut edge. Press the outer edge in 1/4″ (0.6 cm), wrong sides together. Unfold. This will help clean finish the slit placket.
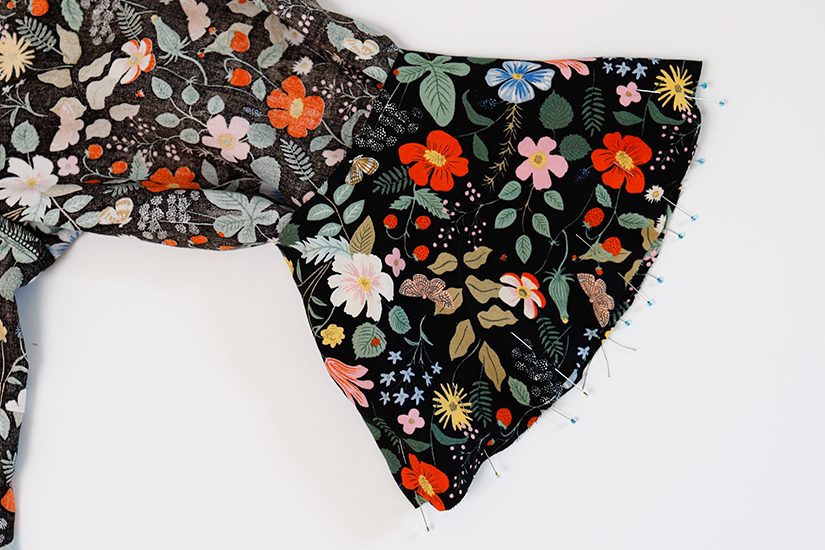
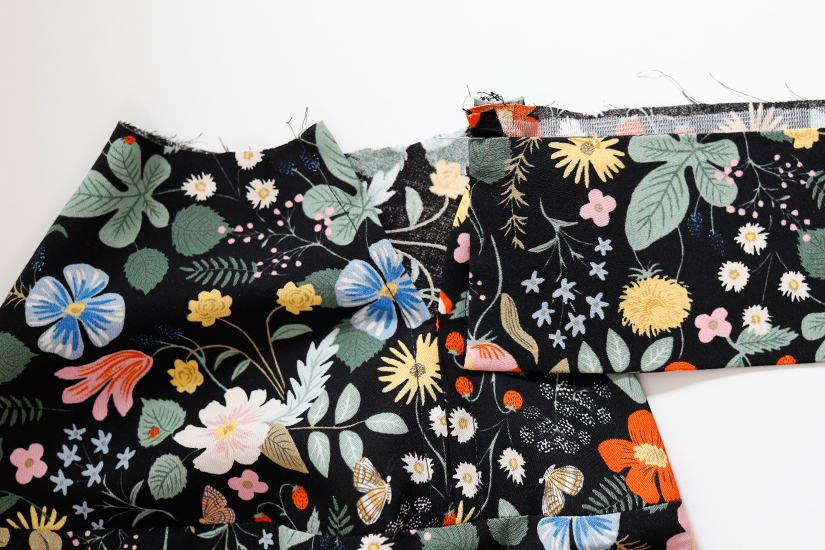
Sew the Lower Long Sleeve Seam and Slit Placket
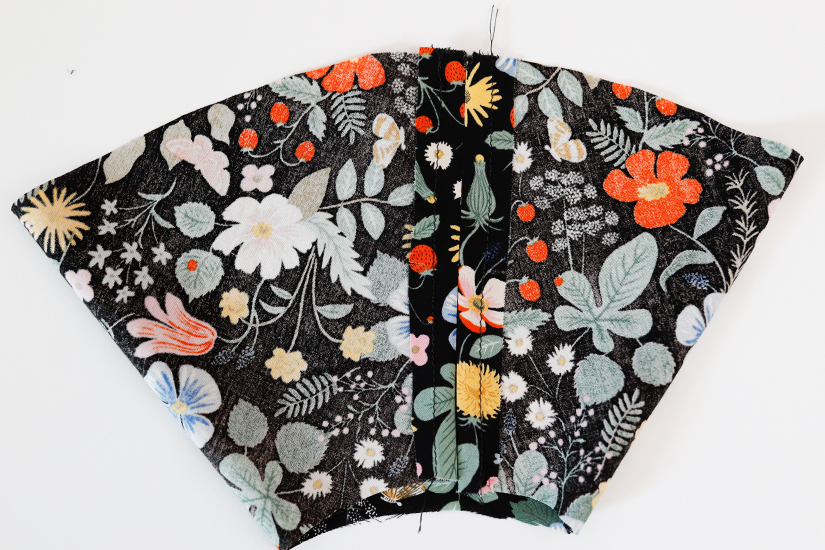
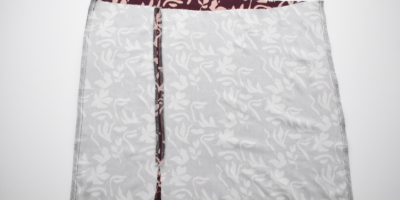
Find the notch at the top of the lower sleeve. With the right sides together, sew the placket seam at 5/8″ (1.6 cm) from the folded edge. Sew from the top edge down to the placket notch. Backstitch to secure the slit.

Press the seams open.
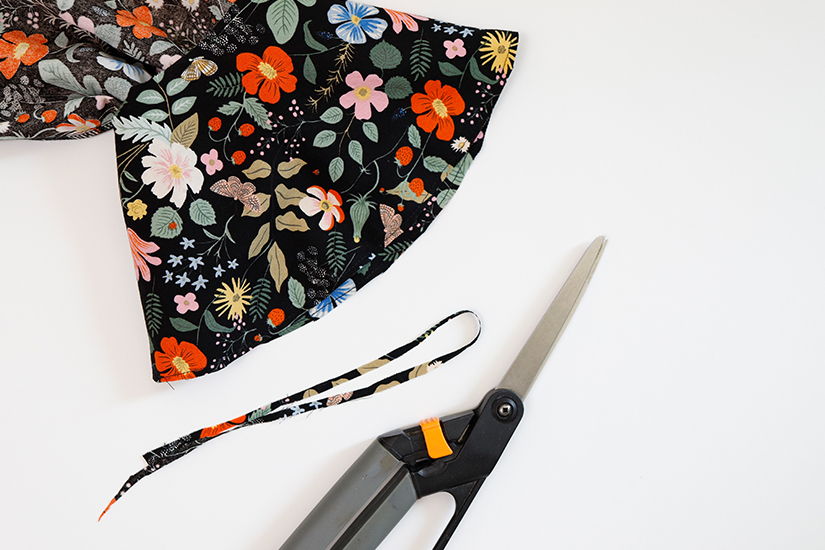
Topstitch the Slit Placket
Tuck the prepped seam allowance turned under. Topstitch the seam allowance in place to clean finish the slit placket.
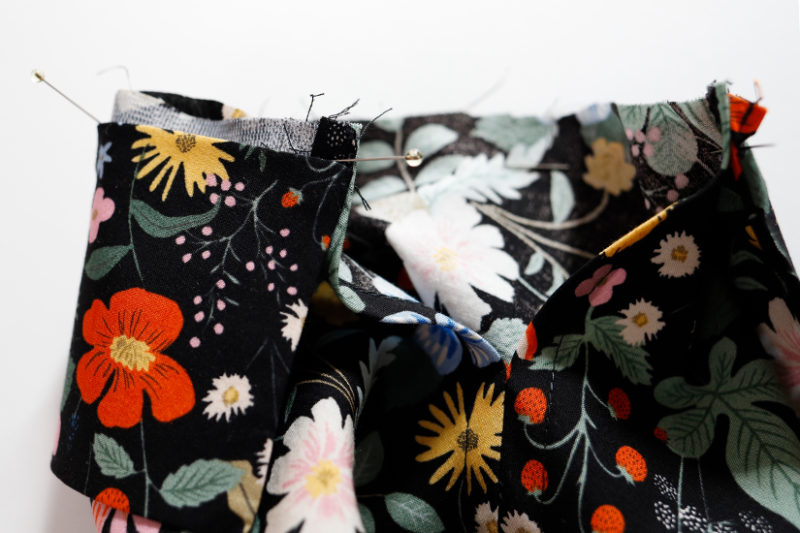
Sew the Long Sleeves Wrong Sides Together
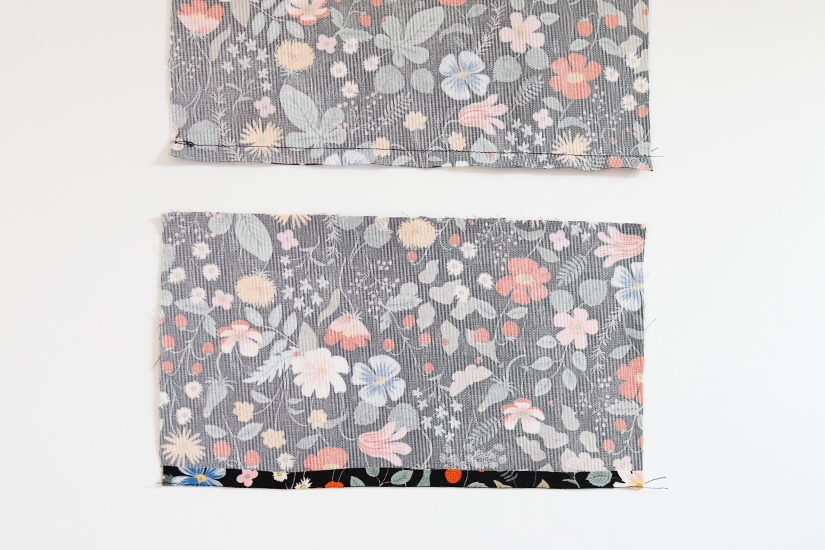
To clean finish the seam and add structure to the sleeve, sew the upper long sleeve to the lower long sleeve with a French seam. The lower sleeve placket seam will match at the upper sleeve hem notch, and the notch on the lower sleeve will match the underseam.
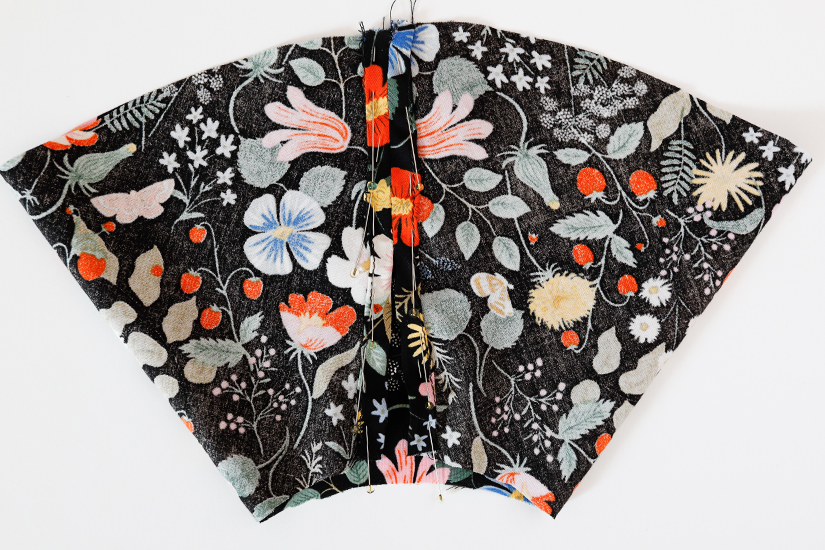
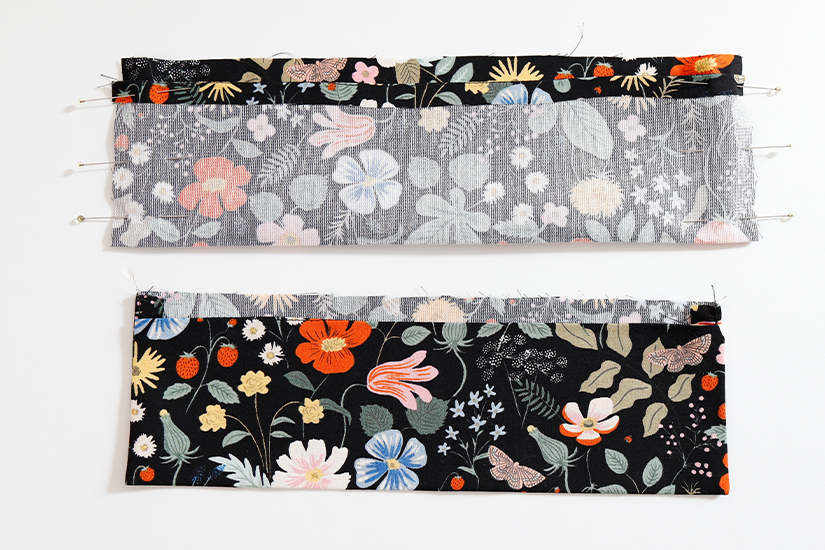
Turn the blouse inside out. With the wrong sides together, pin the lower sleeve to the upper sleeve. Sew at 1/4″ (0.6 cm).
Trim the seam allowance to 1/8″ (0.3 cm) and press towards the upper sleeve.
Sew the Long Sleeves Right Sides Together
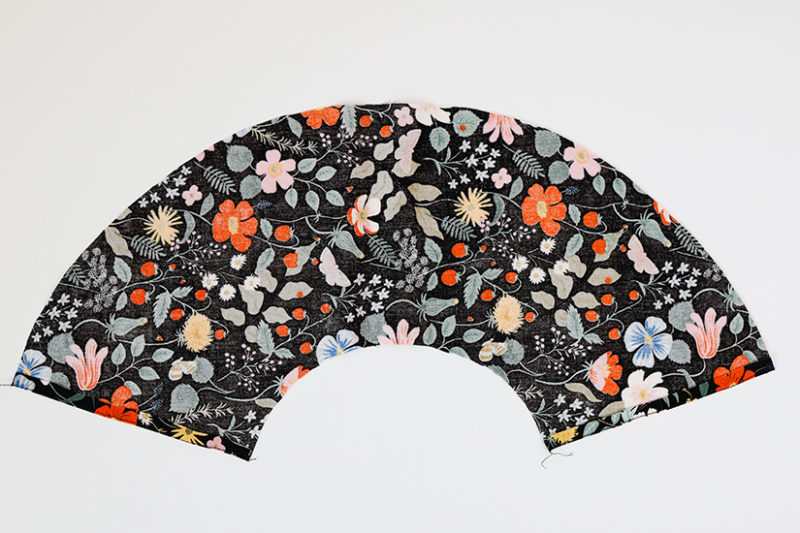
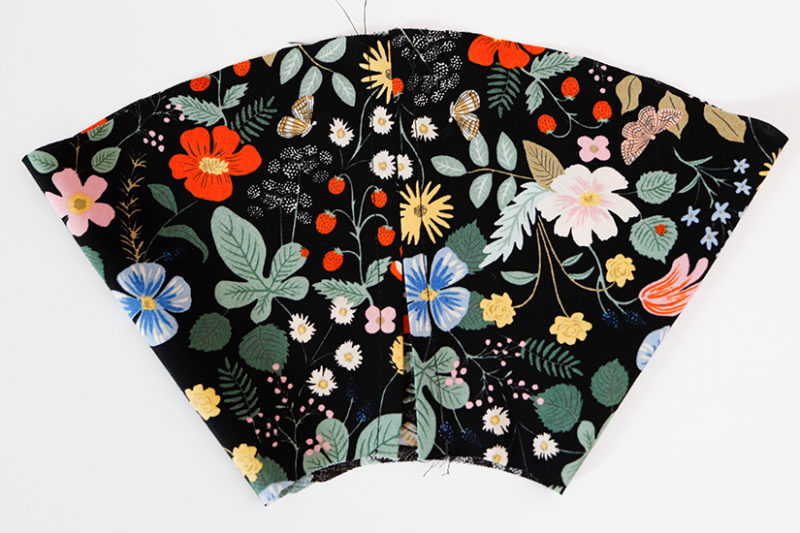
With the right sides together, sew the seam at 1/4″ (0.6 cm) to create an enclosed French seam.
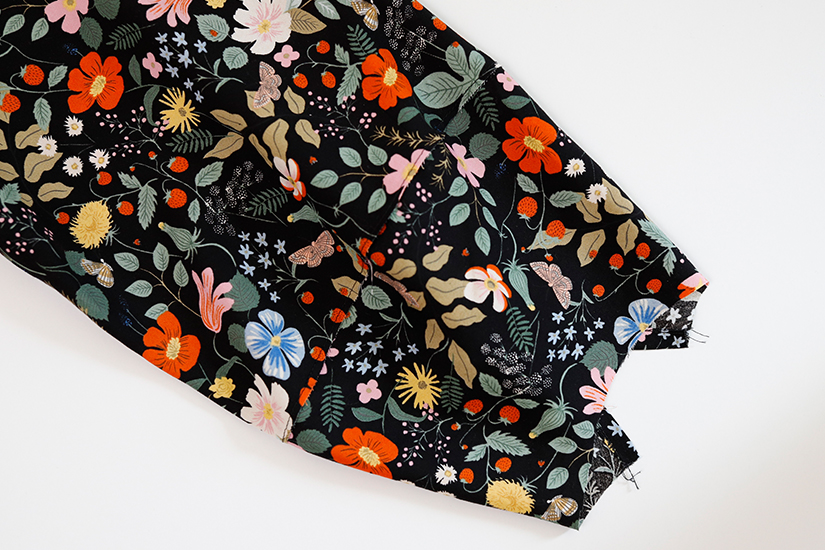
Press the seam towards the upper sleeve. A pressing ham is helpful when pressing the curved seam.
Sew the Cuff
Stitch a fold guide on the long side of the cuffs, just under 3/8″ (1 cm), wrong sides together.
Fold the cuff with the right sides together, lengthwise at the notch. Sew the short side seams of the cuffs. Trim the corners and turn right side out. Make sure your corners are nice and square.
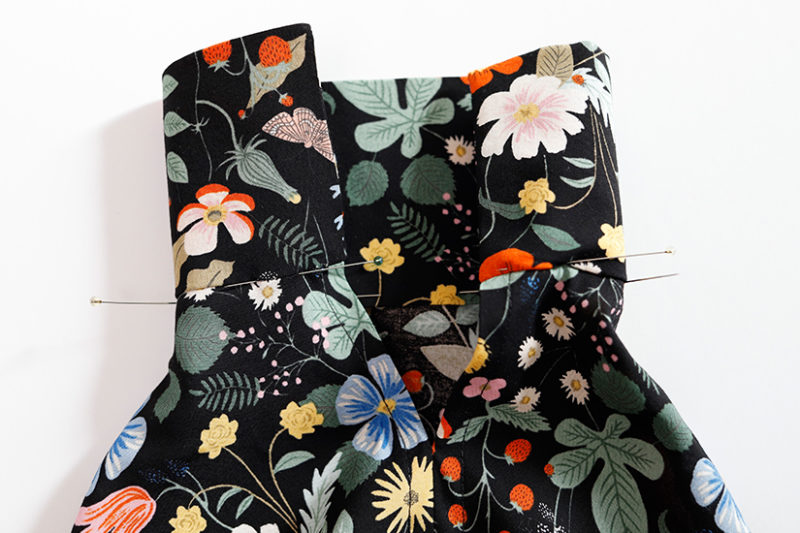
Sew the Cuff to the Sleeve Hem
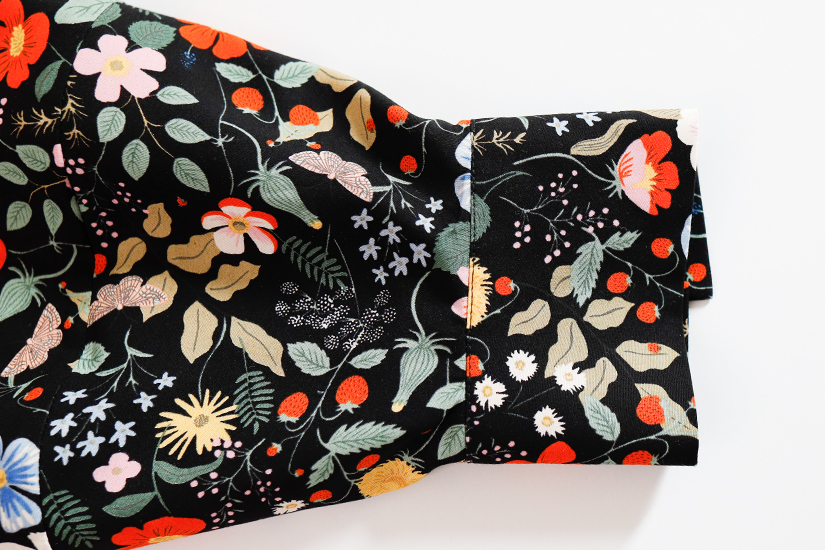
With the right sides together, pin the unfolded edge of the cuff to the lower sleeve hem. The edge of the cuff will meet at the sleeve placket slit. Sew the cuff to the sleeve.
Flip the cuff up and press the seam allowance towards the cuff.
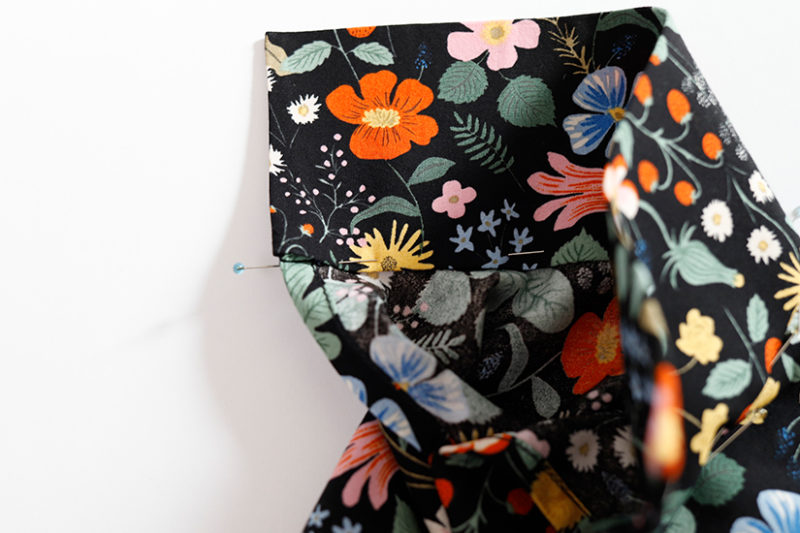
Edgestitch the Cuff
Cover the inside exposed cuff seam with the pre-folded cuff edge. Pin in place. Edgestitch the cuff, catching the cuff in place underneath to clean finish.
If you are ready to add the center front buttons! If you are sewing a dress you can add the skirt next and add the center front buttons last.
Wren Sew Along Posts: Getting Started | Staystitching, Sewing Darts & Shoulder Seams | Sew the Facing | Sew the Short Puff Sleeve | Sew the Long Sleeve & Cuff | Hem Blouse, Sew Buttonhole & Attach Buttons | Sew Dress Skirt & Hem