Now we are ready to sew up the facing and create the fold-back placket. This might be a new construction method. Just follow along and trust that it will work out! We also filmed steps 8 through 11, you can find that video here on our Chalk and Notch YouTube Channel.
Sew the Facing Shoulder Seams
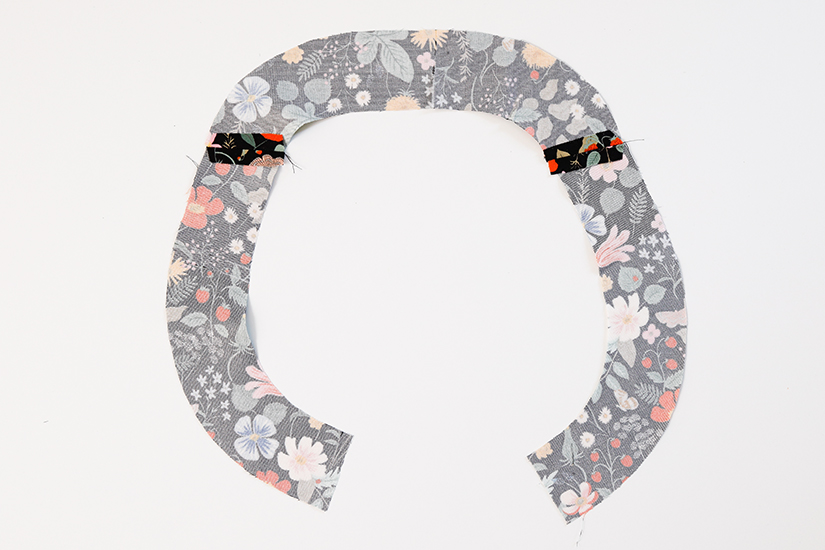
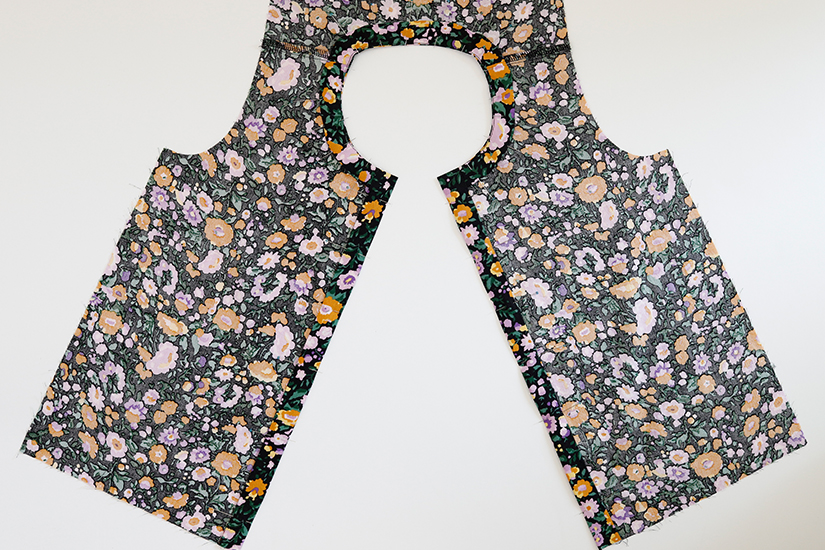
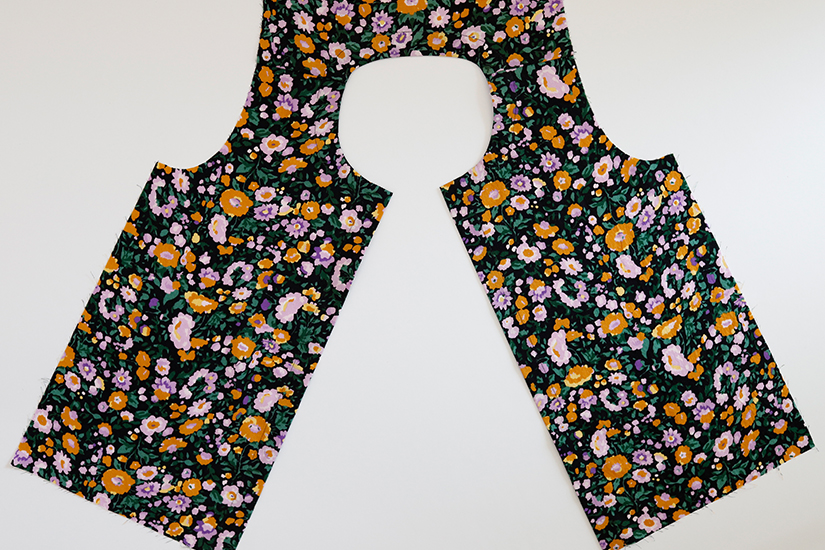
Layout the facing pieces carefully. The angled edges are the shoulder seams. With the right sides together, sew the facing shoulder seams. The facing pieces on the left are for the adult Wren pattern, and the facing pieces on the right are the Mini Wren pattern pieces. You can see a difference in the should seam angles and the center front depth, but the construction is the same.


Press the seams open. No need to finish these seams as they will be fulling enclosed.
Sew a Fold Guide on the Neck Facing
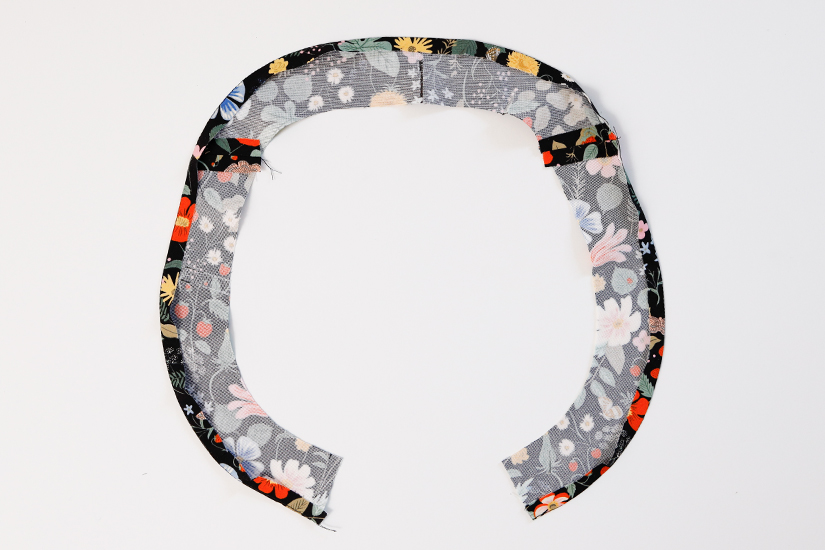
Sew a fold guide on the outer edge of the neck facing at just under 3/8″ (1 cm). Press the outer edge in 3/8″ (1 cm), wrong sides together. I find stitching a fold guide makes it easier to get an accurate fold (especially on a curved seam).
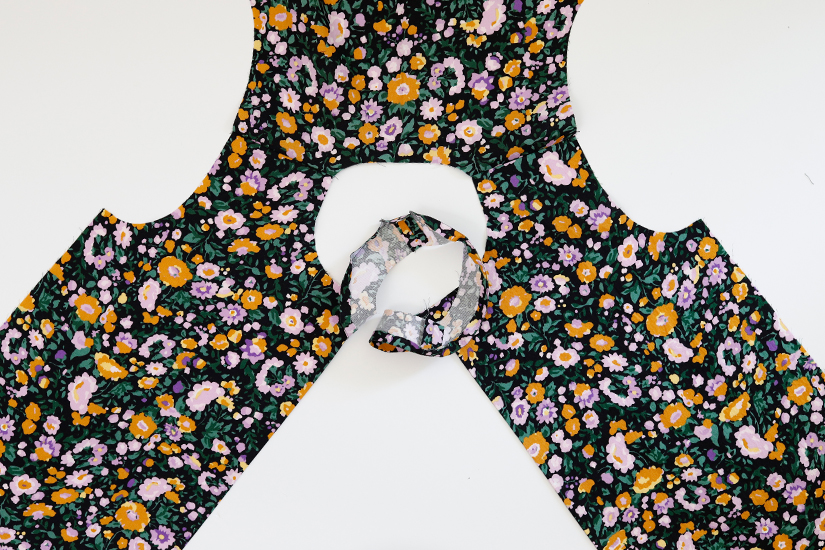
Sew the Neck Facing to the Center Front Bodice
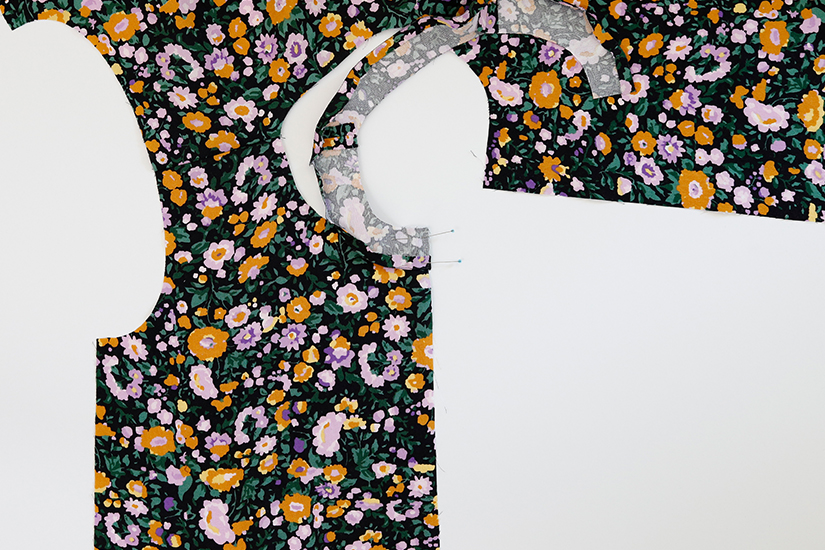
First, lay the bodice right side up.
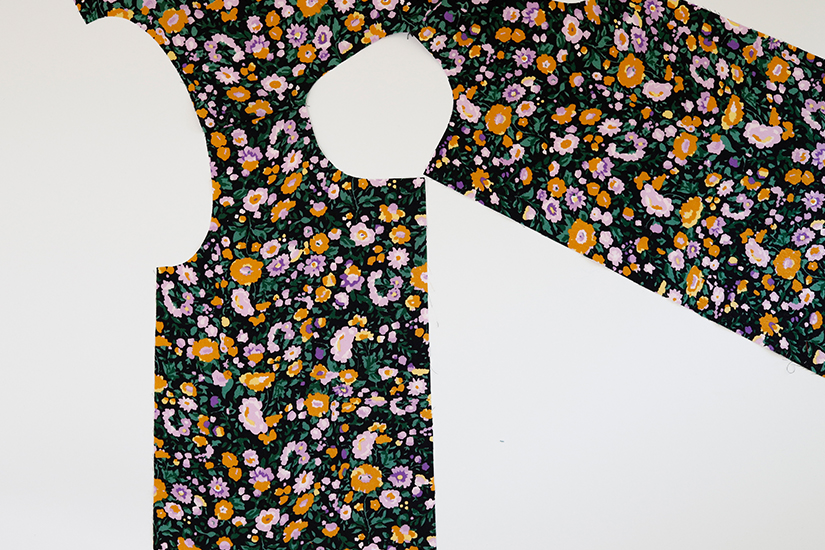
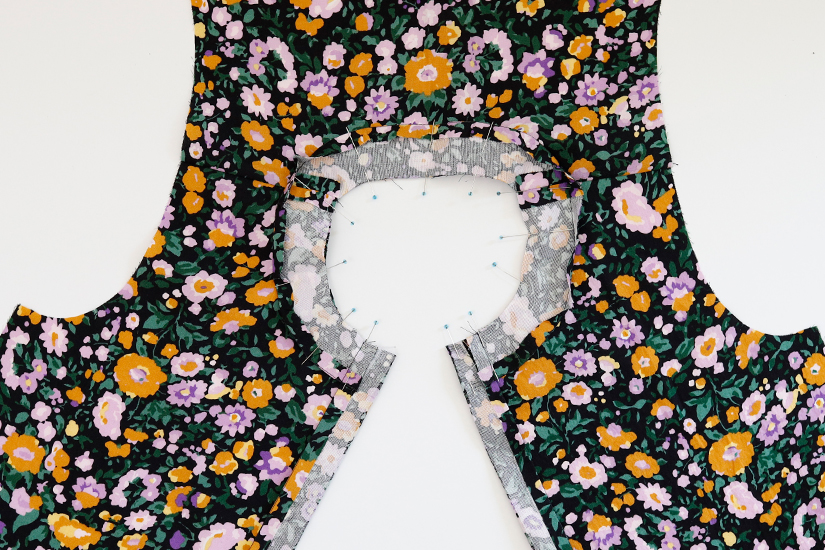
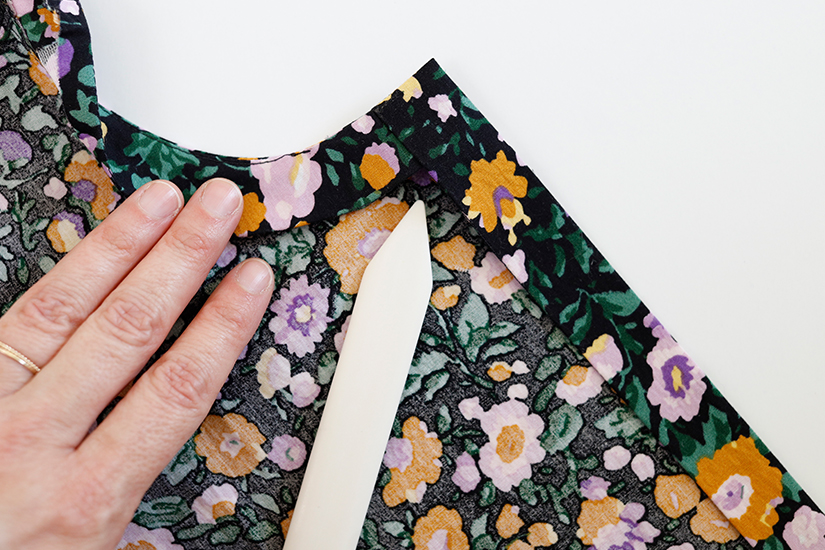
With the right sides together, pin the front edge of the neck facing to the front top edge of the bodice. The neck facing appears shorter than the neckline. It will be the correct length once the center front placket is folded back. Trust the instructions and it will work out.
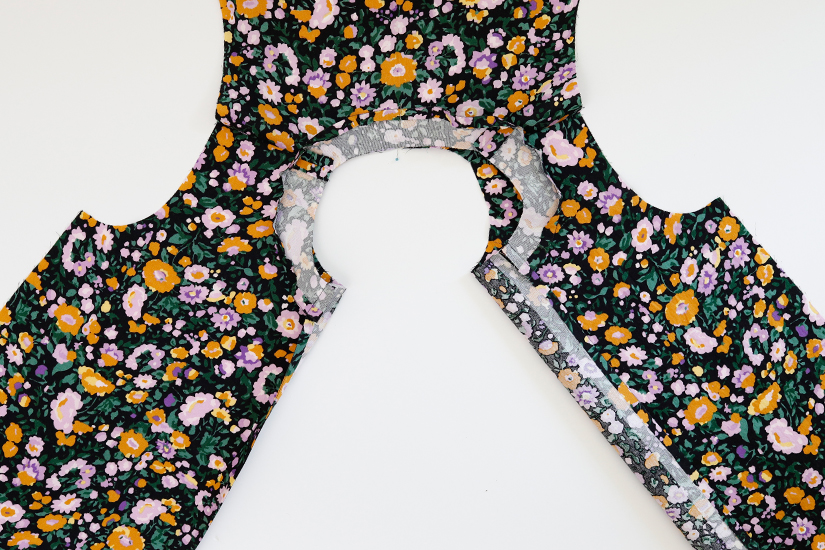
Sew the facing to the bodice; the facing hem will remain folded up. Continue sewing down the center front to the bottom of the front bodice.
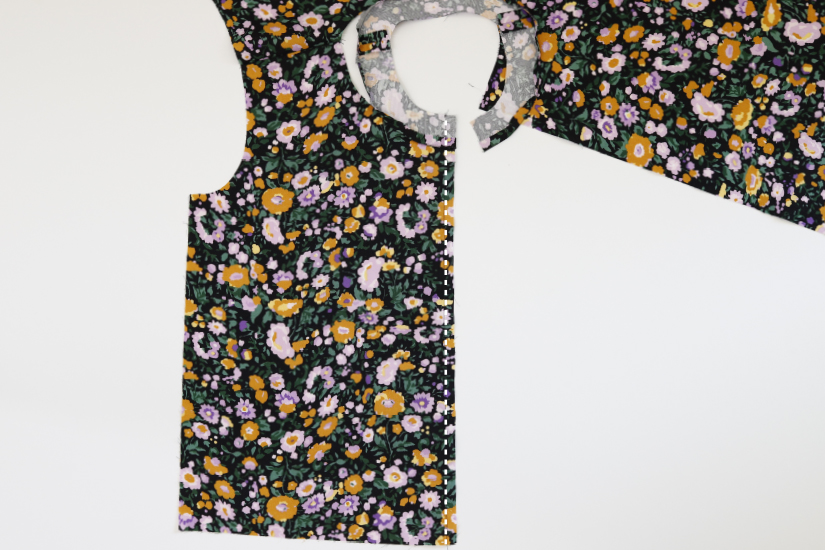
This stitch line will provide a guide to fold and press. Flip the facing away from the bodice and press the seam allowance toward the bodice. Repeat for the other side.
Fold Back the Front Placket & Sew the Neckline
Start by laying the bodice right side up again.
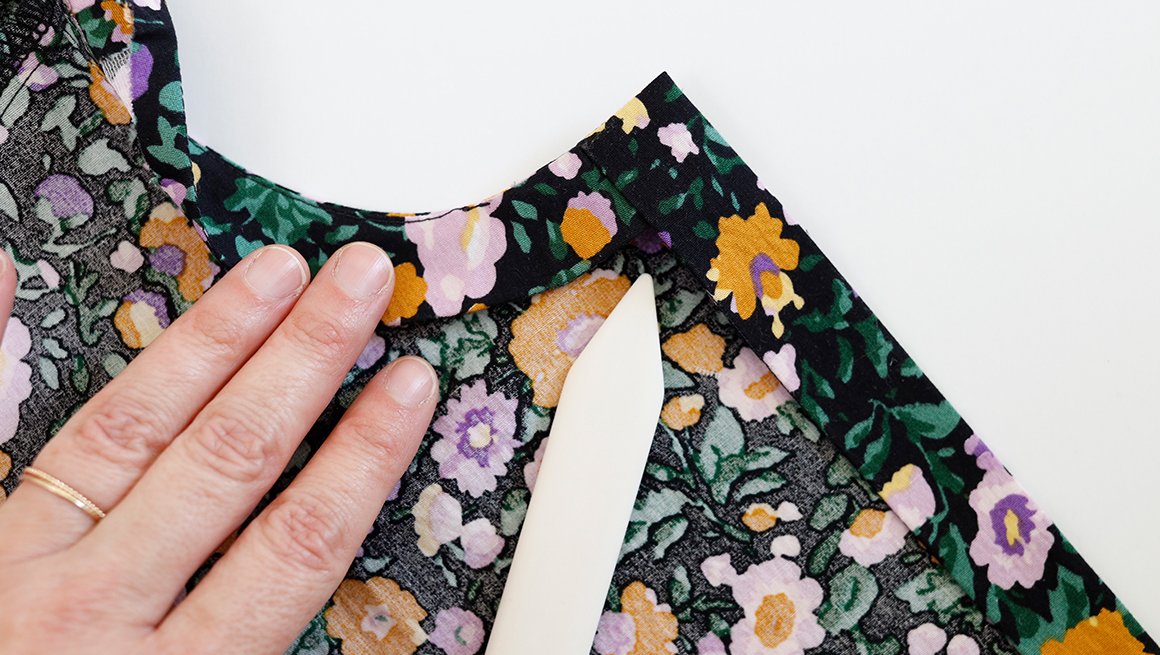
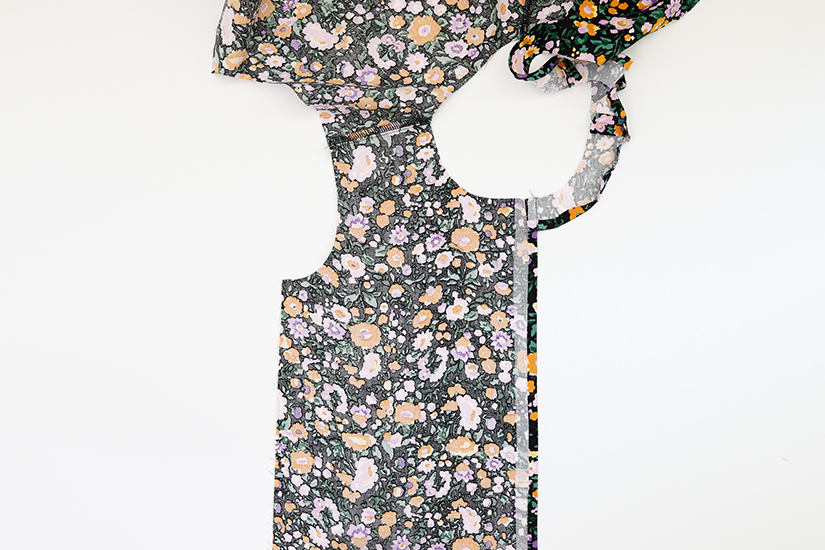
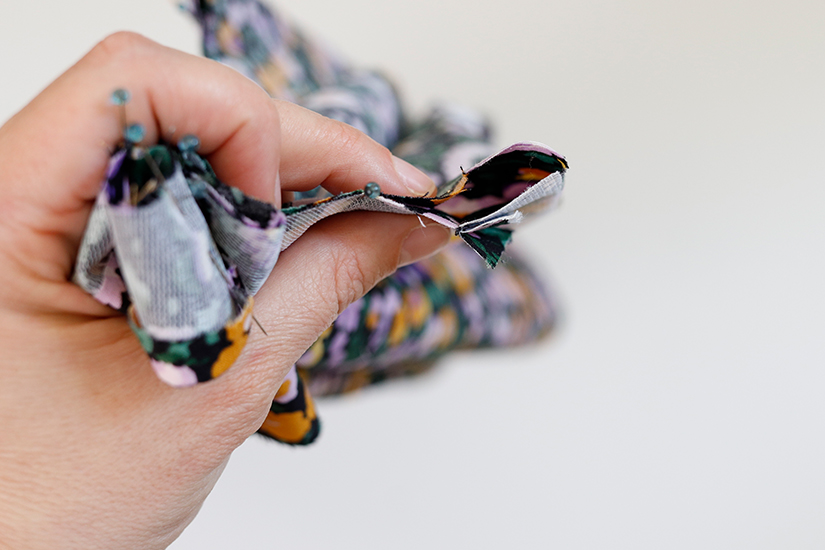
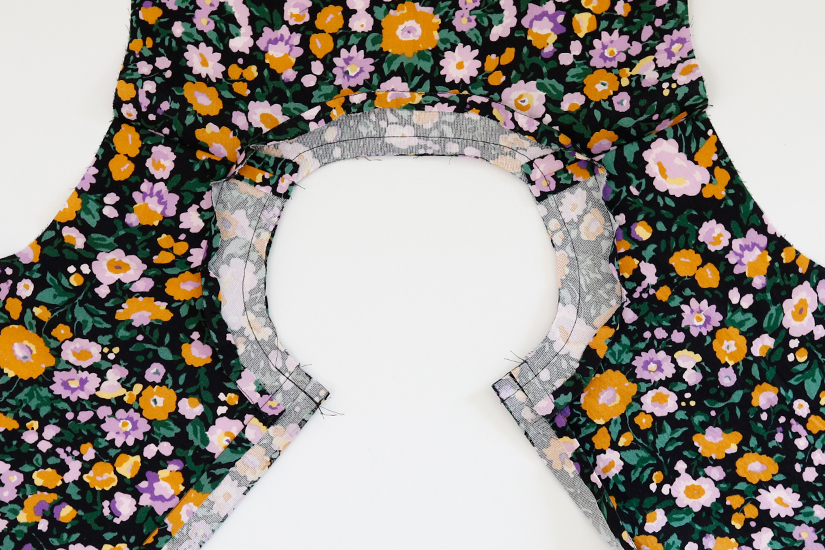
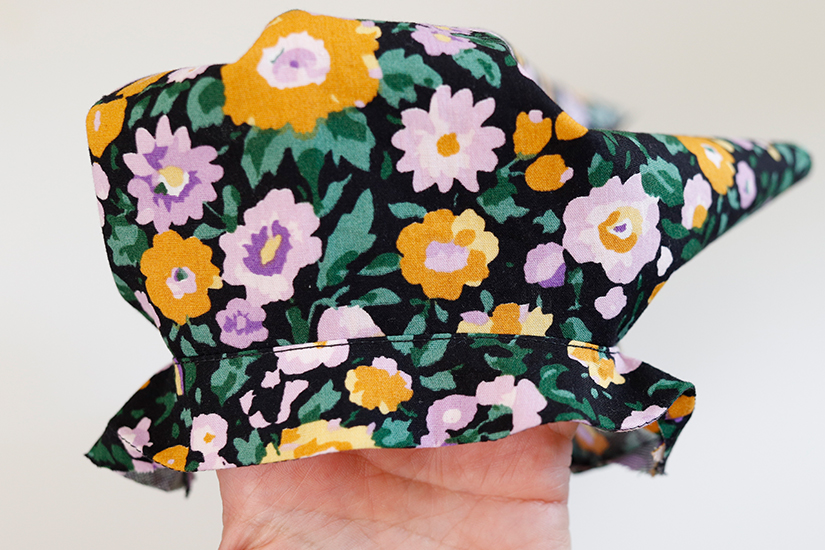
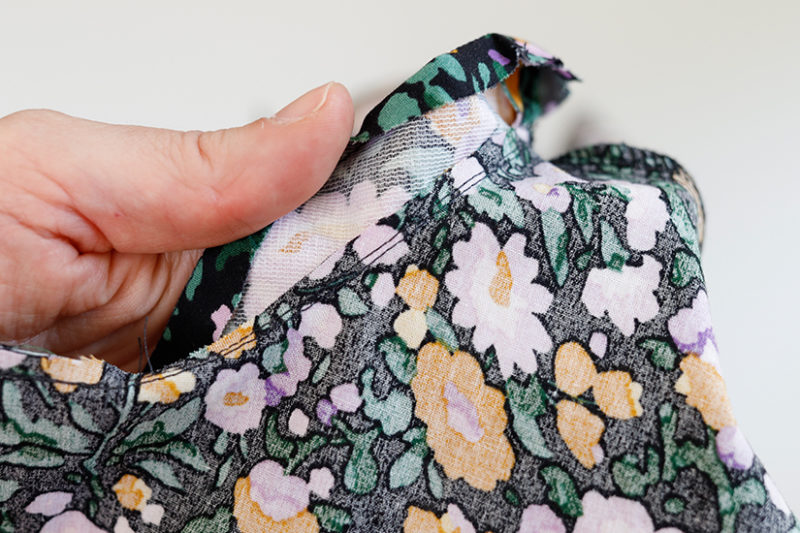
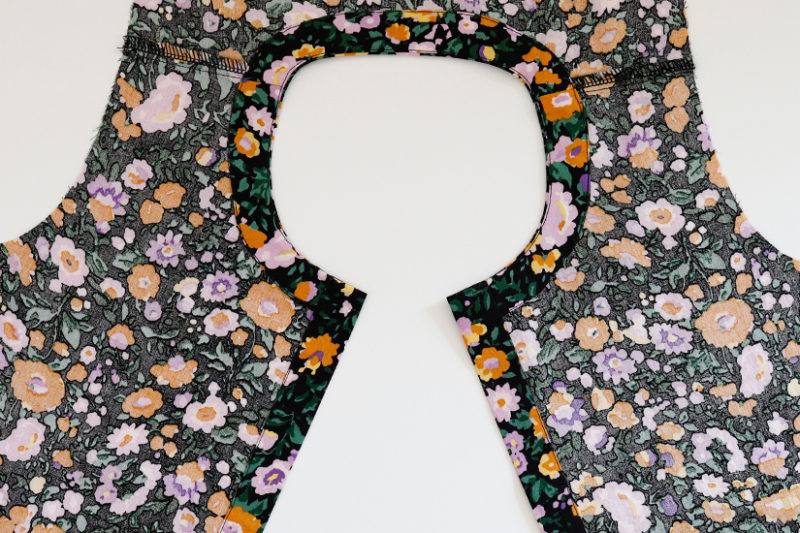
Pin the center back neck facing to the center back bodice, starting at the center back. You can see that as you start pinning the facing to the bodice, the center front will naturally want to fold back at the placket fold line (where the fusible ends).
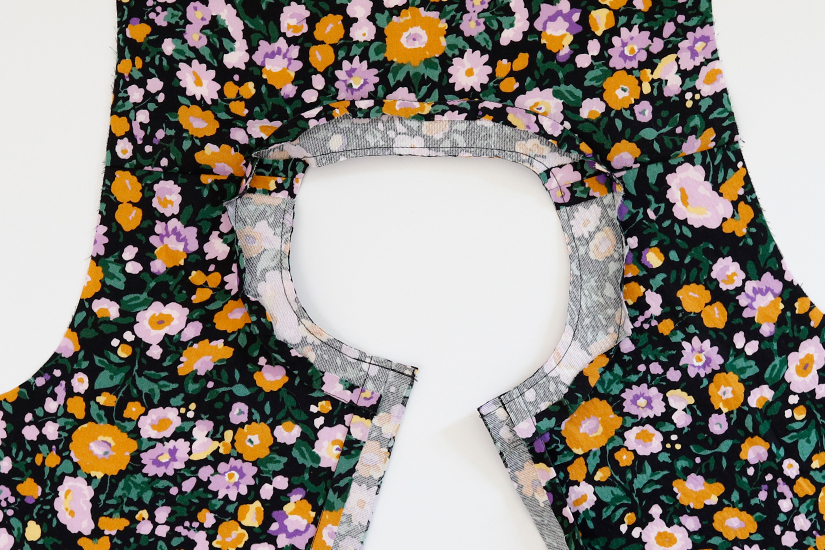
Here is a close up look of what the center front fold looks like. The fold back will create the front placket facing.
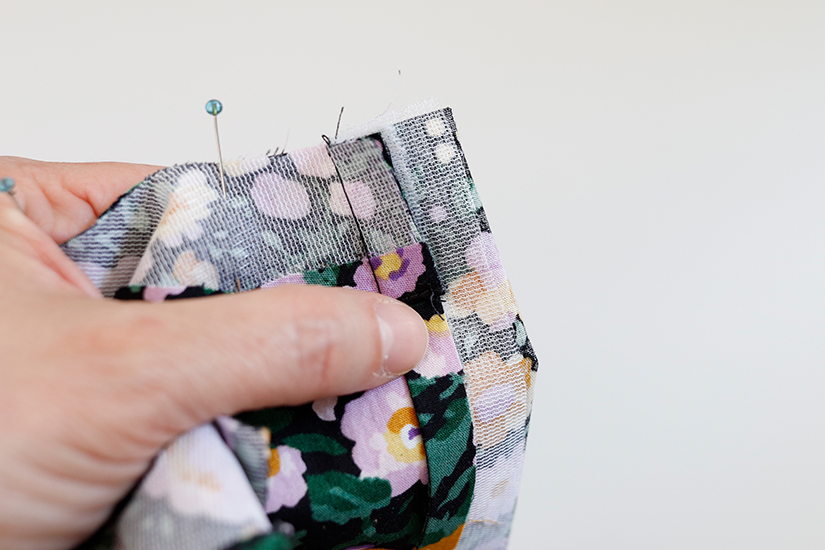
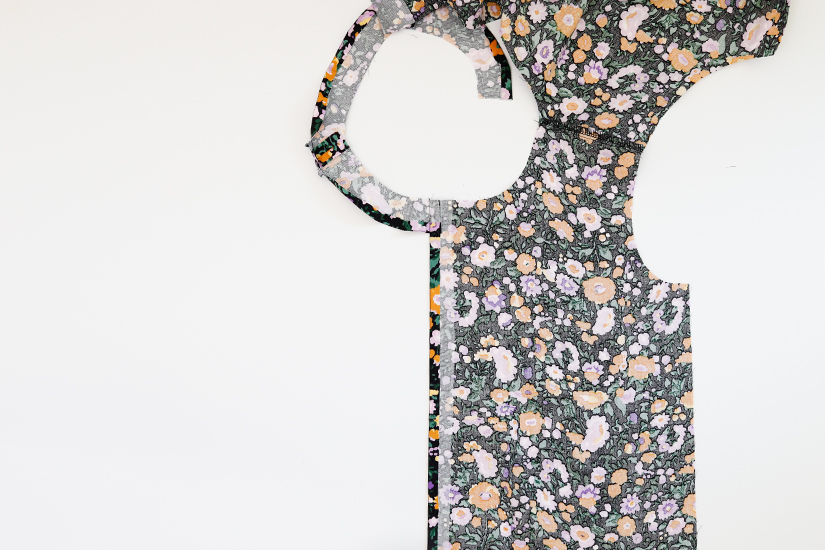
Continue pinning around the neckline. The neck facing will match the bodice neckline. The seam that joins the facing and center front will match the second neckline notch. The center back notch and shoulder seams will also match.
Sew the neckline.
Trim the seam allowance by half.
Understitch the Neck Facing
Open the neck facing and press the seam allowance towards the facing.
Understitch the facing by stitching a line 1/16″ (0.15 cm) away from the seam on the neck facing. Make sure to catch the seam allowance towards the facing when stitching. You won’t be able to get all the way to the center front corner but just sew as far as you can.
Turn the facing right side out, making your corners square.
Edgestitch the Folded Back Placket and Facing
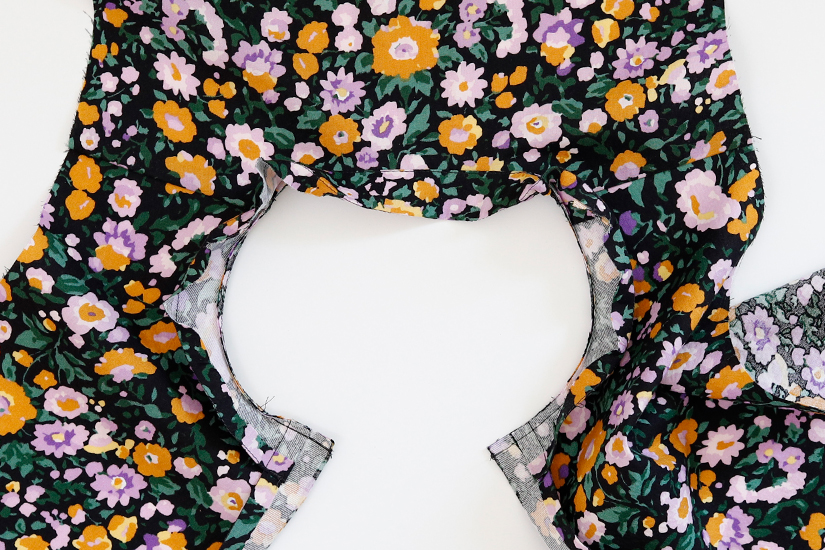
Press the facing towards the inside of the garment and pin, using a lot of pins to keep the folded back placket and facing in place.
Sew from the wrong side during this step, edgestitching at 1/16″ (0.15 cm). Start at the right front hem placket, pivoting at the neckline. Go around the neck facing and then back down the left front placket. When stitching from the wrong side, make sure your bobbin thread matches the right side of your garment.
Press the neckline.
That’s it for the facings, next we’ll prepare and attach the sleeves and sew the side seams.
Wren Sew Along Posts: Getting Started | Staystitching, Sewing Darts & Shoulder Seams | Sew the Facing | Sew the Short Puff Sleeve | Sew the Long Sleeve & Cuff | Hem Blouse, Sew Buttonhole & Attach Buttons | Sew Dress Skirt & Hem

