Victory Tank Sew Along | Sew Darts and Center Back
Just a reminder, unless noted, the seam allowance included is 3/8″ (1 cm) for joined seams. Clip or mark the notches indicate by ‘T’ marks and triangles. Now let’s get sewing!
STAYSTICH THE NECKLINE
Before handling your cut pieces too much, I recommend sewing a stitch line 1/4″ (0.6 cm) away from the fabric edge on the front and back bodice neckline and armholes. See arrows for stitching direction. This will prevent the neckline from stretching out. Repeat for the lining pieces.


SEW THE DARTS (C/D BODICE ONLY)
If sewing the C/D bust cup option, sew the bust darts on the front bodice and bodice lining. We recommend marking the dart legs with tailor's chalk or washable marker. Fold and pin your dart. Reduce your stitch length a little bit, sew the dart from the dart legs (side seam), and sew towards the bust point. Press the bust dart bulk down.


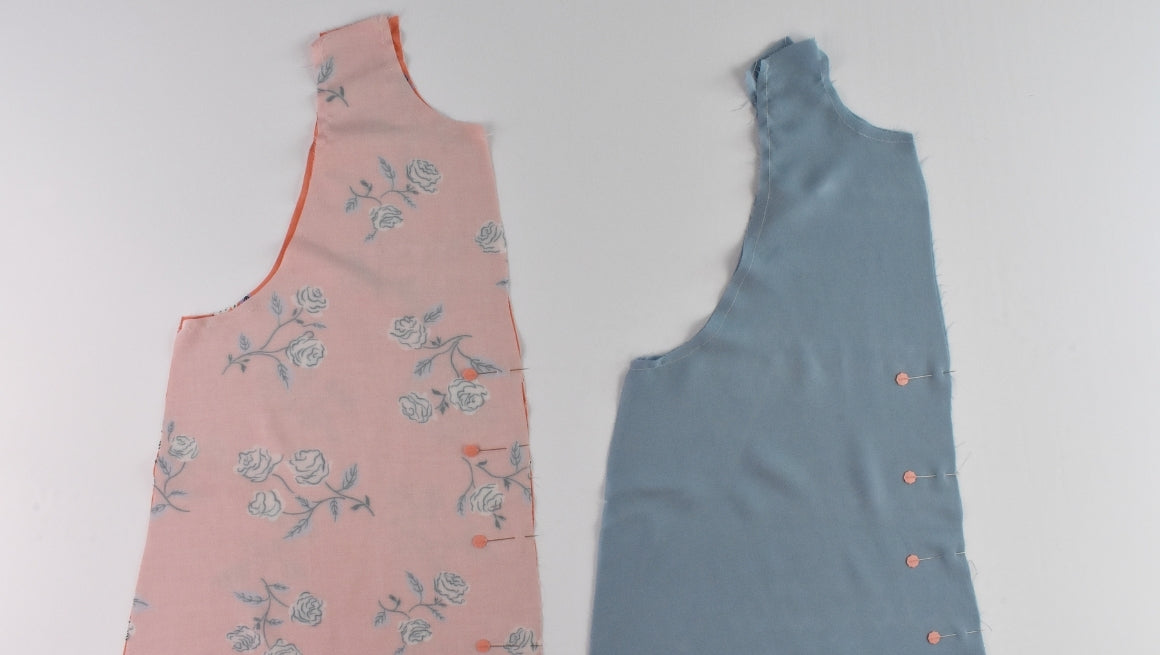
SEW THE CENTER BACK SEAM (VIEW A ONLY)
With right sides together, sew the back bodice pieces together at the center back, matching the notches. Finish the seam and press both the main and lining to the right side. Repeat for the lining.


SEW THE CENTER BACK SEAM (VIEW B ONLY)
Place the back bodice pieces right sides together. Find the back notch, pin between the back notch and the hem. Sew the back bodice pieces together at the center back, starting at the hem and stopping at the notch. Clip the seam allowance at the notch. Finish the seam and press to the right side. Repeat for the lining.


Now you’re ready to sew the neckline. View the Neckline View A post here and the Neckline View B post here.
Victory Sew Along Posts: Getting Started | Sew Darts and Center Back | Sew Neckline A | Sew Neckline B | Sew Armholes & Side Seams | Sew the Hem


%20for%20joined%20seams.%20Clip%20or%20mark%20the%20notches%20indicate%20by%20%E2%80%98T%E2%80%99%20marks%20and%20triangles.%20Now%20let%E2%80%99s%20get%20sewing!%0ASTAYSTICH%20THE%20NECKLIN...)